搭配 iOS 設計工具使用自訂控制項
警告
iOS 設計工具在 Visual Studio 2019 16.8 版和 Visual Studio 2019 for Mac 8.8 版中已被取代,並在 Visual Studio 2019 16.9 版和 Visual Studio for Mac 8.9 版中移除。 建置 iOS 使用者介面的建議方式是直接在執行 Xcode 的 Mac 上。 如需詳細資訊,請參閱 使用 Xcode 設計使用者介面。
需求
適用於 iOS 的 Xamarin 設計工具可在 Windows 上的 Visual Studio for Mac 和 Visual Studio 2017 和更新版本中取得。
本指南假設熟悉用戶入門指南中涵蓋的內容。
逐步解說
重要
從 Xamarin.Studio 5.5 開始,建立自定義控件的方式與舊版略有不同。 若要建立自定義控件, IComponent 介面是必要專案(具有相關聯的實作方法),也可以使用 [DesignTimeVisible(true)]標註 類別。 下一個方法正用於下列逐步解說範例中。
從 iOS > 應用程式>單一檢視應用程式 > C# 樣本建立新的解決方案,將其命名為
ScratchTicket,然後繼續執行 [新增專案] 精靈: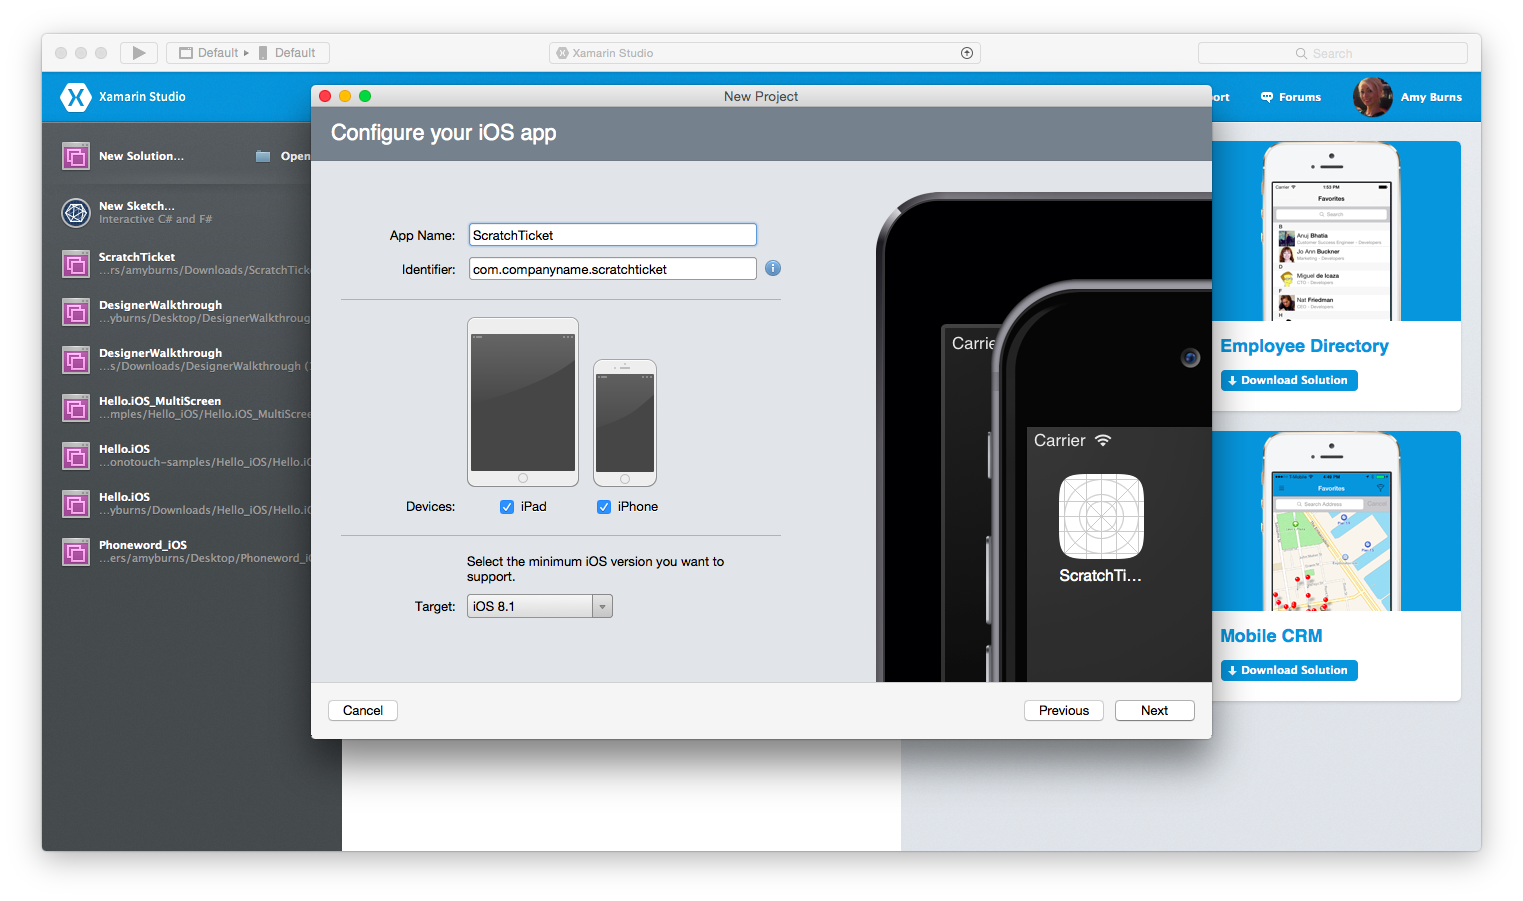
建立名為
ScratchTicketView的新空白類別檔案: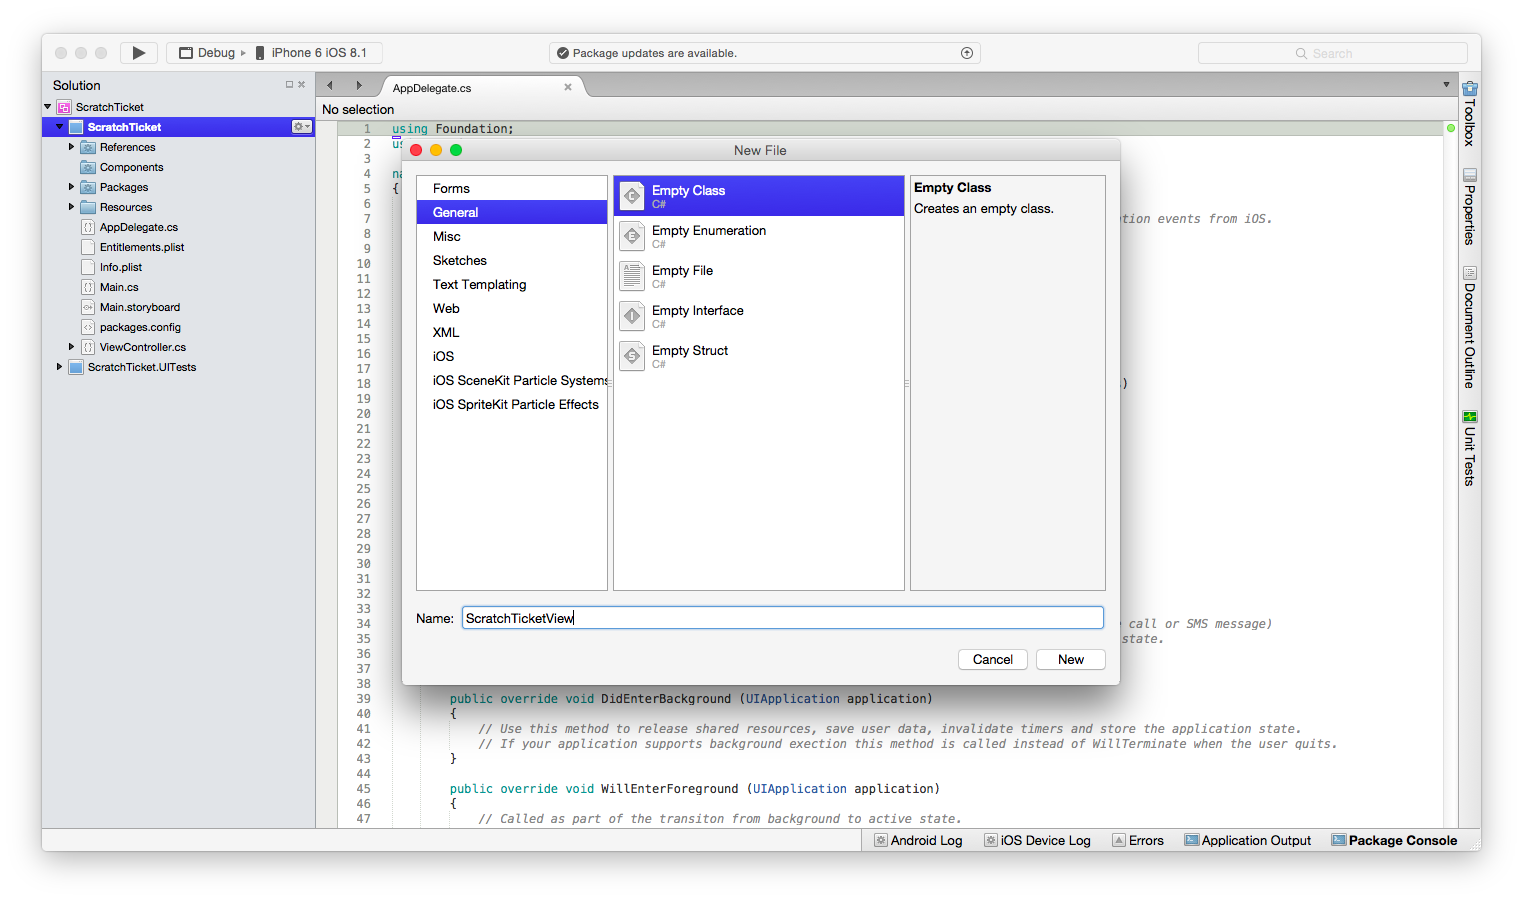
為類別新增下列程式代碼
ScratchTicketView:using System; using System.ComponentModel; using CoreGraphics; using Foundation; using UIKit; namespace ScratchTicket { [Register("ScratchTicketView"), DesignTimeVisible(true)] public class ScratchTicketView : UIView { CGPath path; CGPoint initialPoint; CGPoint latestPoint; bool startNewPath = false; UIImage image; [Export("Image"), Browsable(true)] public UIImage Image { get { return image; } set { image = value; SetNeedsDisplay(); } } public ScratchTicketView(IntPtr p) : base(p) { Initialize(); } public ScratchTicketView() { Initialize(); } void Initialize() { initialPoint = CGPoint.Empty; latestPoint = CGPoint.Empty; BackgroundColor = UIColor.Clear; Opaque = false; path = new CGPath(); SetNeedsDisplay(); } public override void TouchesBegan(NSSet touches, UIEvent evt) { base.TouchesBegan(touches, evt); var touch = touches.AnyObject as UITouch; if (touch != null) { initialPoint = touch.LocationInView(this); } } public override void TouchesMoved(NSSet touches, UIEvent evt) { base.TouchesMoved(touches, evt); var touch = touches.AnyObject as UITouch; if (touch != null) { latestPoint = touch.LocationInView(this); SetNeedsDisplay(); } } public override void TouchesEnded(NSSet touches, UIEvent evt) { base.TouchesEnded(touches, evt); startNewPath = true; } public override void Draw(CGRect rect) { base.Draw(rect); using (var g = UIGraphics.GetCurrentContext()) { if (image != null) g.SetFillColor((UIColor.FromPatternImage(image).CGColor)); else g.SetFillColor(UIColor.LightGray.CGColor); g.FillRect(rect); if (!initialPoint.IsEmpty) { g.SetLineWidth(20); g.SetBlendMode(CGBlendMode.Clear); UIColor.Clear.SetColor(); if (path.IsEmpty || startNewPath) { path.AddLines(new CGPoint[] { initialPoint, latestPoint }); startNewPath = false; } else { path.AddLineToPoint(latestPoint); } g.SetLineCap(CGLineCap.Round); g.AddPath(path); g.DrawPath(CGPathDrawingMode.Stroke); } } } } }將
FillTexture.png、FillTexture2.png和Monkey.png檔案 (可從 GitHub 取得) 新增至 Resources 資料夾。按兩下檔案
Main.storyboard,以在設計工具中開啟它: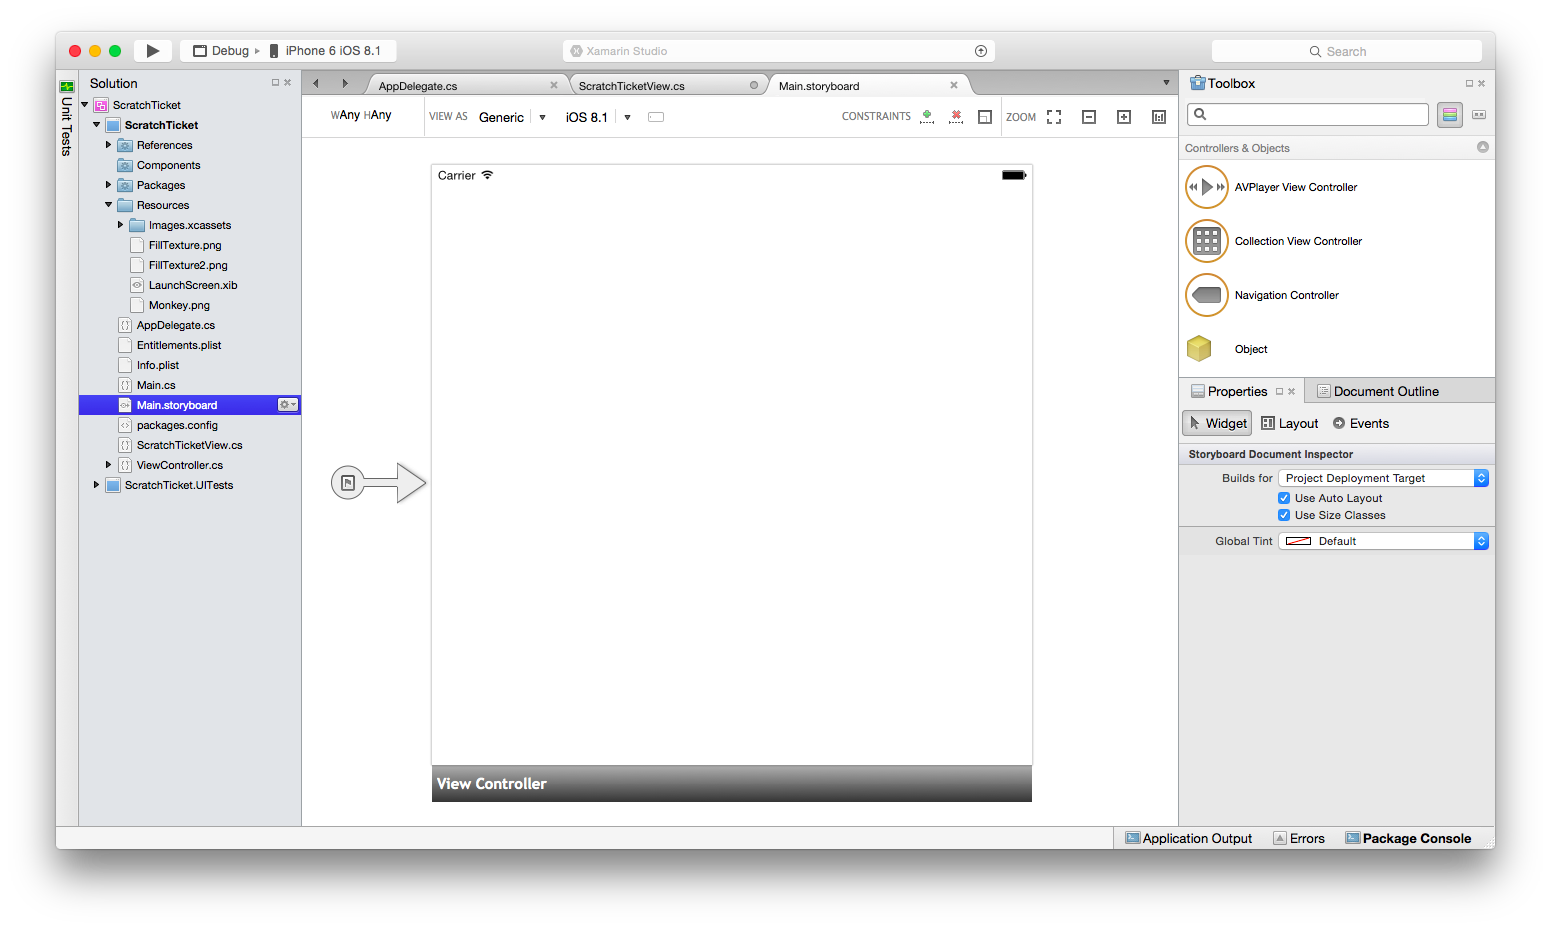
將影像檢視從 [工具箱] 拖放到分鏡腳本中的檢視。
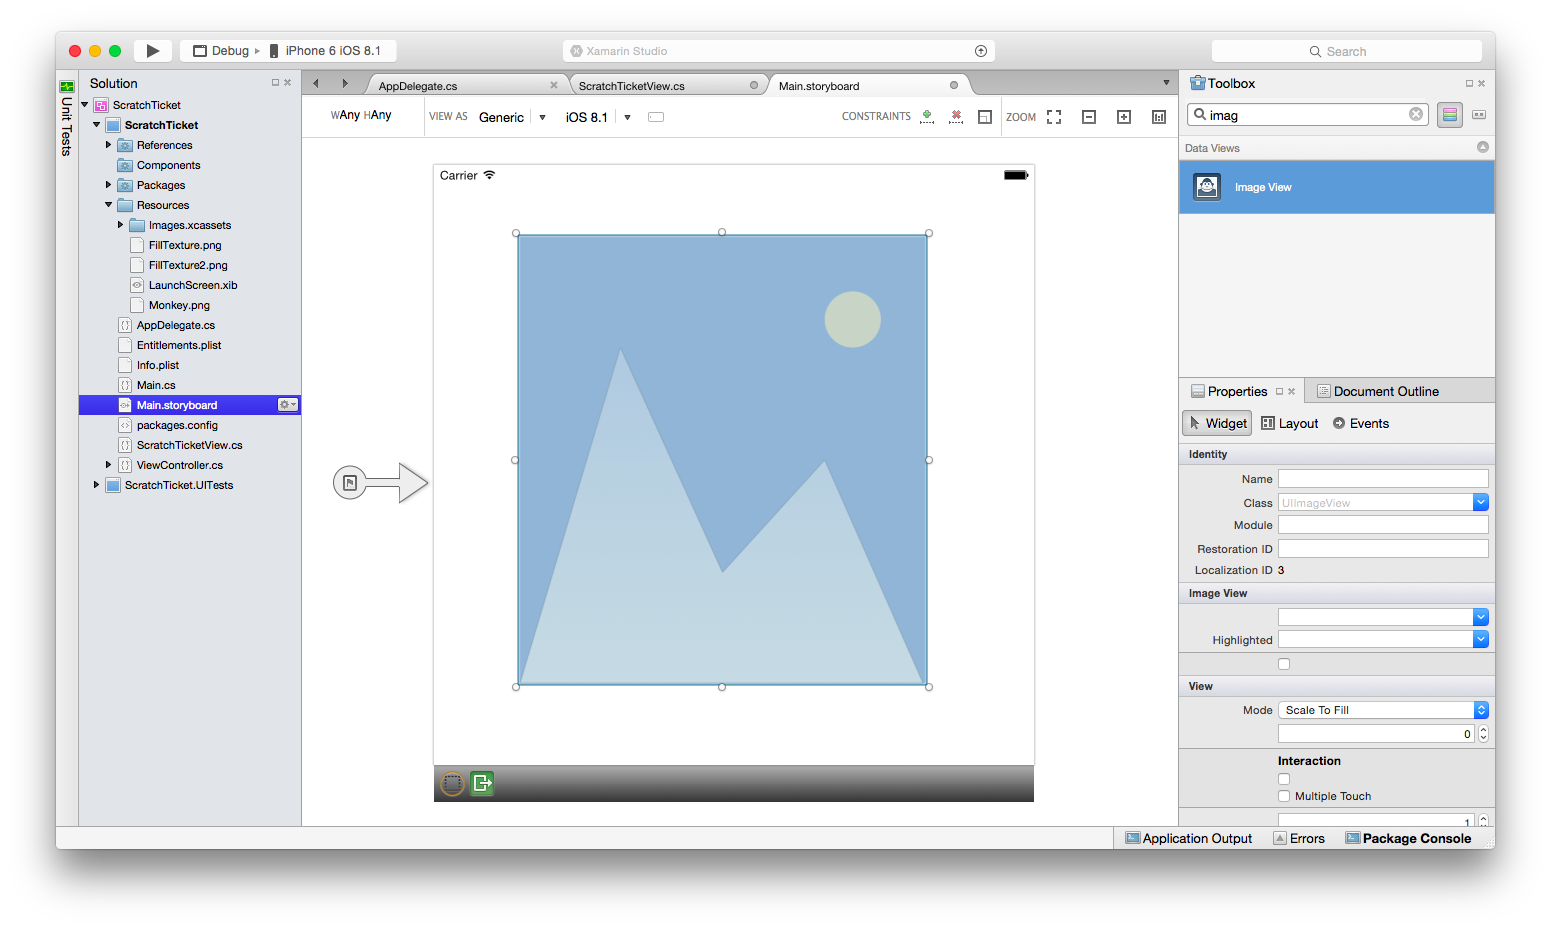
選取 [ 影像檢視 ],並將其 Image 屬性變更為
Monkey.png。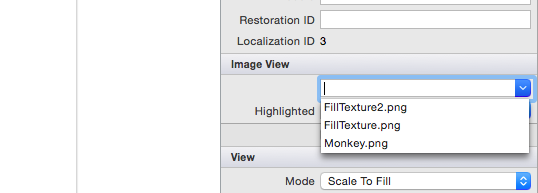
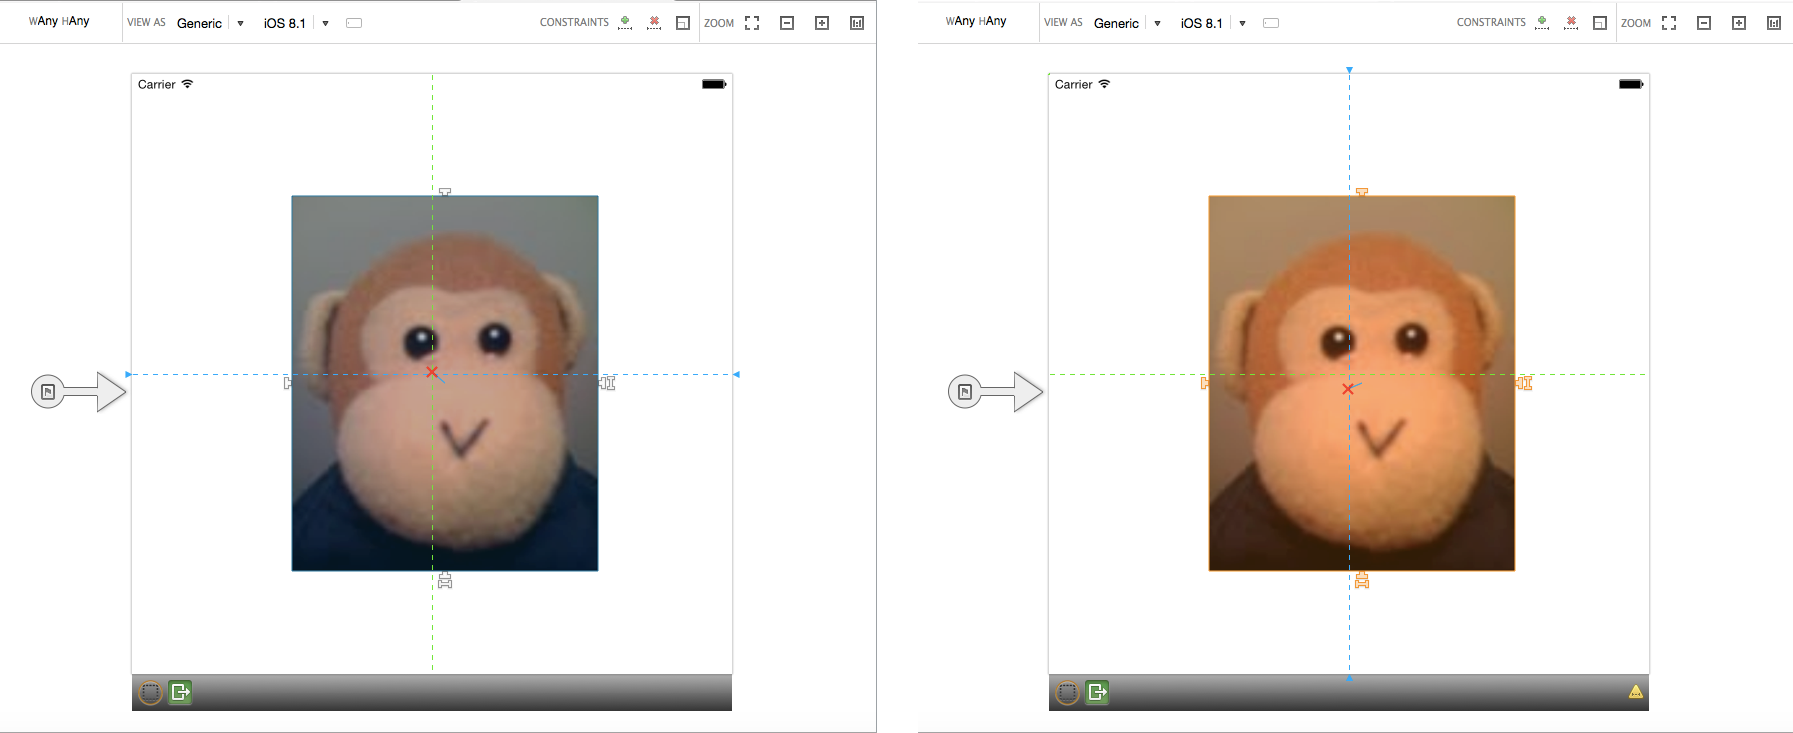
當我們使用大小類別時,我們需要限制此影像檢視。 按兩次使其進入條件約束模式。 讓我們按兩下置中釘選控點,以垂直和水準對齊中心:
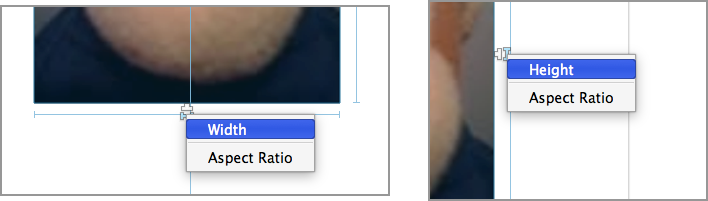
若要限制高度和寬度,請按下大小釘選控點(“骨頭”形控點),然後分別選取寬度和高度:
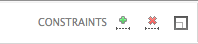
點選工具列中的 [更新] 按鈕,以根據條件約束更新框架:
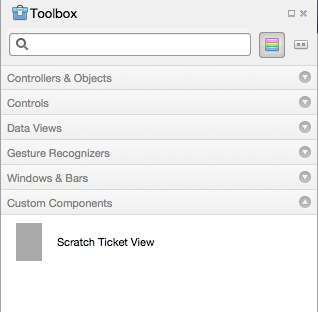
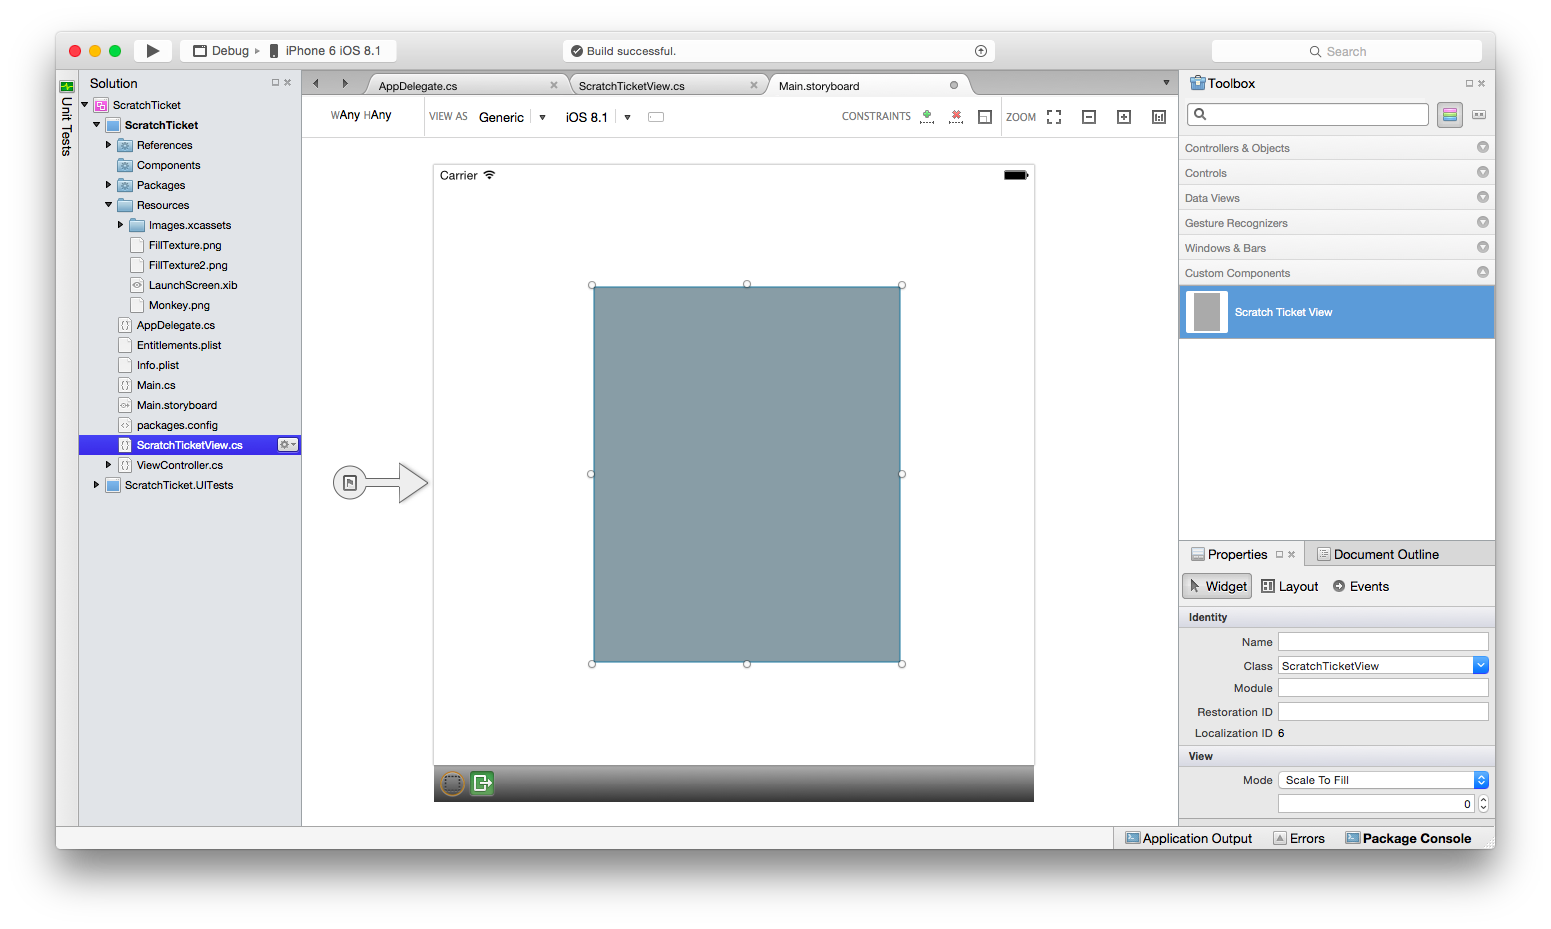
接下來,建置專案,讓臨時票證檢視會出現在 [工具箱] 中的 [自定義元件] 底下:
拖放臨時票證檢視,使其出現在猴子影像上。 調整拖曳控點,讓臨時票證檢視完全覆蓋猴子,如下所示:
藉由繪製周框來選取這兩個檢視,將臨時票證檢視限制為影像檢視。 選取選項以將它限制為 Width、Height、Center 和 Middle,並根據條件約束更新畫面格,如下所示:

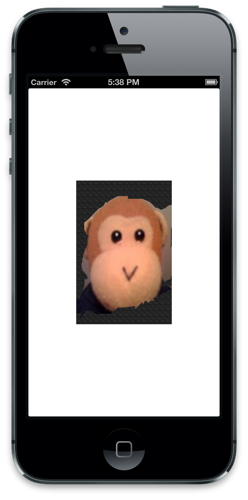
執行應用程式並「暫存」影像以顯示猴子。


新增設計時間屬性
設計工具也包含屬性類型數值、列舉、字串、bool、CGSize、UIColor 和 UIImage 之自定義控件的設計時間支援。 為了示範,讓我們將 屬性新增至 , ScratchTicketView 以設定「已關閉」的影像。
將下列程式代碼新增至 ScratchTicketView 屬性的類別:
[Export("Image"), Browsable(true)]
public UIImage Image
{
    get { return image; }
    set {
            image = value;
              SetNeedsDisplay ();
        }
}
我們也可能會想要將 Null 檢查新增至 Draw 方法,如下所示:
public override void Draw(CGRect rect)
{
    base.Draw(rect);

    using (var g = UIGraphics.GetCurrentContext())
    {
        if (image != null)
            g.SetFillColor ((UIColor.FromPatternImage (image).CGColor));
        else
            g.SetFillColor (UIColor.LightGray.CGColor);

        g.FillRect(rect);

        if (!initialPoint.IsEmpty)
        {
             g.SetLineWidth(20);
             g.SetBlendMode(CGBlendMode.Clear);
             UIColor.Clear.SetColor();

             if (path.IsEmpty || startNewPath)
             {
                 path.AddLines(new CGPoint[] { initialPoint, latestPoint });
                 startNewPath = false;
             }
             else
             {
                 path.AddLineToPoint(latestPoint);
             }

             g.SetLineCap(CGLineCap.Round);
             g.AddPath(path);
             g.DrawPath(CGPathDrawingMode.Stroke);
        }
    }
}
ExportAttribute將和 包含BrowsableAttribute自變數設定為 true 的 ,會導致屬性顯示在設計工具的 [屬性] 面板中。 將 屬性變更為專案隨附的另一個影像,例如 FillTexture2.png,會導致控件在設計時間更新,如下所示:

摘要
在本文中,我們逐步解說如何建立自定義控件,以及使用 iOS 設計工具在 iOS 應用程式中取用它。 我們已瞭解如何建立和建置 控件,使其可供設計工具工具箱中的應用程式使用。 此外,我們已探討如何實作 控件,使其在設計時間和運行時間都正確轉譯,以及如何在設計工具中公開自定義控件屬性。