Install ATA - Step 7
Applies to: Advanced Threat Analytics version 1.9
Step 7: Integrate VPN
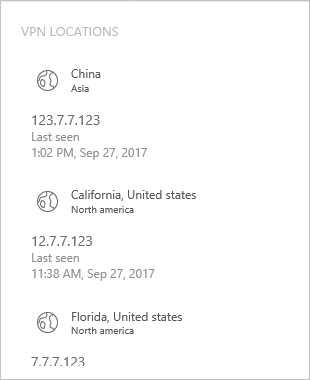
Microsoft Advanced Threat Analytics (ATA) version 1.8 and higher can collect accounting information from VPN solutions. When configured, the user's profile page includes information from the VPN connections, such as the IP addresses and locations where connections originated. This complements the investigation process by providing additional information on user activity. The call to resolve an external IP address to a location is anonymous. No personal identifier is sent in this call.
ATA integrates with your VPN solution by listening to RADIUS accounting events forwarded to the ATA Gateways. This mechanism is based on standard RADIUS Accounting (RFC 2866), and the following VPN vendors are supported:
- Microsoft
- F5
- Cisco ASA
Important
As of September 2019, the Advanced Threat Analytics VPN geo-location service responsible for detecting VPN locations now exclusively supports TLS 1.2. Make sure your ATA Center is configured to support TLS 1.2, as versions 1.1 and 1.0 are no longer be supported.
Prerequisites
To enable VPN integration, make sure you set the following parameters:
Open port UDP 1813 on your ATA Gateways and ATA Lightweight Gateways.
The ATA Center must be able to access ti.ata.azure.com using HTTPS (port 443) so that it can query the location of incoming IP addresses.
The example below uses Microsoft Routing and Remote Access Server (RRAS) to describe the VPN configuration process.
If you're using a third-party VPN solution, consult their documentation for instructions on how to enable RADIUS Accounting.
Configure RADIUS Accounting on the VPN system
Perform the following steps on your RRAS server.
Open the Routing and Remote Access console.
Right-click the server name and select Properties.
In the Security tab, under Accounting provider, select RADIUS Accounting and click Configure.
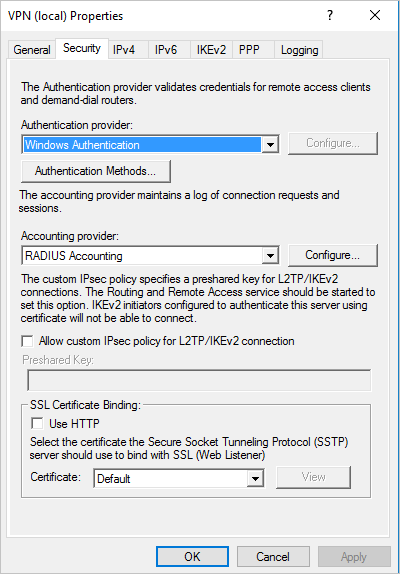
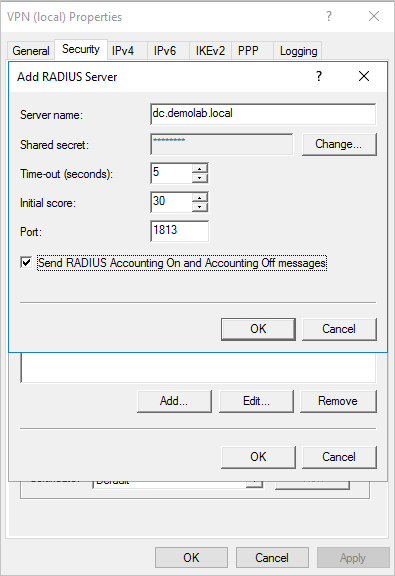
In the Add RADIUS Server window, type the Server name of the closest ATA Gateway or ATA Lightweight Gateway. Under Port, make sure the default of 1813 is configured. Click Change and type a new shared secret string of alphanumeric characters that you can remember. You need to fill it out later in your ATA Configuration. Check the Send RADIUS Account On and Accounting Off messages box and then click OK on all open dialog boxes.
Configure VPN in ATA
ATA collects VPN data and identifies when and where credentials are being used via VPN and integrates that data into your investigation. This provides additional information to help you investigate alerts reported by ATA.
To configure VPN data in ATA:
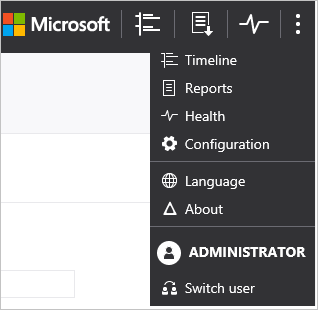
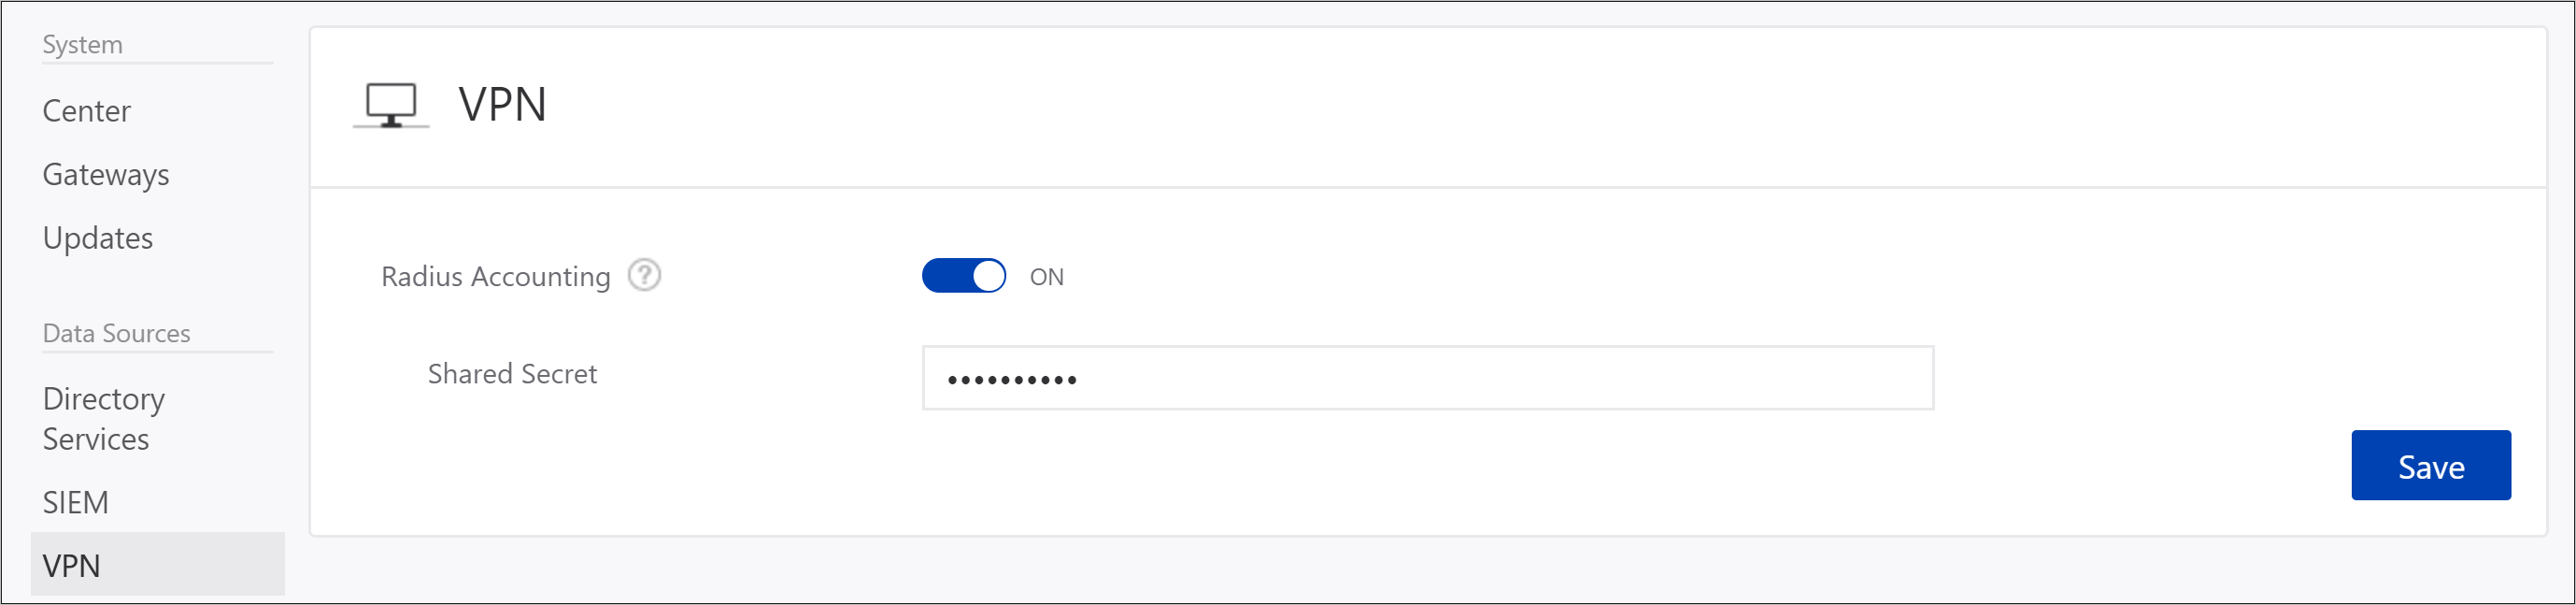
In the ATA console, open the ATA Configuration page and go to VPN.
Turn on Radius Accounting, and type the Shared Secret you configured previously on your RRAS VPN Server. Then click Save.
After this is enabled, all ATA Gateways and Lightweight Gateways listen on port 1813 for RADIUS accounting events.
Your setup is complete, and you can now see VPN activity in the users' profile page:
After the ATA Gateway receives the VPN events and sends them to the ATA Center for processing, the ATA Center needs access to ti.ata.azure.com using HTTPS (port 443) to be able to resolve the external IP addresses in the VPN events to their geographic location.