إشعار
يتطلب الوصول إلى هذه الصفحة تخويلاً. يمكنك محاولة تسجيل الدخول أو تغيير الدلائل.
يتطلب الوصول إلى هذه الصفحة تخويلاً. يمكنك محاولة تغيير الدلائل.
Use the Notebook activity to run notebooks you create in Microsoft Fabric as part of your Data Factory pipelines. Notebooks let you run Apache Spark jobs to bring in, clean up, or transform your data as part of your data workflows. It’s easy to add a Notebook activity to your pipelines in Fabric, and this guide walks you through each step.
Prerequisites
To get started, you must complete the following prerequisites:
- You must have access to a Microsoft Fabric tenant with a provisioned capacity. You can try Fabric with a free trial.
- A Fabric workspace assigned to that capacity.
- A notebook is created in your workspace. To create a new notebook, refer to How to create Microsoft Fabric notebooks.
Create a notebook activity
Create a new pipeline in your workspace.
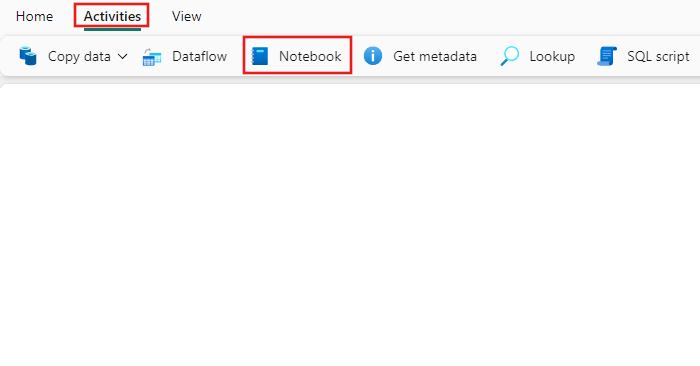
Search for Notebook in the pipeline Activities pane, and select it to add it to the pipeline canvas.
Select the new Notebook activity on the canvas if it isn't already selected.
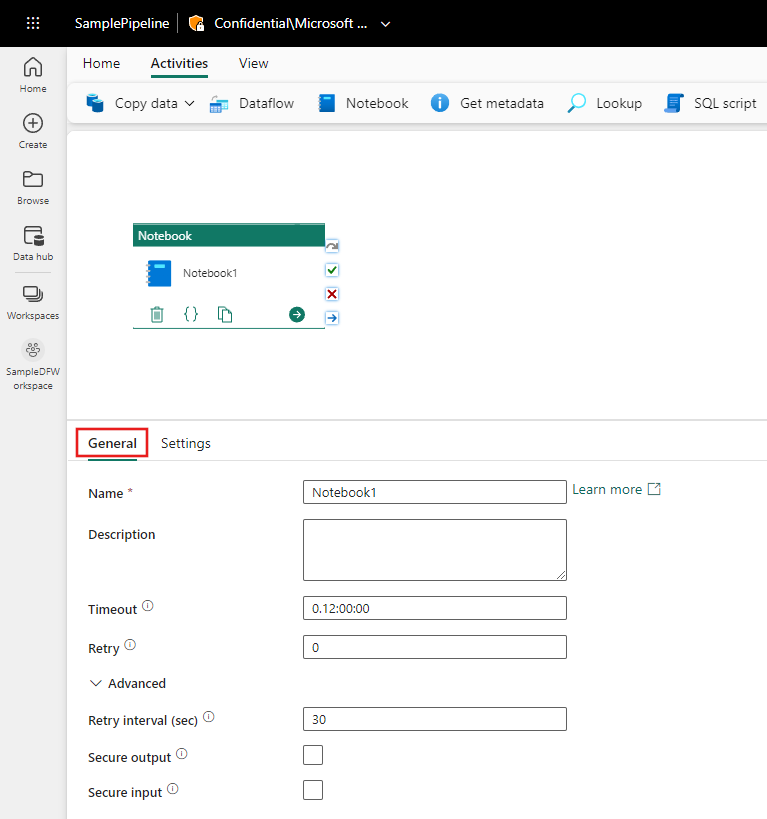
Refer to the General settings guidance to configure the General settings tab.
Configure notebook settings
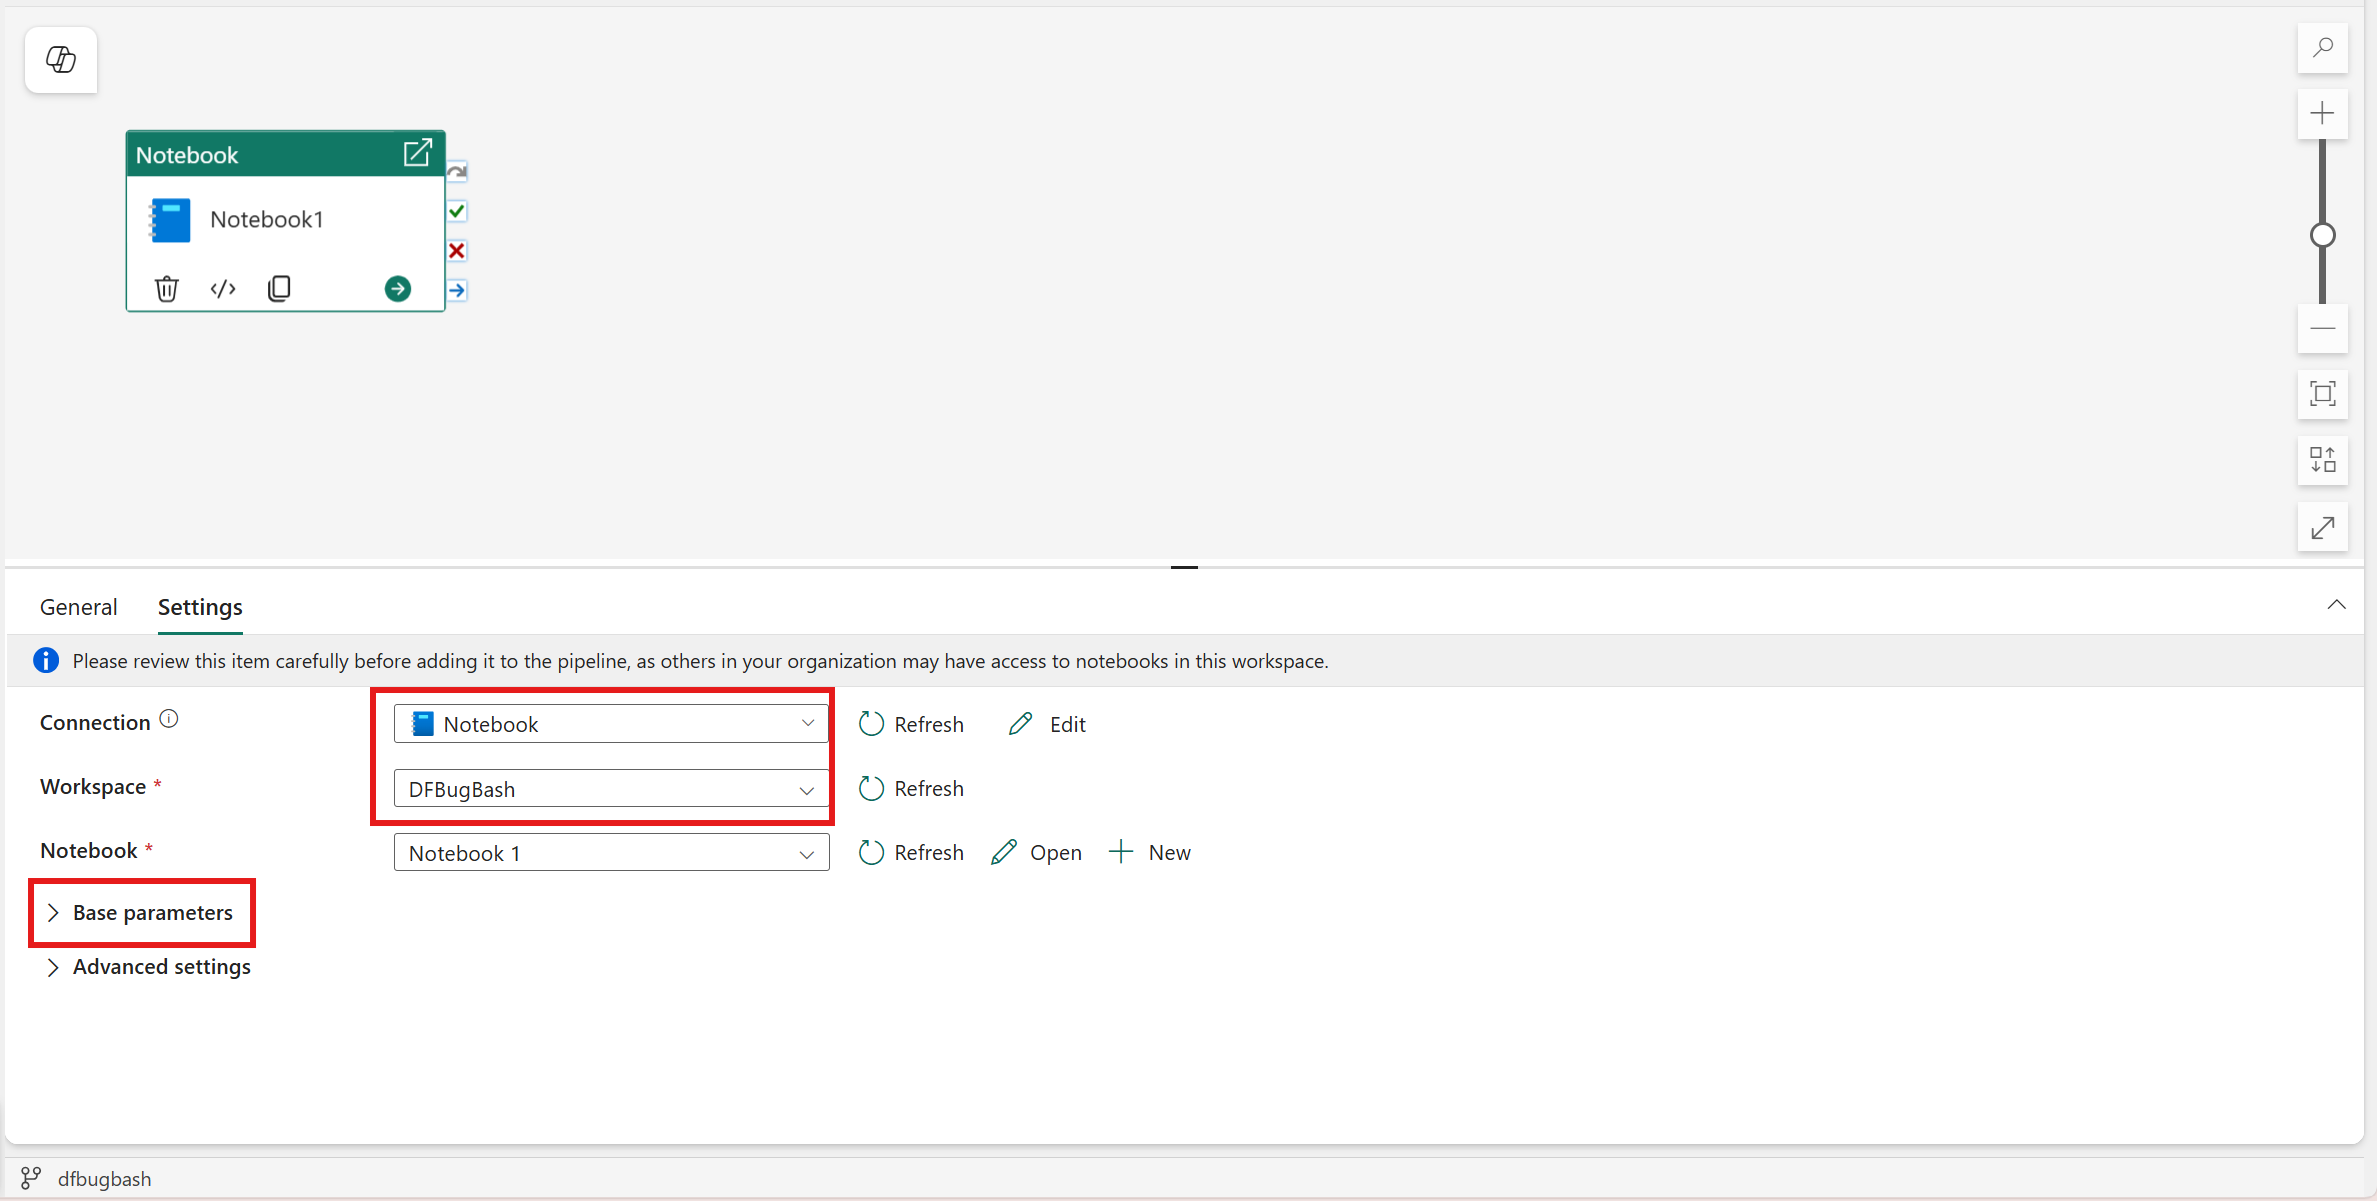
Select the Settings tab.
Under Connection, select the authentication method for the notebook run and provide the required credentials.
Select an existing notebook from the Notebook dropdown, and optionally specify any parameters to pass to the notebook.
Using Fabric Workspace Identity (WI) in the Notebook activity
Create the Workspace Identity
You must enable WI in your workspace (this may take a moment to load). Create a Workspace Identity in your Fabric workspace. Note that the WI should be created in the same workspace as your Pipeline.
Check out the docs on Workspace Identity.
Enable tenant-level settings
Enable the following tenant setting (it's disabled by default): Service principals can call Fabric public APIs.
You can enable this setting in the Fabric admin portal. For more information about this setting, see the enable service principal authentication for admin APIs article.
Grant workspace permissions to the Workspace Identity
Open the workspace, select Manage access, and assign permissions to the Workspace Identity. Contributor access is sufficient for most scenarios. If your Notebook is not in the same workspace as your Pipeline, you'll need to assign the WI you created in your Pipeline's workspace at least Contributor access to your Notebook's workspace.
Check out the docs on Give users access to workspaces.
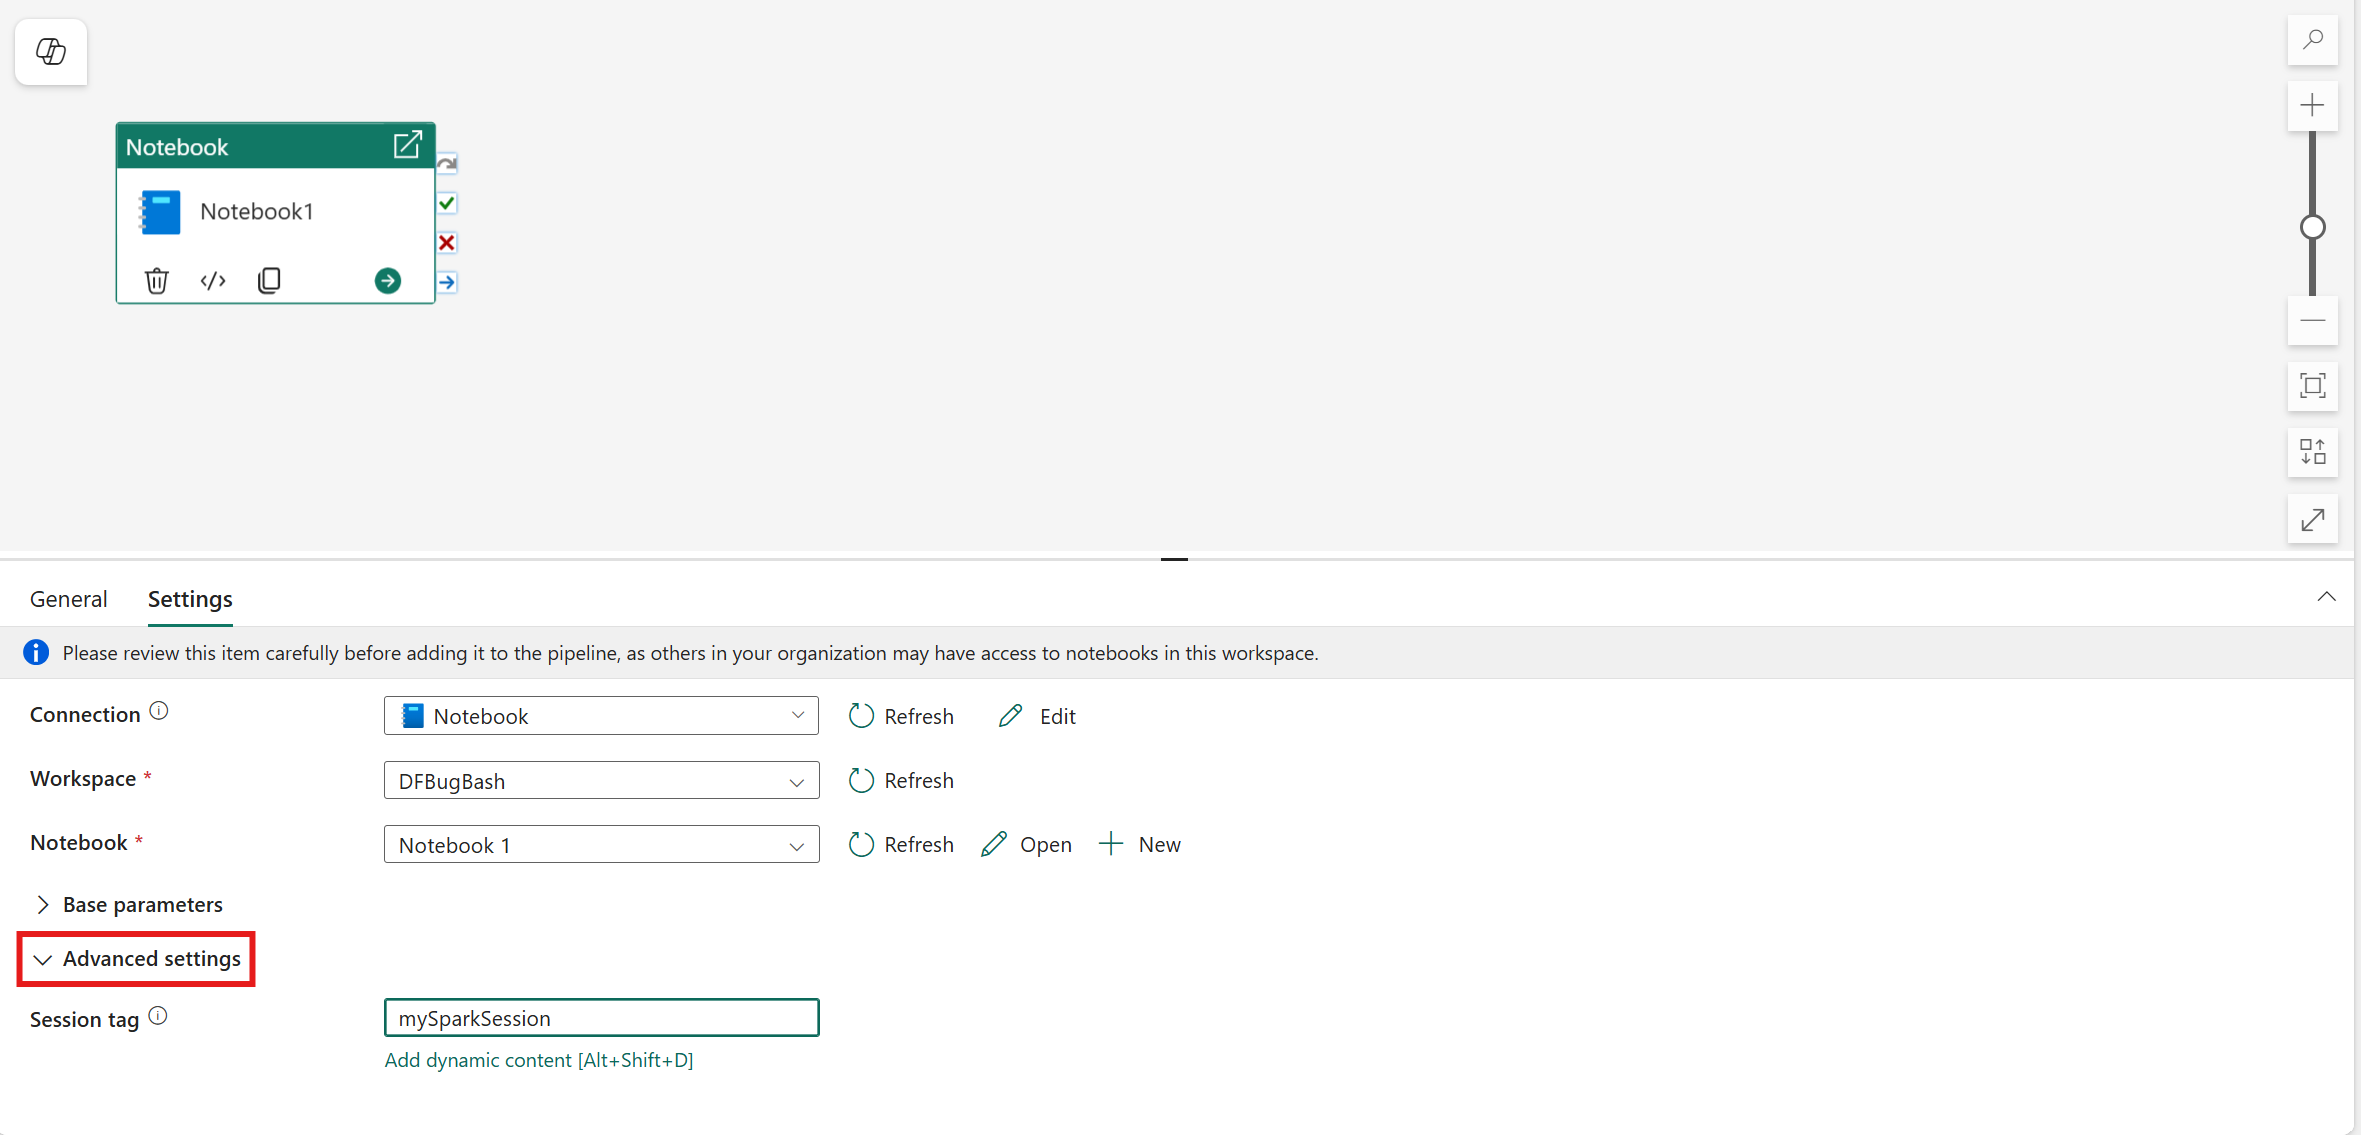
Set session tag
In order to minimize the amount of time it takes to execute your notebook job, you could optionally set a session tag. Setting the session tag instructs Spark to reuse any existing Spark session, minimizing the startup time. Any arbitrary string value can be used for the session tag. If no session exists, a new one would be created using the tag value.
Note
To be able to use the session tag, High concurrency mode for pipeline running multiple notebooks option must be turned on. This option can be found under the High concurrency mode for Spark settings under the Workspace settings

Save and run or schedule the pipeline
Switch to the Home tab at the top of the pipeline editor and select the save button to save your pipeline. Select Run to run it directly or Schedule to schedule runs at specific times or intervals. For more information on pipeline runs, see: schedule pipeline runs.

After running, you can monitor the pipeline execution and view run history from the Output tab below the canvas.
Known issues
- Using Service Principal to run a notebook that contains Semantic Link code has functional limitations and supports only a subset of semantic link features. See the supported semantic link functions for details. To use other capabilities, you're recommended to manually authenticate semantic link with a service principal.