إشعار
يتطلب الوصول إلى هذه الصفحة تخويلاً. يمكنك محاولة تسجيل الدخول أو تغيير الدلائل.
يتطلب الوصول إلى هذه الصفحة تخويلاً. يمكنك محاولة تغيير الدلائل.
In this procedure, you create a table in Dataverse and fill that table with data from an OData feed by using Power Query. You can use the same techniques to integrate data from these online and on-premises sources, among others:
- SQL Server
- Salesforce
- IBM DB2
- Access
- Excel
- Web APIs
- OData feeds
- Text files
You can also filter, transform, and combine data before you load it into a new or existing table.
If you don't have a license for Power Apps, you can sign up for free.
Prerequisites
Before you start to follow this article:
- Switch to an environment in which you can create tables.
- You must have a Power Apps per user plan or Power Apps per app plan.
Specify the source data
Sign in to Power Apps.
In the navigation pane, select Tables.
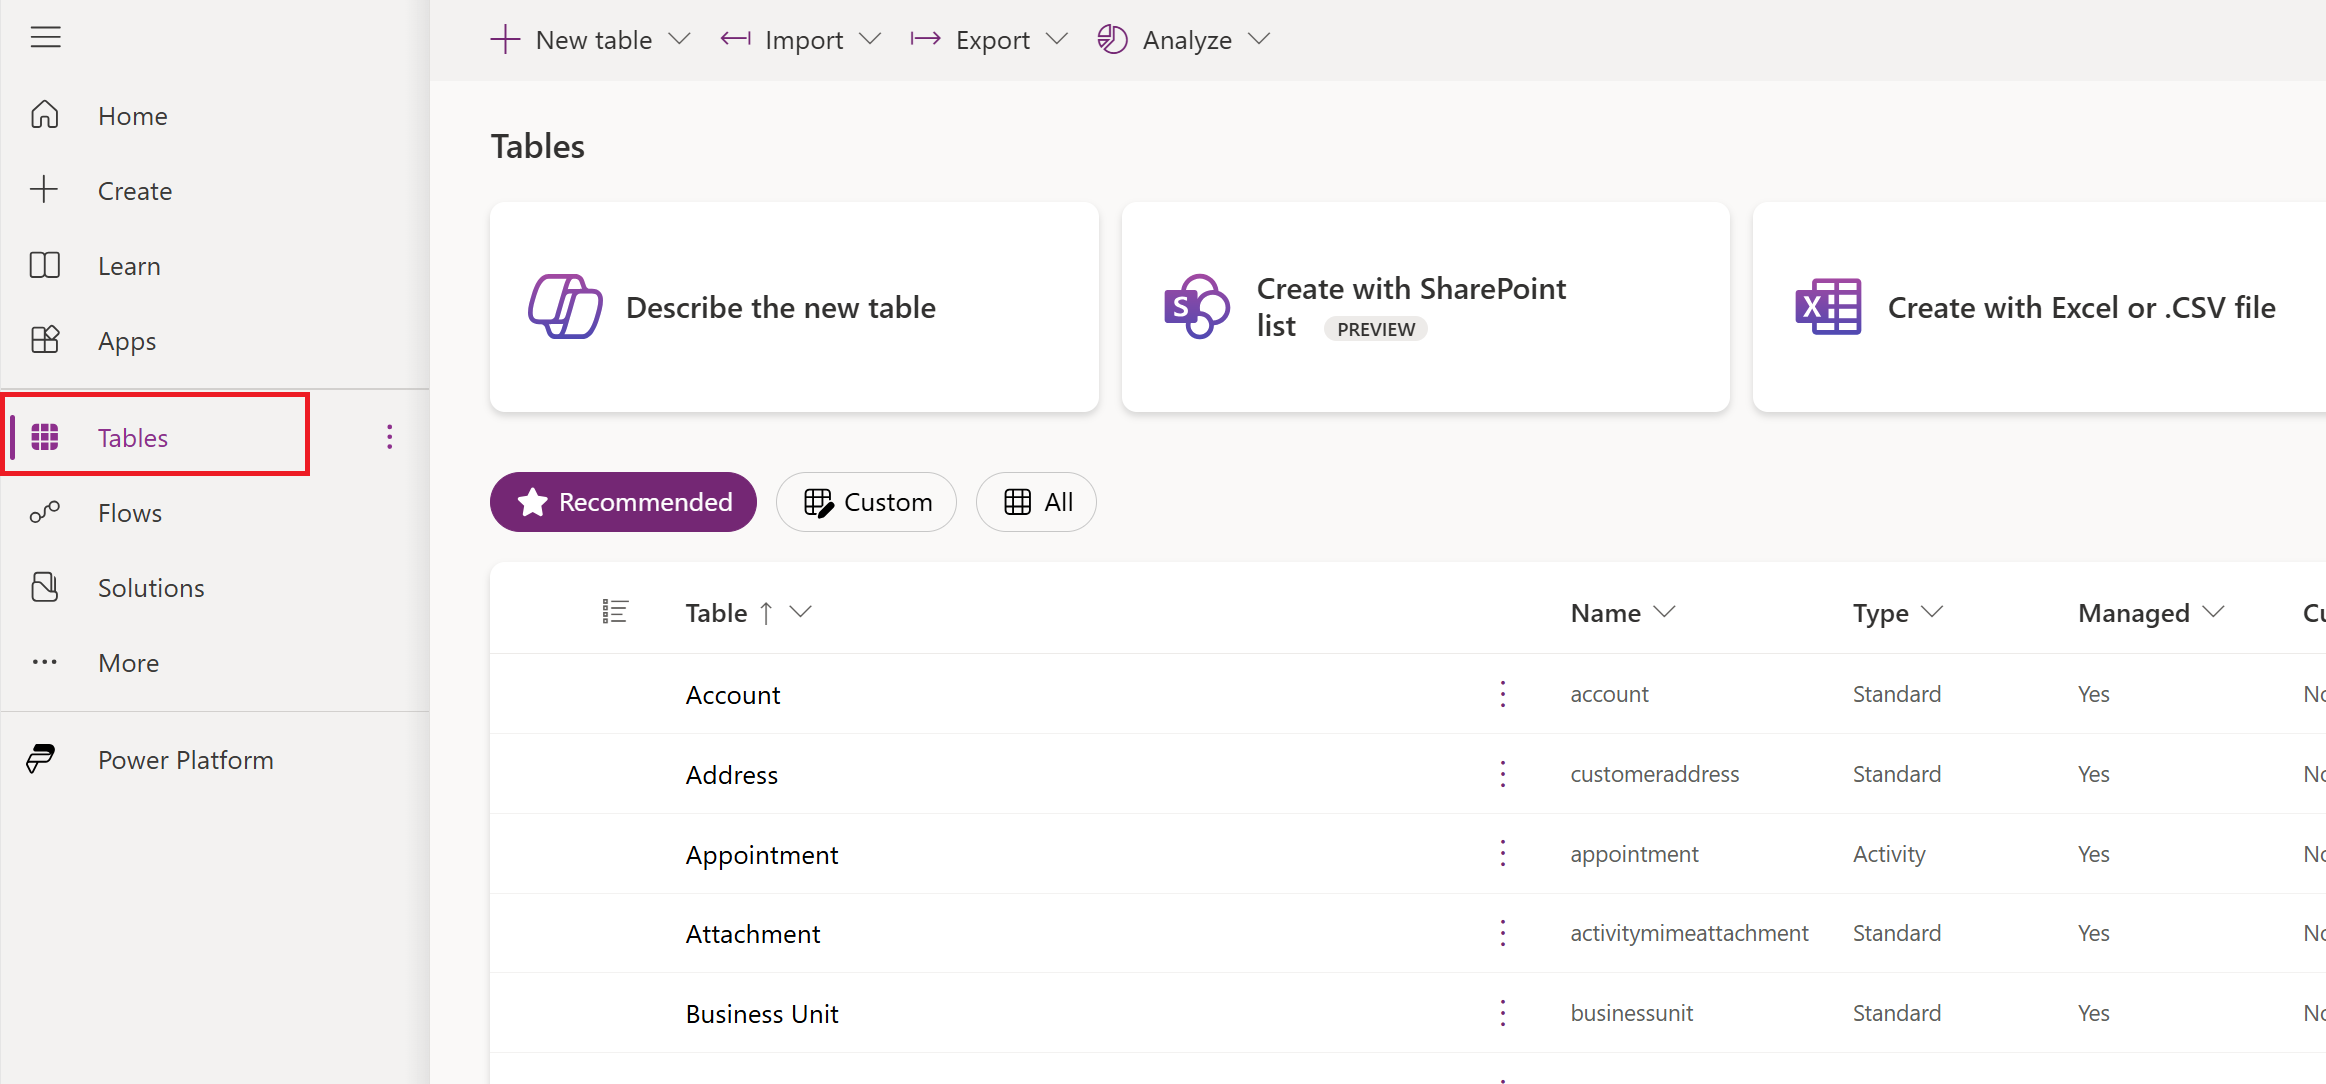
In the command menu, select Import > Import data.
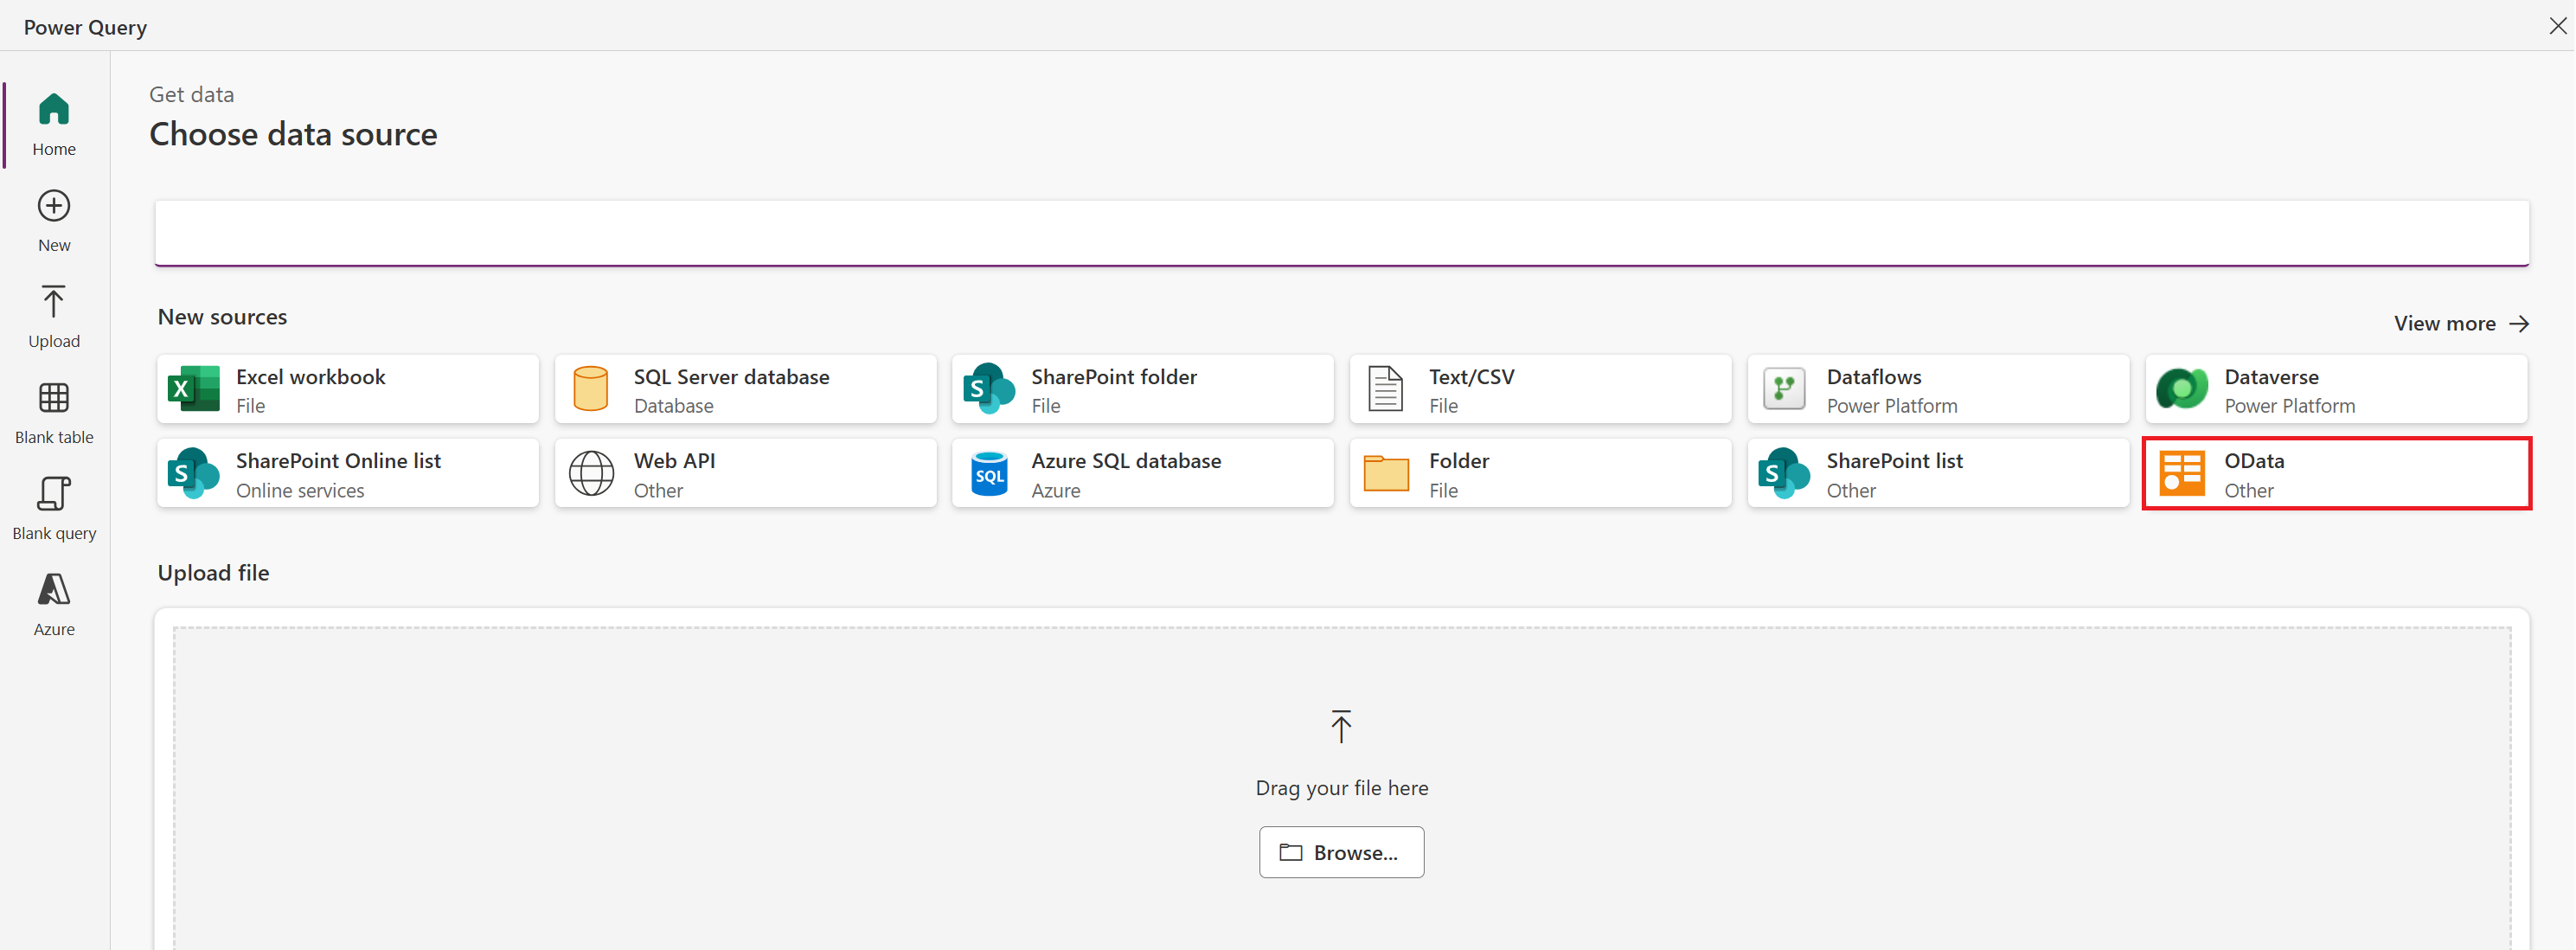
In the list of data sources, select OData.
Under Connection settings, type or paste the following URL, and then select Next:
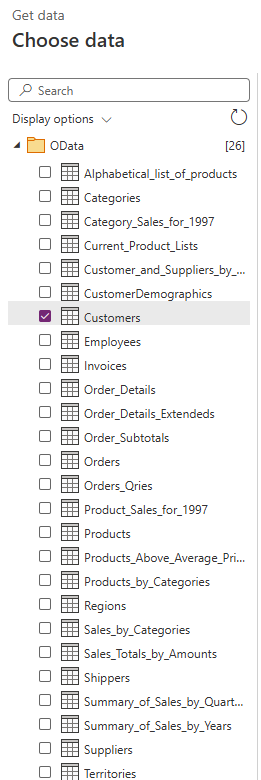
https://services.odata.org/V4/Northwind/Northwind.svc/In the list of tables, select the Customers check box, and then select Next.
(optional) Modify the schema to suit your needs by choosing which columns to include, transforming the table in one or more ways, adding an index or conditional column, or making other changes.
In the lower-right corner, select Next.


Specify the target table (Preview)
Under Load settings, select Load to new table.
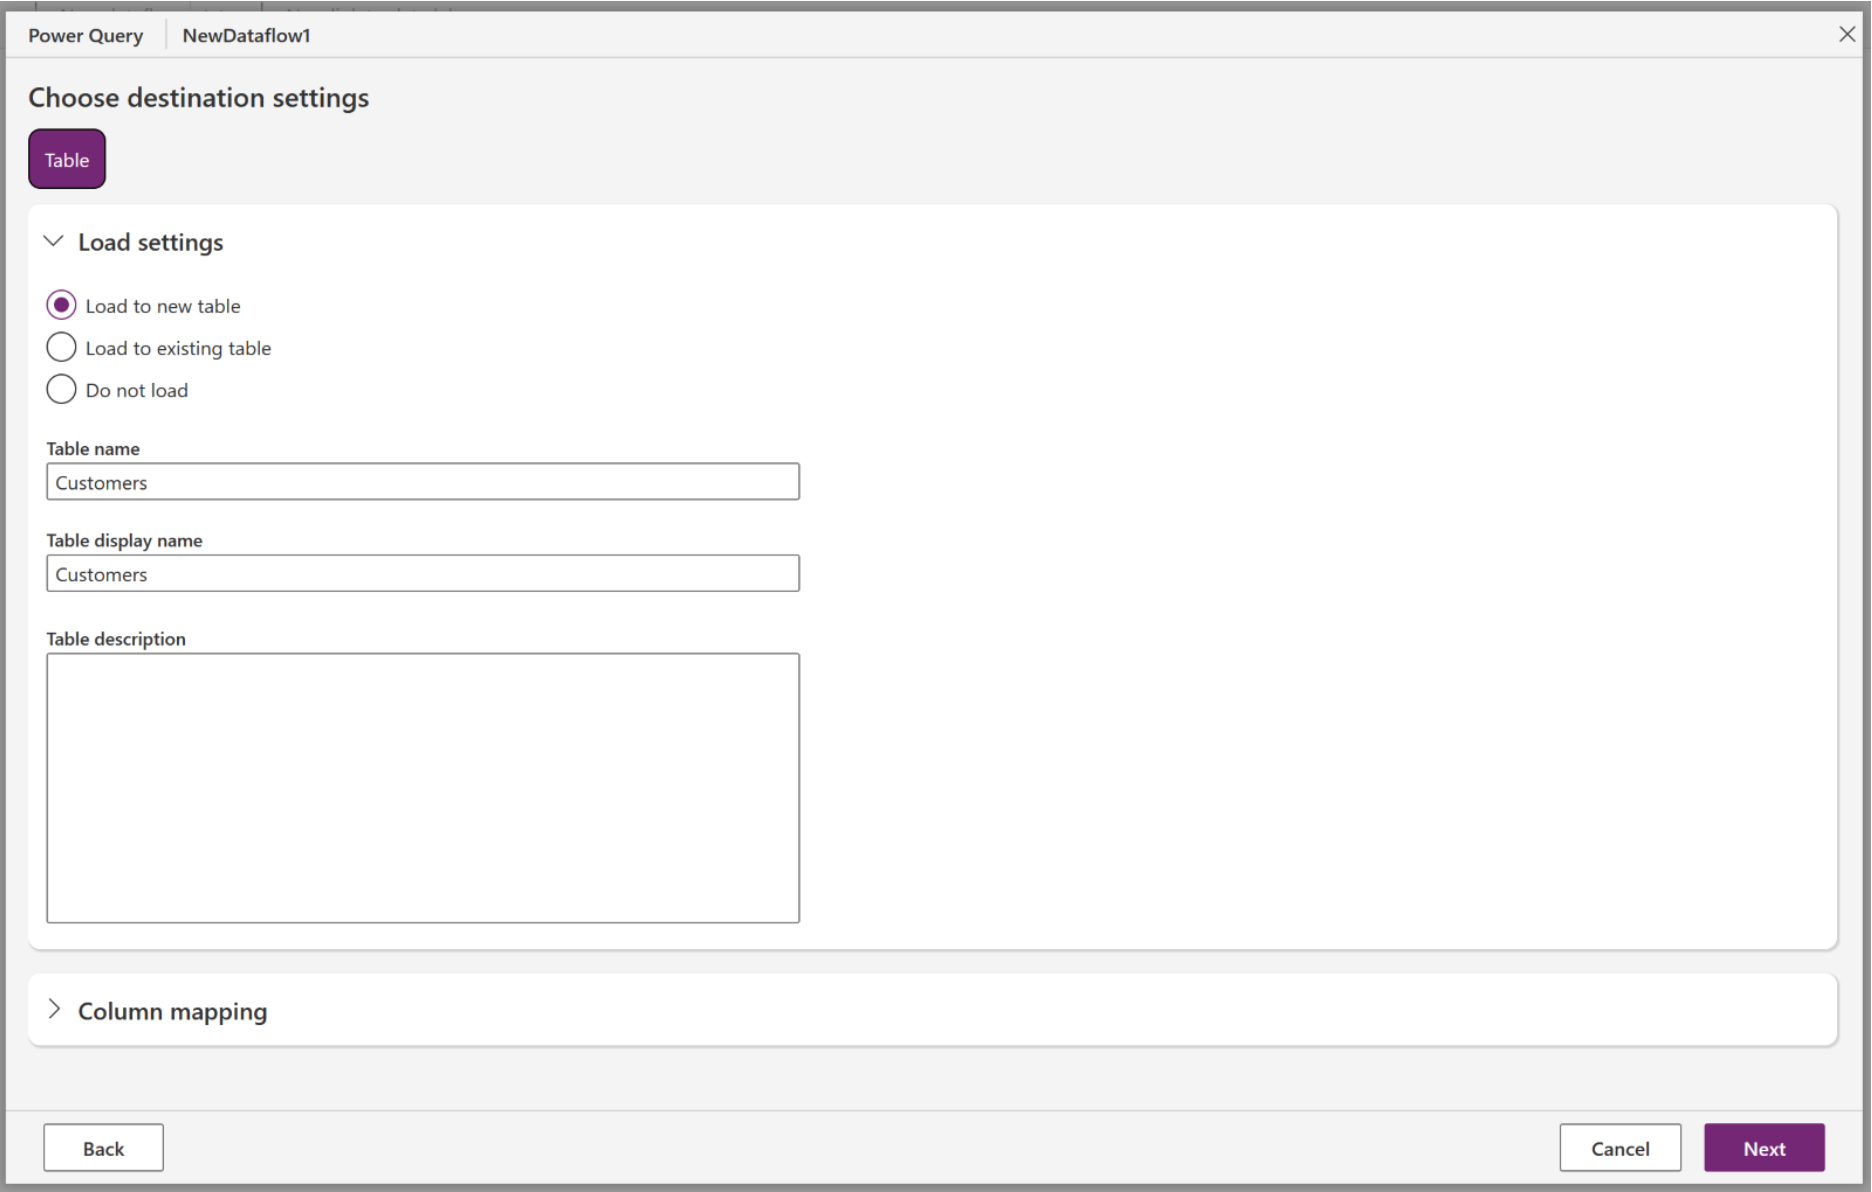
You can give the new table a different name or display name, but leave the default values to follow this tutorial exactly.
In the Unique primary name column list, select ContactName, and then select Next.
You can specify a different primary-name column, map a different column in the source table to each column in the table that you're creating, or both. You can also specify whether Text columns in your query output should be created as either Multiline Text or Single-Line Text in the Dataverse. To follow this tutorial exactly, leave the default column mapping.
Select Refresh manually for Power Query - Refresh Settings, and then select Publish.
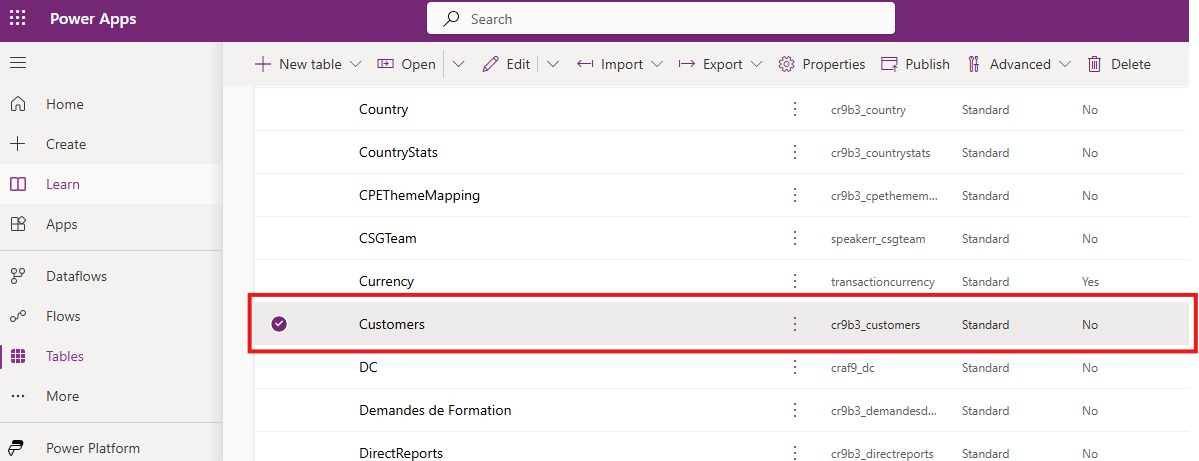
Under Dataverse (near the left edge), select Tables to show the list of tables in your database.
The Customers table that you created from an OData feed appears as a custom table.


Warning
Existing data might be altered or deleted when loading data to a Dataverse table while having the Delete rows that no longer exist in the query output enabled or a primary key column defined.
Load to existing table (Preview)
If you select Load to existing table, you can specify an existing Dataverse table to load data to.
When you select the table dropdown, there can be up to three recommended Dataverse tables to select from at the top of the dropdown, followed by all other Dataverse tables. These table recommendations are based on comparing the column metadata (column names and column types) with the column metadata of existing Dataverse tables. Up to three Dataverse tables are recommended with the strongest recommendation listed first. If no recommendations are found, the dropdown defaults to only listing all tables.

After selecting which Dataverse table to load data into, you then choose the import method. Append is selected by default and adds the data as more rows to the previously selected Dataverse table. Merge updates existing rows within your Dataverse table. If Merge is selected, there's an option to select the primary key column that you want to use.

Column mapping (Preview)
After you select a destination Dataverse table and specify the import method, the columns are grouped into mapped, possible match, and unmapped. You can toggle between these groupings by selecting the Mapped, Possible match, or Unmapped tabs at the top or stay in the default Show all tab that lists all mappings.

The source and destination column mappings are grouped as follows:
Mapped: High confidence semantic match between the meanings of the column names and both column data types are the same.
Unmapped: There's no high confidence semantic column matches found for this column. If this column is a required column, you must manually select a source column to map this data to before proceeding.
Possible match: Semantic match between the meanings of the column names, but the source and destination column data types are different.
When manual changes are made to the mapping the source column, the status changes to Mapped unless the column data types are different. In that case, the status updates to Possible match. As with all possible matches, a recommended action message recommends that you go back one step in the dataflow and change the source column type to match the destination column type in the Dataverse table.
Known Limitations
Currently, AI Assisted mapping can only detect type mismatches between columns. Other column mapping challenges in the following list aren't detected as they require previewing the records of incoming data:
Truncation: High confidence in semantic match between source and destination, but at least one record in the source has more characters than the character limit of the destination column.
Value Limits: High confidence in semantic match between source and destination, but at least one record in the source contains a value outside the range of the value limits set by the destination column.
Lookup Values: High confidence in semantic match between source and destination, but at least one record in the source contains a value not present in the lookup value set by the destination column.
If an error message about permissions appears, contact your administrator.
Suggestions for table selection and column mapping are provided by a solution that might be unavailable in a specific Power Platform environment. If this solution can't be detected, suggestions for table selection and column mapping aren't provided by the system. However, you can continue to proceed manually.