Set up printers
Printing documents and reports from Business Central is an important task for business users. Users will typically want to send print jobs directly to one of your organization's printers, regardless of which Business Central client or app that they're using.
Because Business Central online is a cloud service, it can't directly reach local printers that are connected to users' devices, but it can connect to cloud-enabled printers.
To support your printing needs, Business Central offers the following features:
Universal Print - This printer management solution is available as a cloud service from Microsoft. With this feature, you can set up your printers in Universal Print and then register them for use in Business Central. This feature requires a Universal Print subscription and the Universal Print Integration extension.
Email Print - This feature lets you set up email-enabled printers. Then, Business Central will send print jobs to a printer by using the printer's email address. This feature requires email-enabled printers and the Send to Email Printer extension.
Browser printing - Print jobs are handled by the print functionality of the user's browser. If a cloud printer isn't installed and set up, or if an installed printer fails, then printing will default to the printing options for the browser. The Printer field on the report request page will display (Handled by the browser).
Set up Universal Print
Universal Print is a Microsoft 365 subscription-based service that runs entirely on Microsoft Azure. It gives you centralized printer management through the Universal Print portal. Printers that are set up in Universal Print are made available to client users through the Universal Print Integration extension in Business Central.
Business Central supports the same printers as Universal Print, which can be either Universal Print–compatible or non-compatible printers. Non-compatible printers can't communicate with Universal Print directly, so they require extra connector software, which is provided by Universal Print. Some older printers might not be supported.
Before you begin managing Universal Print printers in Business Central, you'll need to complete several tasks to get Universal Print operational in Azure with the printers that you want to use.
For more information, see Get started: Set up Universal Print.
Next, verify that you meet the following prerequisites:
You are using Business Central 2021 release wave 1 or later.
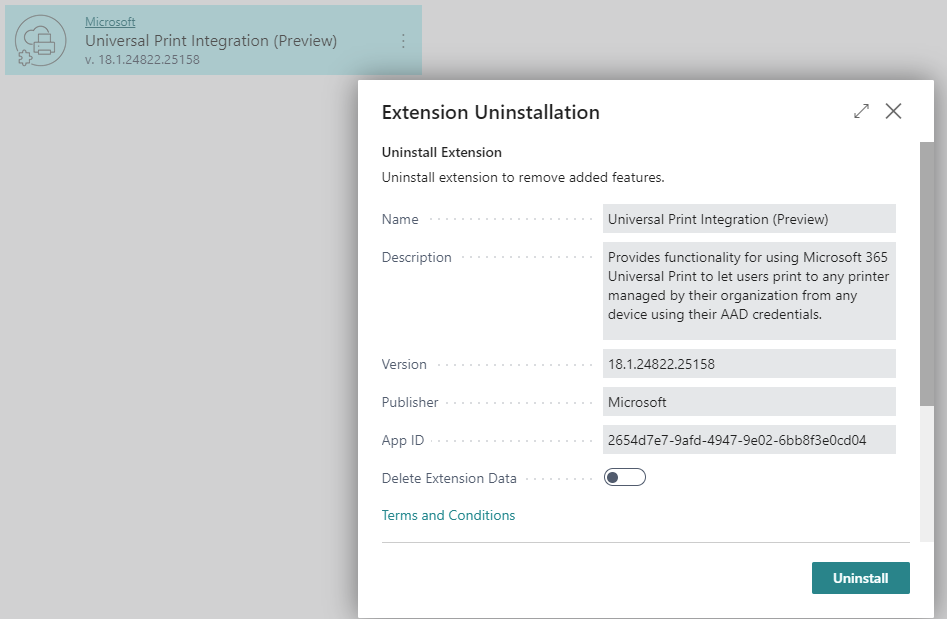
The Universal Print Integration extension is installed. This extension is published and installed by default as part of Business Central online and on-premises. You can verify whether it's installed on the Extension Management page. You can uninstall it by using the Extension Uninstallation page.
You have a Universal Print subscription/license for your organization.
You have the Printer Management role in Azure. To manage Universal Print, your account must have Printer Management in Microsoft Azure Active Directory (Microsoft Entra ID). This role is only needed for managing Universal Print; it isn't required for people to use the printers from Business Central.

Complete the following steps to set up Universal Print. You can complete most steps in the Azure portal.
Assign Universal Print licenses to yourself and other users. You can assign licenses by using the Microsoft 365 admin center. For more information, see Microsoft 365 Admin Center Help - Assign licenses to users.
Install the Universal Print connector for registering printers that can't communicate with Universal Print directly. Most in-market printers can't communicate with Universal Print directly. You'll need to install the Universal Print connector for these printers. For more information, see Install Universal Print connector.
Register your printers in Universal Print. Registering a printer makes Universal Printer aware of the printer. For printers that can communicate directly with Universal Print, follow the steps that are provided by the printer manufacturer. For other printers, register the printers by using the Universal Print connector. For more information, see Printer registration.
Change printer properties (optional). After a printer is registered, you can view and modify printer properties, like default preferences. For more information, see Set Up Universal Print and Printers in Microsoft Azure.
Share the printers. Any printer that you want to use in Business Central will need to be shared in Universal Print. For more information, see Share printers using Azure Portal.
Give users permission to the shared printers. For more information, see Configure user permissions for a printer share.
Enable document conversion. Universal Print renders content for print in XPS format. Some legacy in-market printers don't support XPS content rendering; in many cases, it's only available in PDF format. Printing to these printers will fail unless Universal Print is set up to convert documents to the printer-supported format. For more information, see Document conversion. If none of your printers require PDF content rendering format, we recommend that you don't enable document conversion because it might affect the print output quality.
Now, you're ready to add the printers to Business Central, set up default printers for reports, and then print.
Add a universal printer to Business Central
After printers are set up and shared in Universal Print, you're ready to add them to Business Central for use. Two ways to add Universal Print printers are add all printers at once or add them individually (one at a time).
Adding printers individually allows you to set up the same Universal Print printer in Business Central more than once. Then, for each added printer, you can change the print settings, like paper tray, size, and orientation. As a result, you can set up printers for different reports and documents that have special output requirements.
Select the lightbulb icon that opens the Tell Me feature, enter Printer Management, and then select the related link.
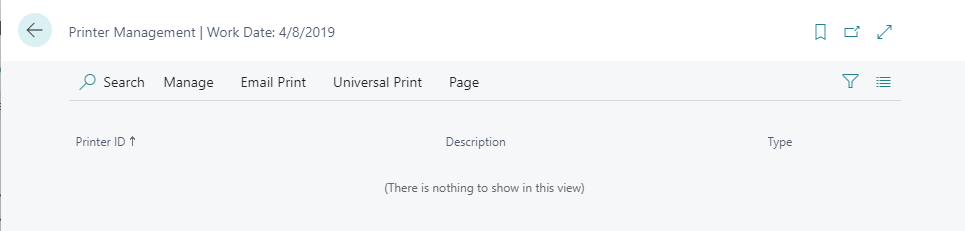
Select Universal Print and then choose one of the following options:
Add all Universal Print printers - Select to add all printers that aren't already added. You can use this option even if printers are already added.
Add a Universal Print printer - Select to add a specific printer.

Follow the on-screen instructions. If you selected Add all Universal Print printers, then the Add Universal Print Printers setup starts. If you chose to Add a Universal Print printer, then the Universal Printer Settings page appears. Fill in the Name field and then, next to the Print Share option in the Universal Print field, select the Universal Print printer. Fill in the remaining fields as needed. Hover over a field to read a short description. After a printer has been added, you can view and change its settings from the Printer Management window by selecting the printer and then selecting Edit printer settings.


Set up email print
The setup that you make on the Printer Management page allows you to control which device to print to, including to cloud printers, as defined by extensions.
By using the Business Central modern clients, users who work in the browser can set up a printer selection for each report so that documents, labels, and other content are printed automatically on the selected printer. Administrators can manage a list of printers (including cloud printers) by creating a friendly name for each and setting defaults, for example. For on-premises installations, any network printer that the server has access to will be available on the Printer Management page.
In Business Central, a predefined Email Printer extension is installed and ready for customers to use.
This extension supports major printer manufacturers that enable email printing scenarios. Microsoft and partners will continue to create extensions for other cloud printing technologies, which you can find on AppSource after they have been created.
To set up and use email printing, you need to:
Use a current version of Business Central (Business Central 2021 release wave 1 or later).
Install the Send to Email Printer extension.
Set up the Email functionality.
The Printer Management page shows you the printers that are currently set up. The page also gives you access to the Settings page for each printer to edit an existing setup or to set up a new printer.
To add an email printer, follow these steps:
Select the lightbulb icon that opens the Tell Me feature, enter Printer Management, and then select the related link.
Select Email Print and then select Add an email printer.

On the Email Printer Settings page, fill in the fields as necessary. Hover over a field to read a short description.

You will need to manually select the appropriate paper size for a printer because no local printer or user settings can be stored. Be aware that the Email Printer extension is set to A4 paper size by default, which isn't suited for most in North America, for example.
If you use the Email Printer extension, then all or some print jobs will be sent to the email address that is configured for the printer. We strongly recommend that you link a unique email ID to a printer device by using only the official services that are provided by the hardware manufacturer, such as HP ePrint, KonicaMinolta EveryonePrint, or Epson Email Print.
Take all necessary privacy precautions, including ensuring that the email printing solution has properly configured permissions, privacy settings, and retention policies. It's your responsibility to provide a correct, verified, and operational email address.
Set up default printers
A couple different ways are available for you to set up printers that will be used by default for print jobs. A default printer is useful if you work with different reports that require different printers because of their placement in the company or their output capabilities.
On the Printer Management page, you can set up a printer as a default printer for all print jobs. You can specify the printer as default for you only or for all users.
To set a printer as a default printer for all print jobs, follow these steps:
Select the lightbulb icon that opens the Tell Me feature, enter Printer Management, and then select the related link. You can also open the Printer Management page from the Printer Selections page by selecting Printer Management.
On the Printer Management page, select a printer from the list, select Manage, and then select Set as my default printer or Set as default printer for all users. Setting a default printer from the Printer Management page will add an entry in Printer Selections.


On the Printer Selections page, you can specify the printer that a report will use by default. Default printers are set on a user-account basis. You can set a default printer for only you, another user, or all users.
To set a default printer for specific reports, follow these steps:
Select the lightbulb icon that opens the Tell Me feature, enter Printer Selections, and then select the related link. Alternatively, from the Printer Management page, you can select a printer and then select the Printer Selections action.
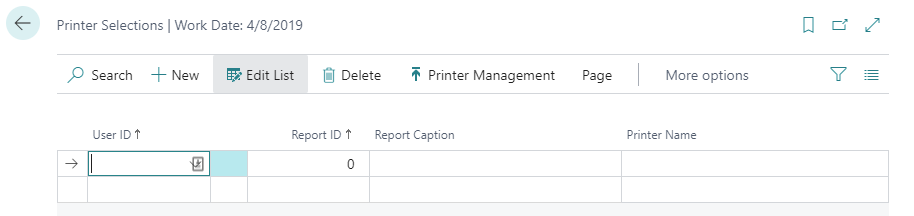
Select the New action to add a printer selection for a specific report.
Fill in the fields as necessary.

The specified report is now set up to print to the selected printer by default. When you print the report in question, you can select a different printer by using the Print field on the request page.
If you don't set up a report for a specific printer on the Printer Selections page, then it will be printed to the default printer of the company, as defined from the Printer Management page.
You or the administrator can also use the Printer Selections page to define other variations of printing for users and reports.
Cloud printing is designed for documents of a reasonable size. Most cloud services, including PrintNode and HP ePrint, have a limit of 10 MB for each job. If you need to print larger reports, you might need to split them into multiple printouts.