Note
Access to this page requires authorization. You can try signing in or changing directories.
Access to this page requires authorization. You can try changing directories.
Introduction
After you've configured API-driven inbound provisioning app, you need to grant access permissions so that API clients can send requests to the provisioning /bulkUpload API and query the provisioning logs API. This tutorial walks you through the steps to configure these permissions.
Depending on how your API client authenticates with Microsoft Entra ID, you can select between two configuration options:
- Configure a service principal: Follow these instructions if your API client plans to use a service principal of a Microsoft Entra registered app and authenticate using OAuth client credentials grant flow.
- Configure a managed identity: Follow these instructions if your API client plans to use a Microsoft Entra managed identity.
Configure a service principal
This configuration registers an app in Microsoft Entra ID that represents the external API client and grants it permission to invoke the inbound provisioning API. The service principal client ID and client secret can be used in the OAuth client credentials grant flow.
- Log in to Microsoft Entra admin center (https://entra.microsoft.com) with at least Application Administrator login credentials.
- Browse to Entra ID > App registrations.
- Click on the option New registration.
- Provide an app name, select the default options, and click on Register.
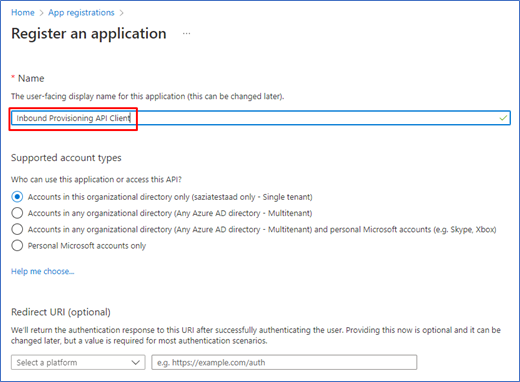
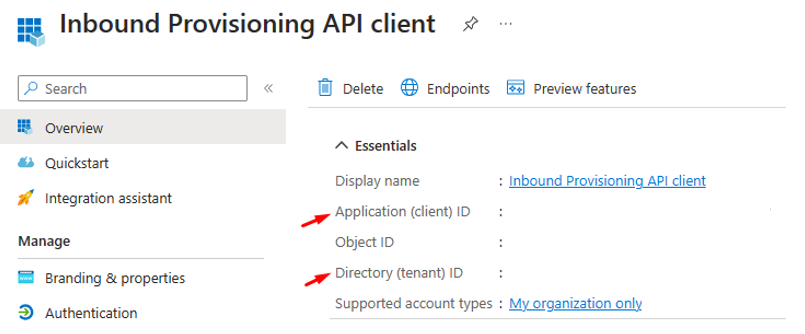
- Copy the Application (client) ID and Directory (tenant) ID values from the Overview blade and save it for later use in your API client.
- In the context menu of the app, select Certificates & secrets option.
- Create a new client secret. Provide a description for the secret and expiry date.
- Copy the generated value of the client secret and save it for later use in your API client.
- From the context menu API permissions, select the option Add a permission.
- Under Request API permissions, select Microsoft Graph.
- Select Application permissions.
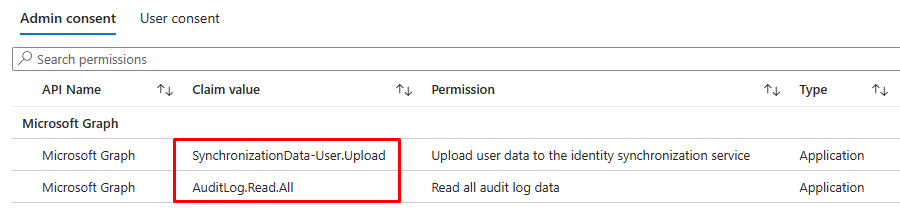
- Search and select permissions ProvisioningLog.Read.All and SynchronizationData-User.Upload.
Note
If you're configuring the service principal for use by an HR ISV that will instantiate the API-driven provisioning app in your tenant, consider granting the
Application.ReadWrite.OwnedByandSynchronizationData-User.Upload.OwnedByapplication permissions. This ensures that the ISV can only upload data to the/bulkUploadAPI endpoint associated with the app it creates. - Click on Grant admin consent on the next screen to complete the permission assignment. Click Yes on the confirmation dialog. Your app should have the following permission sets.

- You're now ready to use the service principal with your API client.
- For production workloads, we recommend using client certificate-based authentication with the service principal or managed identities.


Configure a managed identity
This section describes how you can assign the necessary permissions to a managed identity.
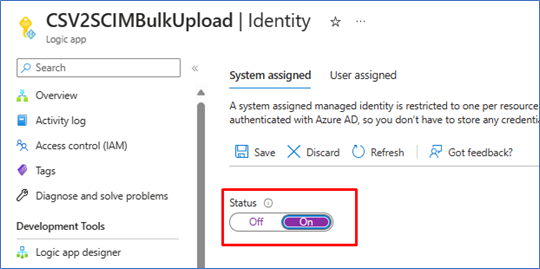
Configure a managed identity for use with your Azure resource.
Copy the name of your managed identity from the Microsoft Entra admin center. For example: The screenshot below shows the name of a system assigned managed identity associated with an Azure Logic Apps workflow called "CSV2SCIMBulkUpload".
Run the following PowerShell script to assign permissions to your managed identity.
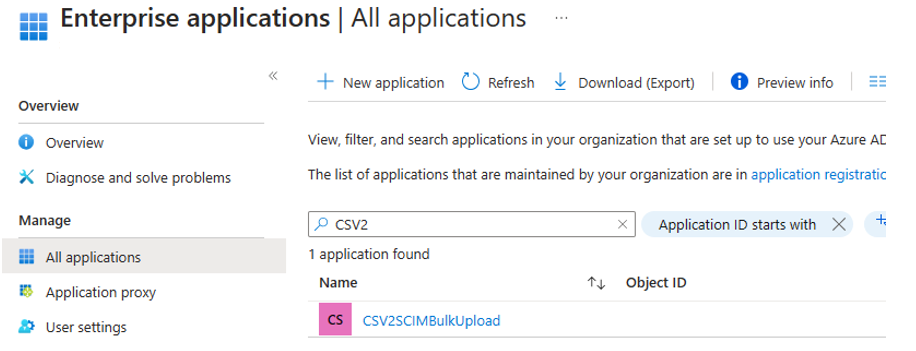
Install-Module Microsoft.Graph -Scope CurrentUser

Connect-MgGraph -Scopes "Application.Read.All","AppRoleAssignment.ReadWrite.All,RoleManagement.ReadWrite.Directory"
$graphApp = Get-MgServicePrincipal -Filter "AppId eq '00000003-0000-0000-c000-000000000000'"

$PermissionName = "SynchronizationData-User.Upload"
$AppRole = $graphApp.AppRoles | `
Where-Object {$_.Value -eq $PermissionName -and $_.AllowedMemberTypes -contains "Application"}
$managedID = Get-MgServicePrincipal -Filter "DisplayName eq 'CSV2SCIMBulkUpload'"
New-MgServicePrincipalAppRoleAssignment -PrincipalId $managedID.Id -ServicePrincipalId $managedID.Id -ResourceId $graphApp.Id -AppRoleId $AppRole.Id

$PermissionName = "ProvisioningLog.Read.All"
$AppRole = $graphApp.AppRoles | `
Where-Object {$_.Value -eq $PermissionName -and $_.AllowedMemberTypes -contains "Application"}
$managedID = Get-MgServicePrincipal -Filter "DisplayName eq 'CSV2SCIMBulkUpload'"
New-MgServicePrincipalAppRoleAssignment -PrincipalId $managedID.Id -ServicePrincipalId $managedID.Id -ResourceId $graphApp.Id -AppRoleId $AppRole.Id
To confirm that the permission was applied, find the managed identity service principal under Enterprise Applications in Microsoft Entra ID. Remove the Application type filter to see all service principals.
Click on the Permissions blade under Security. Ensure the permission is set.
You're now ready to use the managed identity with your API client.


