Connect hybrid machines to Azure from Automation Update Management
You can enable Azure Arc-enabled servers for one or more of your Windows or Linux virtual machines or physical servers hosted on-premises or other cloud environment that are managed with Azure Automation Update Management. This onboarding process automates the download and installation of the Connected Machine agent. To connect the machines to Azure Arc-enabled servers, a Microsoft Entra service principal is used instead of your privileged identity to interactively connect the machine. This service principal is created automatically as part of the onboarding process for these machines.
Before you get started, be sure to review the prerequisites and verify that your subscription and resources meet the requirements. For information about supported regions and other related considerations, see supported Azure regions.
If you don't have an Azure subscription, create a free account before you begin.
Automatic connection for SQL Server
When you connect a Windows or Linux server to Azure Arc that also has Microsoft SQL Server installed, the SQL Server instances will automatically be connected to Azure Arc as well. SQL Server enabled by Azure Arc provides a detailed inventory and additional management capabilities for your SQL Server instances and databases. As part of the connection process, an extension is deployed to your Azure Arc-enabled server and new roles will be applied to your SQL Server and databases. If you don't want to automatically connect your SQL Servers to Azure Arc, you can opt out by adding a tag to the Windows or Linux server with the name ArcSQLServerExtensionDeployment and value Disabled when it's connected to Azure Arc.
For more information, see Manage automatic connection for SQL Server enabled by Azure Arc.
How it works
When the onboarding process is launched, an Active Directory service principal is created in the tenant.
To install and configure the Connected Machine agent on the target machine, a master runbook named Add-UMMachinesToArc runs in the Azure sandbox. Based on the operating system detected on the machine, the master runbook calls a child runbook named Add-UMMachinesToArcWindowsChild or Add-UMMachinesToArcLinuxChild that runs under the system Hybrid Runbook Worker role directly on the machine. Runbook job output is written to the job history, and you can view their status summary or drill into details of a specific runbook job in the Azure portal or using Azure PowerShell. Execution of runbooks in Azure Automation writes details in an activity log for the Automation account. For details of using the log, see Retrieve details from Activity log.
The final step establishes the connection to Azure Arc using the azcmagent command using the service principal to register the machine as a resource in Azure.
Prerequisites
This method requires that you are a member of the Automation Job Operator role or higher so you can create runbook jobs in the Automation account.
If you have enabled Azure Policy to manage runbook execution and enforce targeting of runbook execution against a Hybrid Runbook Worker group, this policy must be disabled. Otherwise, the runbook jobs that onboard the machine(s) to Arc-enabled servers will fail.
Add machines from the Azure portal
Perform the following steps to configure the hybrid machine with Arc-enabled servers. The server or machine must be powered on and online in order for the process to complete successfully.
From your browser, go to the Azure portal.
Navigate to the Machines - Azure Arc page, select Add/Create, and then select Add a machine from the drop-down menu.
On the Add servers with Azure Arc page, select Add servers from the Add managed servers from Update Management tile.
On the Resource details page, configure the following:
- Select the Subscription and Resource group where you want the server to be managed within Azure.
- In the Region drop-down list, select the Azure region to store the servers metadata.
- If the machine is communicating through a proxy server to connect to the internet, specify the proxy server IP address or the name and port number that the machine will use to communicate with the proxy server. Enter the value in the format
http://<proxyURL>:<proxyport>. - Select Next.
On the Servers page, select Add Servers, then select the Subscription and Automation account from the drop-down list that has the Update Management feature enabled and includes the machines you want to onboard to Azure Arc-enabled servers.
After specifying the Automation account, the list below returns non-Azure machines managed by Update Management for that Automation account. Both Windows and Linux machines are listed and for each one, select add.
You can review your selection by selecting Review selection and if you want to remove a machine select remove from under the Action column.
Once you confirm your selection, select Next.
On the Tags page, specify one or more Name/Value pairs to support your standards. Select Next: Review + add.
On the Review _ add page, review the summary information, and then select Add machines. If you still need to make changes, select Previous.
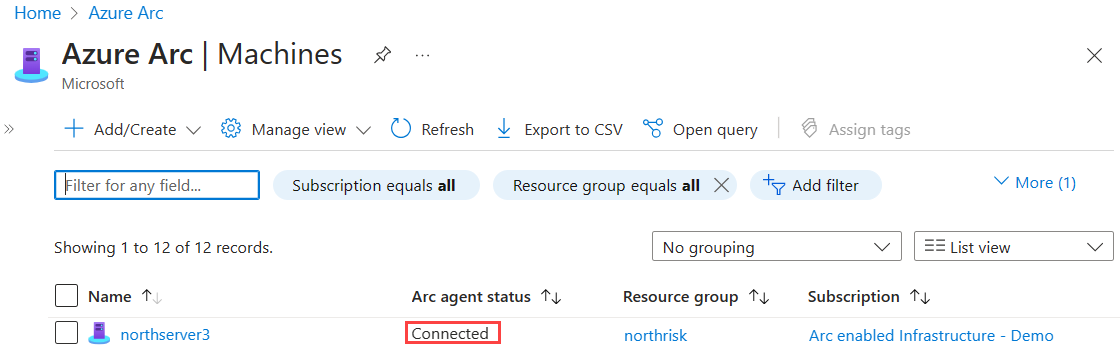
Verify the connection with Azure Arc
After the agent is installed and configured to connect to Azure Arc-enabled servers, go to the Azure portal to verify that the server has successfully connected. View your machines in the Azure portal.
Next steps
Troubleshooting information can be found in the Troubleshoot Connected Machine agent guide.
Review the Planning and deployment guide to plan for deploying Azure Arc-enabled servers at any scale and implement centralized management and monitoring.
Learn how to manage your machine using Azure Policy, for such things as VM guest configuration, verify the machine is reporting to the expected Log Analytics workspace, enable monitoring with VM insights, and much more.
Feedback
Coming soon: Throughout 2024 we will be phasing out GitHub Issues as the feedback mechanism for content and replacing it with a new feedback system. For more information see: https://aka.ms/ContentUserFeedback.
Submit and view feedback for