Note
Access to this page requires authorization. You can try signing in or changing directories.
Access to this page requires authorization. You can try changing directories.
Cross-zone replication enables you to replicate volumes across availability zones within the same region. It enables you to fail over your critical application if a zonal outage or disaster occurs.
For information about availability zones, see Use availability zone volume placement for application high availability with Azure NetApp Files and Manage availability zone volume placement for Azure NetApp Files.
Requirements
Before you begin, you should review the requirements and considerations for cross-zone replication.
Create the source volume with an availability zone
This process requires that your account is subscribed to the availability zone volume placement feature.
Select Volumes from your capacity pool. Then select + Add volume to create a volume.
For details about volume creation, refer to:
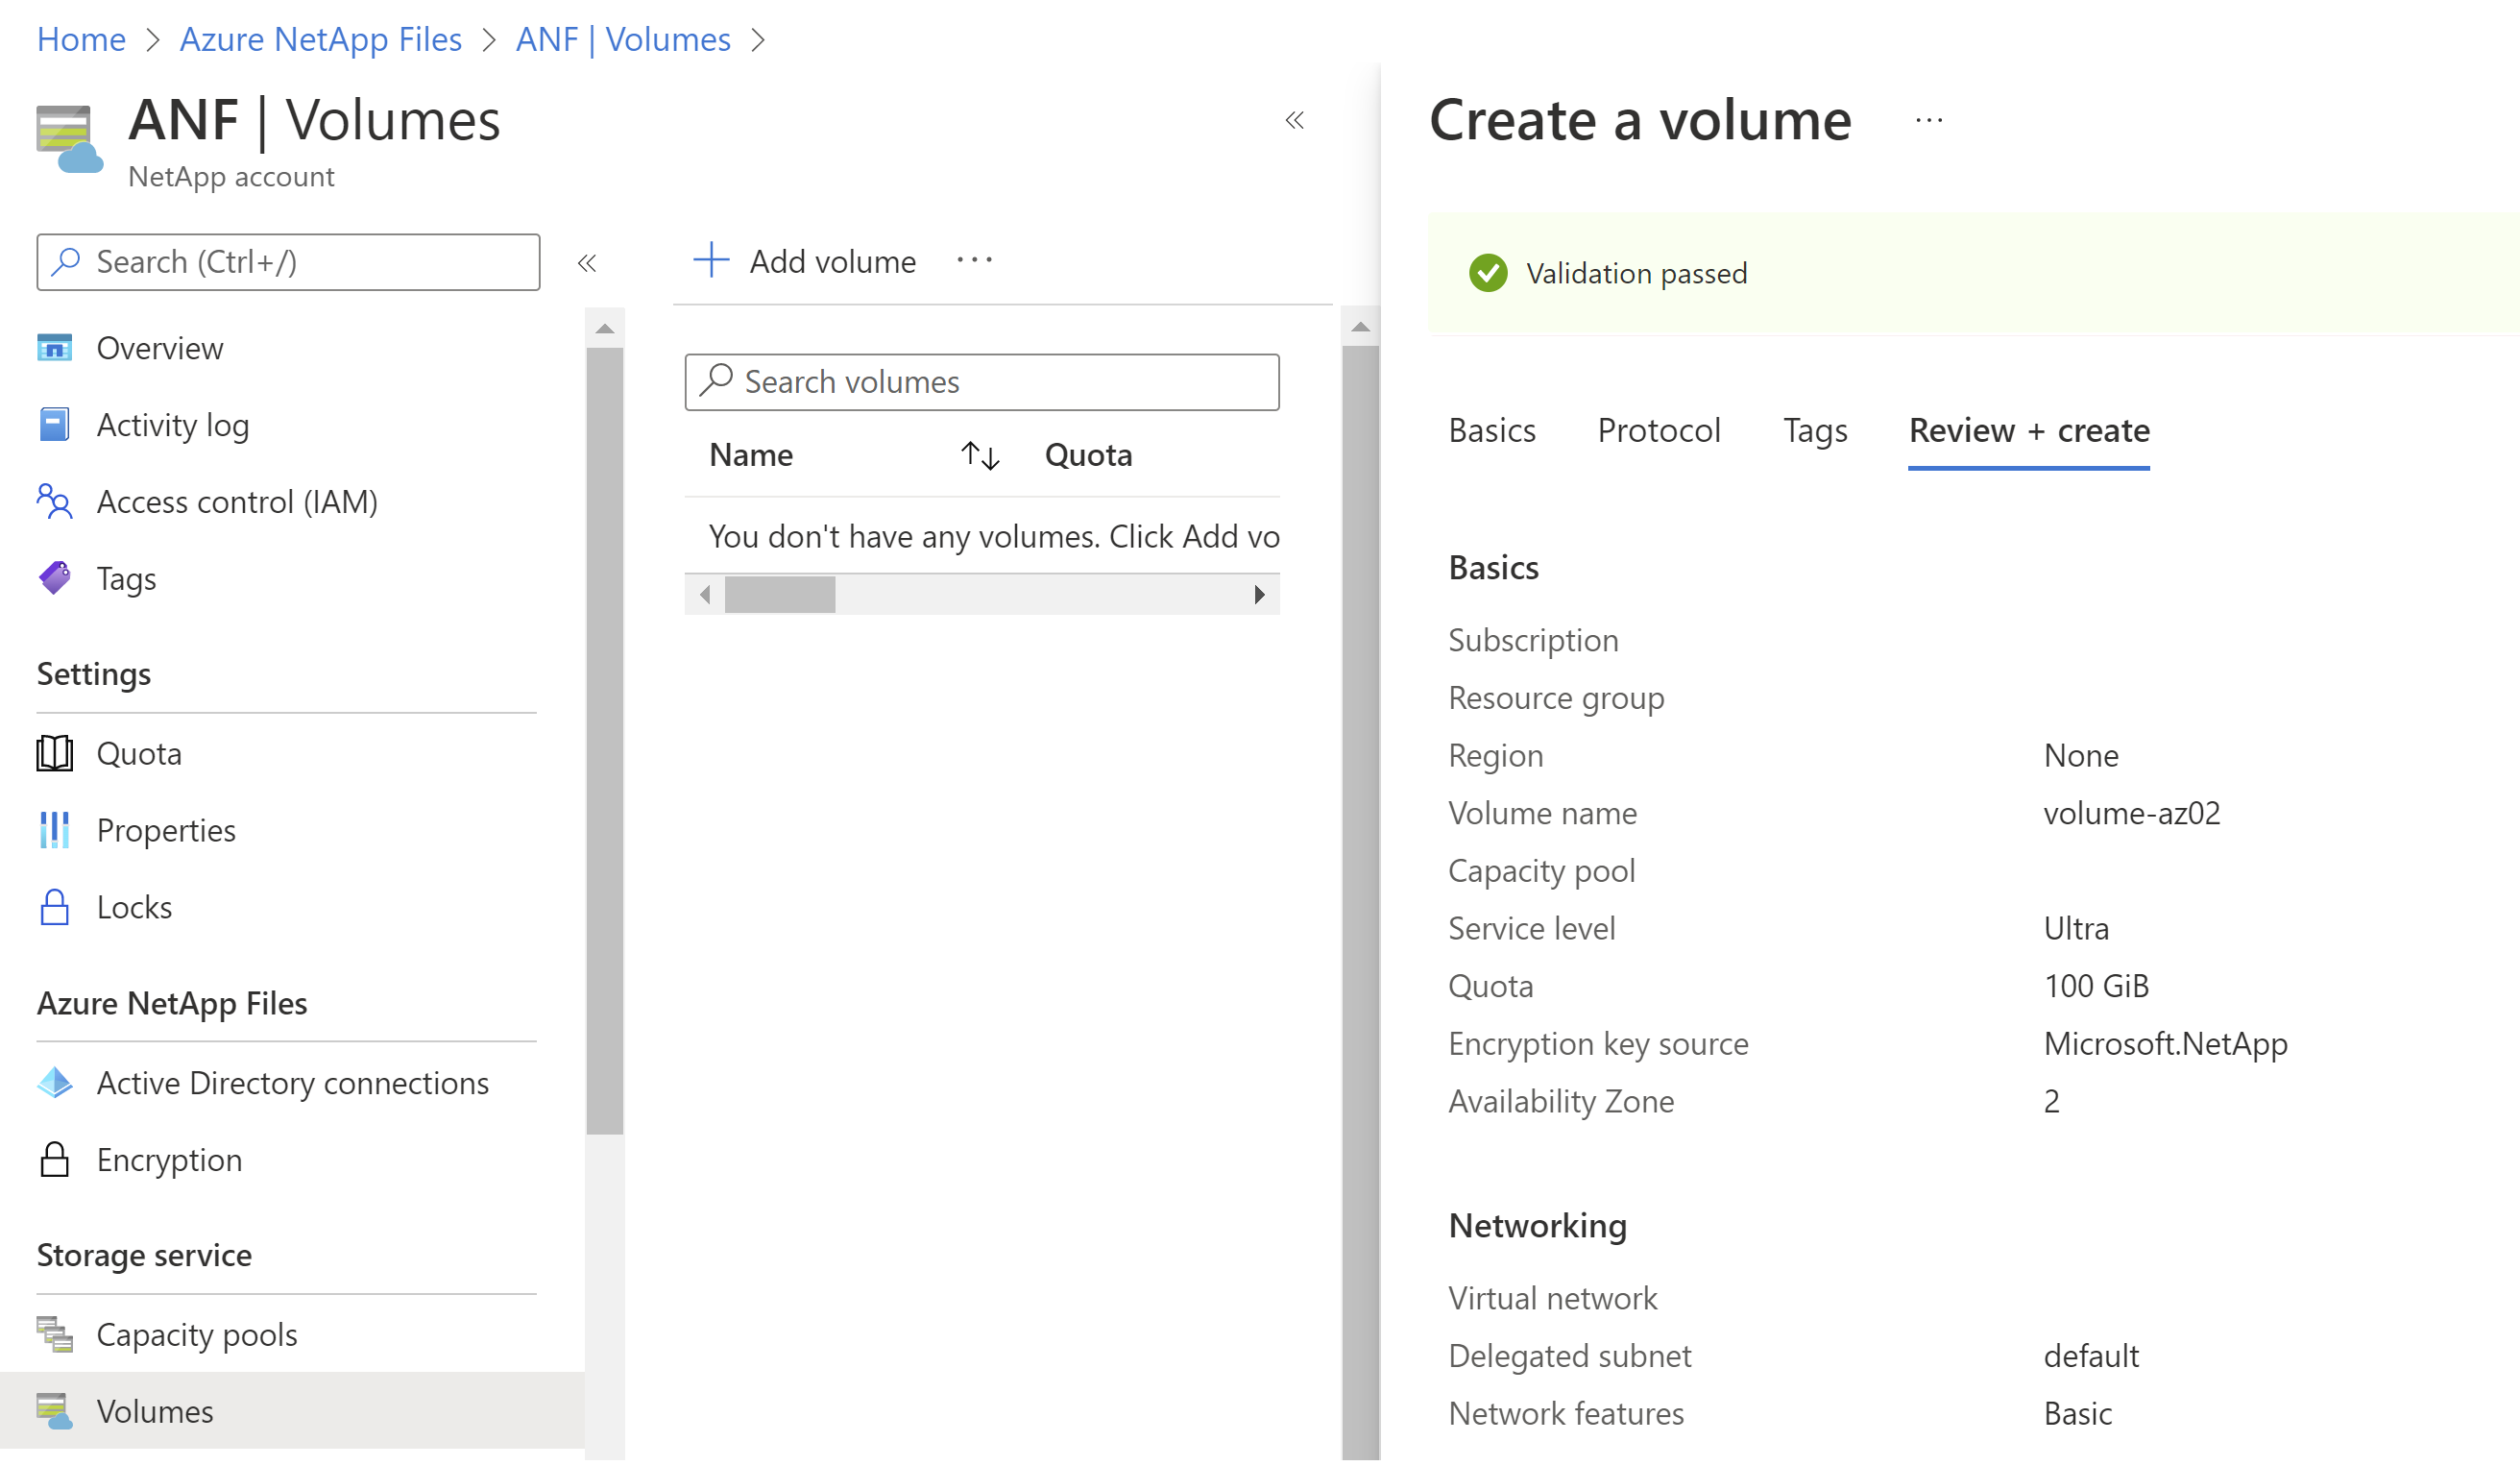
In the Create a Volume page, under the Basic tab, select the Availability Zone pulldown menu to specify an availability zone where Azure NetApp Files resources are present.
Important
Logical availability zones for the subscription without Azure NetApp Files presence are marked
(Unavailable)and are greyed out.
Follow the steps indicated in the interface to create the volume. The Review + Create page shows the selected availability zone you specified.
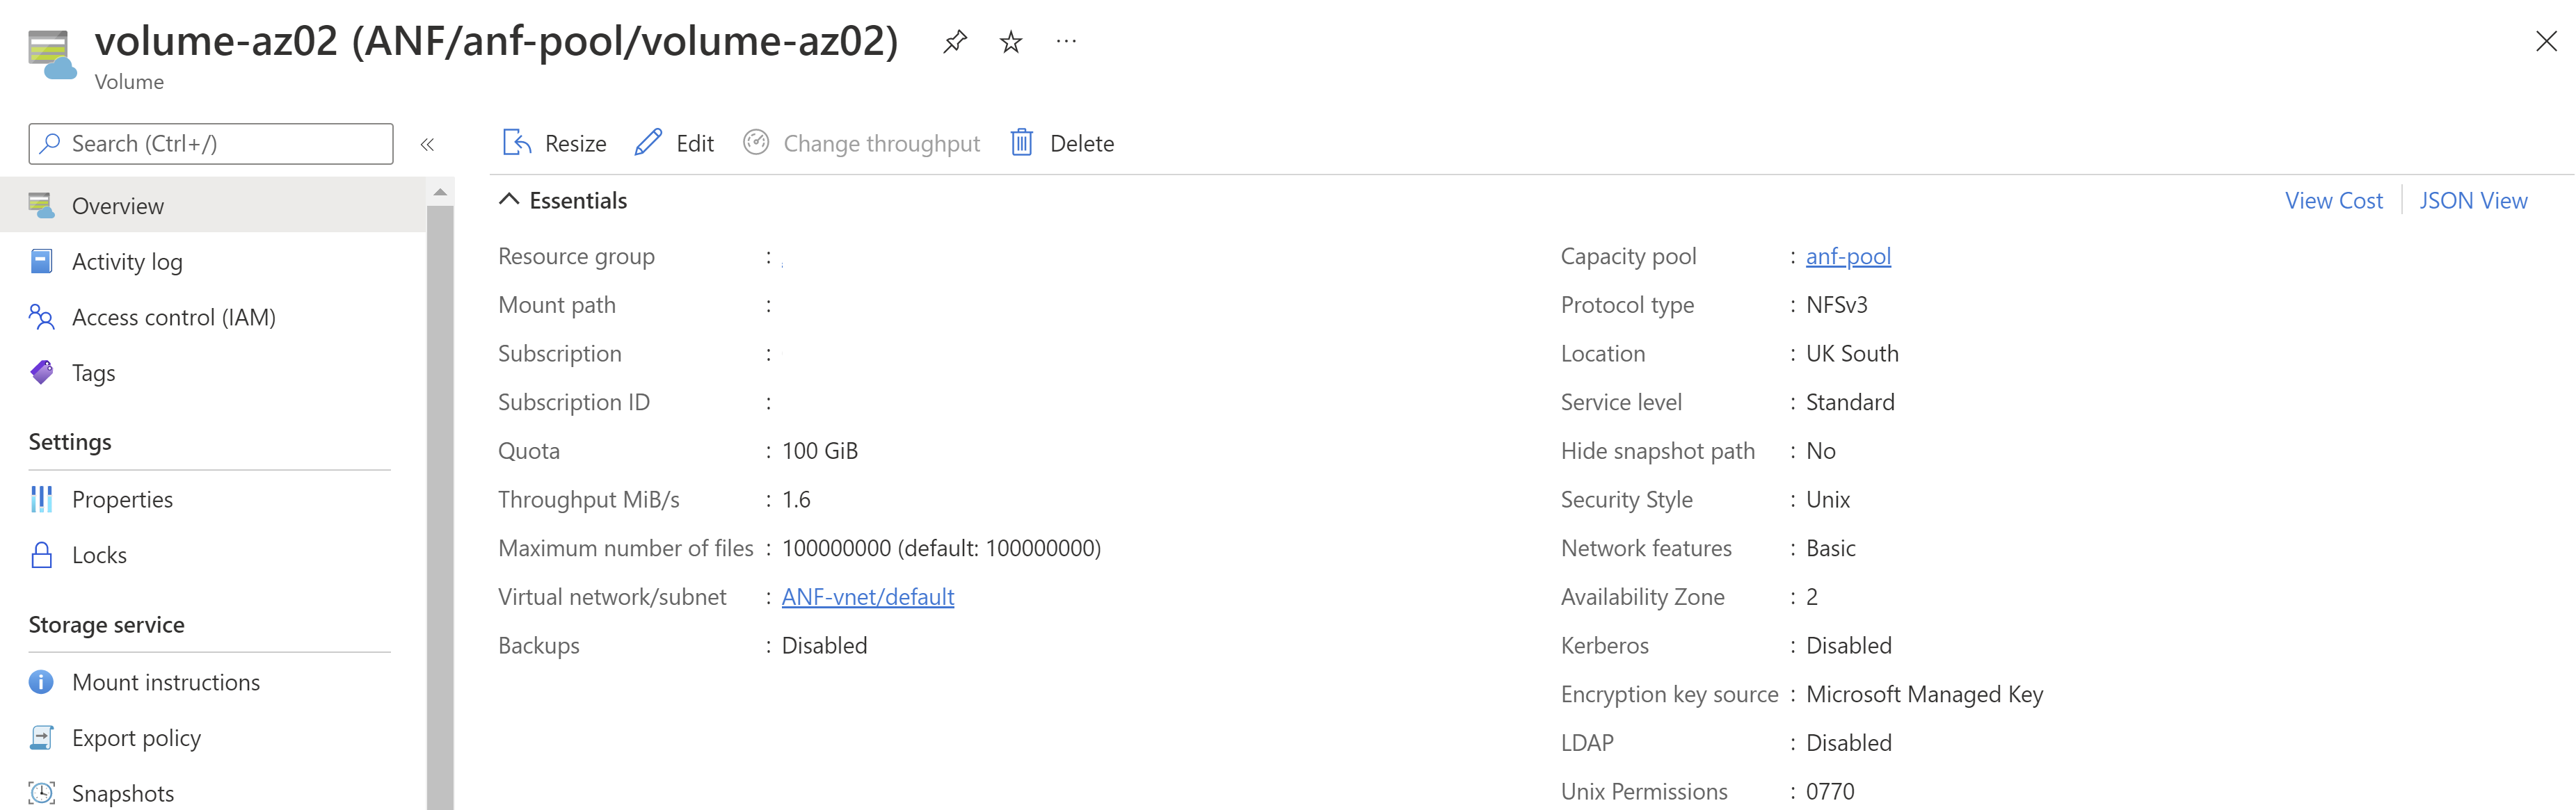
After you create the volume, the Volume Overview page includes availability zone information for the volume.


Create the data replication volume in another availability zone of the same region
Create the data replication volume (the destination volume) in another availability zone, but in the same region as the source volume. In the Basics tab of the Create a new protection volume page, select an available availability zone.
Important
Logical availability zones for the subscription without Azure NetApp Files presence are marked (Unavailable) and are greyed out.

Complete cross-zone replication configuration
Follow the same workflow as cross-region replication to complete cross-zone replication configuration: