Note
Access to this page requires authorization. You can try signing in or changing directories.
Access to this page requires authorization. You can try changing directories.
You can use Classification to classify your documents into predefined categories with AI.
Examples of classification include:
- Classifying customer call transcripts by intent
- Classifying documents by content type
- Classifying product reviews by sentiment
Classification is built on top of the AI function, ai_classify. The Agents page provides a UI interface to quickly classify documents and unstructured text and iterate on classification fields for better results.
Requirements
- A workspace that includes the following:
- Serverless compute enabled. See Serverless compute requirements.
- Unity Catalog enabled. See Enable a workspace for Unity Catalog.
- Access to a serverless usage policy with a nonzero budget.
- This function is only available in some regions, see AI function availability.
- For workspaces with the Enhanced Security and Compliance add-on,
- See regional support for
ai_classifyfor the appropriate compliance standard. - See Manage Azure Databricks previews for how to enable it on your workspace.
- See regional support for
- Ability to use the
ai_classifySQL function. - Unstructured data that you want to classify. The data must be in a Unity Catalog volume or table.
- To build your agent, you need at least 1 unlabeled document in your Unity Catalog volume or 1 row in your table.
Create a classification agent
Go to ![]() Agents in the left navigation pane of your workspace. Click Create Agent, and select Text Classification.
Agents in the left navigation pane of your workspace. Click Create Agent, and select Text Classification.
Step 1. Select your source data
Use Classification to classify your documents.
Select your source data. You can select a volume with documents or a table with text data.
Click Create Agent.
Step 2. Configure classification labels
After Classification processes your data, configure and refine your classification labels.
To add classification labels manually:
- Click + Add label to add a classification label.
- Enter the label name and optional description, then click Add label.
- Repeat 1-2 for each label you want to add.
- (Optional) Enable Multiple labels if you want the agent to return more than one label.
To import labels from a table:
- Click Import from table.
- Select the table and click Next.
- Select the label column, description column, and SQL warehouse.
- Click Preview to see the labels that are imported.
- If you're happy with the labels, click Import and replace labels.
You must have at least two labels defined to run classification. After you've finished adding your labels, click Save and Run Classification.
Classification classifies up to 5 documents and rows and displays the results. You can add more as well.
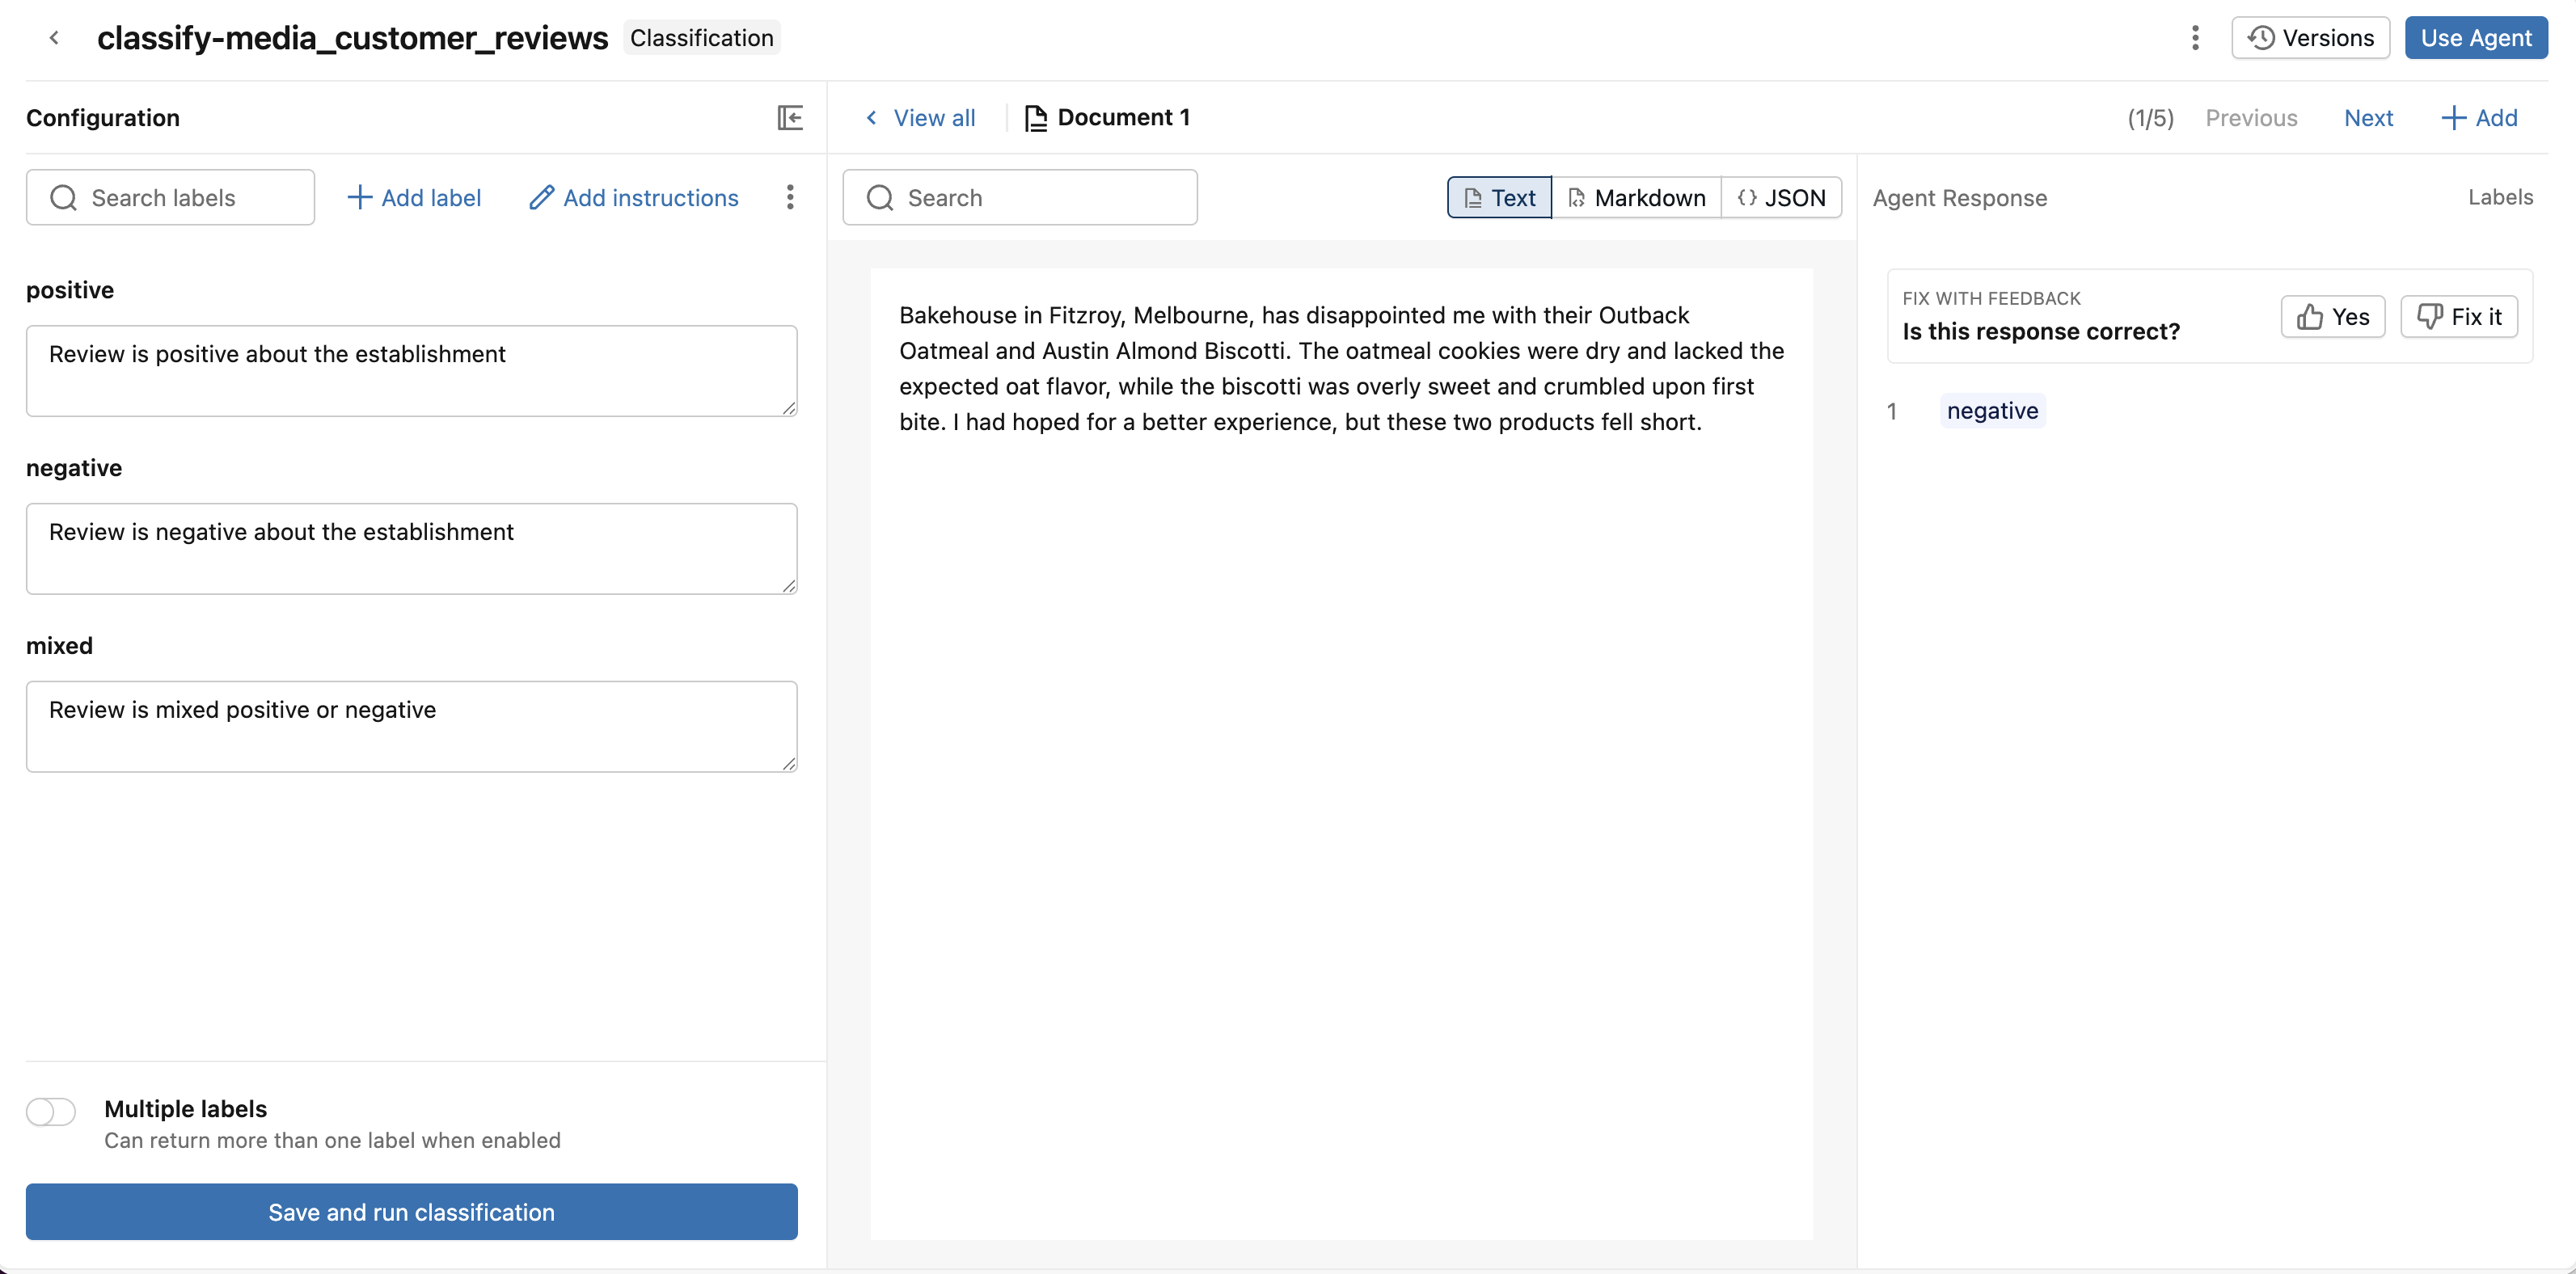
Step 3. Review and improve classification responses
Review the classification responses and give feedback to improve the agent.
Review the document and classification response:
- If the response is correct, give it a thumbs up.
- If the response is incorrect, give it a thumbs down. Help Classification fix the response by selecting the correct label. Click Save.
To improve the agent's responses, adjust the classification label descriptions.
Compare versions to optimize the agent's performance. Click Versions. Next to a previous version, click Compare to compare the classification label descriptions of a previous version with the current version. Click Restore to restore a previous version.
Step 4. Use the classification agent
If you're happy with the responses, start using the agent for classification at scale.
Click Use Agent in the upper-right. You can choose either:
- Run in SQL to use the agent to classify your entire volume or table. This opens a SQL query that uses
ai_classifyusing the classification labels you defined. For more information on usingai_classifyin SQL queries, seeai_classifyfunction. - Create a Spark Declarative Pipeline to deploy an ETL pipeline that runs on scheduled intervals to invoke your agent on new data. This creates Lakeflow Spark Declarative Pipelines that updates a streaming table with your classified data. You can configure the pipeline's schedule so that it runs when new data arrives. For more information on Lakeflow Spark Declarative Pipelines, see Lakeflow Spark Declarative Pipelines.
Limitations
See Limitations