Tutorial: Configure Azure Active Directory B2C with Azure Web Application Firewall
Learn how to enable the Azure Web Application Firewall (WAF) service for an Azure Active Directory B2C (Azure AD B2C) tenant, with a custom domain. WAF protects web applications from common exploits and vulnerabilities.
Note
This feature is in public preview.
See, What is Azure Web Application Firewall?
Prerequisites
To get started, you need:
- An Azure subscription
- If you don't have one, get an Azure free account
- An Azure AD B2C tenant – authorization server that verifies user credentials using custom policies defined in the tenant
- Also known as the identity provider (IdP)
- See, Tutorial: Create an Azure Active Directory B2C tenant
- Azure Front Door (AFD) – enables custom domains for the Azure AD B2C tenant
- WAF – manages traffic sent to the authorization server
Custom domains in Azure AD B2C
To use custom domains in Azure AD B2C, use the custom domain features in AFD. See, Enable custom domains for Azure AD B2C.
Important
After you configure the custom domain, see Test your custom domain.
Enable WAF
To enable WAF, configure a WAF policy and associate it with the AFD for protection.
Create a WAF policy
Create a WAF policy with Azure-managed default rule set (DRS). See, Web Application Firewall DRS rule groups and rules.
- Sign in to the Azure portal.
- Select Create a resource.
- Search for Azure WAF.
- Select Azure Web Application Firewall (WAF).
- Select Create.
- Go to the Create a WAF policy page.
- Select the Basics tab.
- For Policy for, select Global WAF (Front Door).
- For Front Door SKU, select between Basic, Standard, or Premium SKU.
- For Subscription, select your Front Door subscription name.
- For Resource group, select your Front Door resource group name.
- For Policy name, enter a unique name for your WAF policy.
- For Policy state, select Enabled.
- For Policy mode, select Detection.
- Select Review + create.
- Go to the Association tab of the Create a WAF policy page.
- Select + Associate a Front Door profile.
- For Front Door, select your Front Door name associated with Azure AD B2C custom domain.
- For Domains, select the Azure AD B2C custom domains to associate the WAF policy to.
- Select Add.
- Select Review + create.
- Select Create.
Detection and Prevention modes
When you create WAF policy, the policy is in Detection mode. We recommend you don't disable Detection mode. In this mode, WAF doesn't block requests. Instead, requests that match the WAF rules are logged in the WAF logs.
Learn more: Azure Web Application Firewall monitoring and logging
The following query shows the requests blocked by the WAF policy in the past 24 hours. The details include, rule name, request data, action taken by the policy, and the policy mode.


Review the WAF logs to determine if policy rules cause false positives. Then, exclude the WAF rules based on the WAF logs.
Learn more: Define exclusion rules based on Web Application Firewall logs
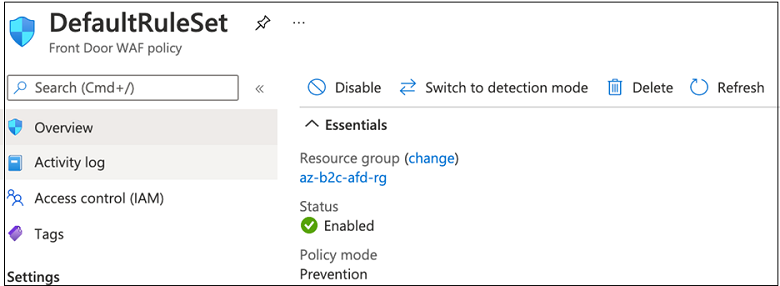
Switching modes
To see WAF operating, select Switch to prevention mode, which changes the mode from Detection to Prevention. Requests that match the rules in the DRS are blocked and logged in the WAF logs.

To revert to Detection mode, select Switch to detection mode.
Next steps
Обратна връзка
Очаквайте скоро: През цялата 2024 г. постепенно ще отстраняваме проблемите в GitHub като механизъм за обратна връзка за съдържание и ще го заменим с нова система за обратна връзка. За повече информация вижте: https://aka.ms/ContentUserFeedback.
Подаване и преглед на обратна връзка за