Search for packages in upstream sources
Azure DevOps Services | Azure DevOps Server 2022
Using upstream sources enable developers to consume packages from different feeds and public registries. This tutorial will walk you through how to enable upstream sources in your feed and search for packages in upstreams.
Enable upstream sources
Navigate to your project, and then select Artifacts.
Select the gear icon
 to navigate to your Feed Settings.
Select Upstream Sources.
Select Add Upstream.
Select Public source, and then select the Public source. (Example NuGet gallery (https://api.nuget.org/v3/index.json))
Select Add when you're done.
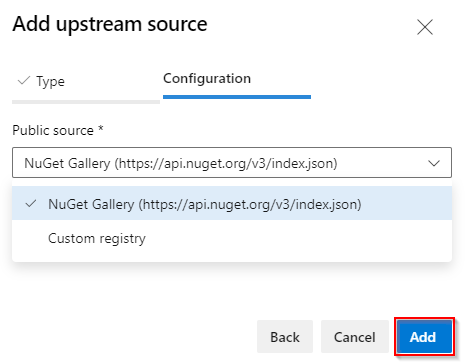
Search upstream sources
Navigate to your project, and then select Artifacts.
Select your feed from the dropdown menu.
Select Search Upstream Sources at the top right of your screen.

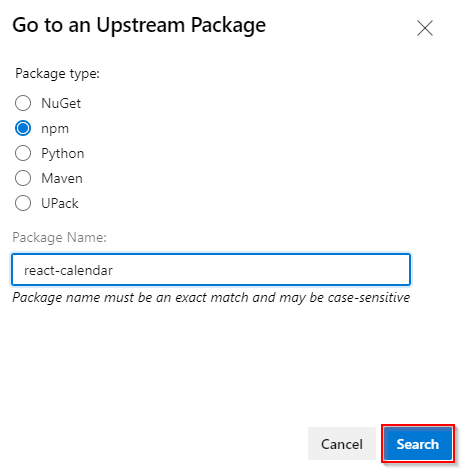
Select the Package type and type your Package Name. (The package name is case sensitive and must be an exact match).
Select Search when you're done.
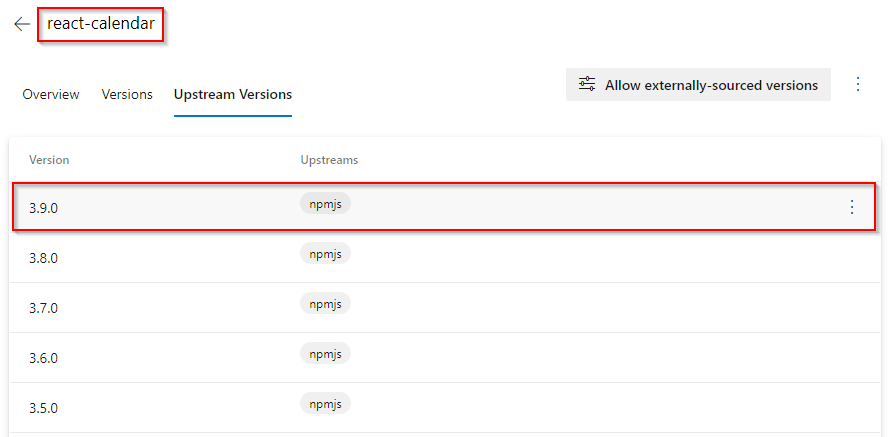
A list of package versions will be displayed as follows:
Note
Searching for packages in upstream sources from your feed is only supported in Azure DevOps services.
Save packages
To save a package, select the ellipsis button and then select Save to feed.
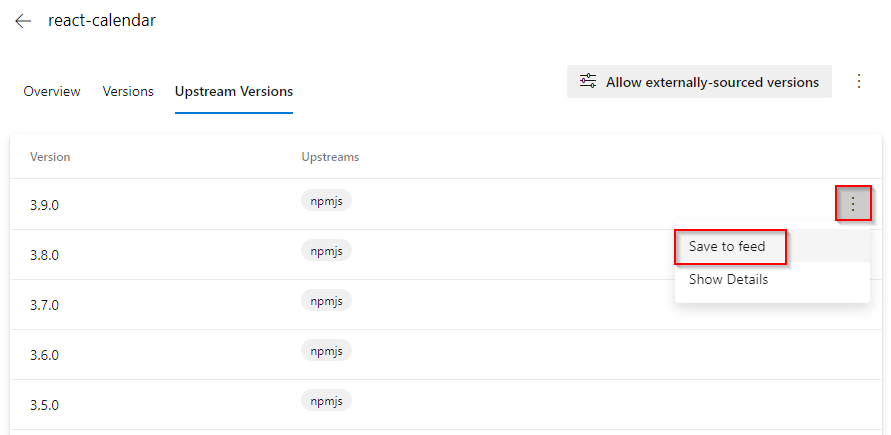
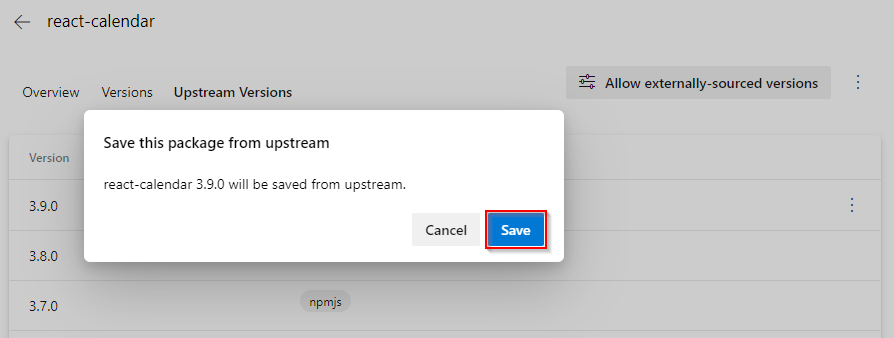
Select Save to save the package to your feed.
The saved versions will have the
In this feedtag.
Note
Saving package versions to your feed from the search upstreams result list is only supported for NuGet, Npm, and Universal Packages.