Choose or remove columns
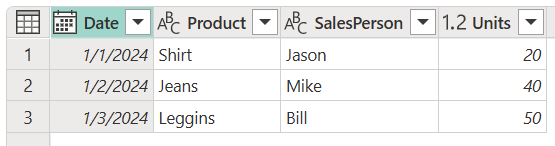
At times, you might need to choose between the columns in a table you want to keep and the columns you want to remove. You can accomplish this task by either choosing the columns to keep, or choosing the columns to remove. Choose columns and Remove columns are operations that help you define what columns your table needs to keep and which ones it needs to remove. This article showcases how to use the Choose columns and Remove columns commands by using the following sample table for both operations.

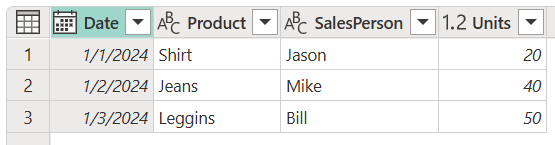
The goal is to create a table that contains only the date, product, sales person, and units columns.

Choose columns
On the Home tab, in the Manage columns group, select Choose columns.
![]()
The Choose columns dialog appears, containing all the available columns in your table. You can select all the fields that you want to keep and remove specific fields by clearing their associated check box. For this example, you want to remove the GUID and Report created by columns, so you clear the check boxes for those fields.
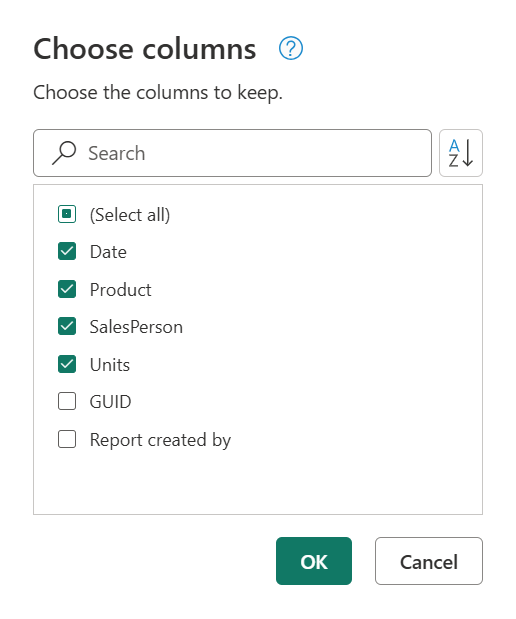
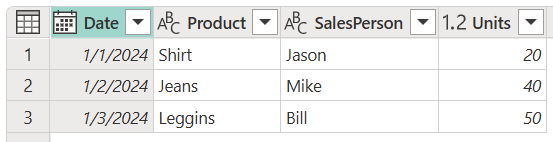
After selecting OK, you create a table that only contains the Date, Product, SalesPerson, and Units columns.
Remove columns
When you select Remove columns from the Home tab, you have two options:
- Remove columns: Removes the selected columns.
- Remove other columns: Removes all columns from the table except the selected ones.
![]()
You can also select the columns you want to remove in the table, then select and hold (or right-click) the column and choose Remove columns in the shortcut menu. This method of removing columns is demonstrated in the next section.
Remove selected columns
Starting from the sample table, select the GUID and the Report created columns. Select and hold (or right-click) either of the selected column headings. A new shortcut menu appears, where you can select the Remove columns command.
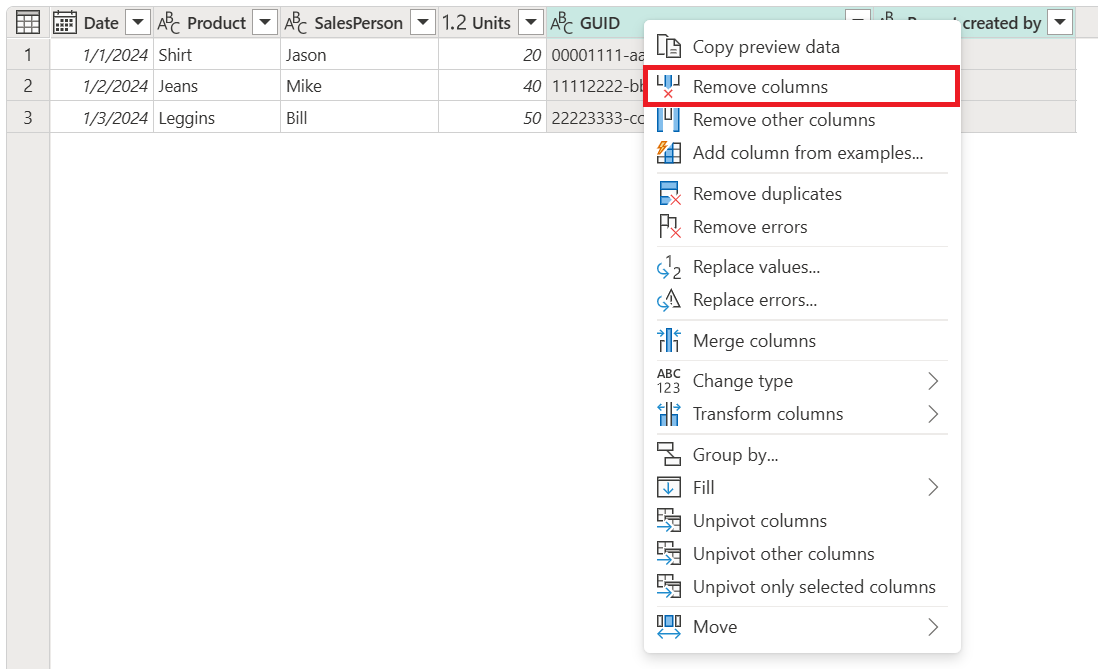
After selecting Remove columns, you create a table that only contains the Date, Product, SalesPerson, and Units columns.
Remove other columns
Starting from the sample table, select all the columns from the table except GUID and Report created. On the Home tab, select Remove columns > Remove other columns.
![]()
After selecting Remove other columns, you create a table that only contains the Date, Product, SalesPerson, and Units columns.