Add an admin role to a protected resource
Azure Pipelines requires specific permissions to a protected resource and to open access to all pipelines. For all protected resource types other than Environments, you'll need the administrator role to create a protected resource or edit its Security configuration. For Environments, you'll need the Creator role. When you don't appropriate access, the Grant access permission to all pipelines option is disabled.
Protected resources include:
- Agent pools
- Secret variables in variable groups
- Secure files
- Service connections
- Environments
- Repositories
For repository resources, see protect a repository resource.
Prerequisites
You must be a member of the Project Administrators group to update resource permissions.
Agent pools
You can add the Administrator role for a specific agent pool and for all agent pools.
To add the Administrator role for all agent pools:
Go to Project Settings > Pipelines > Agent pools.
Select Security.
Assign the Administrator role in the Role column.
To add the Administrator role to a specific agent pool:
Go to Project Settings > Pipelines > Agent pools.
Select a specific agent pool.
Select Security.
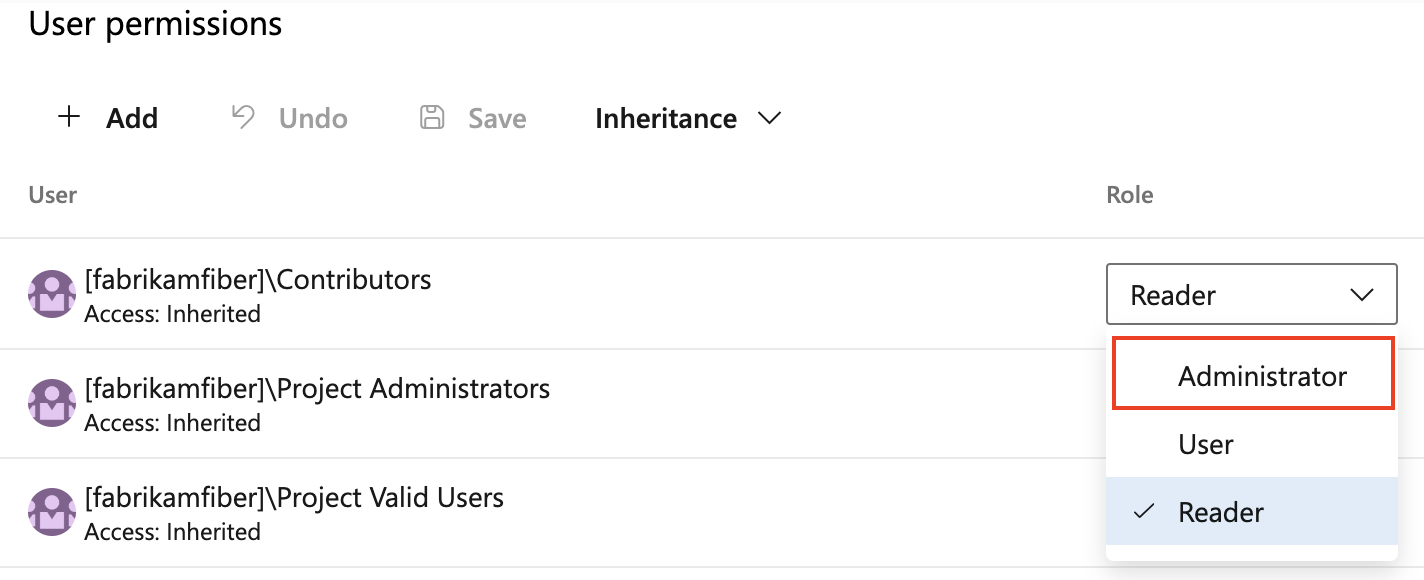
In User permissions, assign the Administrator role in the Role column.
Library resources (variable groups and secure files)
Go to Pipelines > Library.
Select Security.
Assign the Administrator role in the Role column.
Service connections
Go to Project Settings > Service connections.
Select a service connection.
Go to
 and select Security.
Assign the Administrator role.
Environments
Go to Pipelines > Environments.
Select an environment.
Go to
and select Security.Assign the Administrator role in the Role column.
Next steps
Learn more about permissions in Azure DevOps.