Note
Access to this page requires authorization. You can try signing in or changing directories.
Access to this page requires authorization. You can try changing directories.
IntelliSense is a code-completion aid that's available in different integrated development environments (IDEs), such as Visual Studio. By default, when you're developing .NET projects, the SDK only includes the English version of the IntelliSense files. This article explains:
- How to install the localized version of those files.
- How to modify the Visual Studio installation to use a different language.
Note
Localized IntelliSense files are no longer available. The latest version they're available for is .NET 5. We recommend using the English IntelliSense files.
Prerequisites
- .NET SDK.
- Visual Studio 2019 version 16.3 or a later version.
Download and install the localized IntelliSense files
Important
This procedure requires that you have administrator permission to copy the IntelliSense files to the .NET installation folder.
Go to the Download IntelliSense files page.
Download the IntelliSense file for the language and version you'd like to use.
Extract the contents of the zip file.
Navigate to the .NET Intellisense folder.
Navigate to the .NET installation folder. By default, it's under %ProgramFiles%\dotnet\packs.
Choose which SDK you want to install the IntelliSense for, and navigate to the associated path. You have the following options:
SDK type Path .NET Microsoft.NETCore.App.Ref Windows Desktop Microsoft.WindowsDesktop.App.Ref .NET Standard NETStandard.Library.Ref Navigate to the version you want to install the localized IntelliSense for. For example, 5.0.0.
Open the ref folder.
Open the moniker folder. For example, net5.0.
So, the full path that you'd navigate to would look similar to C:\Program Files\dotnet\packs\Microsoft.NETCore.App.Ref\5.0.0\ref\net5.0.
Create a subfolder inside the moniker folder you just opened. The name of the folder indicates which language you want to use. The following table specifies the different options:
Language Folder name Brazilian Portuguese pt-br Chinese (simplified) zh-hans Chinese (traditional) zh-hant French fr German de Italian it Japanese ja Korean ko Russian ru Spanish es Copy the .xml files you extracted in step 3 to this new folder. The .xml files are broken down by SDK folders, so copy them to the matching SDK you chose in step 4.
Modify Visual Studio language
For Visual Studio to use a different language for IntelliSense, install the appropriate language pack. This can be done during installation or at a later time by modifying the Visual Studio installation. If you already have Visual Studio configured to the language of your choice, your IntelliSense installation is ready.
Install the language pack
If you didn't install the desired language pack during setup, update Visual Studio as follows to install the language pack:
Important
To install, update, or modify Visual Studio, you must log on with an account that has administrator permission. For more information, see User permissions and Visual Studio.
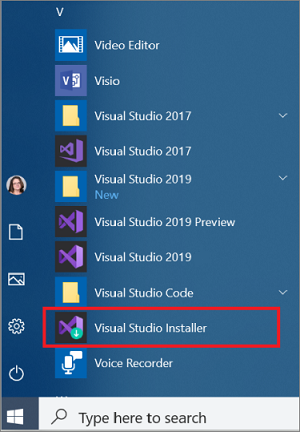
Find the Visual Studio Installer on your computer.
For example, on a computer running Windows 10, select Start, and then scroll to the letter V, where it's listed as Visual Studio Installer.
Note
You can also find the Visual Studio Installer in the following location:
C:\Program Files (x86)\Microsoft Visual Studio\Installer\vs_installer.exeYou might have to update the installer before continuing. If so, follow the prompts.
In the installer, look for the edition of Visual Studio that you want to add the language pack to, and then choose Modify.
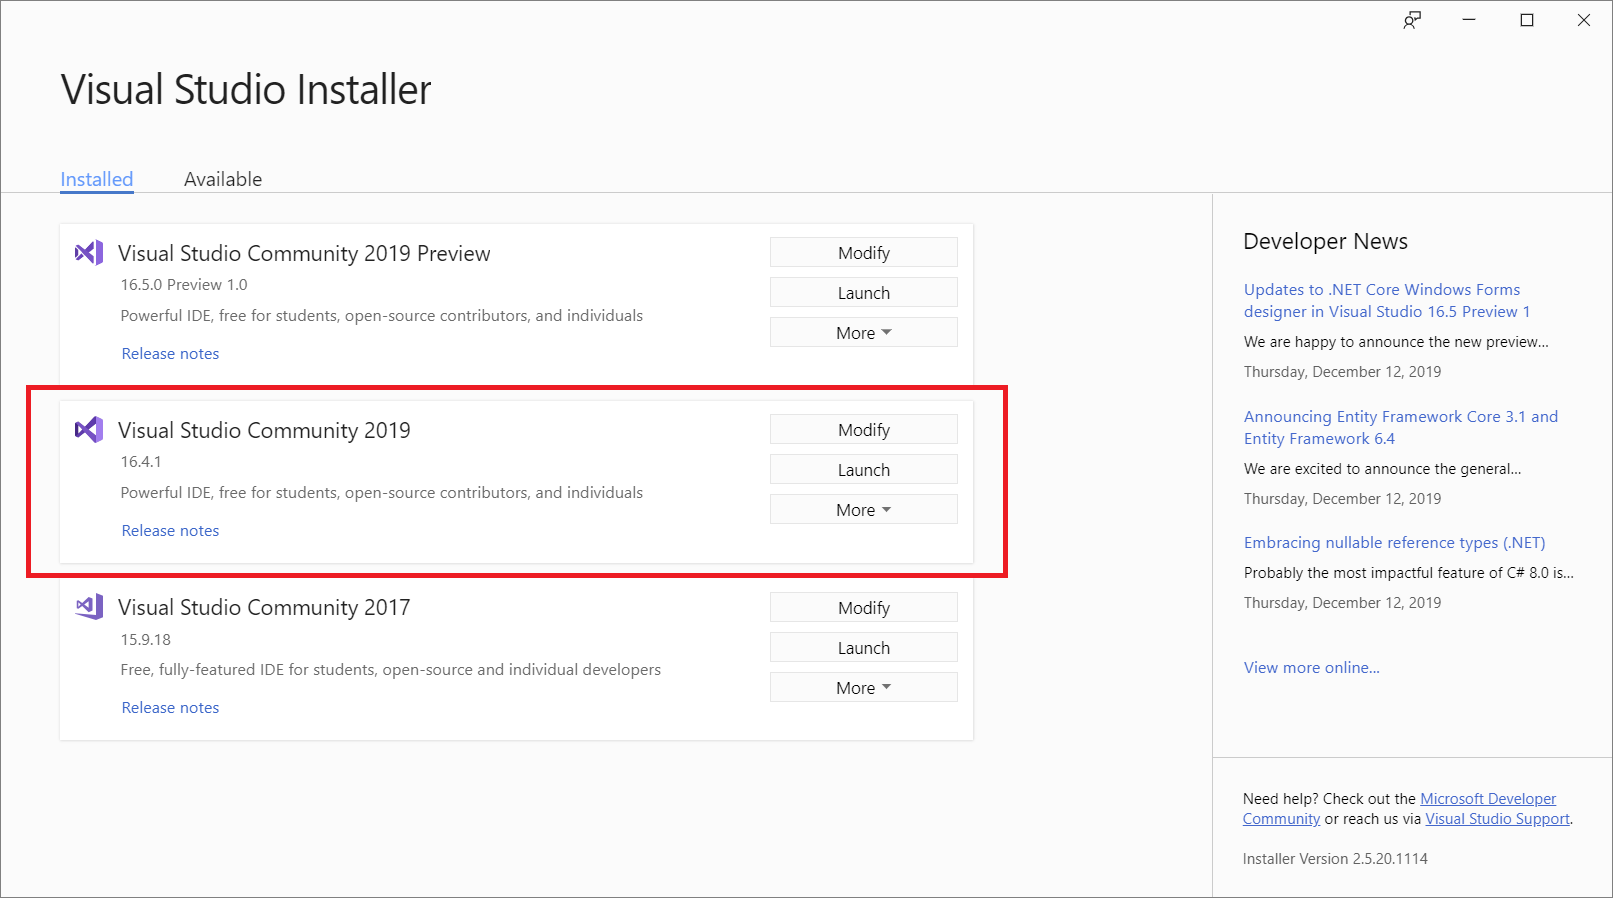
Important
If you don't see a Modify button but you see an Update one instead, you need to update your Visual Studio before you can modify your installation. After the update is finished, the Modify button should appear.
In the Language packs tab, select or deselect the languages you want to install or uninstall.
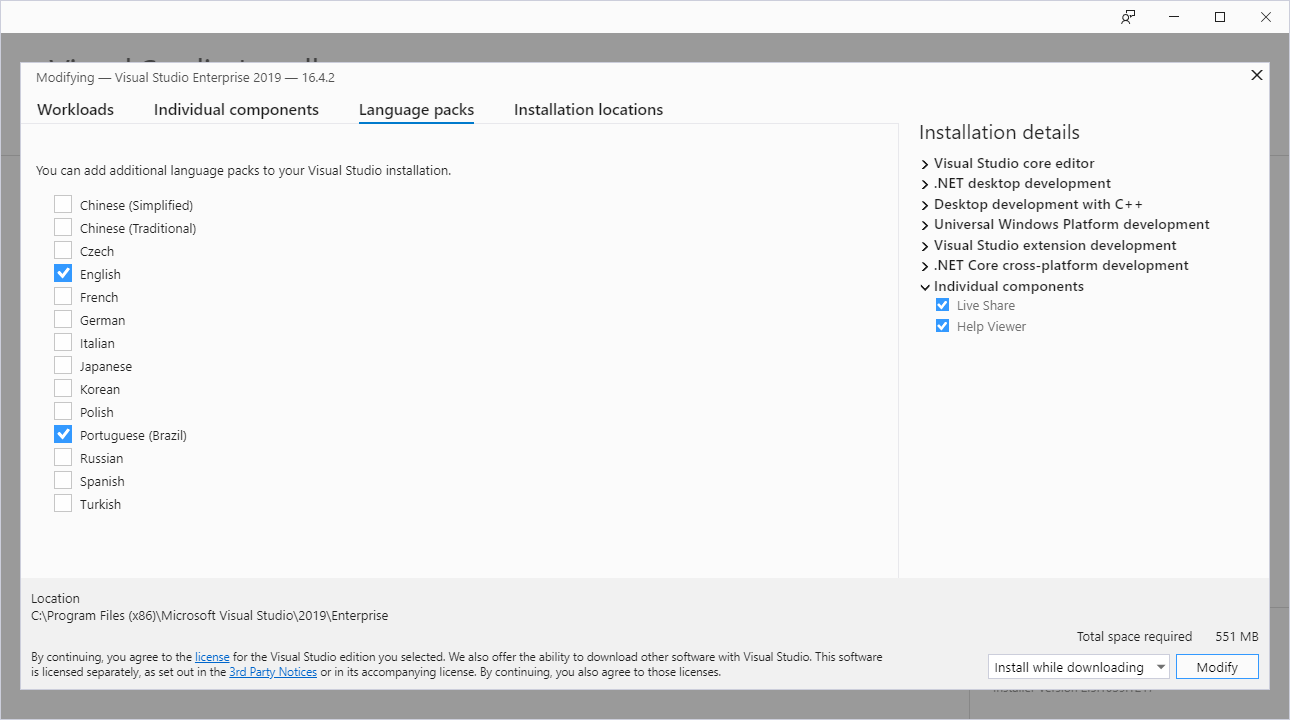
Choose Modify. The update starts.
Modify language settings in Visual Studio
Once you've installed the desired language packs, modify your Visual Studio settings to use a different language:
Open Visual Studio.
On the start window, choose Continue without code.
On the menu bar, select Tools > Options. The Options dialog opens.
Under the Environment node, choose International Settings.
On the Language drop-down, select the desired language. Choose OK.
A dialog informs you that you have to restart Visual Studio for the changes to take effect. Choose OK.
Restart Visual Studio.
After this, your IntelliSense should work as expected when you open a .NET project that targets the version of the IntelliSense files you just installed.
See also
Collaborate with us on GitHub
The source for this content can be found on GitHub, where you can also create and review issues and pull requests. For more information, see our contributor guide.