Rename a Git repository in your project
Azure DevOps Services | Azure DevOps Server 2022 - Azure DevOps Server 2019
Visual Studio 2019 | Visual Studio 2022
You can rename a Git repository in a project from your web browser. After you rename the repo, each member of your team should take a few steps to re-enable their dev machines to connect to the repo on the server.
Prerequisites
| Category | Requirements |
|---|---|
| Project access | Member of a project. |
| Permissions | - View code in private projects: At least Basic access. - Clone or contribute to code in private projects: Member of the Contributors security group or corresponding permissions in the project. - Set branch or repository permissions: Manage permissions permissions for the branch or repository. - Change default branch: Edit policies permissions for the repository. - Import a repository: Member of the Project Administrators security group or Git project-level Create repository permission set to Allow. For more information, see Set Git repository permissions. |
| Services | Repos enabled. |
| Tools | Optional. Use az repos commands: Azure DevOps CLI. |
Note
In public projects, users with Stakeholder access have full access to Azure Repos, including viewing, cloning, and contributing to code.
| Category | Requirements |
|---|---|
| Project access | Member of a project. |
| Permissions | - View code: At least Basic access. - Clone or contribute to code: Member of the Contributors security group or corresponding permissions in the project. |
| Services | Repos enabled. |
Rename the repository
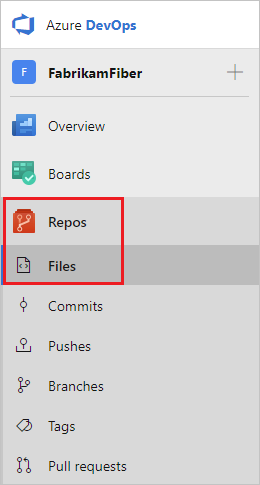
From the web portal, select Repos, Files.
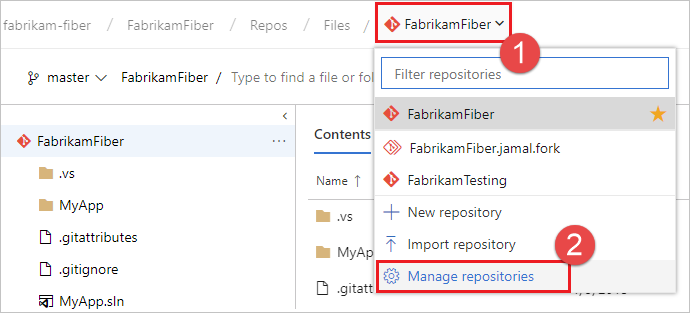
From the repo drop-down, select Manage repositories.
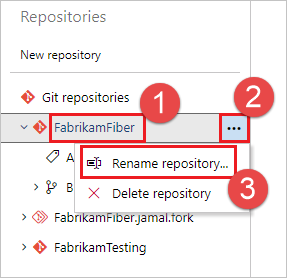
Select the name of the repository from the Repositories list, choose the ... menu, and then choose Rename repository.
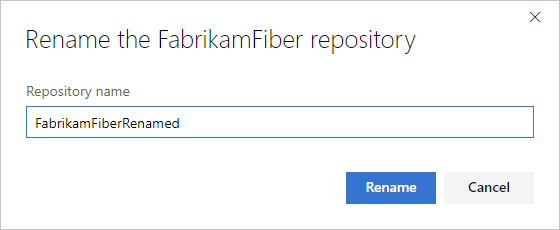
Rename the repository by typing the repo's new name and selecting Rename.
Update the Git remotes on your dev machines
Git uses remote references to fetch and push changes between your local copy of a repository and the remote version that is stored on the server. After a Git repository or project has been renamed, you should update your remote references. Update your references to that the remote repository URL contains the project and the repository name.
Each member of your team must update their local Git repos to continue connecting from their dev machines to the repo in the project. The instructions below show how to update the remotes for the Fabrikam Mobile repo that was renamed to Fabrikam.
Get the new URL for the repo
Select Repos, Files.
Select Clone in the upper-right corner of the Files window and copy the clone URL.

Update your remote in Visual Studio
To update your remote:
In the Git menu from the menu bar, select Manage Remotes.
In the Options dialog, select the remote to edit, then select Edit.

Replace the fetch and push remote references with the URL that you copied from the remote repo.
Select Save and then OK to close the Options dialog.
Visual Studio 2019 version 16.8 and later versions provides a Git version control experience while maintaining the Team Explorer Git user interface. To use Team Explorer, uncheck Tools > Options > Preview Features > New Git user experience from the menu bar. You can exercise Git features from either interface interchangeably.
To update your remote from Visual Studio Team Explorer:
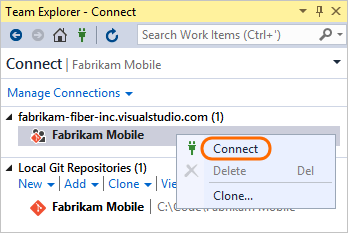
Connect to the repo.
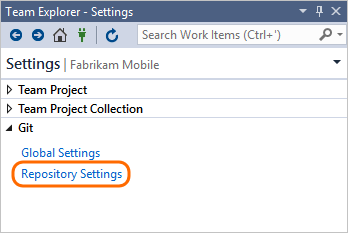
Open the project settings.

Open the repo settings.
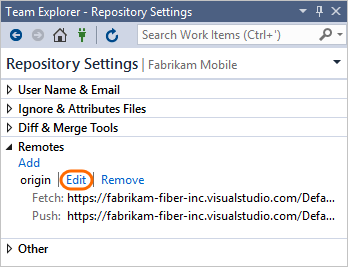
Edit the fetch and push remote references and paste the URL that you copied from the remote repo.
Q&A
Q: Can I rename my repo again? Can I reuse an old repo name?
A: Yes