Windows Authentication and Microsoft Entra Multifactor Authentication Server
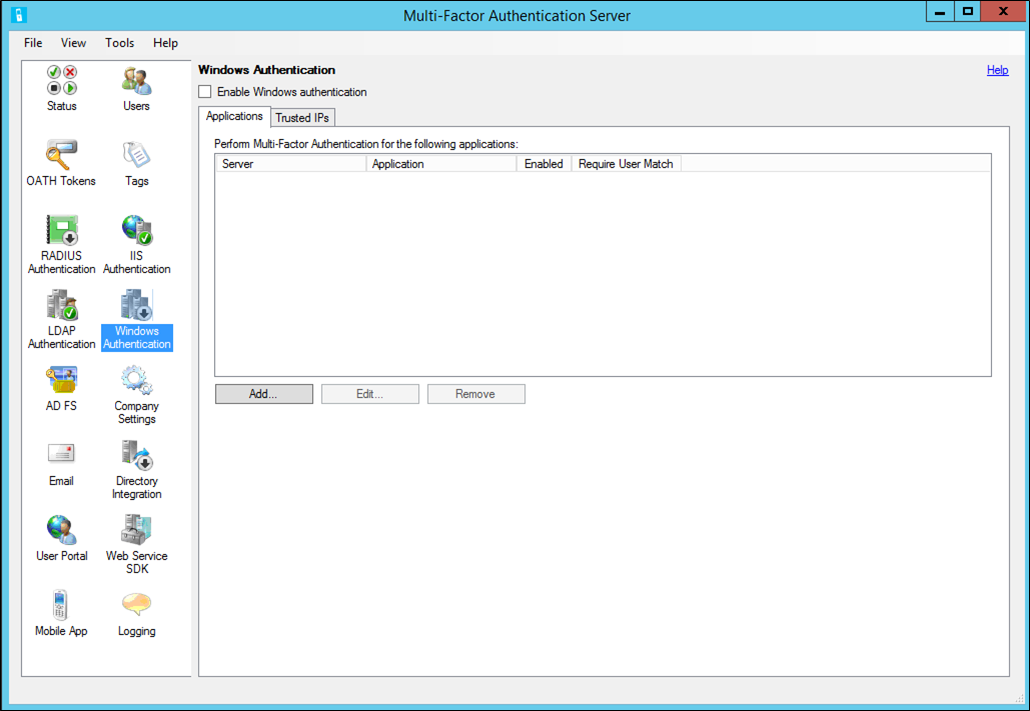
To enable and configure Windows authentication for applications, use the Windows Authentication section of the Microsoft Entra Multifactor Authentication Server. Before you set up Windows Authentication, keep the following list in mind:
- After setup, reboot the Microsoft Entra Multifactor Authenticationfor Terminal Services to take effect.
- If 'Require Microsoft Entra Multifactor Authenticationuser match' is checked, and you aren't in the user list, you won't be able to log into the machine after reboot.
- Trusted IPs is dependent on whether the application can provide the client IP with the authentication. Currently only Terminal Services is supported.
Important
As of July 1, 2019, Microsoft no longer offers MFA Server for new deployments. New customers that want to require multifactor authentication during sign-in events should use cloud-based Microsoft Entra multifactor authentication.
To get started with cloud-based MFA, see Tutorial: Secure user sign-in events with Microsoft Entra multifactor authentication.
Existing customers that activated MFA Server before July 1, 2019 can download the latest version, future updates, and generate activation credentials as usual.
Note
This feature is not supported to secure Terminal Services on Windows Server 2012 R2.
To secure an application with Windows Authentication, use the following procedure
- In the Microsoft Entra Multifactor Authentication Server, select the Windows Authentication icon.

- Check the Enable Windows Authentication checkbox. By default, this box is unchecked.
- The Applications tab allows the administrator to configure one or more applications for Windows Authentication.
- Select a server or application – specify whether the server/application is enabled. Select OK.
- Select Add…
- The Trusted IPs tab allows you to skip Microsoft Entra Multifactor Authenticationfor Windows sessions originating from specific IPs. For example, if employees use the application from the office and from home, you may decide you don't want their phones ringing for Microsoft Entra Multifactor Authentication while at the office. For this purpose, you would specify the office subnet as Trusted IPs entry.
- Select Add…
- Select Single IP if you would like to skip a single IP address.
- Select IP Range if you would like to skip an entire IP range. Example 10.63.193.1-10.63.193.100.
- Select Subnet if you would like to specify a range of IPs using subnet notation. Enter the subnet's starting IP and pick the appropriate netmask from the drop-down list.
- Select OK.