Create Cloud Discovery policies
You can create app discovery policies to alert you when new apps are detected. Defender for Cloud Apps also searches all the logs in your Cloud Discovery for anomalies.
Creating an app discovery policy
Discovery policies enable you to set alerts that notify you when new apps are detected within your organization.
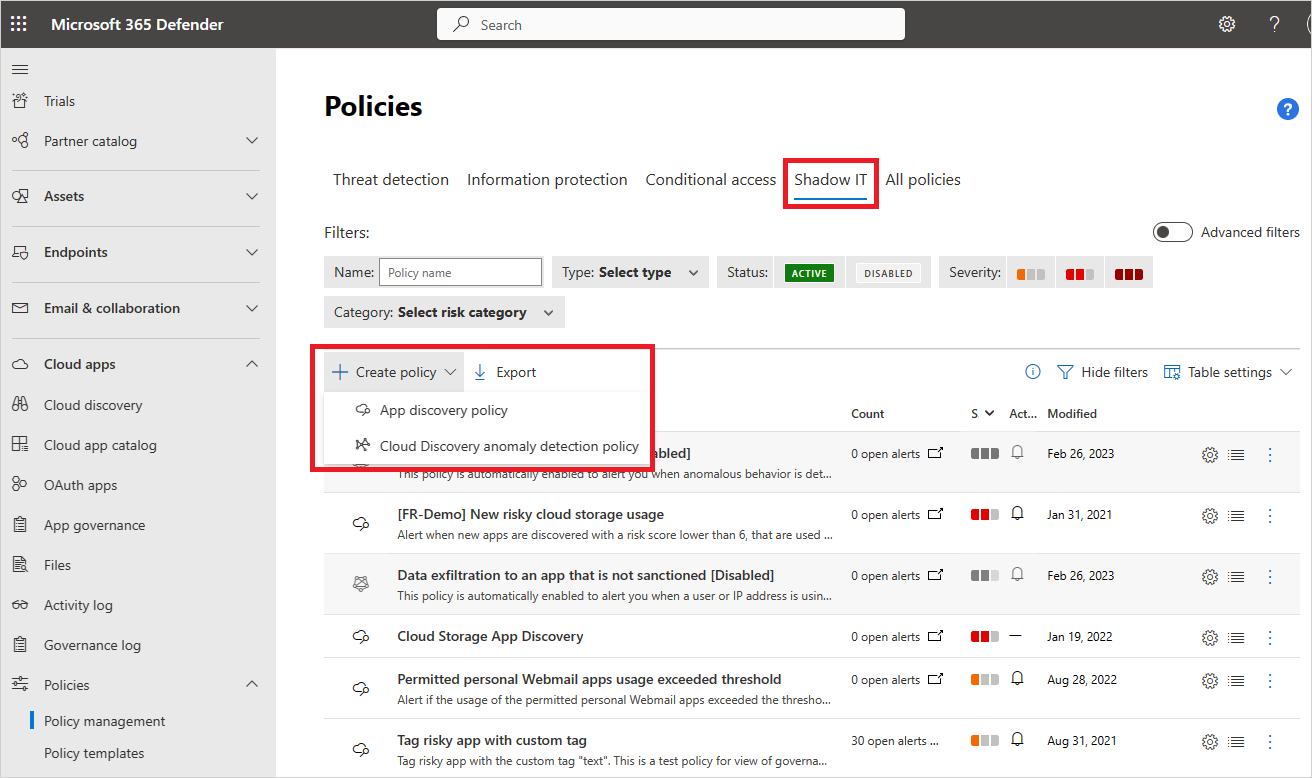
In the Microsoft Defender Portal, under Cloud Apps, go to Policies -> Policy management. Then select the Shadow IT tab.
Select Create policy and then select App discovery policy.
Give your policy a name and description. If you want, you can base it on a template. For more information on policy templates, see Control cloud apps with policies.
Set the Severity of the policy.
To set which discovered apps trigger this policy, add filters.
You can set a threshold for how sensitive the policy should be. Enable Trigger a policy match if all the following occur on the same day. You can set criteria that the app must exceed daily to match the policy. Select one of the following criteria:
- Daily traffic
- Downloaded data
- Number of IP addresses
- Number of transactions
- Number of users
- Uploaded data
Set a Daily alert limit under Alerts. Select if the alert is sent as an email. Then provide email addresses as needed.
- Selecting Save alert settings as the default for your organization enables future policies to use the setting.
- If you have a default setting, you can select Use your organization's default settings.
Select Governance actions to apply when an app matches this policy. It can tag policies as Sanctioned, Unsanctioned, Monitored, or a custom tag.
Select Create.
Note
- Newly created discovery policies (or policies with updated continuous reports) trigger an alert once in 90 days per app per continuous report, regardless of whether there are existing alerts for the same app. So, for example, if you create a policy for discovering new popular apps, it may trigger additional alerts for apps that have already been discovered and alerted on.
- Data from snapshot reports do not trigger alerts in app discovery policies.
For example, if you're interested in discovering risky hosting apps found in your cloud environment, set your policy as follows:
Set the policy filters to discover any services found in the hosting services category, and that have a risk score of 1, indicating they're highly risky.
Set the thresholds that should trigger an alert for a certain discovered app at the bottom. For instance, alert only if over 100 users in the environment used the app and if they downloaded a certain amount of data from the service. Additionally, you can set the limit of daily alerts you wish to receive.

Cloud Discovery anomaly detection
Defender for Cloud Apps searches all the logs in your Cloud Discovery for anomalies. For instance, when a user, who never used Dropbox before, suddenly uploads 600 GB to it, or when there are a lot more transactions than usual on a particular app. The anomaly detection policy is enabled by default. It's not necessary to configure a new policy for it to work. However, you can fine-tune which types of anomalies you want to be alerted about in the default policy.
In the Microsoft Defender Portal, under Cloud Apps, go to Policies -> Policy management. Then select the Shadow IT tab.
Select Create policy and select Cloud Discovery anomaly detection policy.

Give your policy a name and description. If you want, you can base it on a template, For more information on policy templates, see Control cloud apps with policies.
To set which discovered apps trigger this policy, select Add filters.
The filters are chosen from drop-down lists. To add filters, select Add a filter. To remove a filter, select the 'X'.
Under Apply to choose whether this policy applies All continuous reports or Specific continuous reports. Select whether the policy applies to Users, IP addresses, or both.
Select the dates during which the anomalous activity occurred to trigger the alert under Raise alerts only for suspicious activities occurring after date.
Set a Daily alert limit under Alerts. Select if the alert is sent as an email. Then provide email addresses as needed.
- Selecting Save alert settings as the default for your organization enables future policies to use the setting.
- If you have a default setting, you can select Use your organization's default settings.
Select Create.

Related videos
Next steps
If you run into any problems, we're here to help. To get assistance or support for your product issue, please open a support ticket.
Feedback
Coming soon: Throughout 2024 we will be phasing out GitHub Issues as the feedback mechanism for content and replacing it with a new feedback system. For more information see: https://aka.ms/ContentUserFeedback.
Submit and view feedback for