Create a model on a local SharePoint site with Microsoft Syntex
Applies to: ✓ All custom models | ✓ All prebuilt models
Microsoft Syntex provides an option to create and train models locally on your own SharePoint site. These models can be used only on the site where they're created.
Note
If you want to make your model discoverable and available for other users, you need to create an enterprise model. An enterprise model is a model that is created and trained in the content center. Currently, information about model usage analytics is only available for enterprise models.
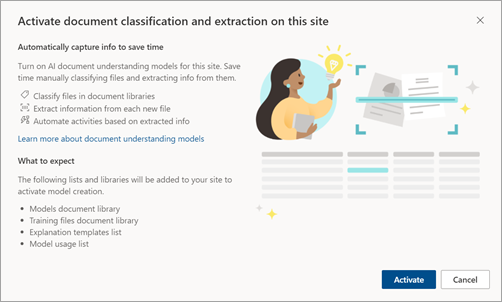
By activating document classification and extraction on your SharePoint site, Syntex lets you classify files in document libraries, extract information from new files, and automate activities based on extracted information.
When you activate local model creation, the following lists and libraries will be added to your site:
- Models document library
- Training files document library
- Explanation templates list
- Model usage list
A model is automatically promoted to the current site only when the model first has been applied to any library in the site. This makes the model discoverable in the list of available site models and available for any other library in the site. Until the model is applied to a library in the site, it is unavailable. Similarly, when a model is removed from all the libraries in the site, it is also removed from the list of available site models.
This feature is available for all model types.
Create a model on a local site
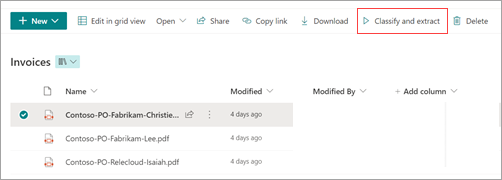
From a SharePoint document library, select the files you want to analyze, and then select Classify and extract.
The first time you use this feature, you're activating Syntex on your site. You'll see the following message.
Note
You must have the Manage Web Site permission to perform administration tasks and manage content for the site. This would be a site owner. Once the feature is activated, anyone with the Manage Lists permission will be able to create and manage models.
Select Activate to continue. You'll see the following message.
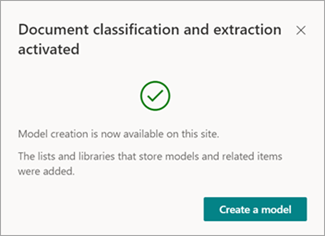
Select Create a model.
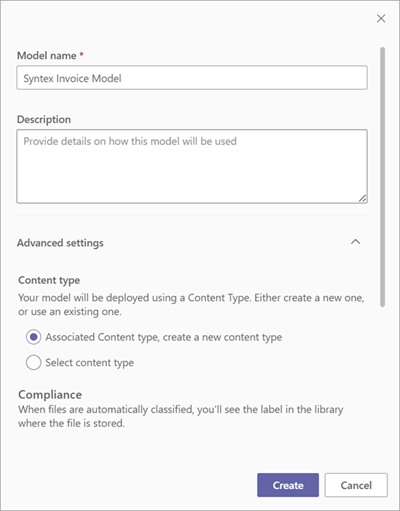
On the Create a model panel, type the name of the model, add a description, and then select Create.
Proceed to train your custom model or to configure your trained model using the files that you selected.
When done, the Add to library panel opens.
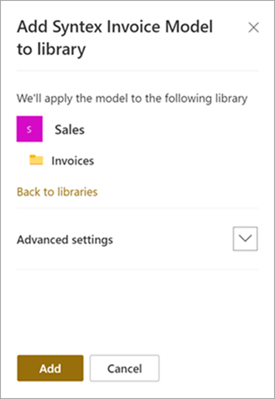
On the Add to library panel, you'll see the name of your SharePoint site and the document library that the model will be applied to. If you want to apply the model to a different library, select Back to libraries, and choose the library you want to use. Then select Add.
On the model home page, in the Where the model is applied on this site section, you can see the libraries that have the model applied. To apply the model to other libraries on the site, select Apply model.

Note
When a local model is applied to a single library, it becomes available for discovery for application to other libraries in same site.
Feedback
Coming soon: Throughout 2024 we will be phasing out GitHub Issues as the feedback mechanism for content and replacing it with a new feedback system. For more information see: https://aka.ms/ContentUserFeedback.
Submit and view feedback for