Note
Access to this page requires authorization. You can try signing in or changing directories.
Access to this page requires authorization. You can try changing directories.
This article demonstrates the basic steps for extending the storage capacity of a Windows Server by using Azure File Sync. Although this tutorial features Windows Server as an Azure virtual machine (VM), you typically perform this process for your on-premises servers. For instructions on deploying Azure File Sync in your own environment, see Deploy Azure File Sync.
- Deploy the Storage Sync Service
- Prepare Windows Server to use with Azure File Sync
- Install the Azure File Sync agent
- Register Windows Server with the Storage Sync Service
- Create a sync group and a cloud endpoint
- Create a server endpoint
If you don't have an Azure subscription, create a free account before you begin.
Sign in to Azure
Sign in to the Azure portal.
Prepare your environment
For this tutorial, complete the following tasks before you can deploy Azure File Sync:
- Create an Azure storage account and file share
- Set up a Windows Server VM
- Prepare the Windows Server VM for Azure File Sync
Create a folder and .txt file
On your local computer, create a new folder named FilesToSync and add a text file named mytestdoc.txt. You upload that file to the file share later in this tutorial.
Create a storage account and classic file share
Create an Azure storage account and SMB classic file share, and upload a test file.
Create a storage account and SMB classic file share by following the steps in Create a classic file share. Name the file share afsfileshare and keep the tier set to Transaction optimized.
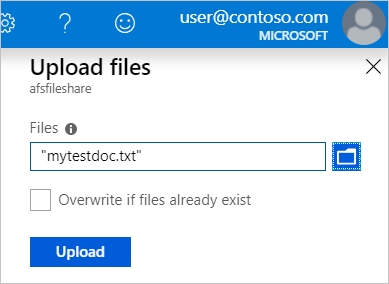
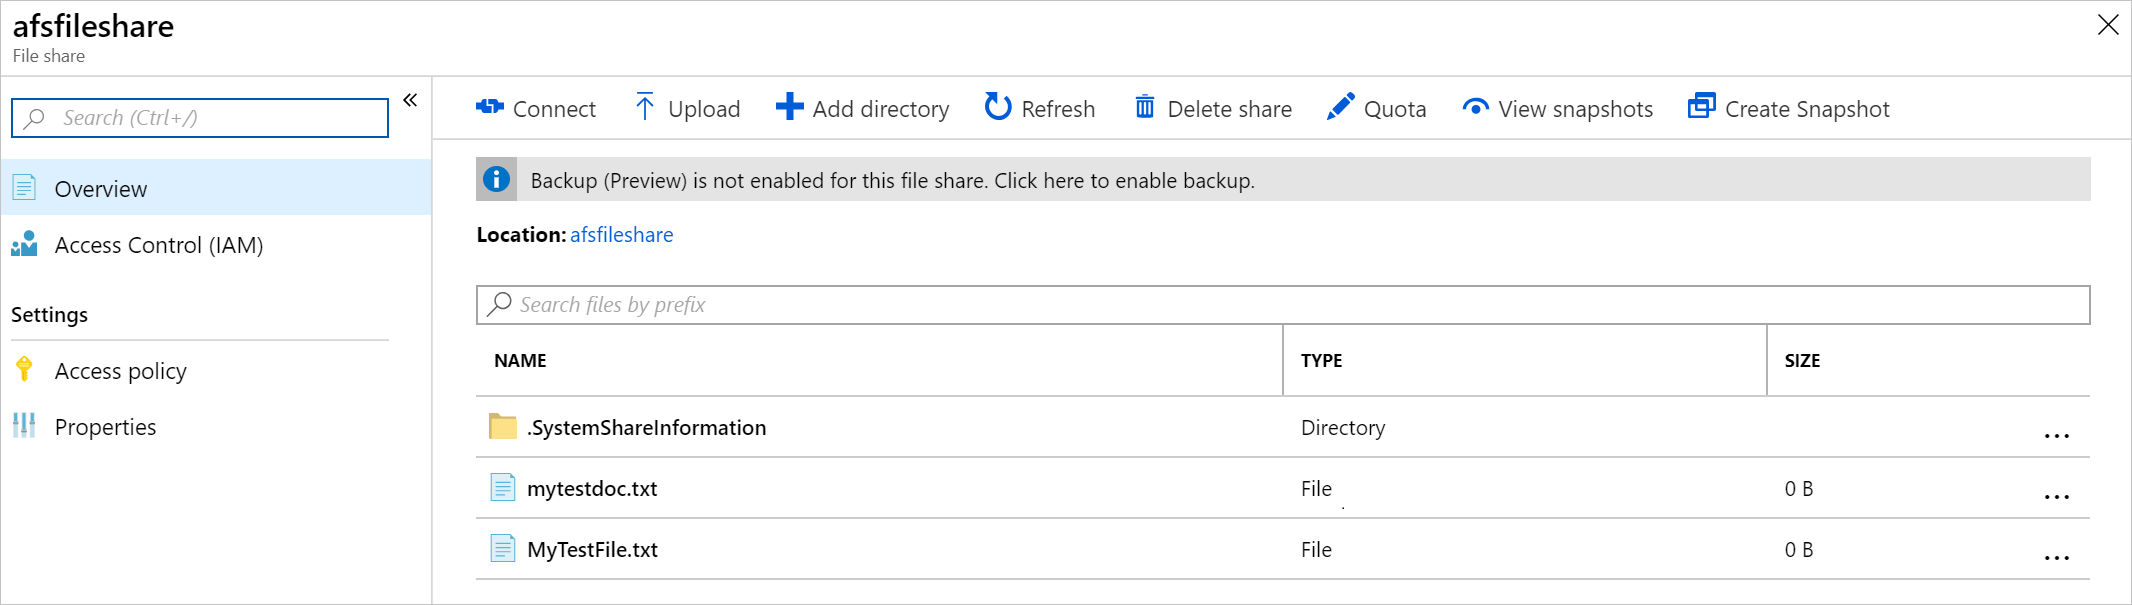
Go to your storage account and select the new classic file share. On the file share location, select Upload.

Browse to the FilesToSync folder on your local machine where you created your .txt file, select mytestdoc.txt, and select Upload.
At this point, you created a storage account and a file share with one file in it. Next, deploy an Azure VM with Windows Server to represent the on-premises server in this tutorial.
Deploy a VM and attach a data disk
Select Home in the Azure portal. Under Azure services, select + Create a resource.
Under Popular Azure services, select Virtual machine > Create.
Under Project details, select your subscription and the resource group you created for this tutorial.
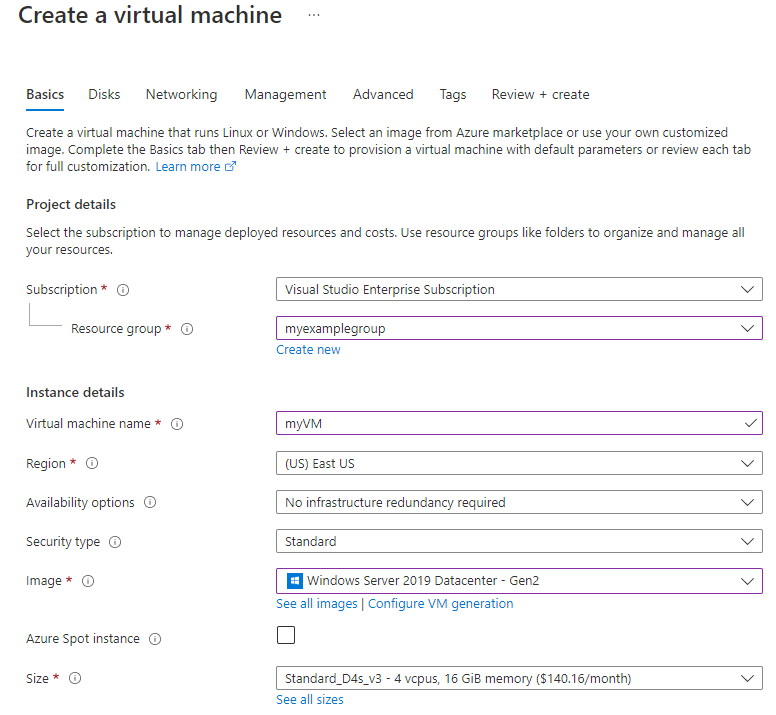
Under Instance details, enter a VM name. For example, use myVM.
Don't change the default settings for Region, Availability options, and Security type.
Under Image, select your preferred Windows Server version. Leave Size set to the default.
Under Administrator account, enter a Username and Password for the VM. The username must be between 1 and 20 characters long and can't contain special characters \/""[]:|<>+=;,?*@& or end with '.' The password must be between 12 and 123 characters long, and must have 3 of the following: 1 lowercase character, 1 uppercase character, 1 number, and 1 special character.
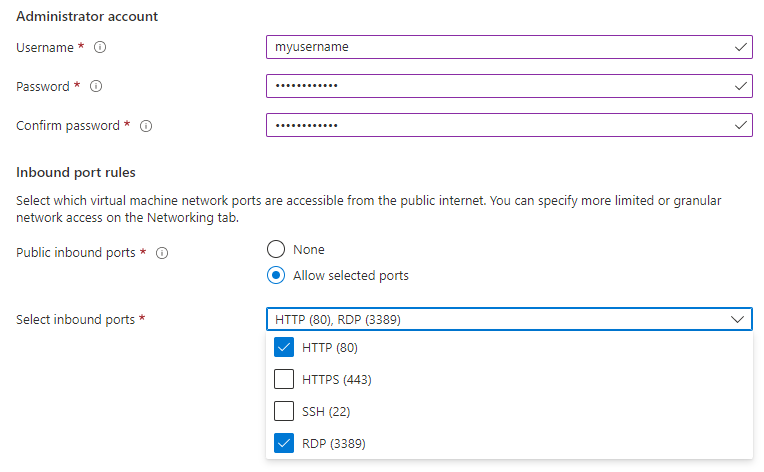
Under Inbound port rules, choose Allow selected ports and then select RDP (3389) and HTTP (80) from the drop-down menu.
Before you create the VM, you need to create a data disk.
At the bottom of the page, select Next:Disks.

On the Disks tab, under Disk options, don't change the default settings.
Under Data disks, select Create and attach a new disk.
Use the default settings except for Size, which you can change to 4 GiB for this tutorial by selecting Change size.
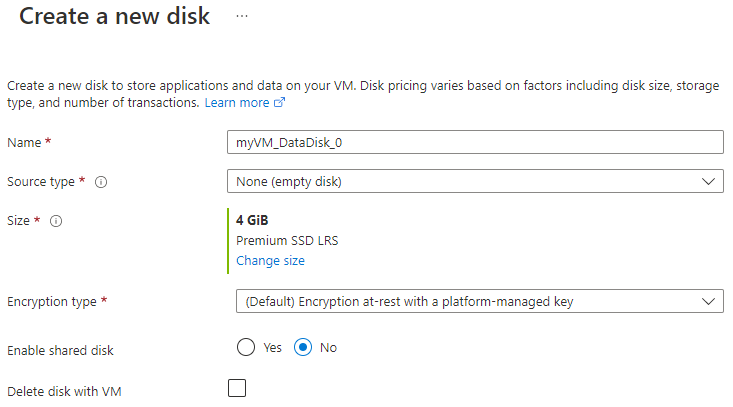
Select OK.
Select Review + create.
Select Create.
You can select the Notifications icon to watch the Deployment progress. Creating a new VM might take a few minutes to complete.
After your VM deployment is complete, select Go to resource.
At this point, you created a new virtual machine and attached a data disk. Next, you connect to the VM.
Connect to your VM
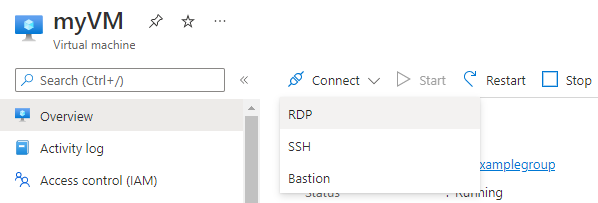
In the Azure portal, select Connect > RDP on the VM properties page.
On the Connect page, keep the default options to connect by Public IP address over port 3389. Select Download RDP file.

Open the downloaded RDP file and select Connect when prompted. You might see a warning that says The publisher of this remote connection can't be identified. Select Connect anyway.
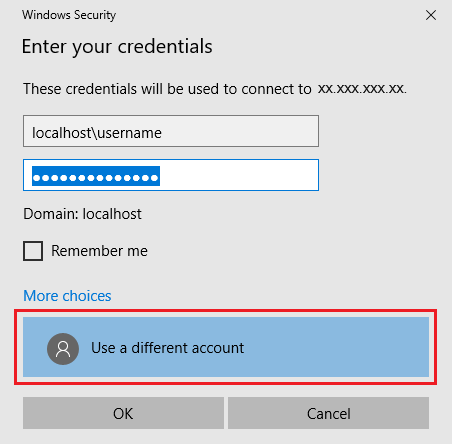
In the Windows Security window that asks you to enter your credentials, select More choices and then Use a different account. Enter localhost\username in the email address field, enter the password you created for the VM, and then select OK.
You might receive a certificate warning during the sign-in process saying that the identity of the remote computer can't be verified. Select Yes or Continue to create the connection.
Prepare the Windows Server VM
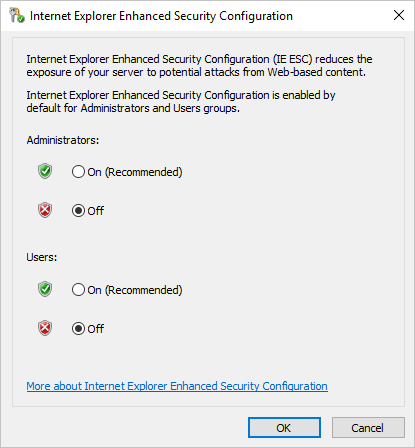
For the Windows Server VM, disable Internet Explorer Enhanced Security Configuration. This step is required only for initial server registration. You can re-enable it after the server is registered.
In the Windows Server VM, Server Manager should open automatically. If Server Manager doesn't open by default, search for it in the Start menu.
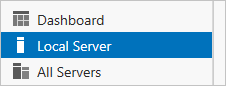
In Server Manager, select Local Server.
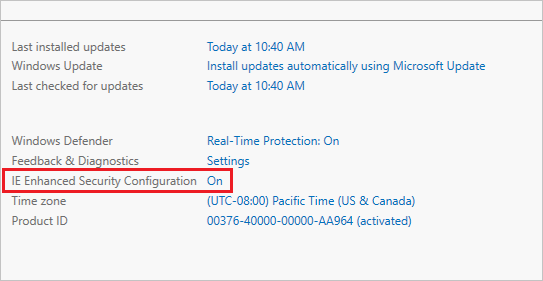
On the Properties pane, find the entry for IE Enhanced Security Configuration and select On.
In the Internet Explorer Enhanced Security Configuration dialog box, select Off for Administrators and Users, and then select OK.
Now you can add the data disk to the VM.
Add the data disk
While still in the VM, select File Explorer and storage services** > Volumes > Disks.
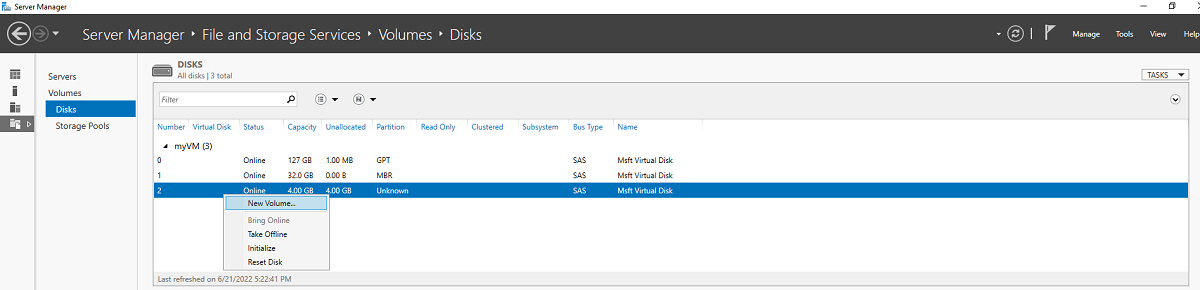
Right-click the 4 GiB disk named Msft Virtual Disk and select New volume.
Complete the wizard. Use the default settings and make note of the assigned drive letter.
Select Create.
Select Close.
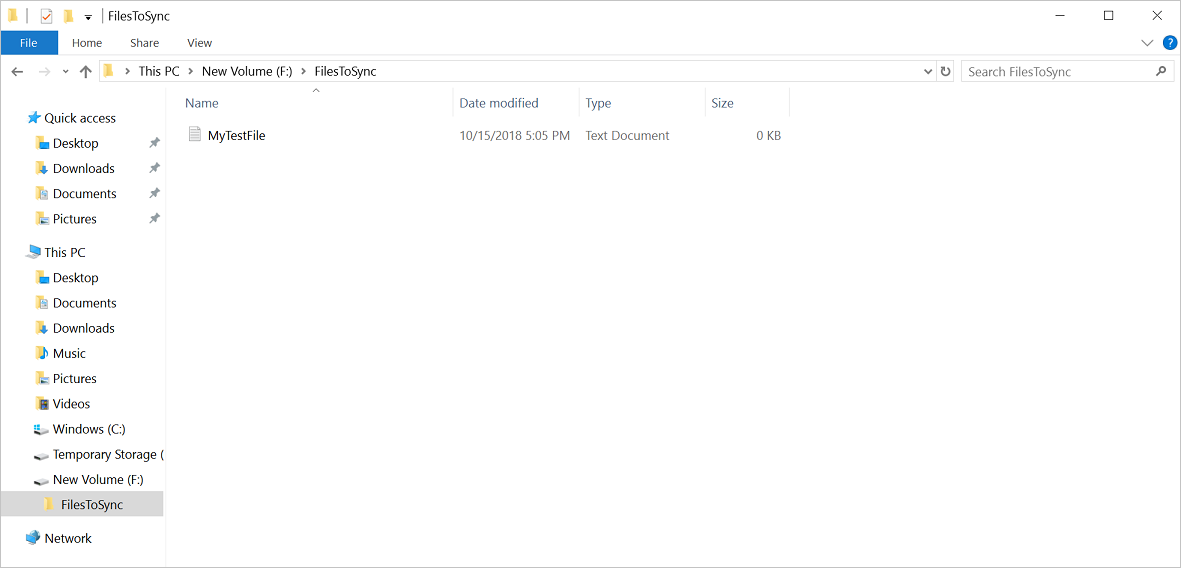
At this point, you brought the disk online and created a volume. Open File Explorer in the Windows Server VM to confirm the presence of the recently added data disk.
In File Explorer in the VM, expand This PC and open the new drive. It's the F: drive in this example.
Right-click and select New > Folder. Name the folder FilesToSync.
Open the FilesToSync folder.
Right-click and select New > Text Document. Name the text file MyTestFile.
Close File Explorer and Server Manager.

Install the Azure PowerShell module
Next, in the Windows Server VM, install the Azure PowerShell module on the server. The Az module is a rollup module for the Azure PowerShell cmdlets. When you install it, you download all the available Azure Resource Manager modules and make their cmdlets available for use.
In the VM, open an elevated PowerShell window (run as administrator).
Run the following command:
Install-Module -Name AzNote
If you have a NuGet version that's older than 2.8.5.201, you're prompted to download and install the latest version of NuGet.
By default, the PowerShell gallery isn't configured as a trusted repository for PowerShellGet. The first time you use the PSGallery, you see the following prompt:
Untrusted repository

You are installing the modules from an untrusted repository. If you trust this repository, change its InstallationPolicy value by running the Set-PSRepository cmdlet.

Are you sure you want to install the modules from 'PSGallery'?
[Y] Yes  [A] Yes to All  [N] No  [L] No to All  [S] Suspend  [?] Help (default is "N"):
Answer Yes or Yes to All to continue with the installation.
At this point, you set up your environment for the tutorial. Close the PowerShell window. You're ready to deploy the Storage Sync Service.
Deploy the Storage Sync Service
To deploy Azure File Sync, first add a Storage Sync Service resource to a resource group in your selected subscription. The Storage Sync Service inherits access permissions from its subscription and resource group.
In the Azure portal, select Create a resource and then search for Azure File Sync.
In the search results, select Azure File Sync.
Select Create to open the Deploy Azure File Sync tab.
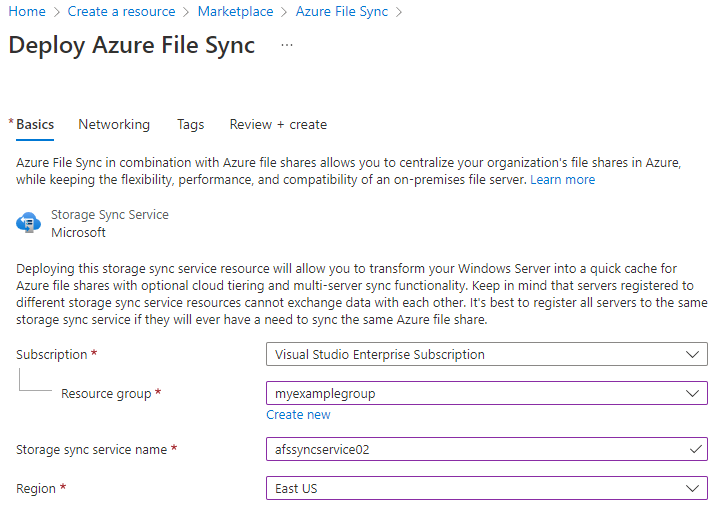
On the pane that opens, enter the following information:
Value Description Name A unique name (per subscription) for the Storage Sync Service.
Use afssyncservice02 for this tutorial.Subscription The Azure subscription you use for this tutorial. Resource group The resource group that contains the Storage Sync Service.
Use myexamplegroup for this tutorial.Location East US When you finish, select Review + Create and then Create to deploy the Storage Sync Service. The service takes a few minutes to deploy.
When the deployment finishes, select Go to resource.
Install the Azure File Sync agent
The Azure File Sync agent is a downloadable package that enables Windows Server to sync with an Azure file share.
In the Windows Server VM, open Internet Explorer.
Important
You might see a warning that prompts you to turn on Internet Explorer Enhanced Security Configuration. Don't turn this setting back on until you finish registering the server in the next step.
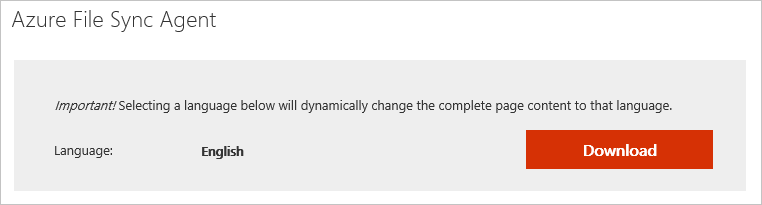
Go to the Microsoft Download Center. Scroll down to the Azure File Sync Agent section and select Download.
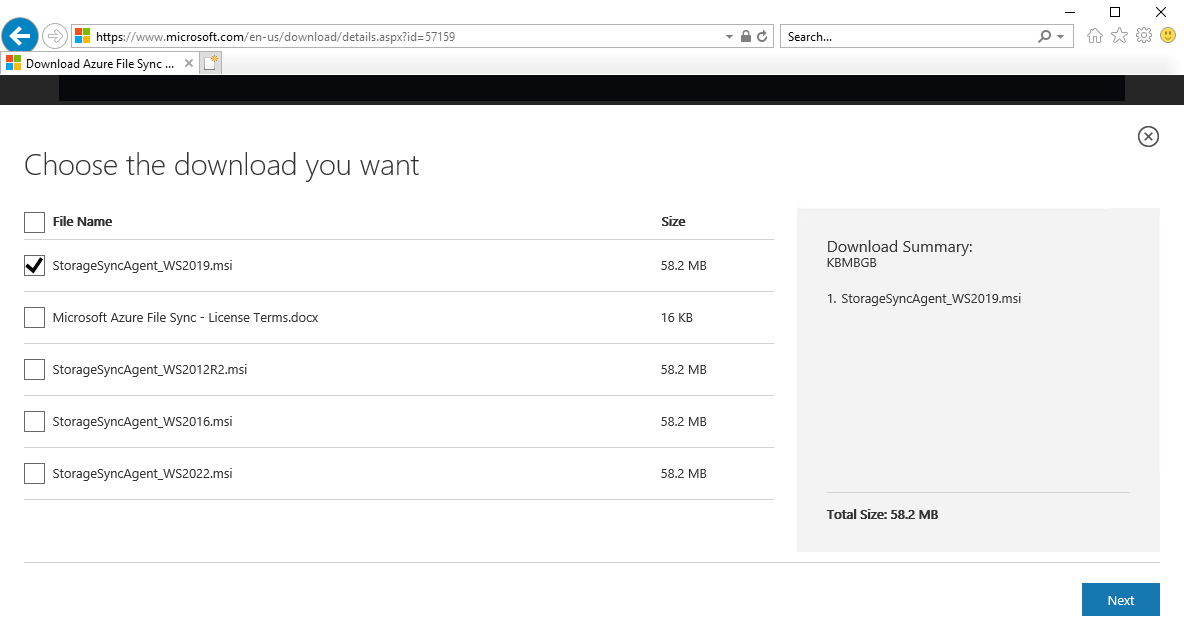
Select the check box for the Storage Sync Agent .msi file for your version of Windows Server, and then select Next.
Select Allow once > Run.
Go through the Storage Sync Agent Setup Wizard and accept the defaults.
Select Install.
Select Finish.
You deployed the Azure Sync Service and installed the agent on the Windows Server VM. Now you need to register the VM with the Storage Sync Service.
Register Windows Server
When you register your Windows Server with a Storage Sync Service, you create a trust relationship between your server (or cluster) and the Storage Sync Service. You can register a server to only one Storage Sync Service. The server can sync with other servers and Azure file shares that are associated with that Storage Sync Service.
The Server Registration UI opens automatically after you install the Azure File Sync agent. If it doesn't, you can open it manually from its file location: C:\Program Files\Azure\StorageSyncAgent\ServerRegistration.exe.
When the Server Registration UI opens in the VM, select Sign in.
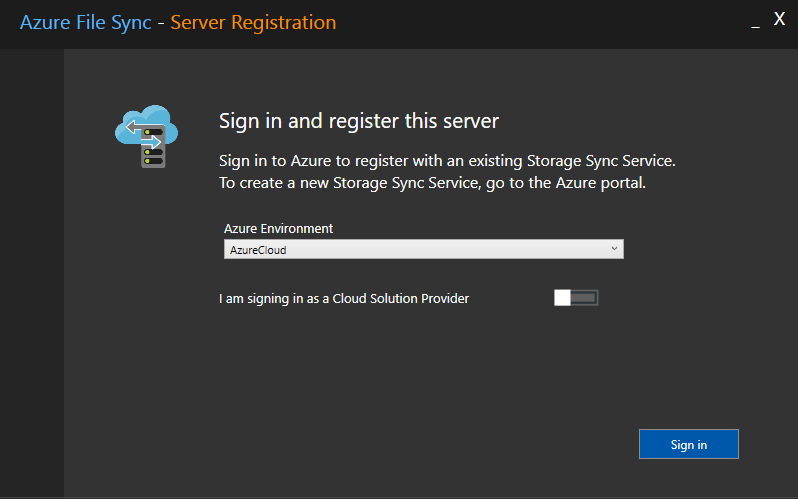
Sign in with your Azure account credentials.
Provide the following information:
Value Description Azure Subscription The subscription that contains the Storage Sync Service for this tutorial. Resource Group The resource group that contains the Storage Sync Service. Use myexamplegroup for this tutorial. Storage Sync Service The name of the Storage Sync Service. Use afssyncservice02 for this tutorial. Select Register to complete the server registration.
As part of the registration process, you're prompted for an additional sign-in. Sign in and select Next.
Select OK.
Create a sync group
A sync group defines the sync topology for a set of files. A sync group must contain one cloud endpoint, which represents an Azure file share. A sync group also must contain one or more server endpoints. A server endpoint represents a path on a registered server. To create a sync group:
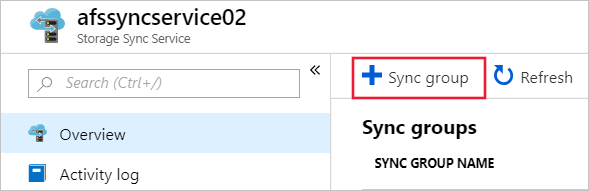
In the Azure portal, select + Sync group from the Storage Sync Service you deployed.
Enter the following information to create a sync group with a cloud endpoint:
Value Description Sync group name This name must be unique within the Storage Sync Service, but can be any name that is logical for you. Subscription The subscription where you deployed the Storage Sync Service for this tutorial. Storage account Choose Select storage account. On the pane that appears, select the storage account that has the Azure file share you created. Azure file share The name of the Azure file share you created. Select Create.
If you select your sync group, you can see that you now have one cloud endpoint.
Add a server endpoint
A server endpoint represents a specific location on a registered server. For example, a folder on a server volume. To add a server endpoint:
Select the newly created sync group and then select Add server endpoint.
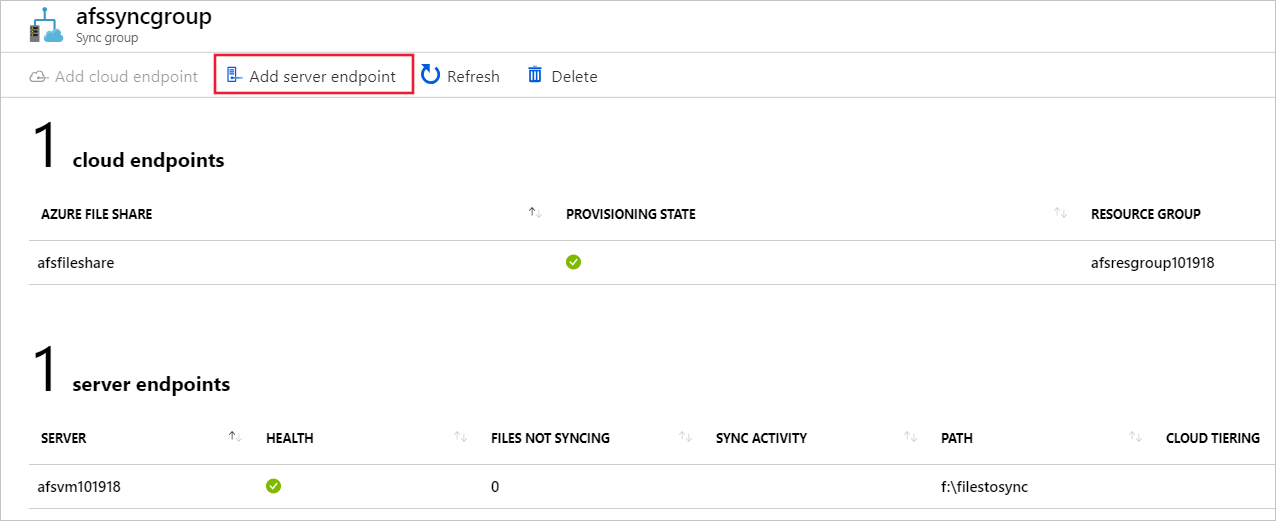
On Add server endpoint, enter the following information to create a server endpoint:
Value Description Registered server The name of the server you created. For example, myVM. Path The Windows Server path to the drive you created. For example, f:\filestosync. Cloud Tiering Leave disabled for this tutorial. Volume Free Space Leave blank for this tutorial. Select Create.
Your files are now in sync across your Azure file share and Windows Server.
Clean up resources
To clean up the resources you created in this tutorial, first remove the endpoints from the Storage Sync service. Then, unregister the server with your Storage Sync service, remove the sync groups, and delete the Storage Sync service.
When you're done, delete the resource group. Deleting the resource group deletes the storage account, the Azure file share, and any other resources deployed inside the resource group.
If there are locks on the storage account, you'll need to remove them first. Navigate to the storage account and select Settings > Locks. If any locks are listed, delete them.
You might also need to delete the Azure Backup Recovery Services vault before you're allowed to delete the resource group.
- Select Home and then Resource groups.
- Select the resource group you want to delete.
- Select Delete resource group. A window opens and displays a warning about the resources that will be deleted with the resource group.
- Enter the name of the resource group, and then select Delete.
Next step
In this tutorial, you learned the basic steps to extend the storage capacity of a Windows Server by using Azure File Sync. For a more thorough look at planning for an Azure File Sync deployment, see: