Enable zone redundancy for Azure Cache for Redis
In this article, you learn how to configure a zone-redundant Azure Cache instance using the Azure portal.
Azure Cache for Redis Standard (preview), Premium, and Enterprise tiers provide built-in redundancy by hosting each cache on two dedicated virtual machines (VMs). Even though these VMs are located in separate Azure fault and update domains and highly available, they're susceptible to data center-level failures. Azure Cache for Redis also supports zone redundancy in its Standard (preview), Premium, and Enterprise tiers. A zone-redundant cache runs on VMs spread across multiple Availability Zones. It provides higher resilience and availability.
Prerequisites
- Azure subscription - create one for free
Create a cache
To create a cache, follow these steps:
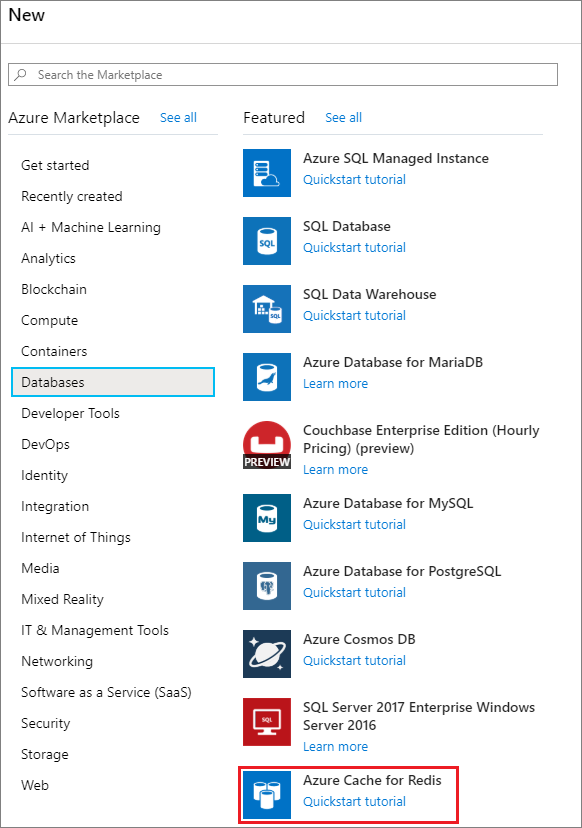
Sign in to the Azure portal and select Create a resource.
On the New page, select Databases and then select Azure Cache for Redis.
On the Basics page, configure the settings for your new cache.
Setting Suggested value Description Subscription Select your subscription. The subscription under which to create this new Azure Cache for Redis instance. Resource group Select a resource group, or select Create new and enter a new resource group name. Name for the resource group in which to create your cache and other resources. By putting all your app resources in one resource group, you can easily manage or delete them together. DNS name Enter a globally unique name. The cache name must be a string between 1 and 63 characters that contains only numbers, letters, or hyphens. The name must start and end with a number or letter, and can't contain consecutive hyphens. Your cache instance's host name will be <DNS name>.redis.cache.windows.net. Location Select a location. Select a region near other services that use your cache. Cache type Select a Premium or Enterprise tier cache. The pricing tier determines the size, performance, and features that are available for the cache. For more information, see Azure Cache for Redis Overview. For Standard or Premium tier cache, select Advanced in the Resource menu. To enable zone resiliency with automatic zone allocation, select (Preview) Select zones automatically.
Note
On the Premium caches, only automatic zone selection is in public preview. Manual selection of availability zones us unchanged. Manual selection is GA (General Availability).

For an Enterprise tier cache, select Advanced in the Resource menu. For Zone redundancy, select Zone redundant (recommended).

Automatic zone allocation increases the overall availability of your cache by automatically spreading it across multiple availability zones. Using availability zones makes the cache more resilient to outages in a data center. For more information, see Zone redundancy.
Important
Automatic Zone Allocation cannot be modified once enabled for a cache.
Important
Enabling Automatic Zone Allocation (preview) is currently NOT supported for Geo-replicated caches or caches with VNET injection.
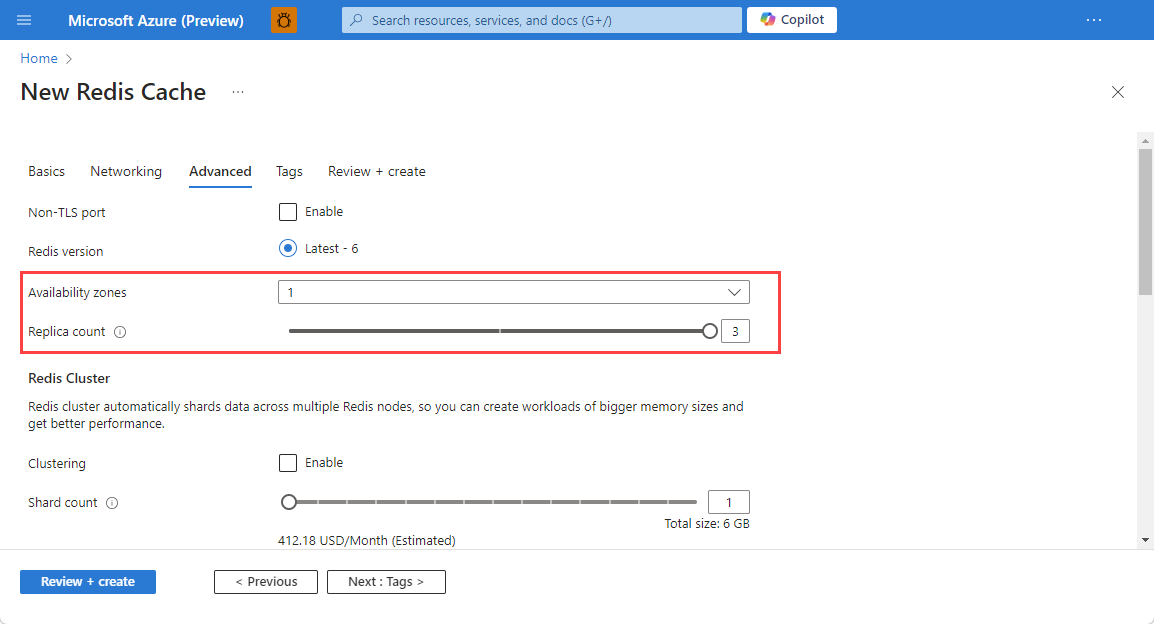
Availability zones can be selected manually for Premium tier caches. The number of availability zones must always be less than or equal to the total number of nodes for the cache.
Configure your settings for clustering and/or RDB persistence.
Note
Zone redundancy doesn't support Append-only File (AOF) persistence with multiple replicas (more than one replica). Zone redundancy doesn't work with geo-replication currently.
Select Create.
It takes a while for the cache to be created. You can monitor progress on the Azure Cache for Redis Overview page. When Status shows as Running, the cache is ready to use.
Zone Redundancy FAQ
- Why can't I enable zone redundancy when creating a Premium cache?
- Why can't I select all three zones during cache create?
- Can I update my existing Standard or Premium cache to use zone redundancy?]
- How much does it cost to replicate my data across Azure Availability Zones?
Why can't I enable zone redundancy when creating a Premium cache?
Zone redundancy is available only in Azure regions that have Availability Zones. See Azure regions with Availability Zones for the latest list.
Why can't I select all three zones during cache create?
A Premium cache has one primary and one replica node by default. To configure zone redundancy for more than two Availability Zones, you need to add more replicas to the cache you're creating. The total number of availability zones must not exceed the combined count of nodes within the cache, including both the primary and replica nodes.
Can I update my existing Standard or Premium cache to use zone redundancy?
Yes, updating an existing Standard or Premium cache to use zone redundancy is supported. You can enable it by selecting Allocate Zones automatically from the Advanced settings on the Resource menu. You can't disable zone redundancy once you enable it.
Important
Automatic Zone Allocation cannot be modified once enabled for a cache.
Important
Enabling Automatic Zone Allocation is currently NOT supported for Geo Replicated caches or caches with VNet injection.
How much does it cost to replicate my data across Azure Availability Zones?
When your cache uses zone redundancy configured with multiple Availability Zones, data is replicated from the primary cache node in one zone to the other nodes in another zone. The data transfer charge is the network egress cost of data moving across the selected Availability Zones. For more information, see Bandwidth Pricing Details.
Next Steps
Learn more about Azure Cache for Redis features.