Deploy a PHP Guestbook stateless application with Redis on Azure Arc-enabled Kubernetes cluster on Azure Stack Edge Pro GPU
APPLIES TO:  Azure Stack Edge Pro - GPUAzure Stack Edge Pro 2Azure Stack Edge Pro RAzure Stack Edge Mini R
This article shows you how to build and deploy a simple, multi-tier web application using Kubernetes and Azure Arc. This example consists of the following components:
- A single-instance Redis master to store
guestbookentries - Multiple replicated Redis instances to serve reads
- Multiple web frontend instances
The deployment is done using GitOps on the Azure Arc-enabled Kubernetes cluster on your Azure Stack Edge Pro device.
This procedure is intended for people who have reviewed the Kubernetes workloads on Azure Stack Edge Pro device and are familiar with the concepts of What is Azure Arc-enabled Kubernetes (Preview).
Note
This article contains references to the term slave, a term that Microsoft no longer uses. When the term is removed from the software, we’ll remove it from this article.
Prerequisites
Before you can deploy the stateless application, make sure that you have completed the following prerequisites on your device and the client that you will use to access the device:
For device
You have sign-in credentials to a 1-node Azure Stack Edge Pro device.
- The device is activated. See Activate the device.
- The device has the compute role configured via Azure portal and has a Kubernetes cluster. See Configure compute.
You have enabled Azure Arc on the existing Kubernetes cluster on your device and you have a corresponding Azure Arc resource in the Azure portal. For detailed steps, see Enable Azure Arc on Azure Stack Edge Pro device.
For client accessing the device
You have a Windows client system that will be used to access the Azure Stack Edge Pro device.
The client is running Windows PowerShell 5.0 or later. To download the latest version of Windows PowerShell, go to Install Windows PowerShell.
You can have any other client with a Supported operating system as well. This article describes the procedure when using a Windows client.
You have completed the procedure described in Access the Kubernetes cluster on Azure Stack Edge Pro device. You have:
Installed
kubectlon the client.Make sure that the
kubectlclient version is skewed no more than one version from the Kubernetes master version running on your Azure Stack Edge Pro device.- Use
kubectl versionto check the version of kubectl running on the client. Make a note of the full version. - In the local UI of your Azure Stack Edge Pro device, go to Overview and note the Kubernetes software number.
- Verify these two versions for compatibility from the mapping provided in the Supported Kubernetes version.
- Use
You have a GitOps configuration that you can use to run an Azure Arc deployment. In this example, you will use the following
yamlfiles to deploy on your Azure Stack Edge Pro device.frontend-deployment.yamlfrontend-service.yamlredis-master-deployment.yamlredis-master-service.yamlredis-slave-deployment.yamlredis-slave-service.yaml
Deploy configuration
Follow these steps to configure the Azure Arc resource to deploy a GitOps configuration via the Azure portal:
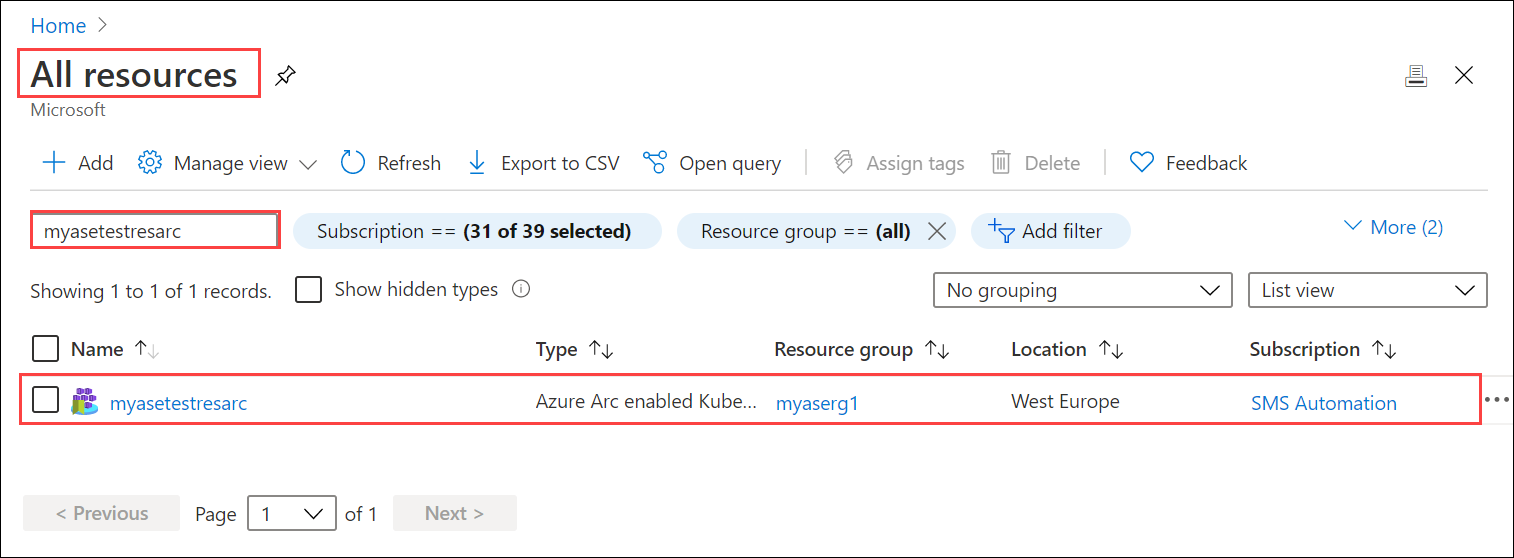
In your Azure portal, go to the Azure Arc resource that you have created when you enabled Azure Arc on the Kubernetes cluster on your device.
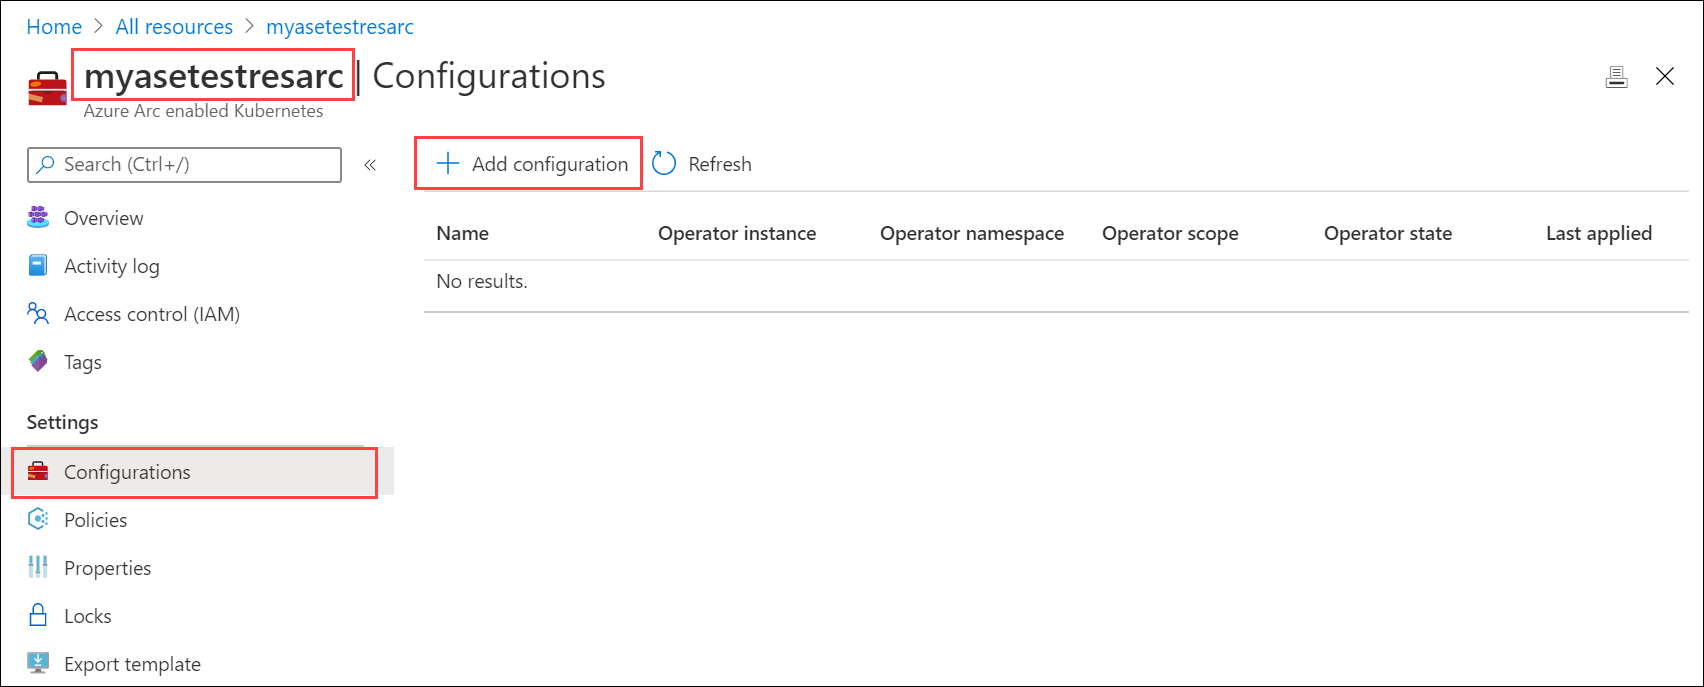
Go to Configurations and select + Add configuration.
Specify the Flux version 1 Extension.
In Add a GitOps configuration, enter the appropriate values for the fields, and then select Add.
Parameter Description Configuration name Name for the configuration resource. Operator instance name Instance name of the operator to identify a specific configuration. Name is a string of maximum 253 characters that must be lowercase, alphanumeric, hyphen, and period only. Operator namespace Set to demotestguestbook to match the namespace specified in the deployment yaml.
The field defines the namespace where the operator is installed. Name is a string of maximum 253 characters that must be lowercase, alphanumeric, hyphen, and period only.Repository URL
Path to the git repository inhttp://github.com/username/repoorgit://github.com/username/repoformat where your GitOps configuration is located.Operator scope Select Namespace.
This parameter defines the scope at which the operator is installed. Select Namespace to install your operator in the namespace specified in the deployment yaml files.Operator type Leave at default.
This parameter specifies the type of the operator - by default, set as flux.Operator params Leave this blank.
This parameter contains parameters to pass to the flux operator.Helm Leave this checkbox Unchecked.
Enable this option if you will do chart-based deployments.
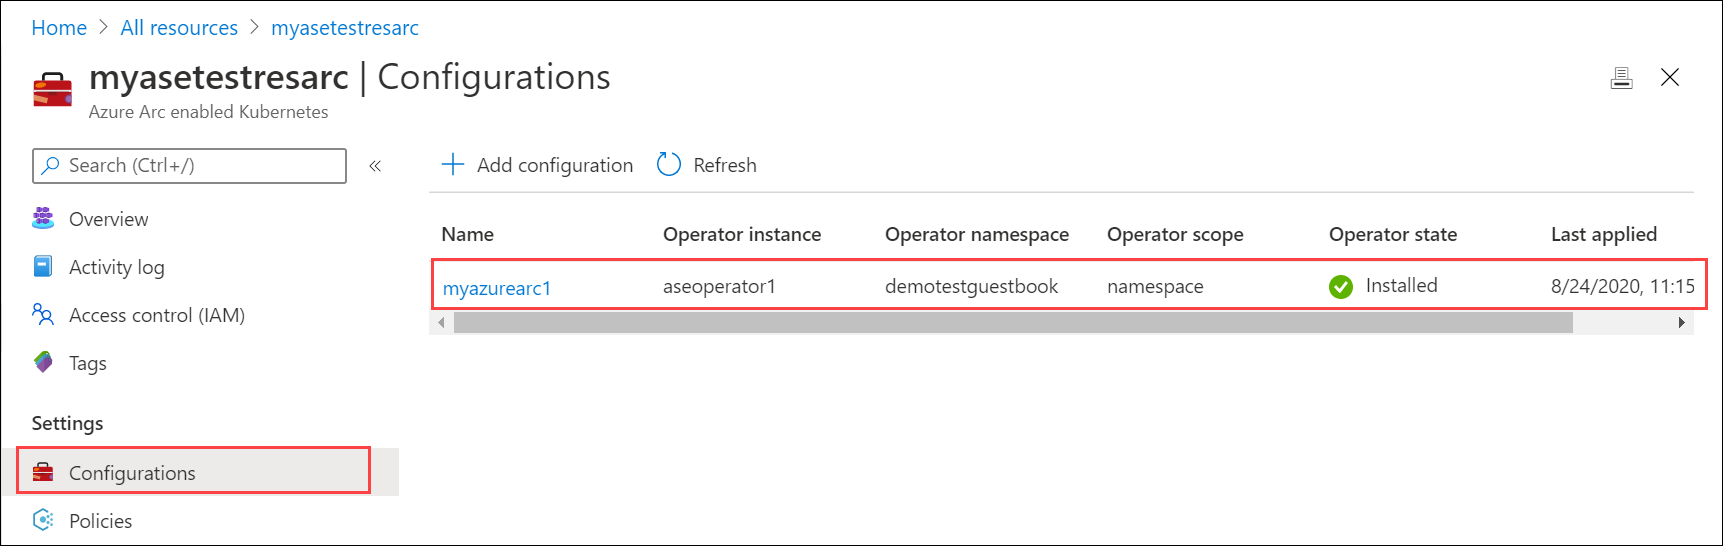
The configuration deployment starts and the Operator state shows as Pending.

The deployment takes a couple minutes. When the deployment completes, the Operator state shows as Installed.
Verify deployment
The deployment via the GitOps configuration creates a demotestguestbook namespace as specified in the deployment yaml files located in the git repo.
After you have applied the GitOps configuration, Connect to the PowerShell interface of the device.
Run the following command to list the pods running in the
demotestguestbooknamespace corresponding to the deployment.kubectl get pods -n <your-namespace>Here is a sample output.
[10.128.44.240]: PS>kubectl get pods -n demotestguestbook
NAME                            READY   STATUS    RESTARTS   AGE
aseoperator1-5569658644-cqtb5   1/1     Running   0          91m
frontend-6cb7f8bd65-4xb4f       1/1     Running   0          91m
frontend-6cb7f8bd65-q9cxj       1/1     Running   0          91m
frontend-6cb7f8bd65-xpzs6       1/1     Running   0          91m
memcached-86bdf9f56b-5l2fq      1/1     Running   0          91m
redis-master-7db7f6579f-2z29w   1/1     Running   0          91m
redis-slave-7664787fbc-lgr2n    1/1     Running   0          91m
redis-slave-7664787fbc-vlvzn    1/1     Running   0          91m
[10.128.44.240]: PS>
In this example, the frontend service was deployed as type:LoadBalancer. You will need to find the IP address of this service to view the
guestbook. Run the following command.kubectl get service -n <your-namespace>[10.128.44.240]: PS>kubectl get service -n demotestguestbook NAME TYPE CLUSTER-IP EXTERNAL-IP PORT(S) AGE frontend LoadBalancer 10.96.79.38 10.128.44.245 80:31238/TCP 85m memcached ClusterIP 10.102.47.75 <none> 11211/TCP 85m redis-master ClusterIP 10.104.32.99 <none> 6379/TCP 85m redis-slave ClusterIP 10.104.215.146 <none> 6379/TCP 85m [10.128.44.240]: PS>The frontend service of
type:LoadBalancerhas an external IP address. This IP is from the IP address range that you specified for external services when configuring the Compute network settings on the device. Use this IP address to view theguestbookat URL:https://<external-IP-address>.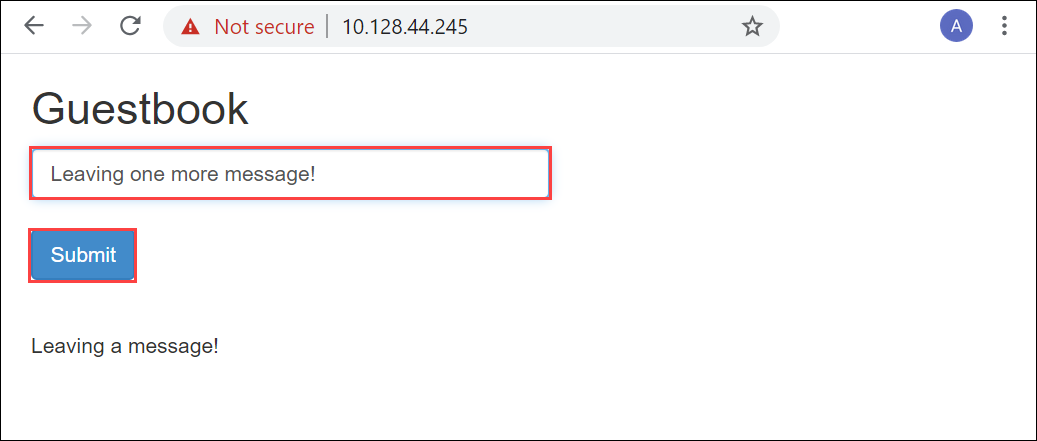
Delete deployment
To delete the deployment, you can delete the configuration from the Azure portal. Deleting the configuration will delete the objects that were created, including deployments and services.
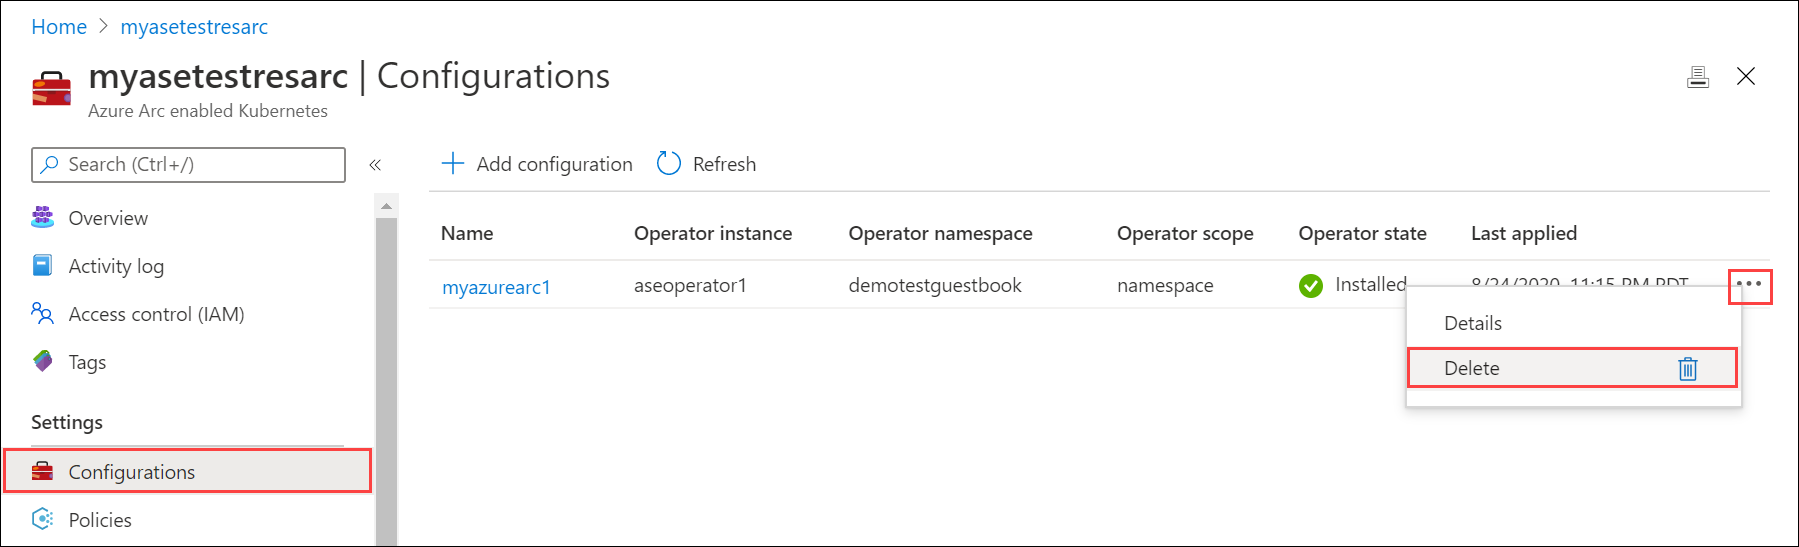
- In the Azure portal, go the Azure Arc resource > Configurations.
- Locate the configuration you want to delete. Select the ... to invoke the context menu and select Delete.
It may take up several minutes for the configuration to be deleted.
Next steps
Learn how to Use Kubernetes Dashboard to monitor deployments on your Azure Stack Edge Pro device