Scale quotas and limits in DevTest Labs
As you work in DevTest Labs, you might notice that there are certain default limits to some Azure resources, which can affect the DevTest Labs service. These limits are referred to as quotas.
Note
The DevTest Labs service doesn't impose any quotas. Any quotas you might encounter are default constraints of the overall Azure subscription.
You can use each Azure resource until you reach its quota. Each subscription has separate quotas and usage is tracked per subscription.
For example, each subscription has a default quota of 20 cores. So, if you're creating VMs in your lab with four cores each, then you can only create five VMs.
Azure Subscription and Service Limits lists some of the most common quotas for Azure resources. The resources most commonly used in a lab, and for which you might encounter quotas, include VM cores, public IP addresses, network interface, managed disks, Azure role assignment, and ExpressRoute circuits.
View your usage and quotas
These steps show you how to view the current quotas in your subscription for specific Azure resources, and to see what percentage of each quota used.
Sign in to the Azure portal.
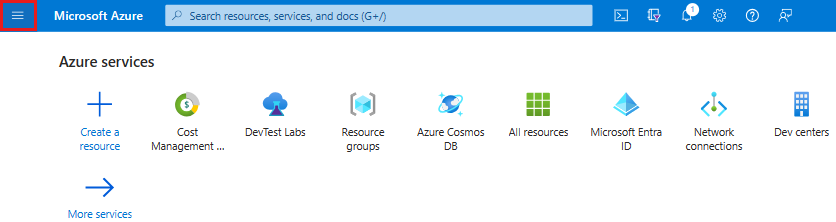
Open the Azure portal menu.
Select Cost Management + Billing from the list.

In Cost Management + Billing, select a subscription.
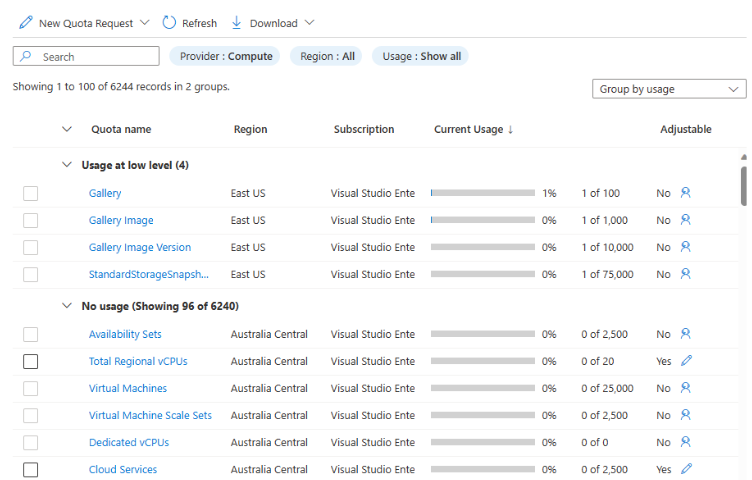
Select Usage + quotas.
Usage + quotas appears, listing different resources available in that subscription and the percentage of the quota that is being used per resource.


Requesting more resources in your subscription
If you reach a quota cap, the default limit of a resource in a subscription can be increased up to a maximum limit, as described in Azure Subscription and Service Limits.
These steps show you how to request a quota increase through the Azure portal.
Sign in to the Azure portal.
Select Show portal menu, and then select Cost Management + Billing from the list.
In Cost Management + Billing, select a subscription.
Select Usage + quotas.
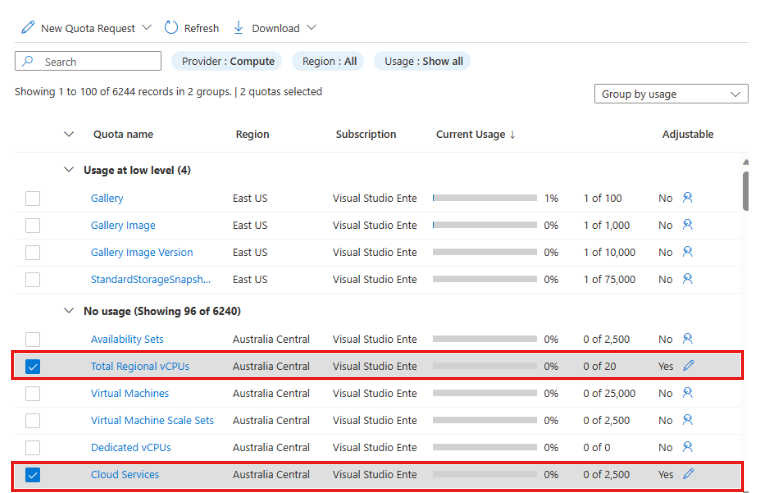
In Usage + quotas, select the quotas you want to increase.
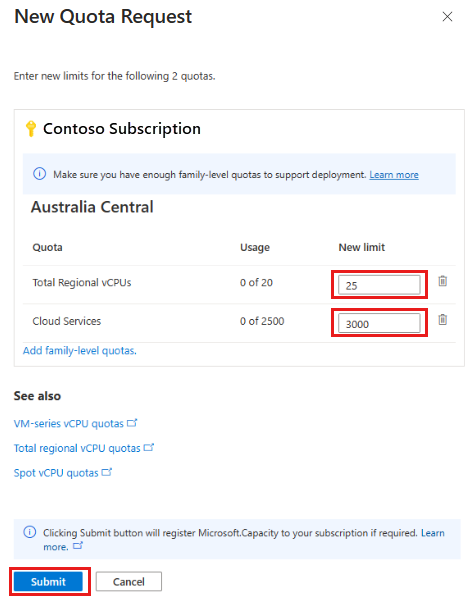
Select New Quota Request > Enter a new limit.

To complete and submit the request, fill out the required information in New Quota Request, and then select Submit.


Understanding Azure Limits and Increases provides more information about contacting Azure support to request a quota increase.
Get started with Azure DevTest Labs
New to Azure? Create a free Azure account.
Already on Azure? Create your first lab and get started with Azure DevTest Labs in minutes.