Tutorial: Create an Azure custom role using Azure CLI
If the Azure built-in roles don't meet the specific needs of your organization, you can create your own custom roles. For this tutorial, you create a custom role named Reader Support Tickets using Azure CLI. The custom role allows the user to view everything in the control plane of a subscription and also open support tickets.
In this tutorial, you learn how to:
- Create a custom role
- List custom roles
- Update a custom role
- Delete a custom role
If you don't have an Azure subscription, create a free account before you begin.
Prerequisites
To complete this tutorial, you will need:
- Permissions to create custom roles, such as User Access Administrator
- Azure Cloud Shell or Azure CLI
Sign in to Azure CLI
Sign in to Azure CLI.
Create a custom role
The easiest way to create a custom role is to start with a JSON template, add your changes, and then create a new role.
Review the list of actions for the Microsoft.Support resource provider. It's helpful to know the actions that are available to create your permissions.
Action Description Microsoft.Support/register/action Registers to Support Resource Provider Microsoft.Support/supportTickets/read Gets Support Ticket details (including status, severity, contact details and communications) or gets the list of Support Tickets across subscriptions. Microsoft.Support/supportTickets/write Creates or Updates a Support Ticket. You can create a Support Ticket for Technical, Billing, Quotas or Subscription Management related issues. You can update severity, contact details and communications for existing support tickets. Create a new file named ReaderSupportRole.json.
Open ReaderSupportRole.json in an editor and add the following JSON.
For information about the different properties, see Azure custom roles.
{
  "Name": "",
  "IsCustom": true,
  "Description": "",
  "Actions": [],
  "NotActions": [],
  "DataActions": [],
  "NotDataActions": [],
  "AssignableScopes": [
    "/subscriptions/{subscriptionId1}"
  ]
}
Add the following actions to the
Actionsproperty. These actions allow the user to view everything in the subscription and create support tickets."*/read", "Microsoft.Support/*"Get the ID of your subscription using the az account list command.
az account list --output tableIn
AssignableScopes, replace{subscriptionId1}with your subscription ID.You must add explicit subscription IDs, otherwise you won't be allowed to import the role into your subscription.
Change the
NameandDescriptionproperties to "Reader Support Tickets" and "View everything in the subscription and also open support tickets."Your JSON file should look like the following:
{
  "Name": "Reader Support Tickets",
  "IsCustom": true,
  "Description": "View everything in the subscription and also open support tickets.",
  "Actions": [
    "*/read",
    "Microsoft.Support/*"
  ],
  "NotActions": [],
  "DataActions": [],
  "NotDataActions": [],
  "AssignableScopes": [
    "/subscriptions/00000000-0000-0000-0000-000000000000"
  ]
}
To create the new custom role, use the az role definition create command and specify the JSON role definition file.
az role definition create --role-definition "~/CustomRoles/ReaderSupportRole.json"{ "additionalProperties": {}, "assignableScopes": [ "/subscriptions/00000000-0000-0000-0000-000000000000" ], "description": "View everything in the subscription and also open support tickets.", "id": "/subscriptions/00000000-0000-0000-0000-000000000000/providers/Microsoft.Authorization/roleDefinitions/22222222-2222-2222-2222-222222222222", "name": "22222222-2222-2222-2222-222222222222", "permissions": [ { "actions": [ "*/read", "Microsoft.Support/*" ], "additionalProperties": {}, "dataActions": [], "notActions": [], "notDataActions": [] } ], "roleName": "Reader Support Tickets", "roleType": "CustomRole", "type": "Microsoft.Authorization/roleDefinitions" }The new custom role is now available and can be assigned to users, groups, or service principals just like built-in roles.
List custom roles
To list all your custom roles, use the az role definition list command with the
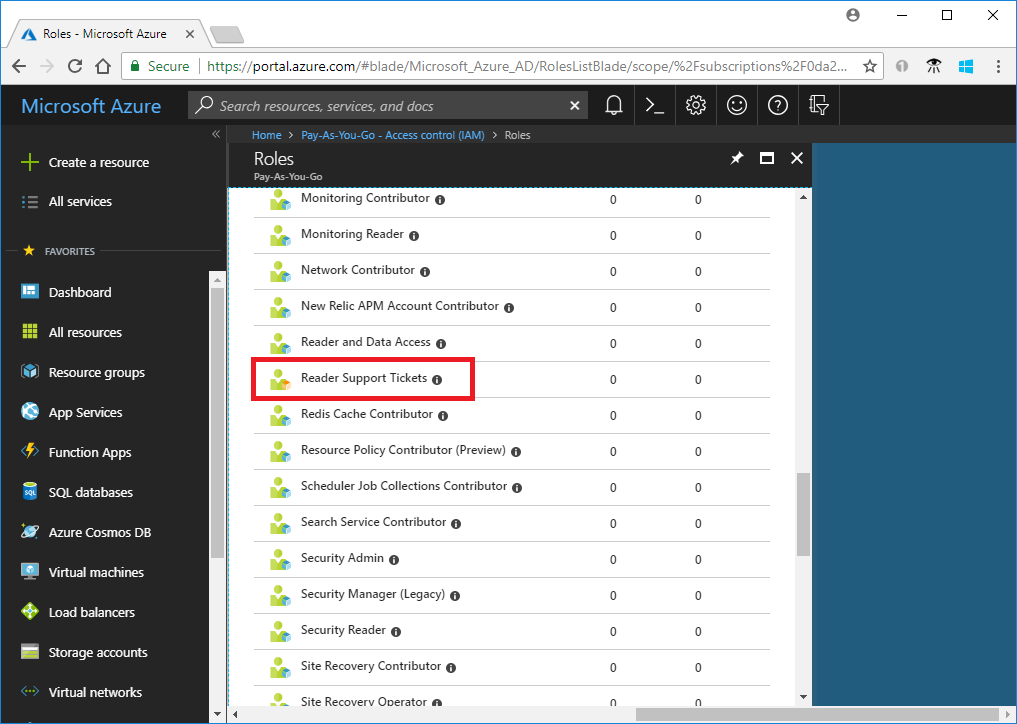
--custom-role-onlyparameter.az role definition list --custom-role-only true[ { "additionalProperties": {}, "assignableScopes": [ "/subscriptions/00000000-0000-0000-0000-000000000000" ], "description": "View everything in the subscription and also open support tickets.", "id": "/subscriptions/00000000-0000-0000-0000-000000000000/providers/Microsoft.Authorization/roleDefinitions/22222222-2222-2222-2222-222222222222", "name": "22222222-2222-2222-2222-222222222222", "permissions": [ { "actions": [ "*/read", "Microsoft.Support/*", "Microsoft.Resources/deployments/*", "Microsoft.Insights/diagnosticSettings/*/read" ], "additionalProperties": {}, "dataActions": [], "notActions": [], "notDataActions": [] } ], "roleName": "Reader Support Tickets", "roleType": "CustomRole", "type": "Microsoft.Authorization/roleDefinitions" } ]You can also see the custom role in the Azure portal.
Update a custom role
To update the custom role, update the JSON file and then update the custom role.
Open the ReaderSupportRole.json file.
In
Actions, add the action to create and manage resource group deployments"Microsoft.Resources/deployments/*". Be sure to include a comma after the previous action.Your updated JSON file should look like the following:
{
  "Name": "Reader Support Tickets",
  "IsCustom": true,
  "Description": "View everything in the subscription and also open support tickets.",
  "Actions": [
    "*/read",
    "Microsoft.Support/*",
    "Microsoft.Resources/deployments/*"
  ],
  "NotActions": [],
  "DataActions": [],
  "NotDataActions": [],
  "AssignableScopes": [
    "/subscriptions/00000000-0000-0000-0000-000000000000"
  ]
}
To update the custom role, use the az role definition update command and specify the updated JSON file.
az role definition update --role-definition "~/CustomRoles/ReaderSupportRole.json"{ "additionalProperties": {}, "assignableScopes": [ "/subscriptions/00000000-0000-0000-0000-000000000000" ], "description": "View everything in the subscription and also open support tickets.", "id": "/subscriptions/00000000-0000-0000-0000-000000000000/providers/Microsoft.Authorization/roleDefinitions/22222222-2222-2222-2222-222222222222", "name": "22222222-2222-2222-2222-222222222222", "permissions": [ { "actions": [ "*/read", "Microsoft.Support/*", "Microsoft.Resources/deployments/*" ], "additionalProperties": {}, "dataActions": [], "notActions": [], "notDataActions": [] } ], "roleName": "Reader Support Tickets", "roleType": "CustomRole", "type": "Microsoft.Authorization/roleDefinitions" }
Delete a custom role
Use the az role definition delete command and specify the role name or role ID to delete the custom role.
az role definition delete --name "Reader Support Tickets"