Deploy Spring Boot applications using IntelliJ
Note
The Basic, Standard, and Enterprise plans will be deprecated starting from mid-March, 2025, with a 3 year retirement period. We recommend transitioning to Azure Container Apps. For more information, see the Azure Spring Apps retirement announcement.
The Standard consumption and dedicated plan will be deprecated starting September 30, 2024, with a complete shutdown after six months. We recommend transitioning to Azure Container Apps. For more information, see Migrate Azure Spring Apps Standard consumption and dedicated plan to Azure Container Apps.
This article applies to: ✔️ Java ❌ C#
This article applies to: ✔️ Basic/Standard ✔️ Enterprise
The IntelliJ plug-in for Azure Spring Apps supports application deployment from IntelliJ IDEA.
Before running this example, you can try the basic quickstart.
Prerequisites
Install the plug-in
You can add the Azure Toolkit for IntelliJ IDEA 3.51.0 from the IntelliJ Plugins UI.
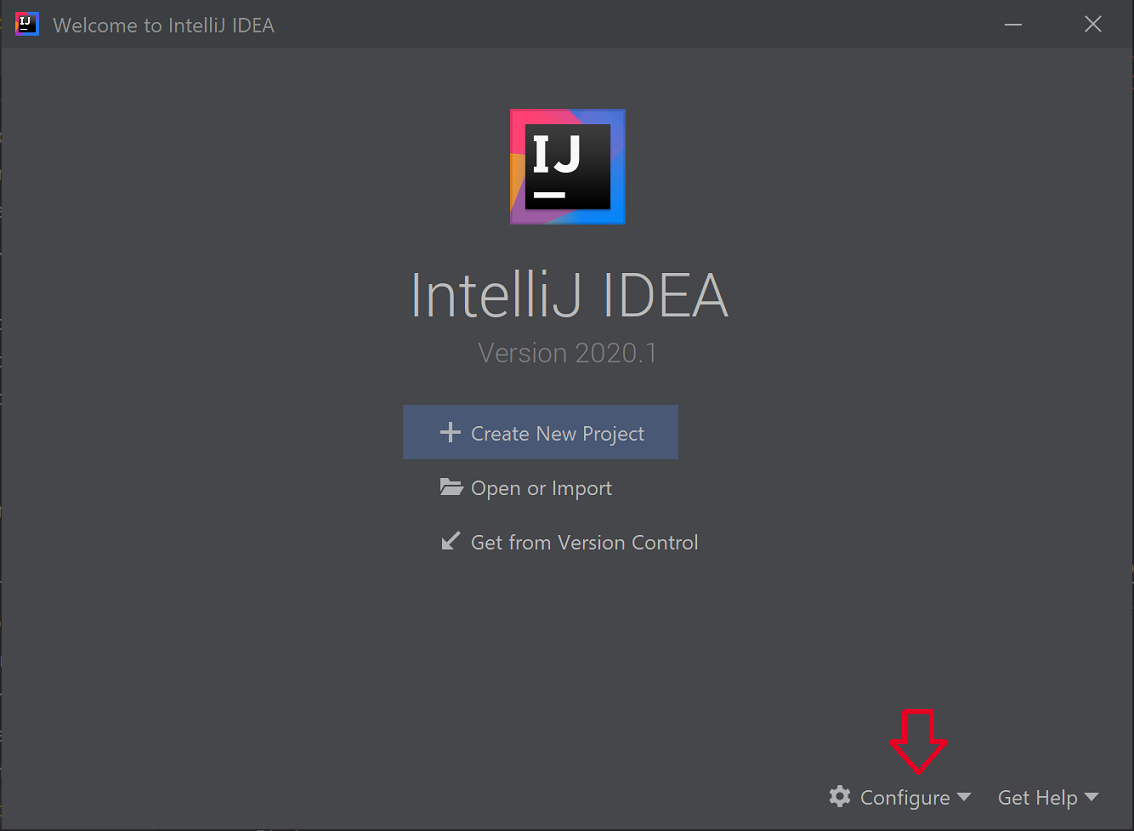
Start IntelliJ. If you have opened a project previously, close the project to show the welcome dialog. Select Configure from link lower right, and then select Plugins to open the plug-in configuration dialog, and select Install Plugins from disk.
Search for Azure Toolkit for IntelliJ. Select Install.
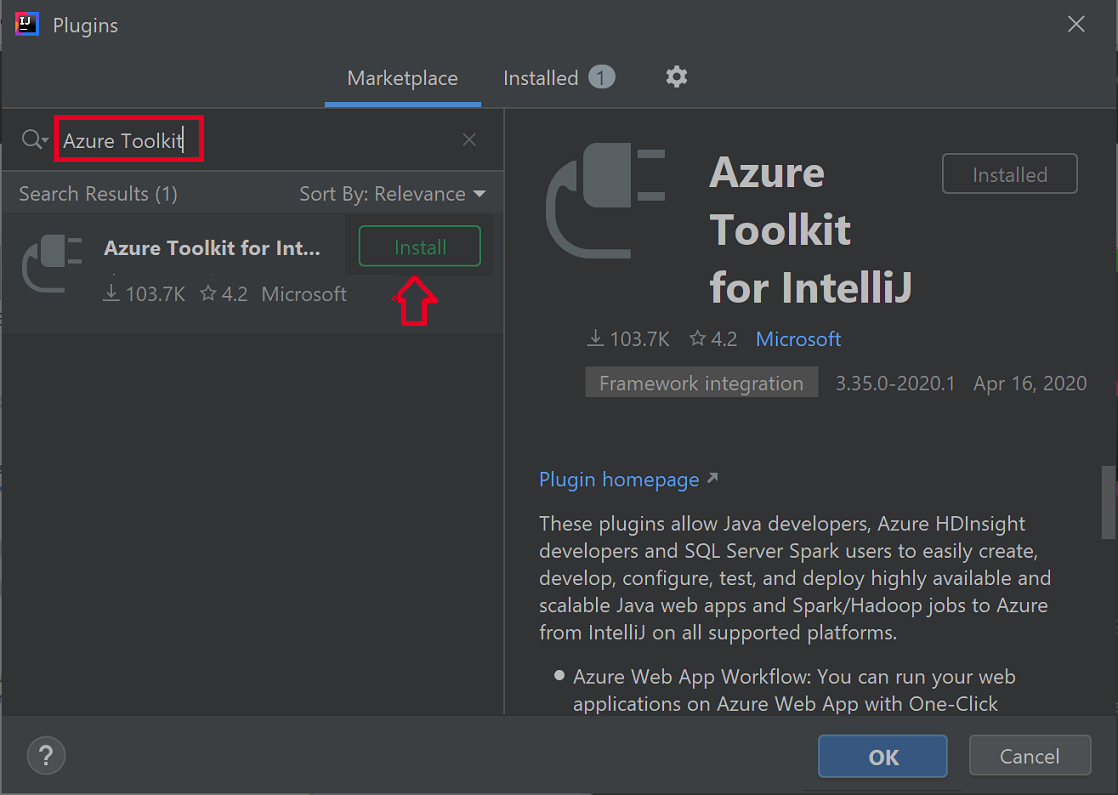
Select Restart IDE.
Tutorial procedures
The following procedures deploy a Hello World application using IntelliJ IDEA.
- Open the gs-spring-boot project
- Deploy to Azure Spring Apps
- Show streaming logs
Open gs-spring-boot project
Download and unzip the source repository for this tutorial, or clone it using the following Git command:
git clone https://github.com/spring-guides/gs-spring-boot.gitNavigate to the gs-spring-boot\complete folder.
Open IntelliJ Welcome dialog, select Import Project to open the import wizard.
Select the gs-spring-boot\complete folder.


Deploy to Azure Spring Apps
In order to deploy to Azure you must sign-in with your Azure account, and choose your subscription. For sign-in details, see Install and sign-in.
Right-click your project in IntelliJ project explorer, and select Azure -> Deploy to Azure Spring Apps.

Accept the name for app in the Name field. Name refers to the configuration, not app name. Users don't usually need to change it.
Accept the identifier from the project for the Artifact.
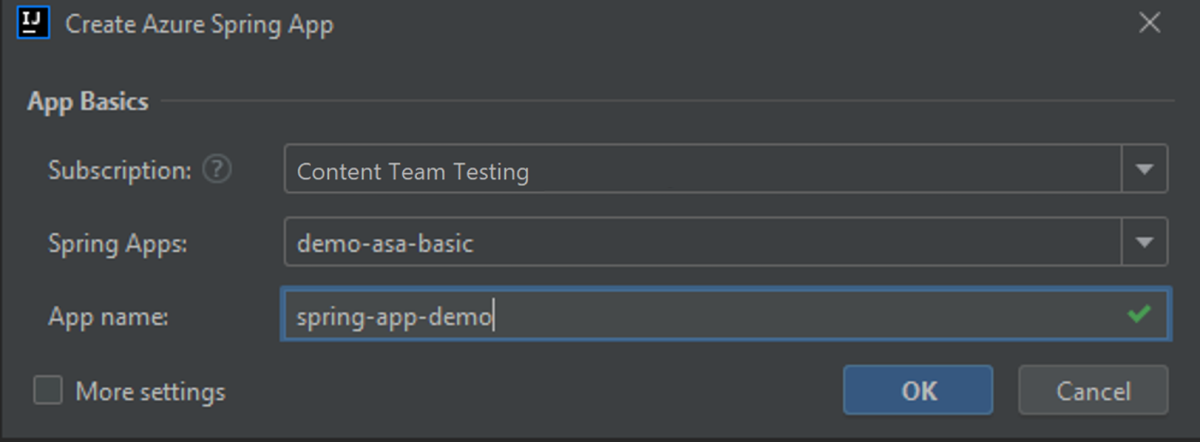
Select App: then click + to create an Azure Spring Apps instance.

Enter App name, then select OK.
Start the deployment by selecting the Run button.

The plug-in will run the command
mvn packageon the project and then create the new app and deploy the jar generated by thepackagecommand.If the app URL is not shown in the output window, get it from the Azure portal. Navigate from your resource group to the instance of Azure Spring Apps. Then select Apps. The running app will be listed. Select the app, then copy the URL or Test Endpoint.

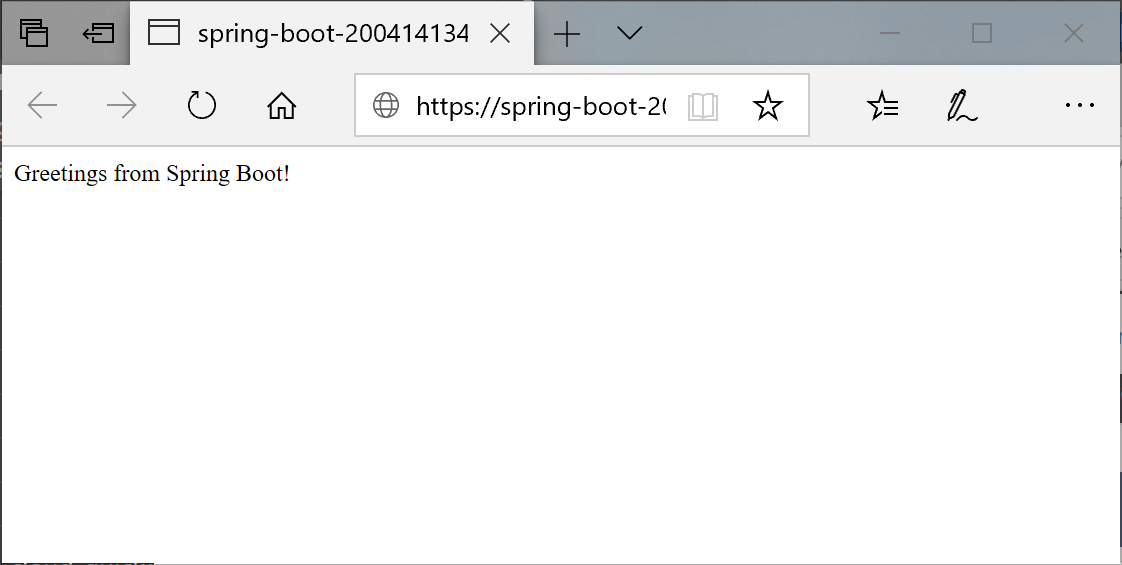
Navigate to the URL or Test Endpoint in the browser.


Show streaming logs
To get the logs:
Select Azure Explorer, then Spring Apps.
Right-click the running app.
Select Streaming Log from the drop-down list.
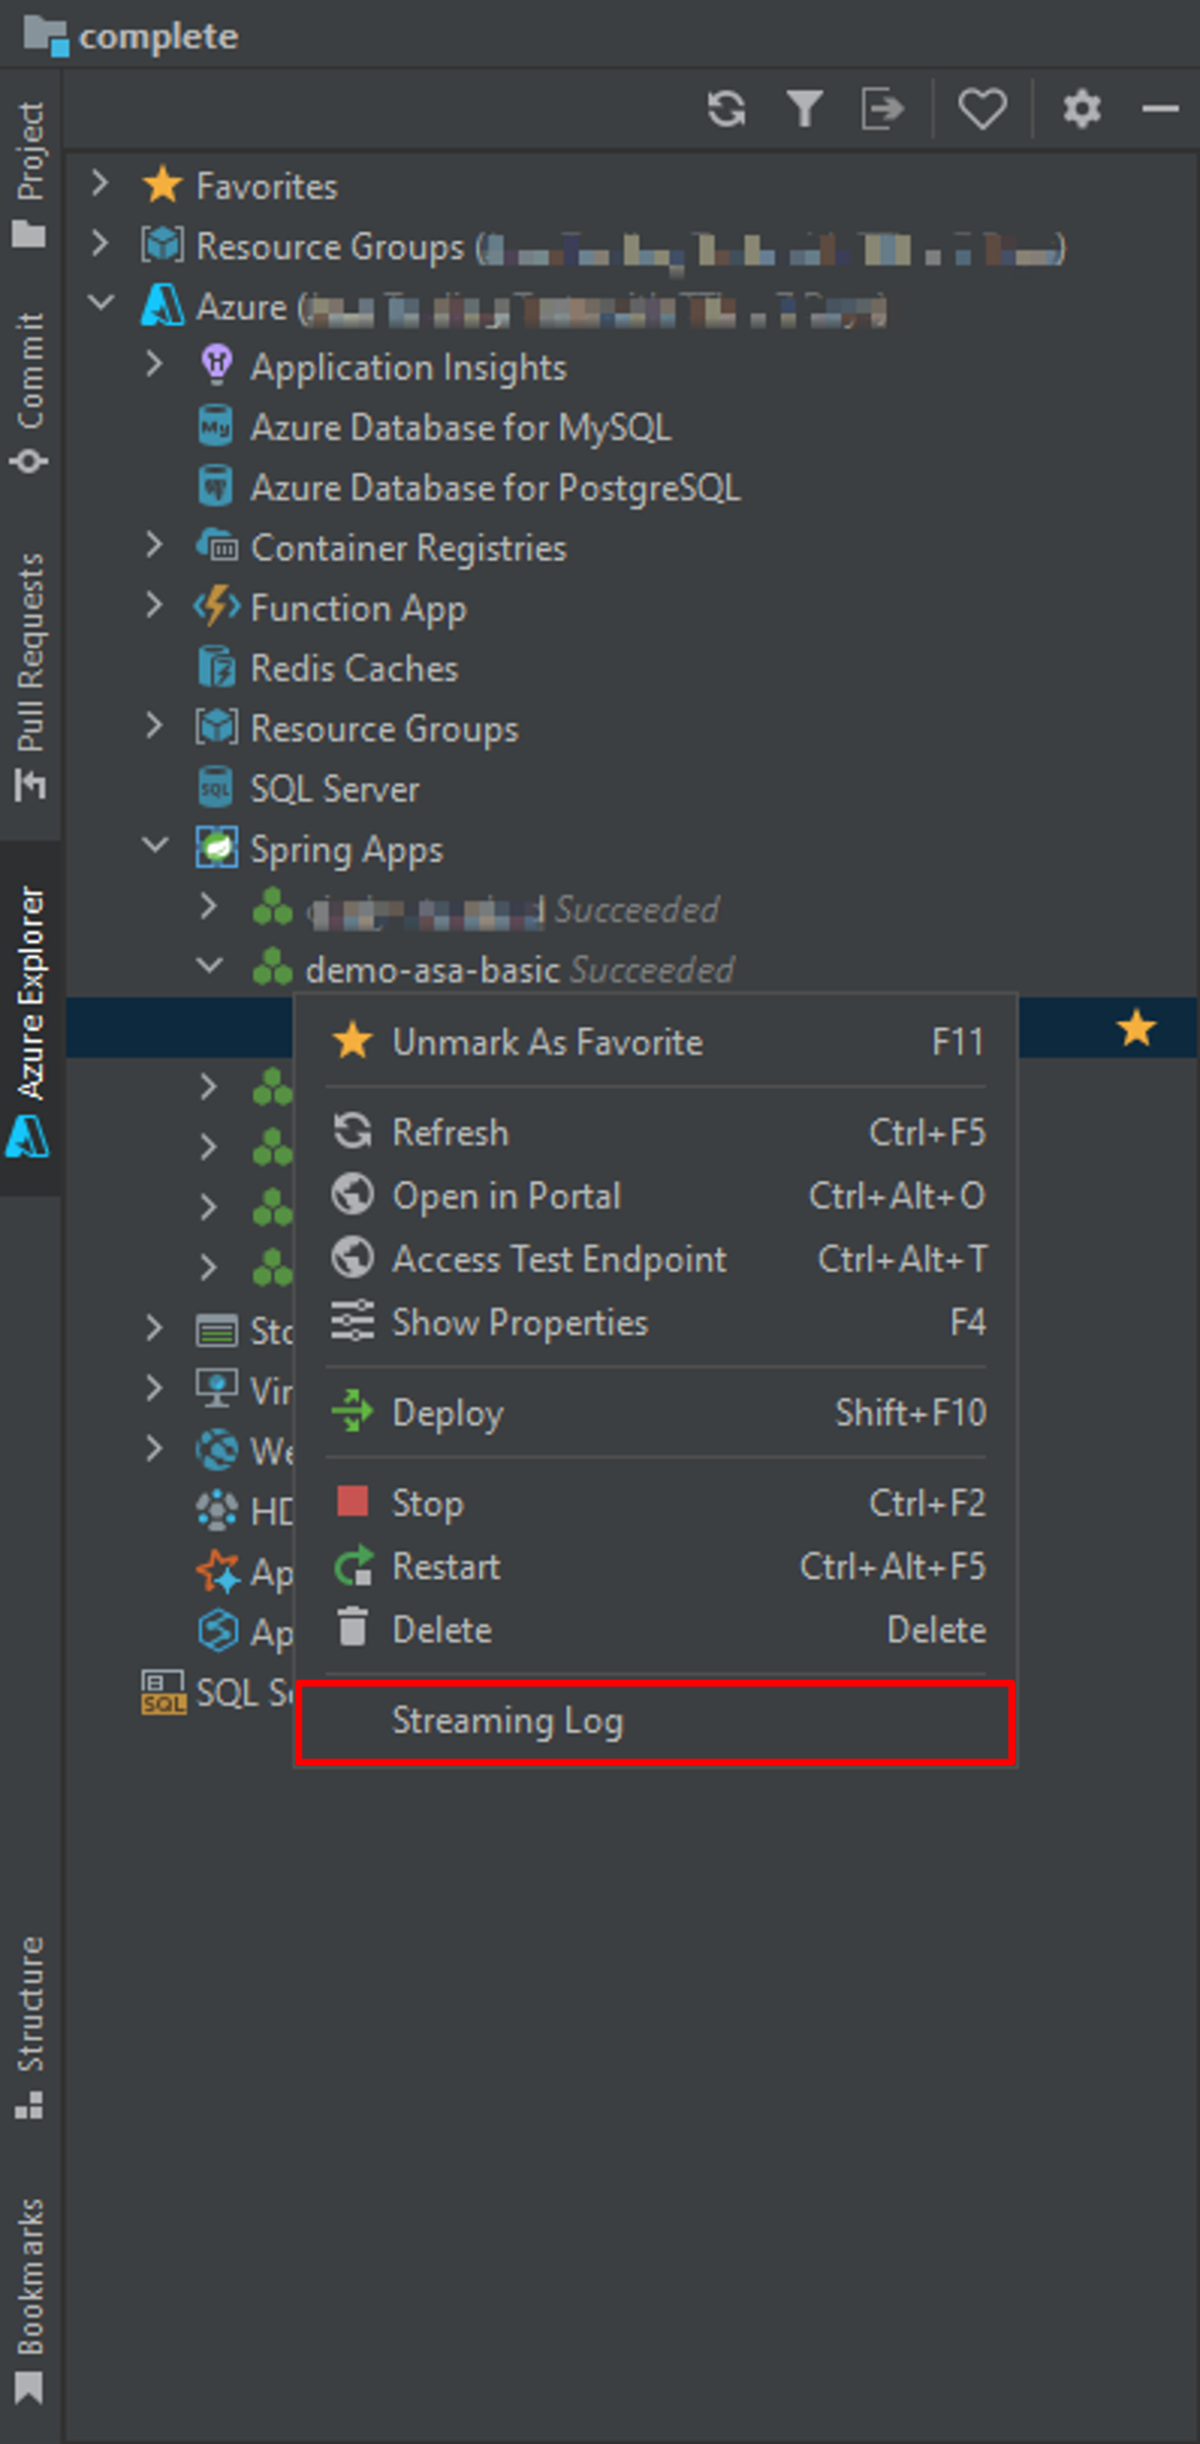
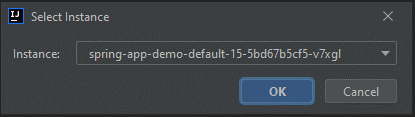
Select instance.
The streaming log will be visible in the output window.

