Note
Access to this page requires authorization. You can try signing in or changing directories.
Access to this page requires authorization. You can try changing directories.
To run successful data analytics projects with Copy job, you want to use source control, continuous integration, continuous deployment, and a collaborative environment.
In Microsoft Fabric, you get two main tools for this: Git integration and deployment pipelines. These let you manage workspace resources and update them as needed.
With Git integration and deployment pipelines, you can connect your own Git repositories in Azure DevOps or GitHub and use Fabric’s built-in deployment tools. This makes it easy to set up smooth CI/CD workflows, so you can build, test, and deploy your data projects with confidence.
Git integration for Copy job
Follow these steps to connect your Copy job in Data Factory to Git. This helps you track changes, work with your team, and keep your work safe:
Prerequisites for Git integration
- You need a Power BI Premium license or Fabric capacity.
- Make sure these admin settings are turned on:
- You need either an Azure DevOps organization or a GitHub account.
- For Azure DevOps:
- Sign up for a free Azure account if you don’t have one.
- Make sure you have access to a repository.
- For GitHub:
- Sign up for a free GitHub account if you don’t have one.
- You need a fine-grained token with read and write permissions for Contents, or a GitHub classic token with repo scopes enabled.
- For Azure DevOps:
Step 1: Connect to a Git repository
To use Git integration with Copy job in Fabric, you first need to connect to a Git repository:
Sign in to Fabric and go to the workspace you want to connect to Git.
Select Workspace settings.

Select Git integration.
Choose your Git provider—either Azure DevOps or GitHub. If you pick GitHub, select Add account to connect your GitHub account. After you sign in, select Connect so Fabric can access your GitHub account.

Step 2: Connect to a workspace
Once you’ve connected to a Git repository, you need to connect to your workspace.
From the dropdown menu, fill in the details about the workspace and branch you want to use:
For Azure DevOps:
- Organization name
- Project name
- Repository name
- Branch name
- Folder name
For GitHub:
- Repository URL
- Branch name
- Folder name
Select Connect and sync.
After connecting, select Source control for information about the linked branch, the status of each item, and when it last synced.
Step 3: Commit changes to Git
You can commit your changes to Git by following these steps:
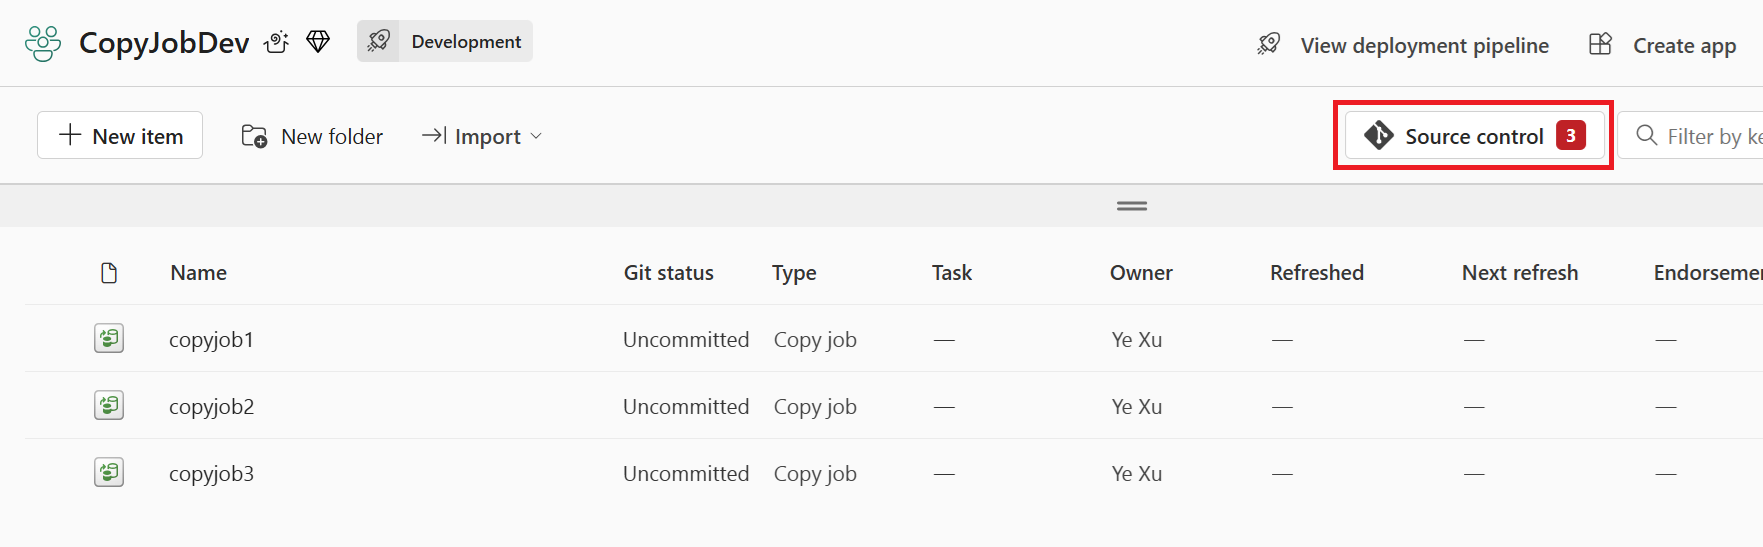
- Go to your workspace.
- Select the Source control icon. You see a number showing how many changes aren't committed yet.
- In the Source control panel, select the Changes tab. You see a list of everything you've changed, along with status icons.
- Choose the items you want to commit. To select everything, check the box at the top.
- (Optional) Add a commit comment about your changes.
- Select Commit.
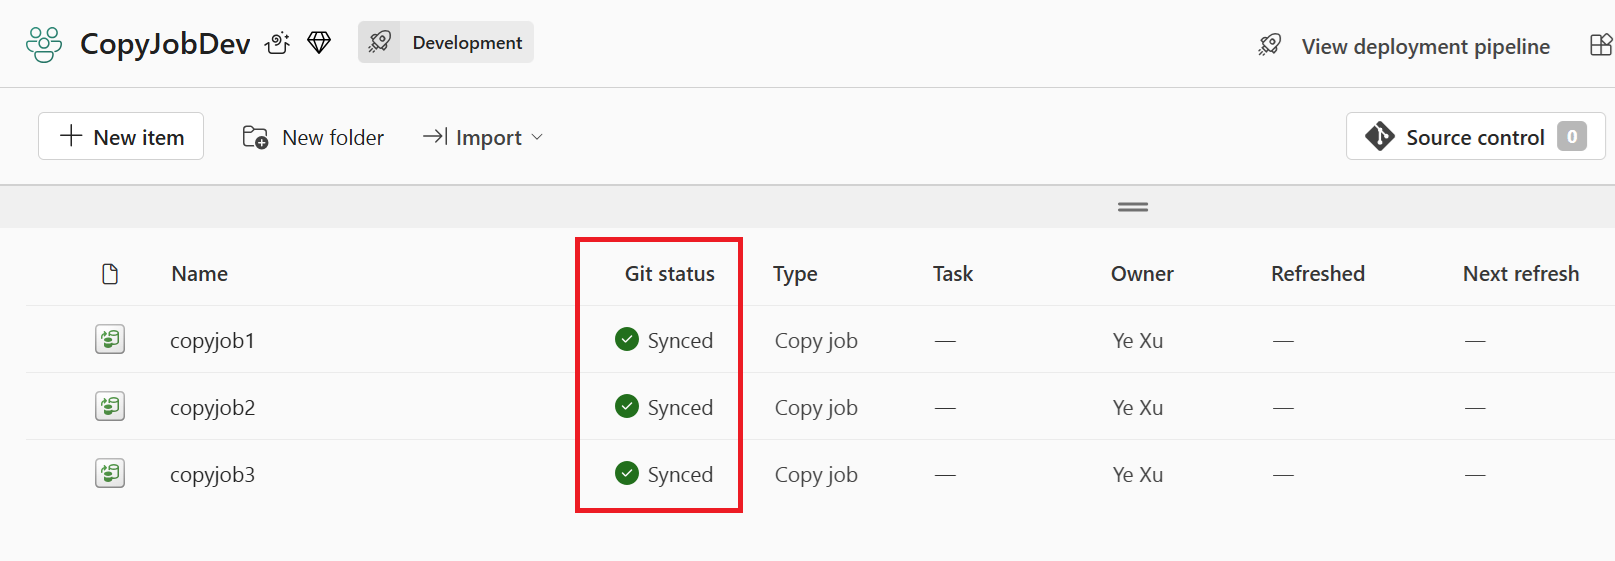
Once you commit, those items disappear from the list, and your workspace points to the latest commit.
Deployment pipelines for Git
Follow these steps to use Git deployment pipelines with your Fabric workspace:
- Prerequisites
- Create a deployment pipeline
- Assign a workspace to the deployment pipeline
- Deploy to an empty stage
- Deploy content from one stage to another
Prerequisites for deployment pipelines
Before you get started, be sure to set up the following prerequisites:
- An active Microsoft Fabric subscription.
- Admin access on a Fabric workspace.
Step 1: Create a deployment pipeline
- In the Workspaces menu, select Deployment pipelines.
- When the Create deployment pipeline window opens, enter a name and description for your pipeline, then select Next.
- Choose how many stages you want in your pipeline. By default, you see three stages: Development, Test, and Production.
Step 3: Assign a workspace to the deployment pipeline
After creating a pipeline, you need to add content you want to manage to the pipeline. Adding content to the pipeline is done by assigning a workspace to any pipeline stage:
Open the deployment pipeline.
In the stage you want to assign a workspace to, expand the dropdown titled Add content to this stage.
Select the workspace you want to assign to this stage.
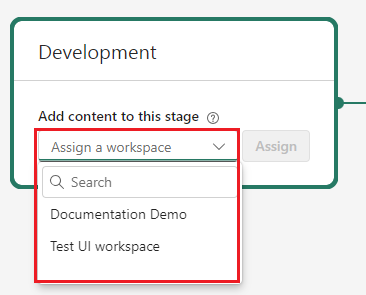
Select Assign.
Deploy to an empty stage
When you're ready to move your content from one pipeline stage to the next, you can deploy it using one of these options:
- Full deployment: Select this to deploy everything in the current stage to the next stage.
- Selective deployment: Pick only the items you want to deploy.
- Backward deployment: Move content from a later stage back to an earlier stage. You can only do this if the target stage is empty (no workspace assigned).
After you choose your deployment option, you can review the details and leave a note about the deployment if you'd like.
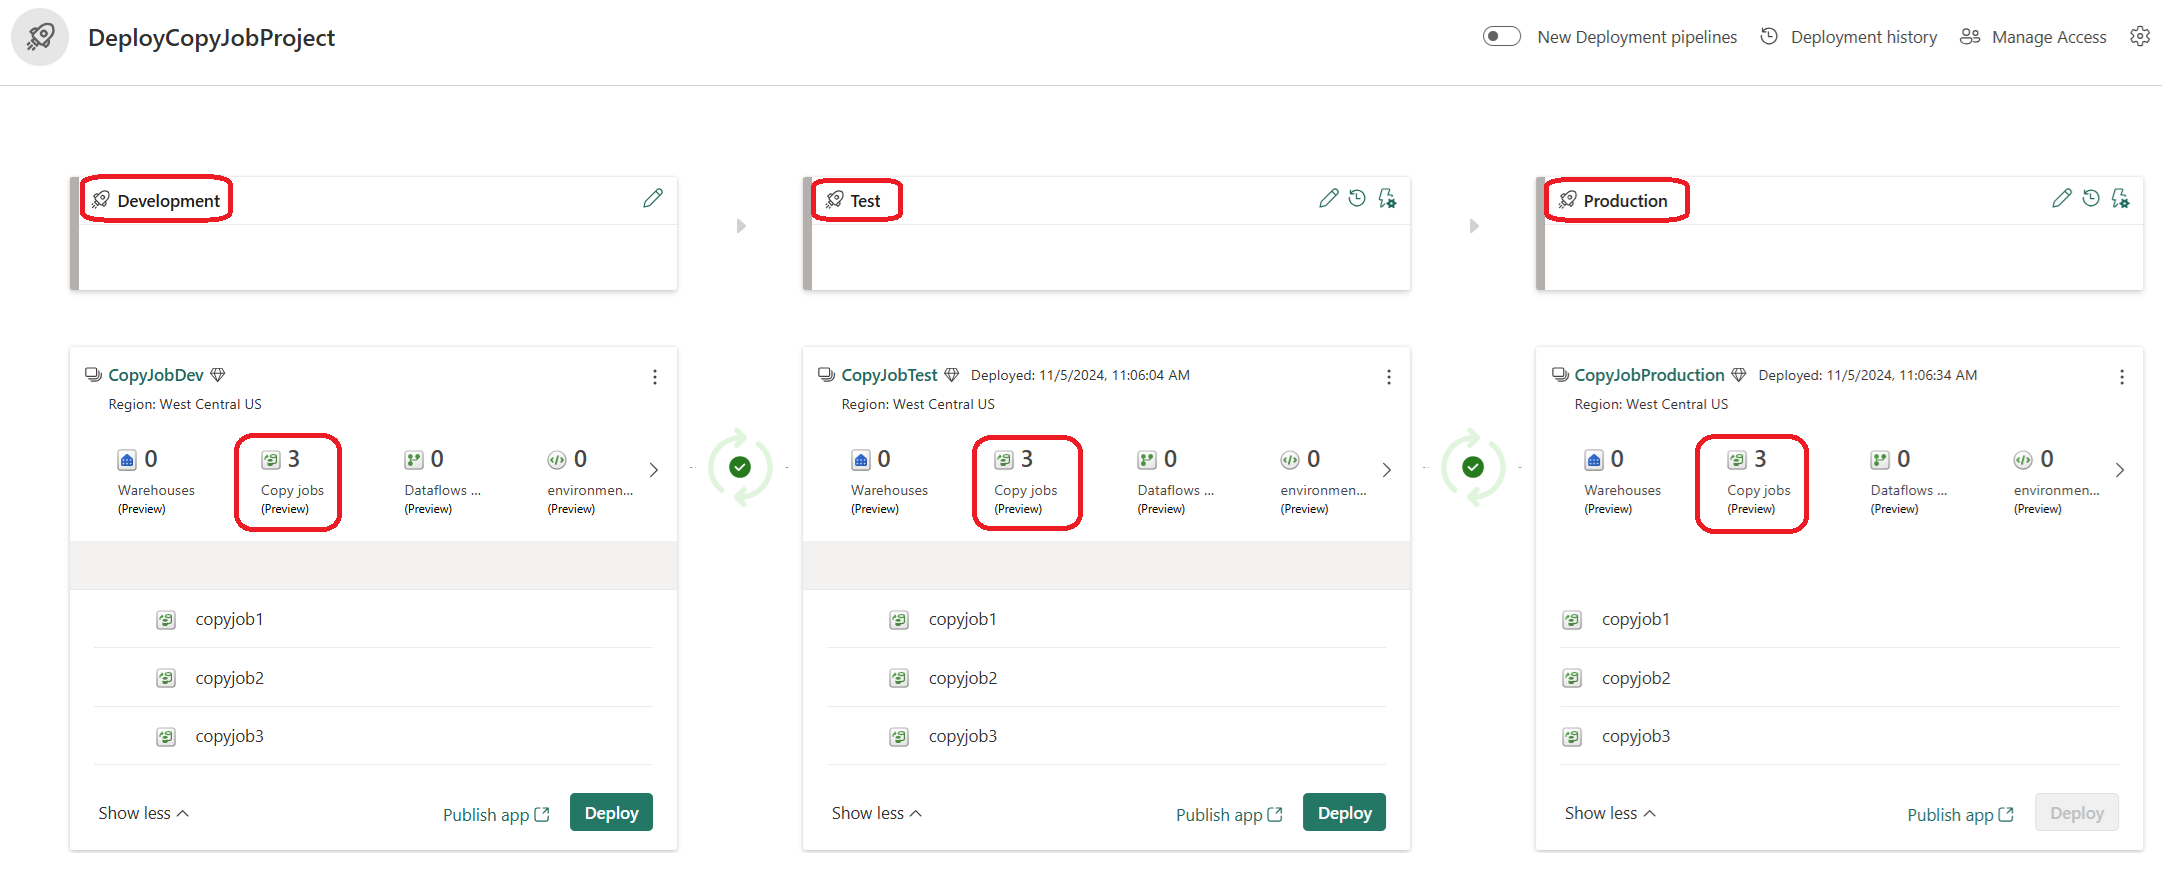
Deploy content from one stage to another
Once you have content in a pipeline stage, you can deploy it to the next stage, even if the next stage workspace has content. Paired items are overwritten. You can learn more about this process, in the Deploy content to an existing workspace article
You can also review the deployment history to see the last time content was deployed to each stage. To examine the differences between the two pipelines before you deploy, see Compare content in different deployment stages.
Known limitations
Here are some of the current limitations when using CI/CD for Copy job in Data Factory in Microsoft Fabric:
- Workspace variables: CI/CD doesn't currently support workspace variables.
- Git Integration limited support: Currently, Fabric only supports Git integration with Azure DevOps and GitHub. Azure DevOps Git integration is recommended as GitHub Git integration has more limitations.