Create an order gallery in a canvas app
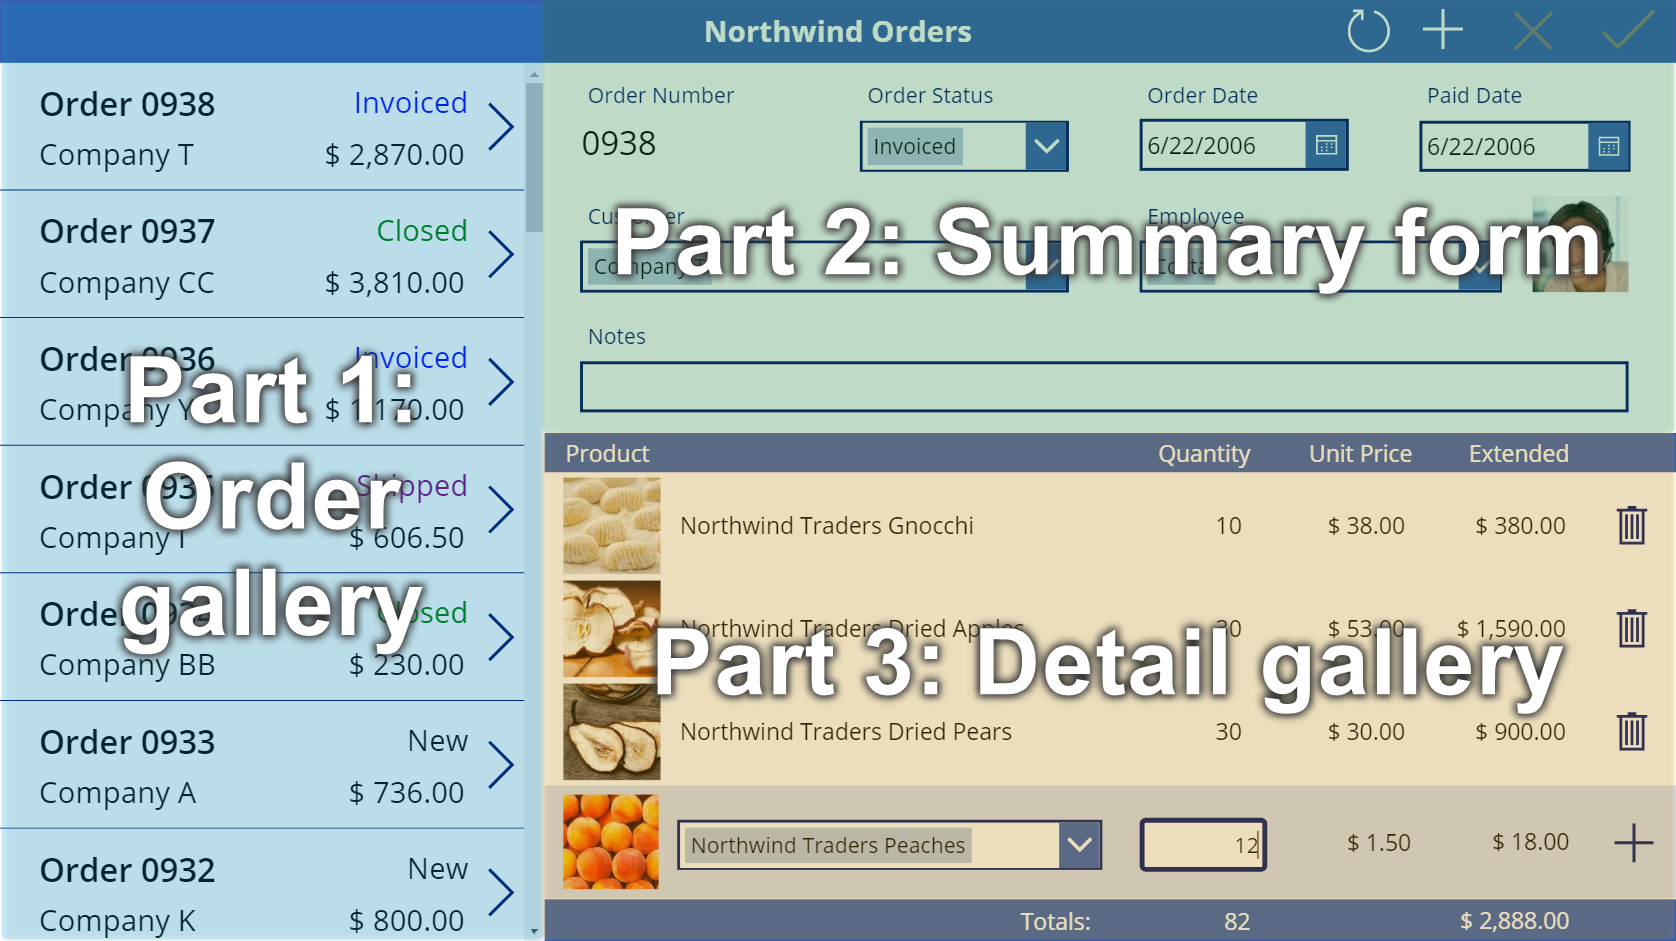
Follow step-by-step instructions to create an order gallery in a canvas app for managing fictitious data in the Northwind Traders database. This topic is part of a series that explains how to build a business app on relational data in Microsoft Dataverse. For best results, explore these topics in this sequence:
- Create an order gallery (this topic).
- Create a summary form.
- Create a detail gallery.

Prerequisites
- Install the Northwind Traders database and apps.
- Read through the overview of the canvas app for Northwind Traders.
Create a blank app
Create a blank canvas app, and give it a name such as "My Northwind Orders (Canvas app)".
Add the data
On the left-pane, select Data > Add data > search for, and select Orders table.

The Orders table contains many fields of various types:

Each field has a Display name and a Name, which is sometimes called the logical name. Both names refer to the same thing. In general, you'll use the display name when you build an app, but some cases require the more cryptic Name, as noted in a procedure.
As we will be working with screens and controls next, in Power Apps Studio switch back to the Tree View on the left hand side by pressing the three stacked squares icon. You can return to the Data Sources at any time by pressing the cylinder icon.
Create the order gallery
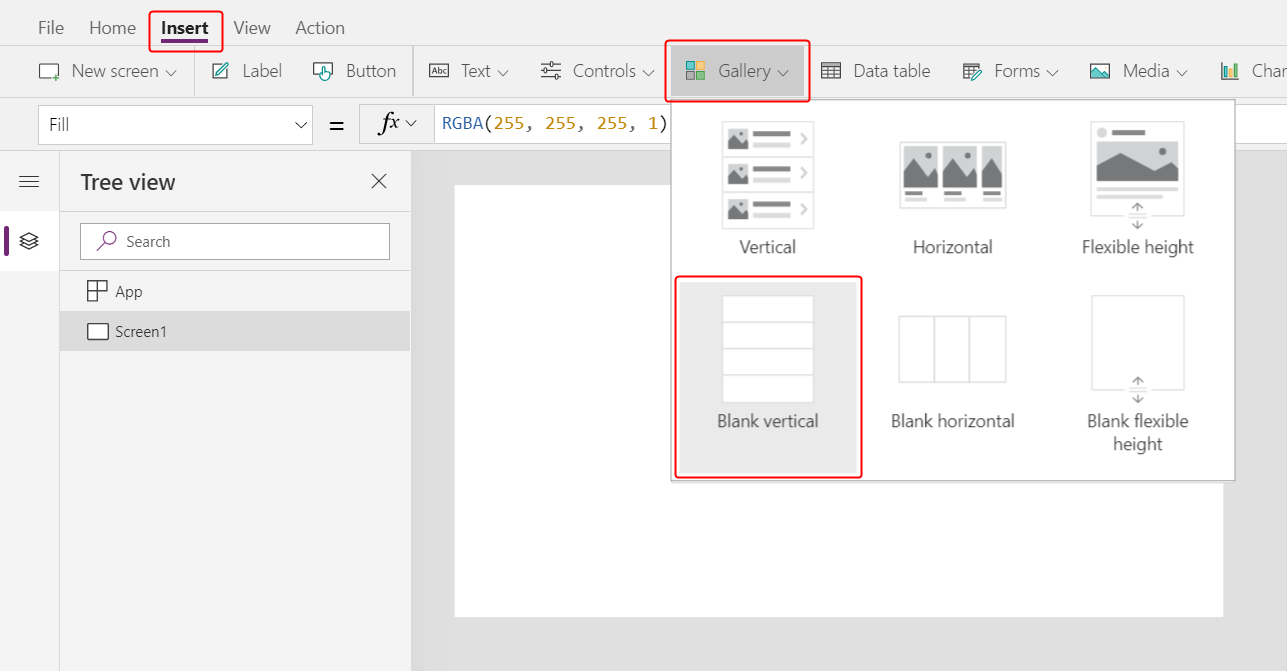
On the Insert tab, select Gallery > Blank vertical to add a Gallery control, which will show the orders.

The control will be placed on the canvas and a fly out dialog will appear asking which data source to connect to.
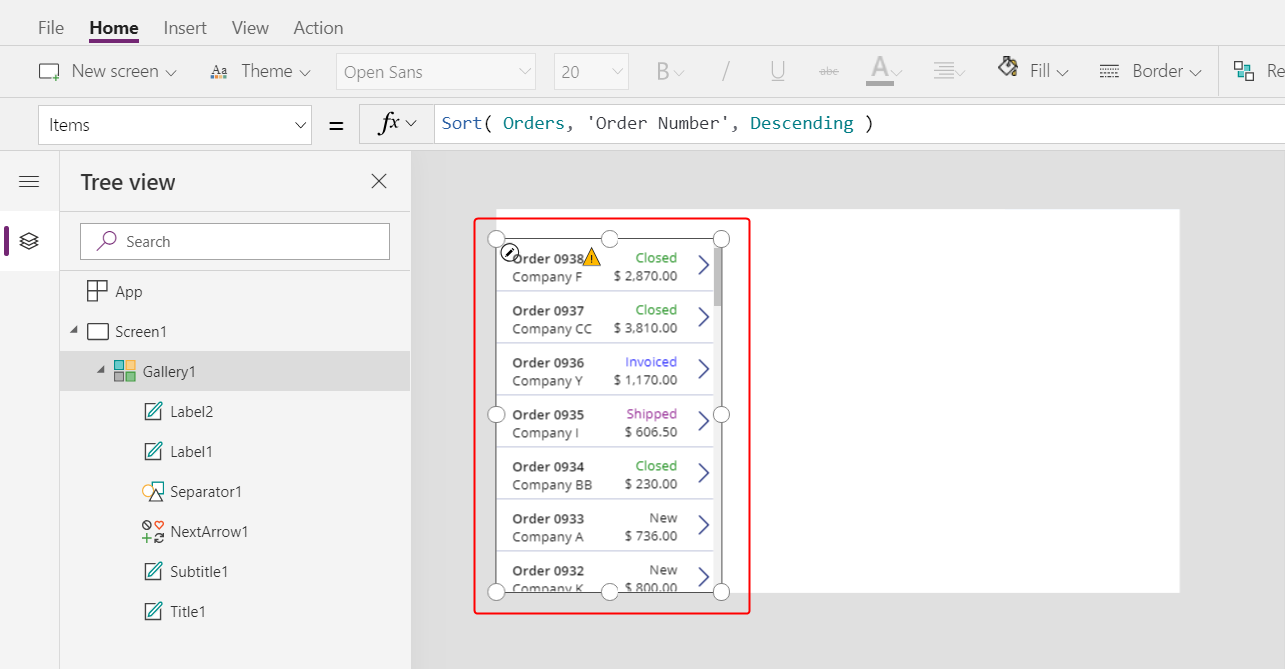
We could connect it directly to Orders here, but instead we'd like to control the sort order of the gallery. Ignore the fly out dialog and in the formula bar set the gallery's Items property to this formula:
Sort( Orders, 'Order Number', Descending )The Sort function orders the list so that the newest order (which has the highest order number) appears first.

After a few moments the Result View will appear below the formula bar. Pull down on the arrow at the left to see the result of our formula. Scroll to the right to see the Order Number column and ensure it is sorted the way want (highest to lowest).

In the Properties tab near the right edge, open the Layout list:

In the list of options, select Title and subtitle:

Two Label controls are added in the gallery's template. By default, these controls show two columns of the Orders table, which you'll change next. The gallery's template is replicated vertically for each record in the table.
Select Edit (next to Fields) in the Properties tab near the right edge.

In the Data pane, select Title1 (or select the upper label in the gallery's template).
In the formula bar, set the label's Text property to this expression:
"Order " & ThisItem.'Order Number'
The order number appears at the top of each gallery item. In the gallery template, ThisItem grants access to all fields in the Order table.
In the Data pane, select Subtitle1 (or select the lower label in the gallery's template):

In the formula bar, set the label's Text property to this expression:
ThisItem.Customer.Company
After you enter this formula, it may show a red squiggly error for a moment. The error should clear if you select anything outside the formula bar and then return the cursor to the formula bar. If the error persists or you don't see a value, select the View tab, select Data sources, and then refresh the Orders table by selecting the ellipsis (...) to the right of the data-source name.
When you specify ThisItem.Customer, you're leveraging a many-to-one relationship between the Orders and Customers tables and retrieving the customer record that's associated with each order. From the customer record, you're extracting data in the Company column for display.
You can show all the relationships from the Orders table to other tables, including the Customer table:

Close the Data pane by selecting the close icon (x) in its upper-right corner.
Show each order's status
In this procedure, you'll add space in the gallery for a label and configure it to show each order's status in a different color based on the data.
In the gallery's template, reduce the width of the first label, Title1:

Repeat the previous step with the second label, Subtitle1:

With the gallery template (or a control in the template) selected, select Label on the Insert tab:

Move the new label to the right of the Title1 label:

Set the Text property of the new label to this expression:
ThisItem.'Order Status'
In the Orders table, the Order Status field holds a value from the Orders Status choice. A choice is similar to an enumeration in other programming tools. Each set of options is defined in the database, so users can specify only those options that are in the set. The Orders Status choice is also global, not local, so you can use it in other tables:

Each option in a set has a name that appears if you show it in a label. These names can be localized, and the app recognizes the same option whether an English user selects Apple, a French user selects Pomme, or a Spanish user selects Manzana. For this reason, you can't create a formula that relies on a hard-coded string for an option, as this topic demonstrates later.
In formulas, you must surround Order Status with single quotation marks because it contains a space. However, that name functions the same way as any other name in Power Apps, such as Customer or Company, does.
On the Home tab, increase the font size of the status label to 20 points, and right align the text:

In the formula bar, set the Color property of the status label to this formula:
Switch( ThisItem.'Order Status',
    'Orders Status'.Closed, Green,
    'Orders Status'.New, Black,
    'Orders Status'.Invoiced, Blue,
    'Orders Status'.Shipped, Purple
)
Power Apps prevents you from creating a formula that relies on a hard-coded string for each option in a set because such formulas could produce inappropriate results if the option names are localized. Instead, the Switch function determines the color based on whatever string appears in the label based on the user's settings.
With this formula in place, different status values appear in different colors, as the previous graphic shows.
Display each order's total
Select the first item in the gallery, which is the gallery's template:

On the Insert tab, select Label to add another label:

Move the new label so that it appears under the status label:

In the formula bar, set the new label's Text property to this formula:
Text( Sum( ThisItem.'Order Details', Quantity * 'Unit Price' ), "[$-en-US]$ #,###.00" )
In this formula, the Sum function adds up the records in the Order Details table that are associated with each record in the Order table through a one-to-many relationship. These line items make up each order, and you'll use the same one-to-many relationship to show and edit the line items in the lower-right area of the screen.
This formula shows a blue underline and a delegation warning because Dataverse doesn't support delegation of complex aggregate functions (for example, the sum of a multiplication). You can ignore this information because no order in this example will contain more than 500 line items. If necessary for a different app, you can increase that limit in App settings.
The Text function in this formula adds a currency symbol and formats the result with thousands and decimal separators. As written, the formula includes the language tag for U.S. English ([$-en-US]) and a dollar symbol ($). If you remove the language tag, it will be replaced with one based on your language settings, and the label will show the appropriate formats for that tag. If you leave the dollar symbol, the label will show the appropriate currency symbol based on the user's settings. However, you can force a different symbol to appear by replacing the dollar symbol with the one that you prefer.
On the Home tab, change the font size of the newest label to 20 points, and right align its text:

Move the gallery to the left edge of the screen, and decrease the gallery's width to close up some space.
Increase the gallery's height so that it's almost as tall as the screen, but leave a little room at the top for a title bar, which you'll add at the start of the next topic:

Summary
To recap, you started to build a single-screen canvas app by adding the order gallery, which includes these elements:
- An expression to show the order number:
"Orders " & ThisItem.OrderNumber - A field in a many-to-one relationship:
ThisItem.Customer.Company - A label that shows the name of an option in a set:
ThisItem.'Order Status' - A label that changes format based on which option in a set the label shows:
Switch( ThisItem.'Order Status', 'Orders Status'.Closed, Green, ... - A complex aggregate function over a one-to-many relationship:
Sum( ThisItem.'Order Details', Quantity * 'Unit Price' )
Next topic
In the next topic, you'll add an Edit form control to display and edit an summary of whatever order the user selects in the gallery that you just created.