Using the Applied Steps list
The Applied steps list is part of the Query settings pane in Power Query. Any transformations to your data are dislayed in the Applied steps list. For instance, if you change the first column name, the new column name is displayed in the Applied steps list as Renamed columns.

Selecting any step displays the results of that particular step, so you can see exactly how your data changes as you add steps to the query.
Access the Applied steps list
In most cases, the Applied steps list is displayed automatically when you connect to your data source and open the Power Query editor. However, there may be times when the Query settings section has been closed, and you need to reopen it.
If you're using Power Query Desktop (Excel, Power BI Desktop, Analysis Services) and the Query Settings pane is closed, select the View tab from the ribbon, and then select Query Settings.
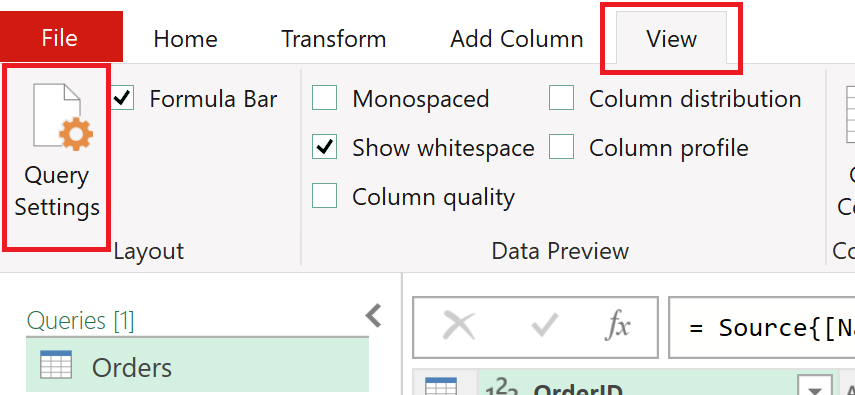
The Query Settings pane then opens on the right side with the Applied Steps list.

If you're using Power Query Online (Power BI service, Power Apps, Data Factory (preview), Microsoft 365 Customer Insights) and the Query settings pane is closed, select the < icon above Query settings to open the pane.
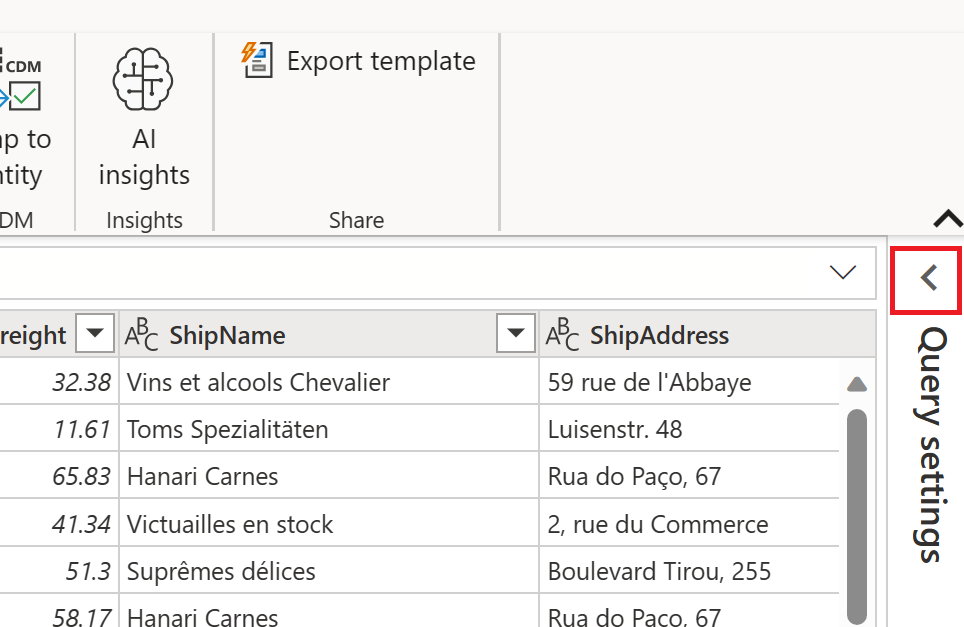
The Query settings pane then opens on the right side with the Applied steps list.

The following image shows the different parts of the Applied steps list. Currently, not all of these parts are found in Power Query Desktop. The Applied steps list in Power Query Desktop only contains the delete step, step name, step description, and step settings elements. The step icon and query folding indicator are found only in Power Query Online.

The full list of the step parts are:
- Delete step: When a step is selected, the delete icon appears on the left side of the Applied steps list. If you select the icon, the step is deleted. More information: Delete step
- Step icon: Automatically assigned to the step, based on its type, and can't be changed by the user. The step icon isn't available in Power Query Desktop.
- Step name: A name automatically assigned to the step. The step name can be changed using the step menu. More information: Rename step
- Step description: A description of the step. Typically, no description is added when the step is created. However, the step description can be added using the step menu. More information: Edit step names and their descriptions
- Step settings: Change any settings that are specific to the selected step. Not all steps have settings. More information: Edit settings
- Query folding indicator: Provides a graphic representation of the query folding status of the selected step. This indicator isn't available in Power Query Desktop. More information: Query folding indicators
In Power Query Online, if you hover the mouse cursor over one of the applied steps, an informational display opens, listing the step name, step label, step description, step settings, information about the step query folding, and a learn more link to the Query folding indicators article. For more information about query folding, go to Overview of query evaluation and query folding in Power Query. The step label is automatically generated when the step is created, and indicates the step type, as does the step icon. The step label and the step icon can't be changed.

Step menu selections
When you right-click on a step in the applied steps list, a step menu pops up. The following sections describe each of the options available in the step menu.
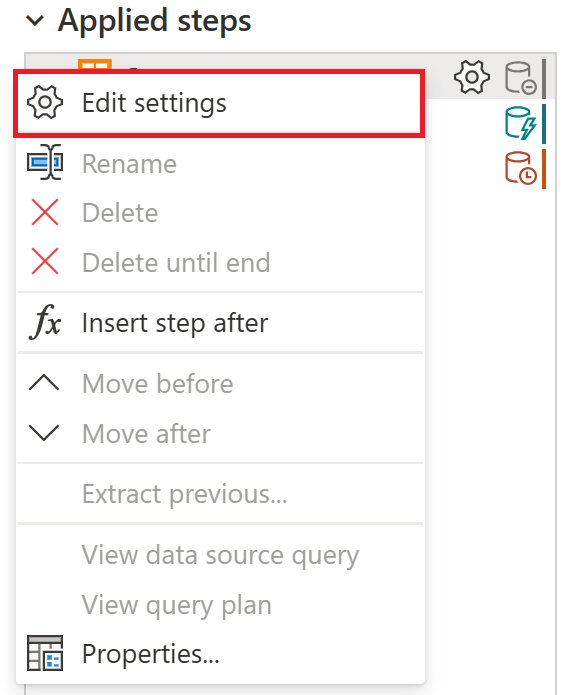
Edit settings
The Edit settings option lets you change specific settings for each individual step in the Applied settings list. Not all steps have settings that can be changed. If no settings are available, this option is grayed out in the step menu. For the steps that do have settings that can be changed, selecting the Edit settings option brings up the settings page for that particular step. For example, if the step is for an OData source, the OData source page is displayed, where you can enter the OData source URL. As another example, if the step is for a fuzzy cluster column, the Cluster values page is displayed, where you can change the column to create the fuzzy clusters from.
You can also edit the settings for any step that contains the step settings icon. The two places where the icon appears is in the applied settings step, and in the informational display for the step. Just select the icon and the settings page for that particular step is displayed.

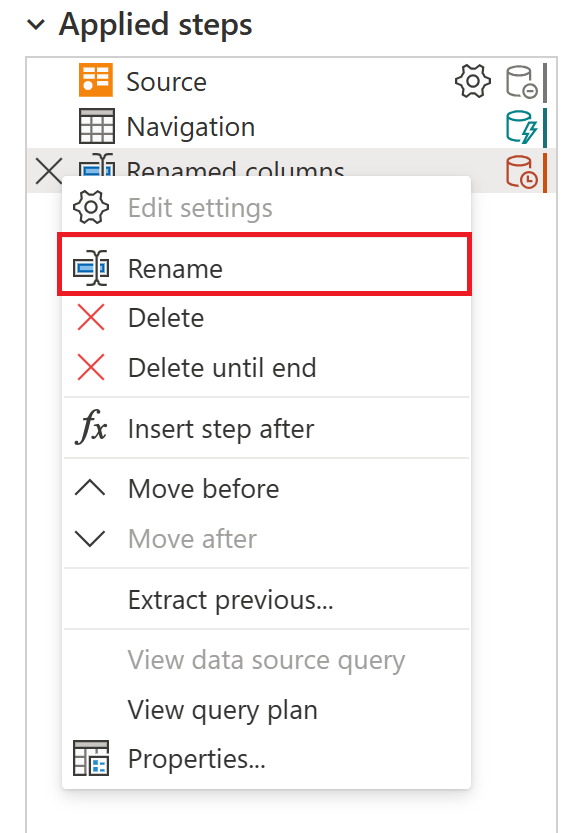
Rename step
To rename a step, right-click the step and select Rename.
Enter in the name you want, and then either select Enter or select away from the step.
Delete step
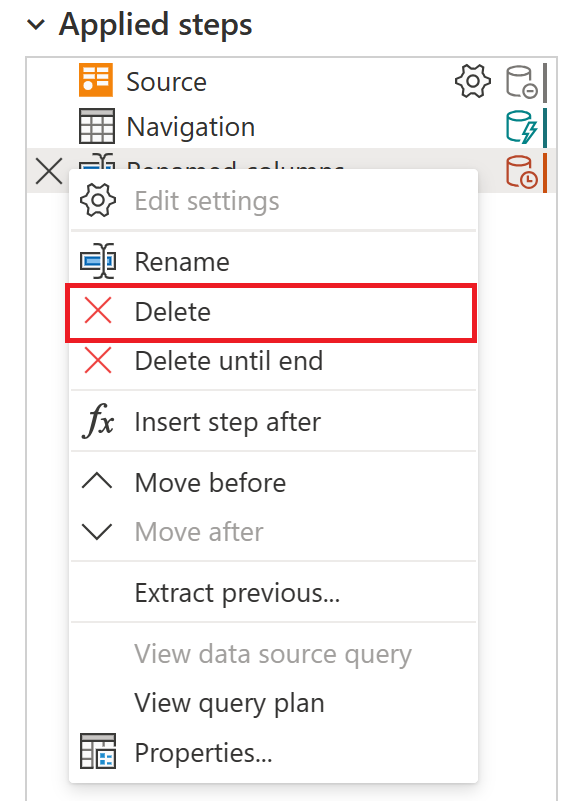
To delete a step, right-click the step and select Delete.
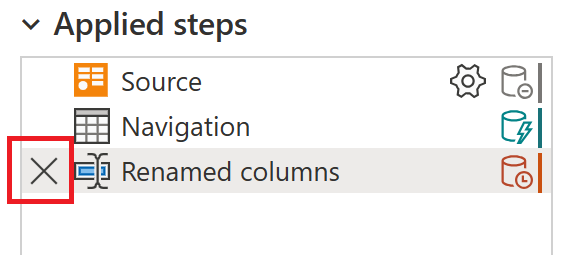
Alternatively, select the X next to the step.
Delete until end
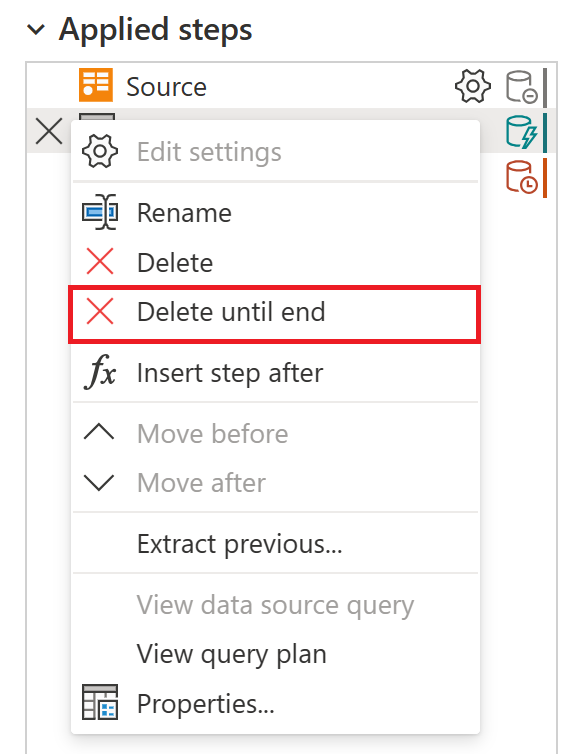
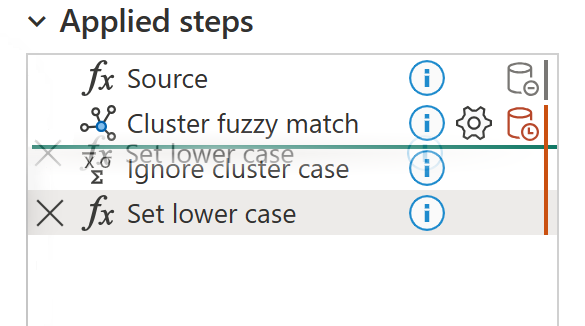
To delete a series of steps, right-click the first step of the series and select Delete until end. This action deletes the selected step and all the subsequent steps.
Select Delete in the new window.

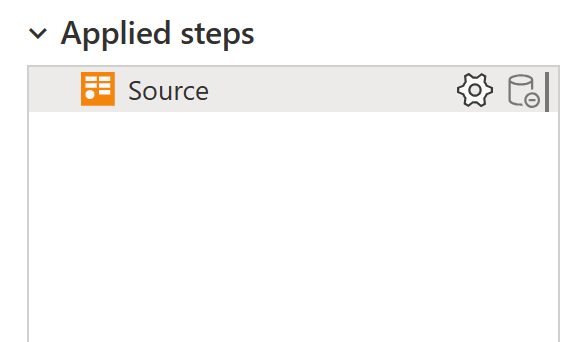
The following image shows the Applied steps list after using the Delete until end.
Insert step after
To add a new step, right-click on the last step in the list and select Insert step after.
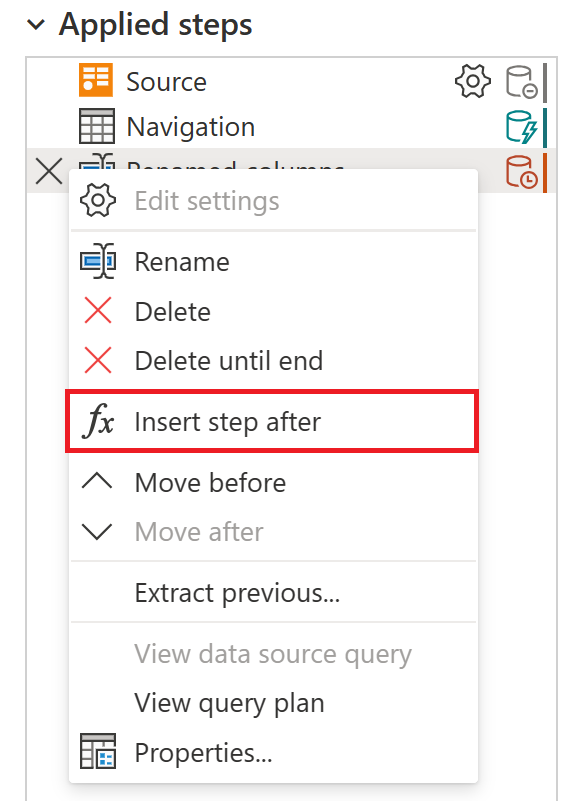
To insert a new intermediate step, right-click on a step and select Insert step after. Then select Insert on the new window.

To set a transformation for the new step, select the new step in the list and make the change to the data. It automatically links the transformation to the selected step.
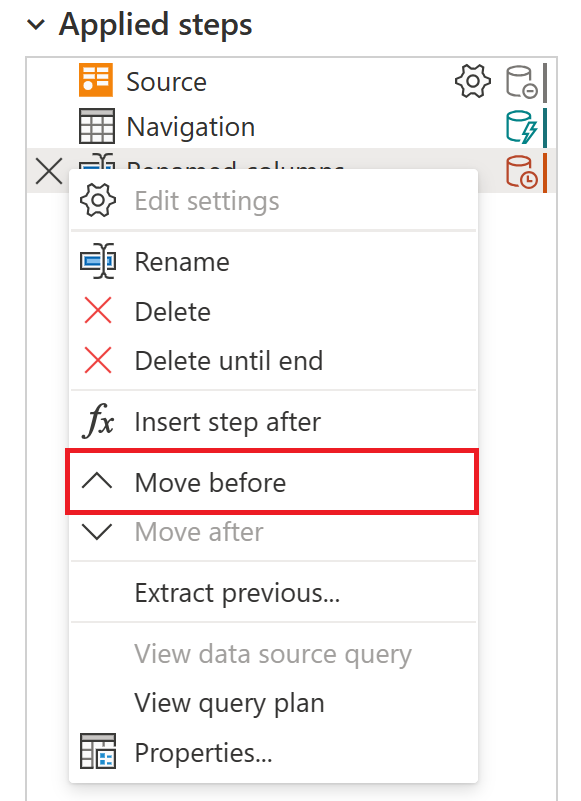
Move step
To move a step up one position in the list, right-click the step and select Move before.
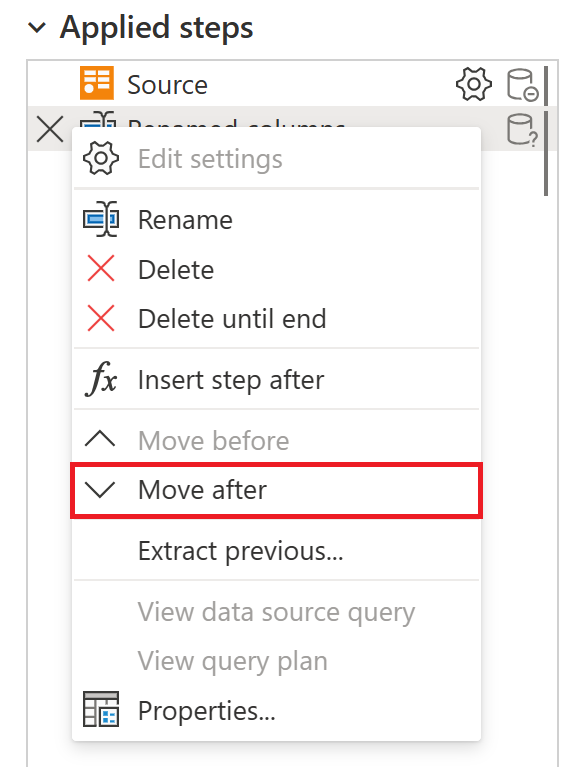
To move a step down one position in the list, right-click the step and select Move after.
Alternatively, or to move more than a single position, drag and drop the step to the desired location.
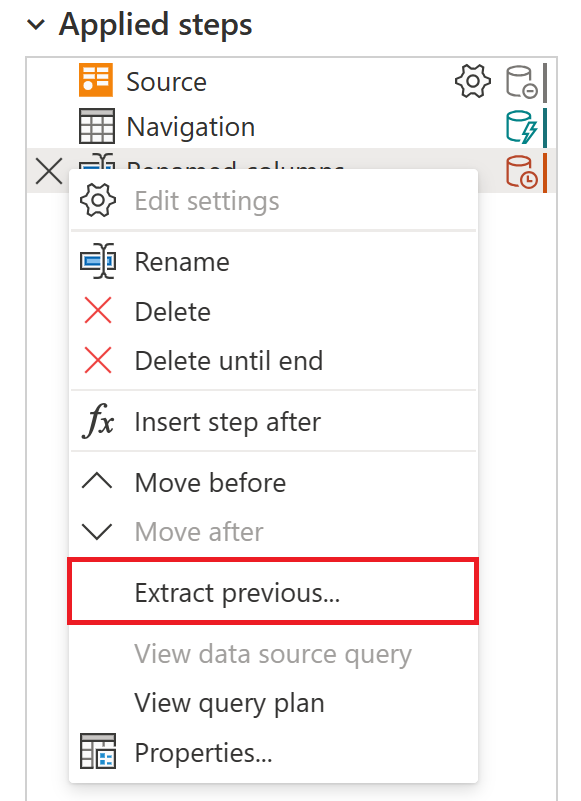
Extract the previous steps into query
You can also separate a series of transformations into a different query. This allows the query to be referenced for other sources, which can be helpful if you're trying to apply the same transformation to multiple data sets. To extract all the previous steps into a new query, right-click the first step you do not want to include in the query and select Extract Previous.
Name the new query and select OK. To access the new query, navigate to the Queries pane on the left side of the screen.
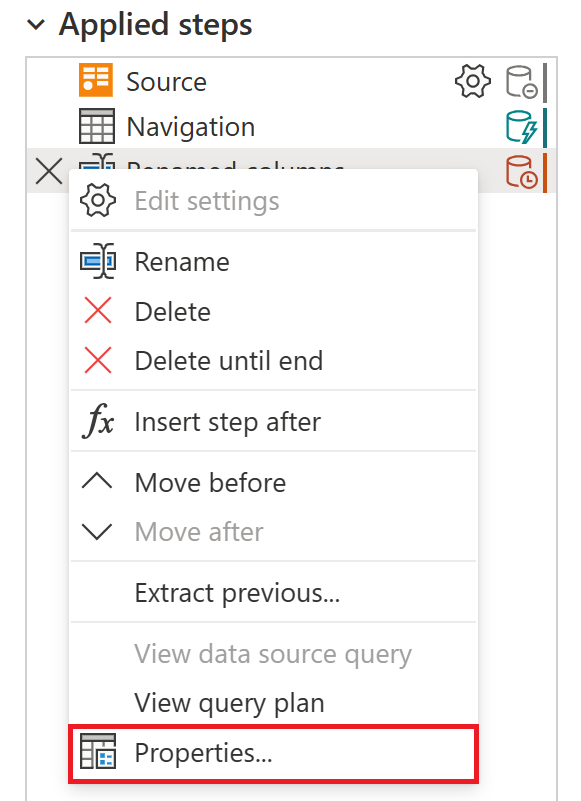
Edit step names and their descriptions
To edit the step, right-click the step and select Properties.
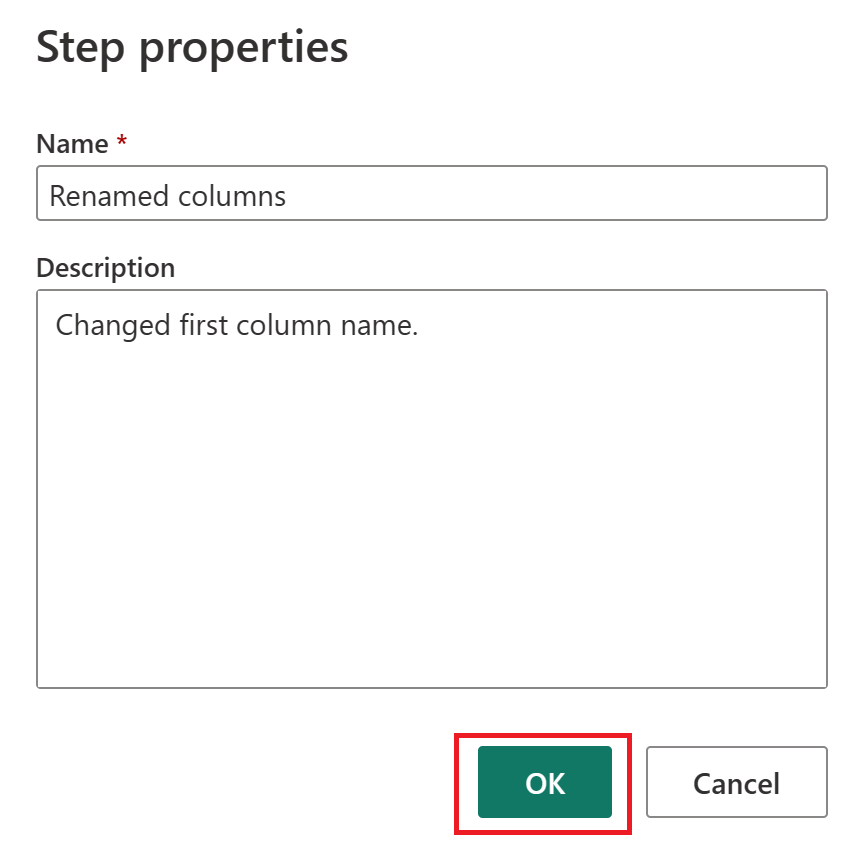
In the window, change the step name and description, then select OK to save the changes.
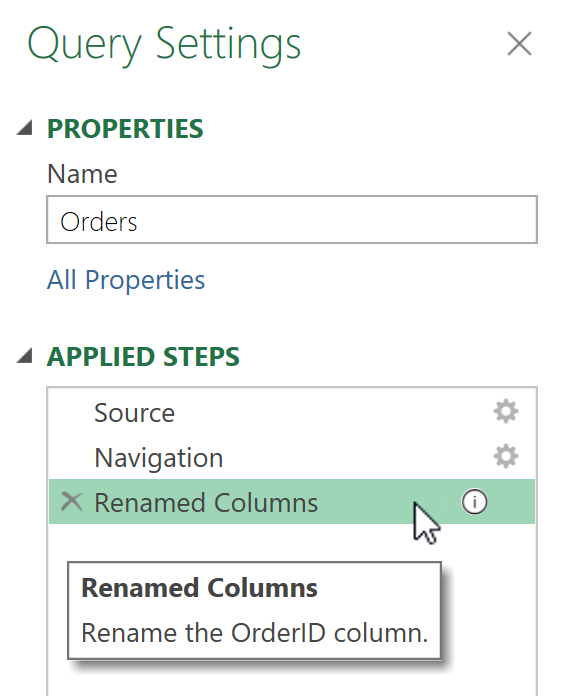
Adding a description to a step adds a small icon next to the step to denote that the step has a description. In Power Query Desktop, you can hover over this icon to display the description as a tooltip.
In Power Query Online, the step description is included in the informational display that appears when you hover over any of the steps in the applied steps list.

Feedback
Coming soon: Throughout 2024 we will be phasing out GitHub Issues as the feedback mechanism for content and replacing it with a new feedback system. For more information see: https://aka.ms/ContentUserFeedback.
Submit and view feedback for