Share your copilot with other users
Important
Power Virtual Agents capabilities and features are now part of Microsoft Copilot Studio following significant investments in generative AI and enhanced integrations across Microsoft Copilot.
Some articles and screenshots may refer to Power Virtual Agents while we update documentation and training content.
You can share your copilots with others to grant them special permissions. There are two different sharing methods:
- Grant security groups, or your whole organization, permission to chat with the copilot.
- Invite users to collaborate on your copilot project. Collaborators always have permission to chat with the copilot.
Prerequisites
- The copilot's end user authentication setting must be configured to Only for Teams or Manual, with Azure Active Directory or Microsoft Entra ID as the provider.
- Required user sign-in must be enabled to manage who can chat with the copilot in your organization.
Share a copilot for chat
Copilot makers that you've shared your copilot with for collaborative authoring always have permission to chat with the copilot. However, you can also grant users permission to chat with the copilot without granting them authoring permissions.
To grant users permission to only chat with the copilot, you can either:
- Share your copilot with a security group.
- Share your copilot with everyone in your organization.
Share copilot with security groups
You can share your copilot with security groups so their members can chat with the copilot.
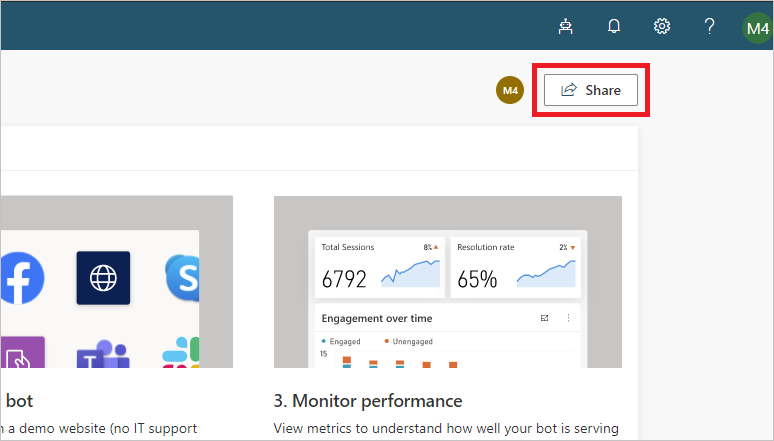
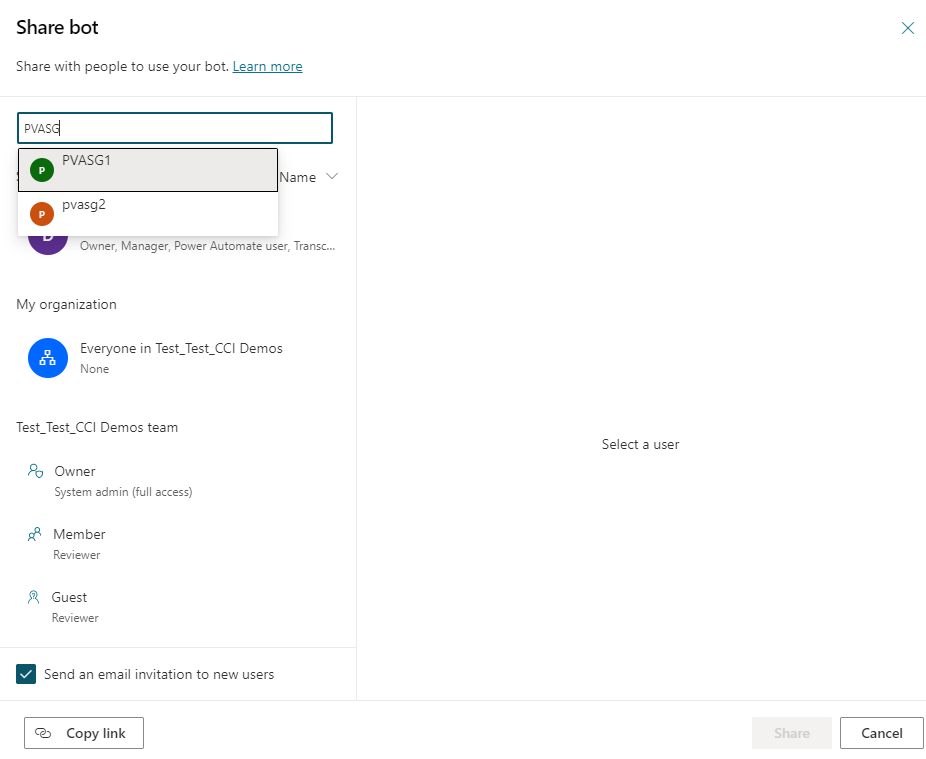
Select Share at the top of the copilot's overview page.
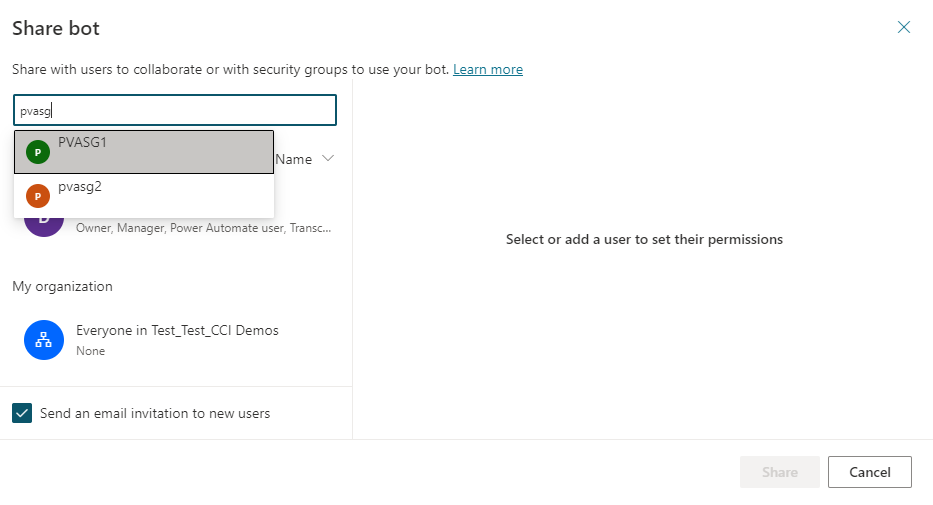
Specify the security group name that you would like to share the copilot with.
Note
When sharing a copilot for chat, you can only share a copilot with security groups. You can't share it with:
- Microsoft 365 groups.
- Individual users directly. To manage individual user access, add or remove users from the security group.
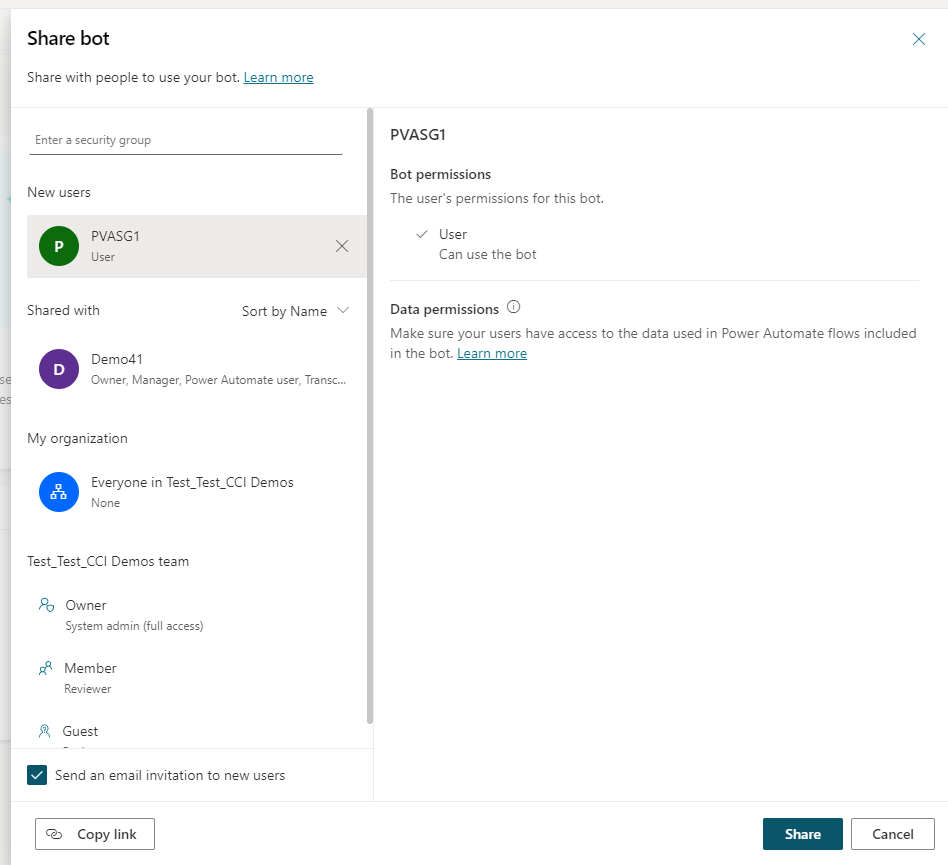
Review the security group's permission.

If you want to let users know you've shared the copilot with them, select the Send an email invitation to new users checkbox.
Note
Only security groups with email enabled will receive an email invitation. You can copy the link for the Demo website and share it with users directly so they can chat with the copilot.
Select Share to share the copilot with the new security groups.
Share copilot with everyone in the organization
You can share your copilot to allow everyone in the same organization the copilot to chat with it.
Select Share at the top of the copilot's overview page.
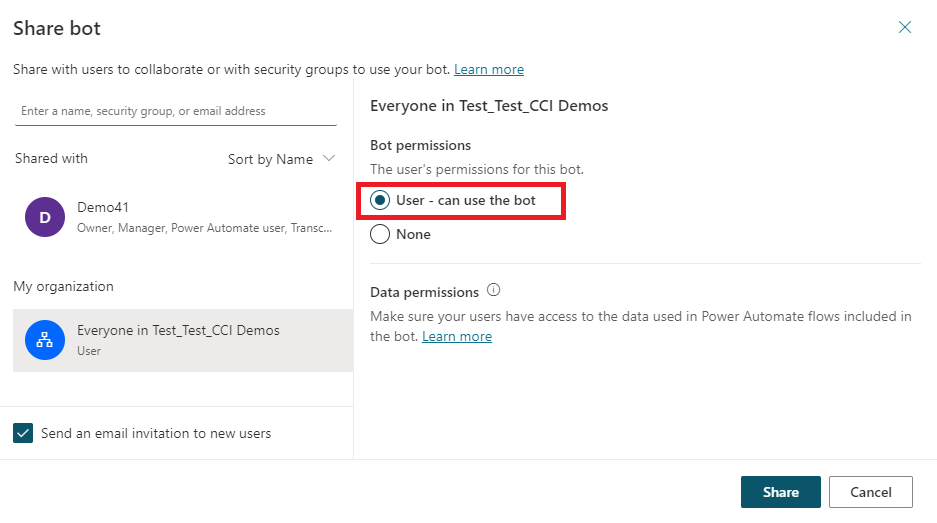
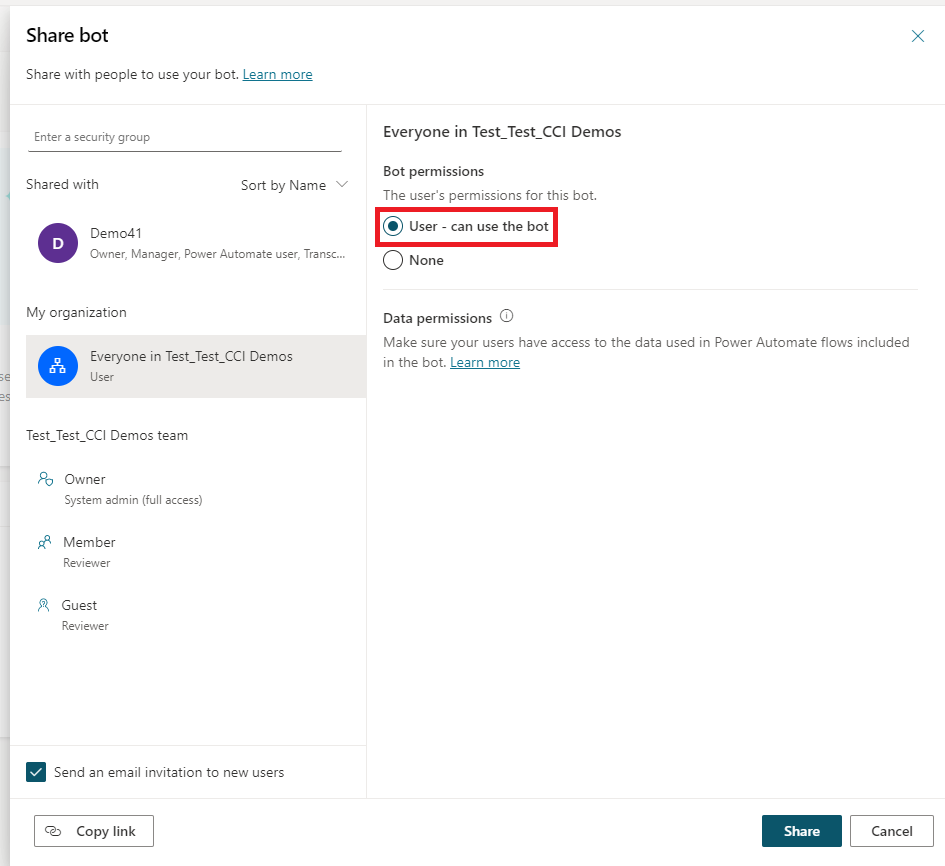
Select Everyone in your organization's name.
Select User - can use the copilot option.
Note
Microsoft Copilot Studio will not send email invitations to everyone in the organization. You can copy the link for the Demo website and share it with users directly so they can chat with the copilot.
Select Share to share the copilot with everyone in the organization.
Share a copilot for collaborative authoring
Individual users that you share a copilot with can view, edit, configure, share, and publish the copilot. They can't delete the copilot.
Note
You can only share a copilot with users who have a Microsoft Copilot Studio per user license. Users who don't have a license can sign up for a free trial.
To share a copilot, sign in to Microsoft Copilot Studio and select Share at the top of the copilot's overview page.
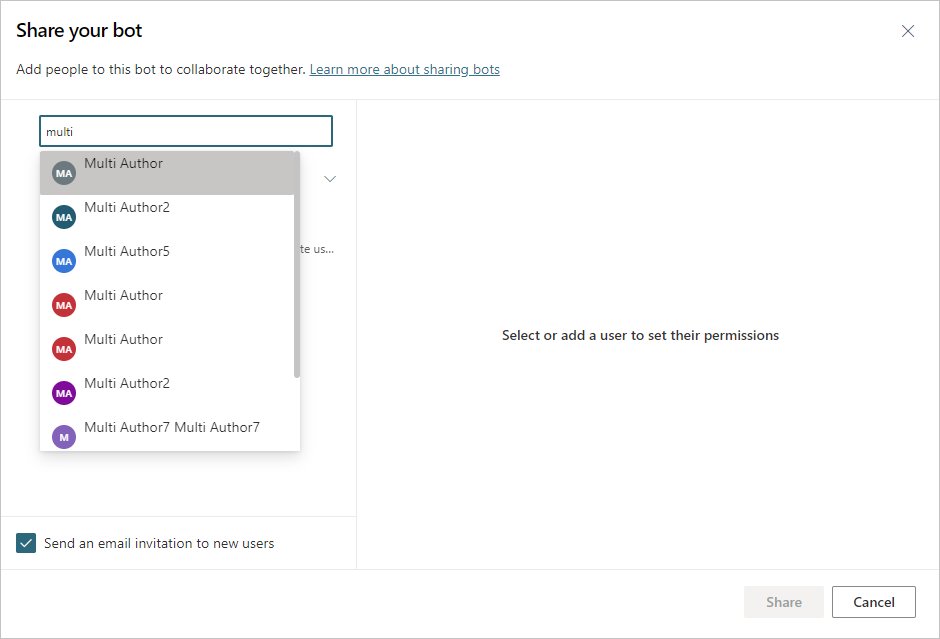
Specify the name or email address of each user that you would like to share the copilot with.
Note
When sharing a copilot for collaborative authoring, you can only share it with individual users. You can't share it with:
- A security group in your organization.
- Distribution group in your organization.
- Users or groups outside of your organization.
Review the user's permissions.
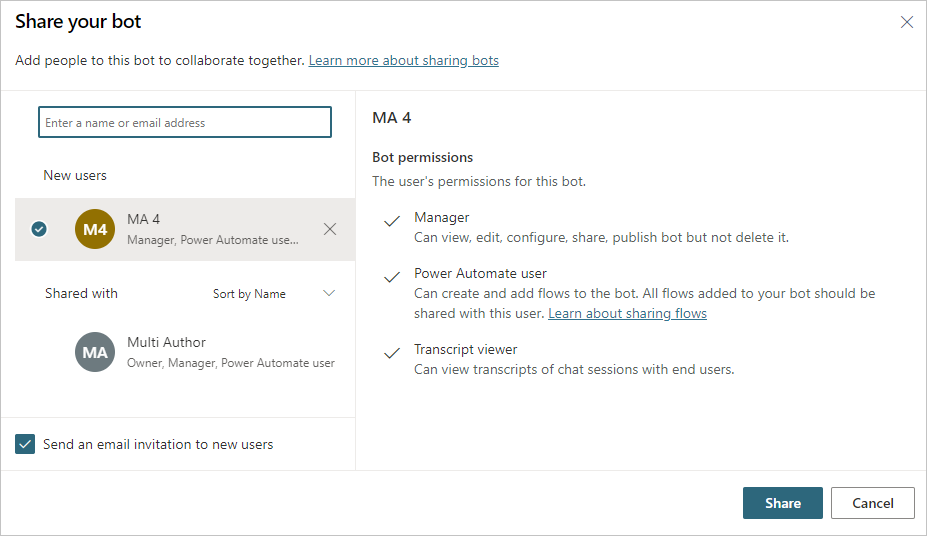
If you want to let users know you've shared the copilot with them, select the Send an email invitation to new users checkbox.
Select Share to share the copilot with the new users.
Important
It can take up to 10 minutes for the copilot to show up in the shared user's copilot list if the user was not previously part of the environment of the shared copilot.
Insufficient environment permissions
Users in the environment must have the Environment maker security role before a copilot can be shared with them.

System administrators of the environment need to assign the Environment maker security role to the user before you share the copilot. If you're a System administrator, you can assign the Environment maker role when you share the copilot.
Learn more about security roles and predefined security roles.
Stop sharing a copilot
You can stop sharing a copilot with a security group or everyone in your organization.
Stop sharing with a security group
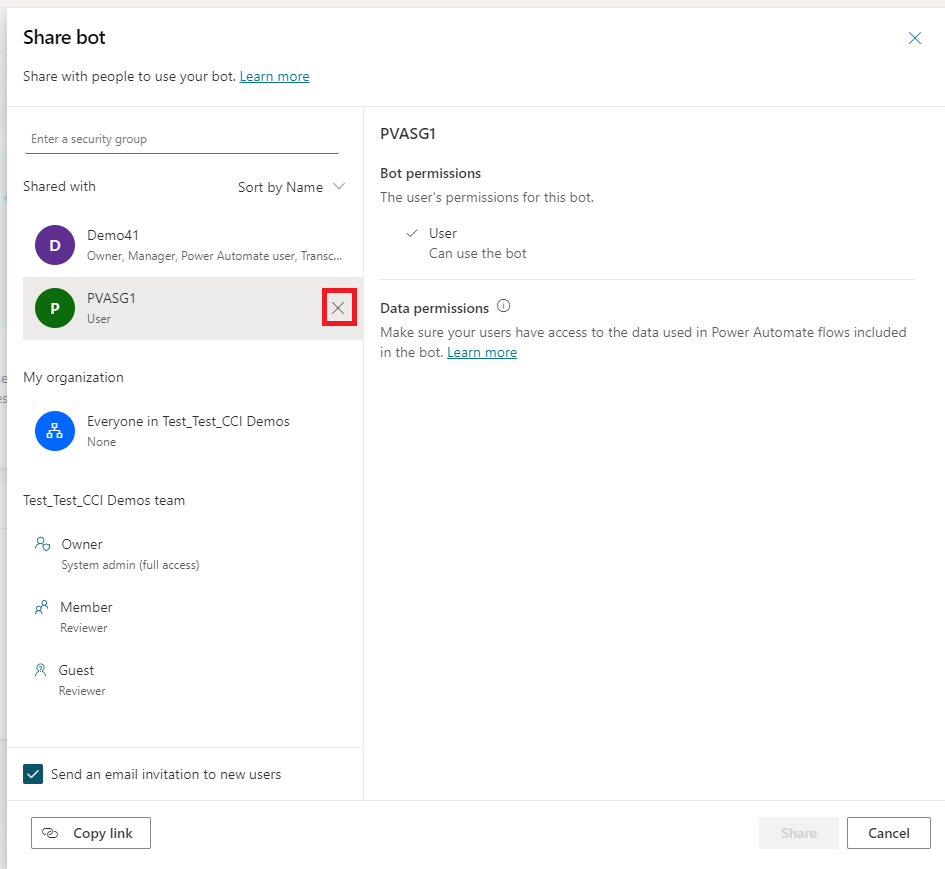
Select Share at the top of the copilot's overview page.
Select X next to the security groups that you want to stop sharing the copilot with.
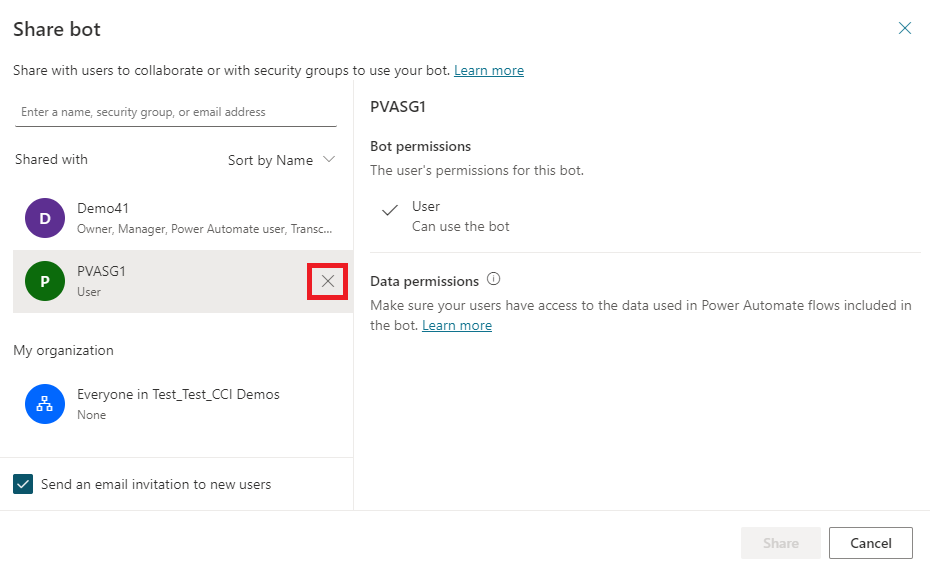
Select Share to stop sharing the copilot with the security groups.
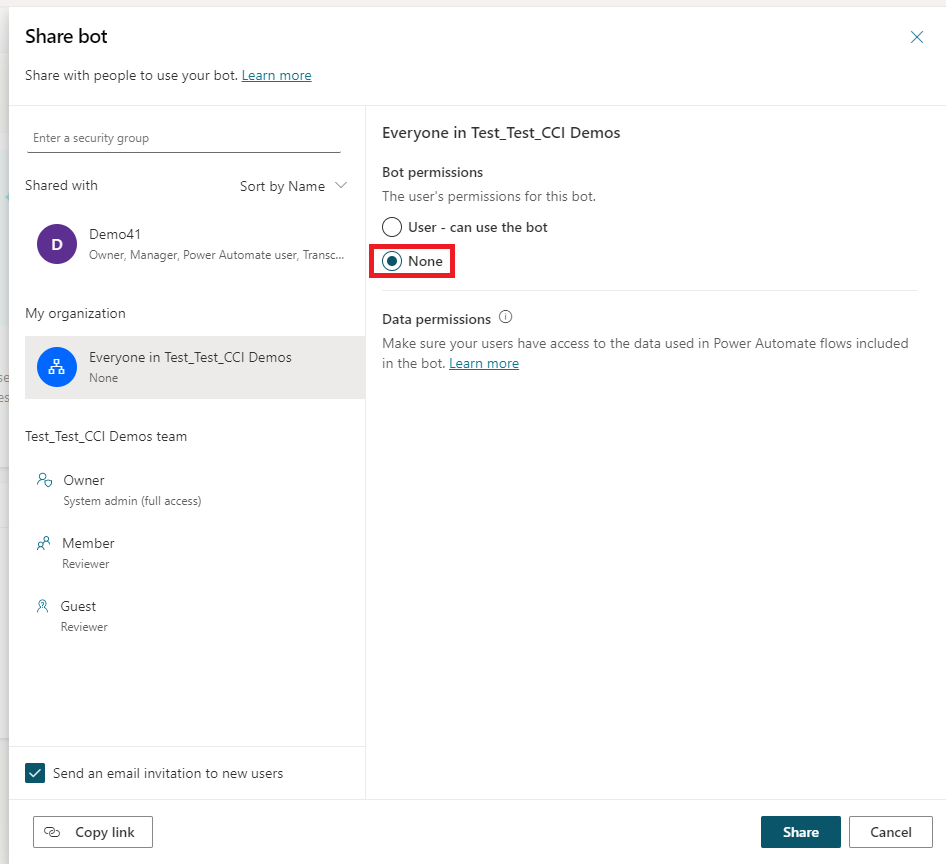
Stop sharing with everyone in the organization
Select Share on the copilot's overview page.
Select Everyone in your organization's name.
Select None option.
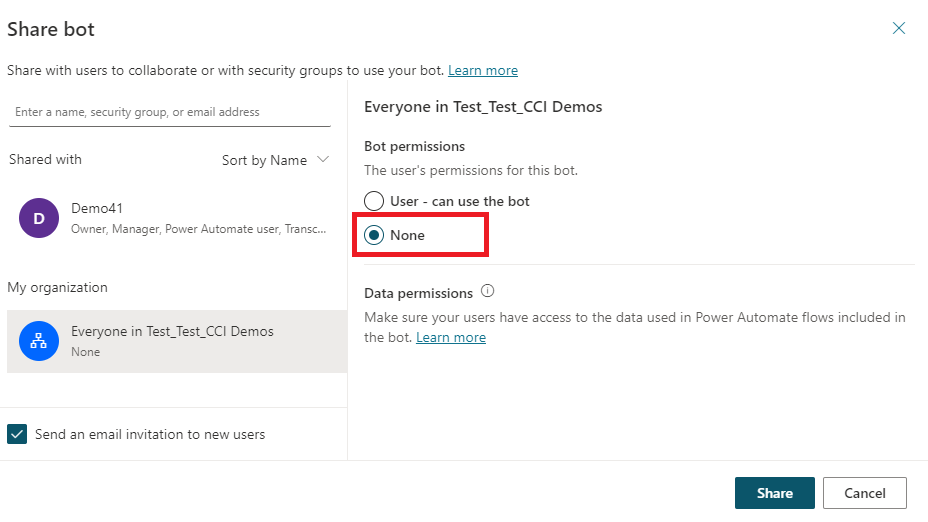
Select Share to stop sharing the copilot with everyone in the organization.
Stop sharing a copilot with individual users
You can stop sharing a copilot with a user, and any shared user can stop the copilot from being shared with other users, except for the owner. The owner always has access to the copilot.
Sign in to Microsoft Copilot Studio and select Share at the top of the copilot's overview page.
Select X next to the users that you want to stop sharing the copilot with.
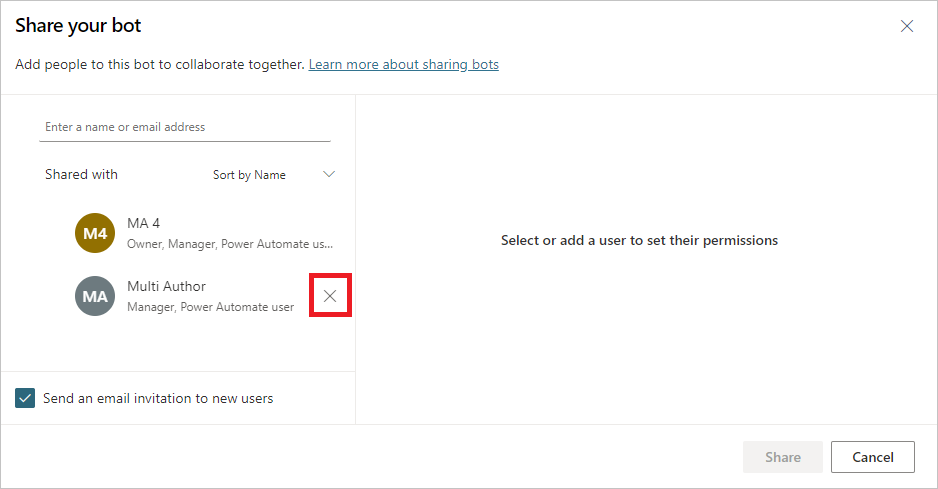
Select Share to stop sharing the copilot with the selected users.
Share Power Automate flows used in a copilot
You can add actions to a copilot using flows in Power Automate; however flows in a copilot aren't automatically shared with other users when sharing a copilot.
Users who don't have access to the shared flow can still run it by using the test copilot canvas.
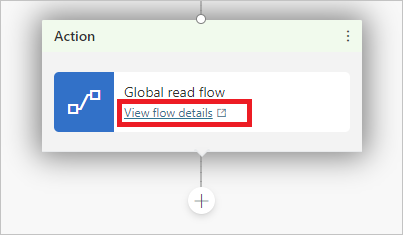
To let other users edit or add flows, you need to share them in Power Automate. You can open flows directly from the topic where the flow is used.
Select View flow details to go to the flow's details page in Power Automate.
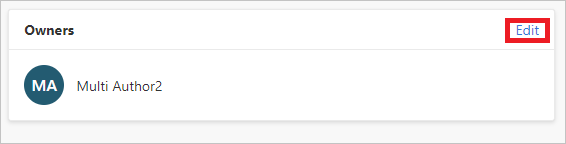
Select Edit in the Owners section.
Enter the name or email address of the user you want to give editing permissions to.
Assign environment security roles
If you're a System administrator, you can assign and manage environment security roles when sharing a copilot.
The Environment security roles section shows when you share a copilot and only if you're a System administrator. It lets you share copilots with users who don't have sufficient environment permissions to use Microsoft Copilot Studio.
You must be a System administrator of the environment where the copilot is located to view and add security roles.
Note
You can only assign security roles when sharing a copilot. You can't remove security roles when sharing. For full security role management, use the Power Platform admin center.
Learn more about security roles and predefined security roles.
Assign the Environment maker security role during copilot sharing
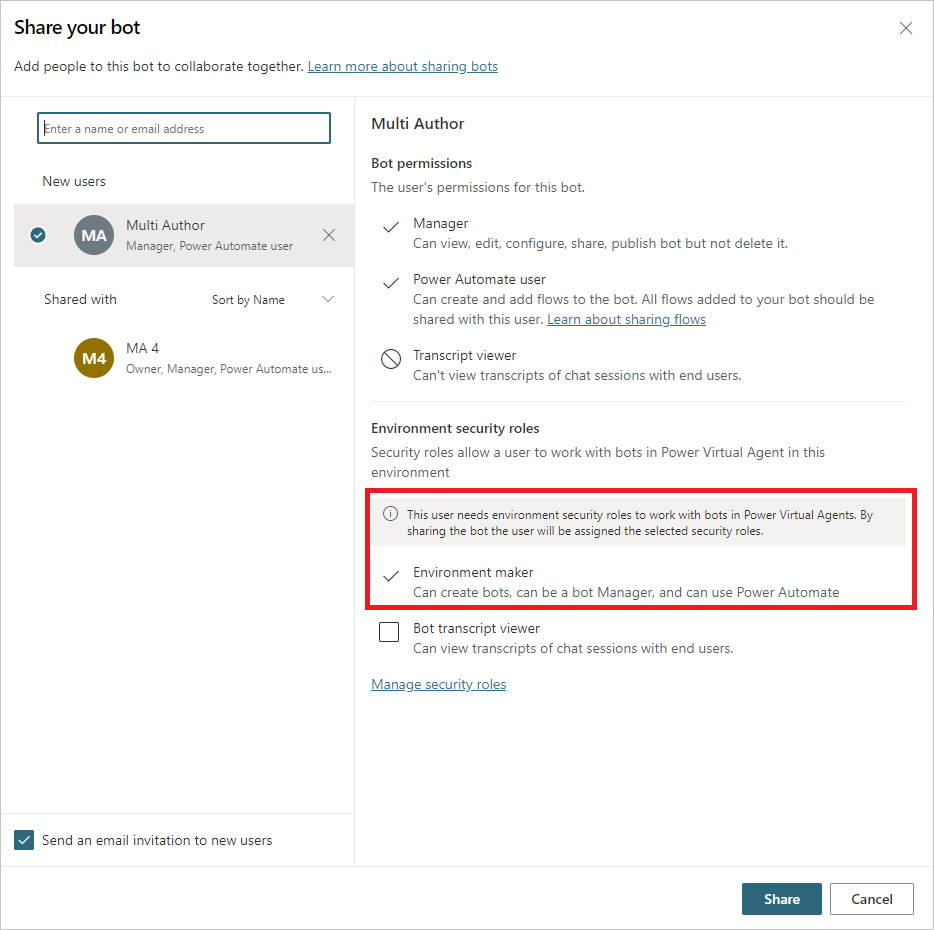
You can assign the Environment maker security role when sharing a copilot with a user who doesn't have sufficient environment permissions to run Microsoft Copilot Studio.
When sharing the copilot for chat, if the specified user doesn't have sufficient permissions to use Microsoft Copilot Studio in the environment, you are notified that the Environment maker security role is assigned to the user so they can use the copilot.
Assign the Copilot transcript viewer security role during copilot sharing
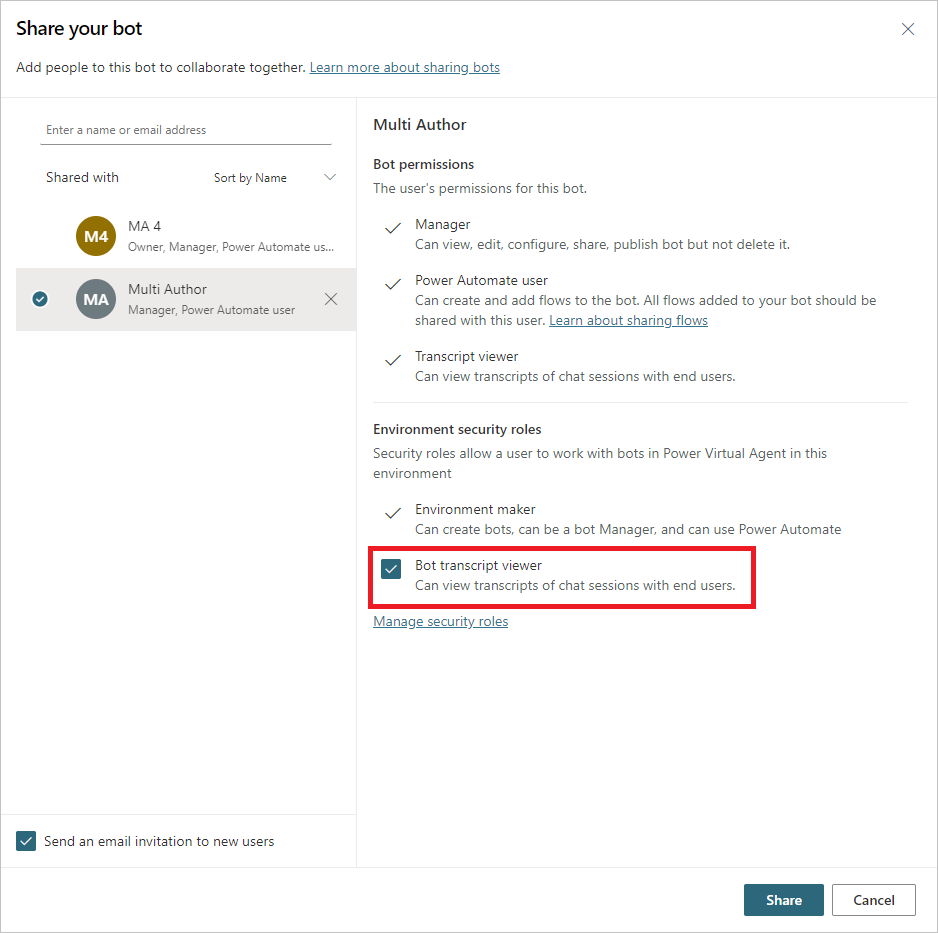
You can assign the Copilot transcript viewer security role to users who don't have conversation transcript access when sharing a copilot.
Based on the content and target audience of the copilot, you may want to give transcript access only to users who have appropriate privacy training.
Important
Conversation transcript access is managed by environment security roles. After assigning the Copilot transcript viewer security role to a user, that user can access conversation transcripts for all copilots that they create or are shared with in the environment.
By default, only admins have the Copilot transcript viewer or Bot transcript viewer role assigned. We recommend you create an environment for copilots that controls which user can view conversation transcripts. Learn more about how to Create a new environment for your copilots
When sharing the copilot for chat, you can assign the Copilot transcript viewer role by selecting the checkbox.
Manage security roles
You can manage environment security roles at the Power Platform admin center.

Data permissions
To make sure users who chat with your copilot can run Power Automate flows correctly, you should test your copilot to make sure their permissions with the integrated systems are configured correctly.
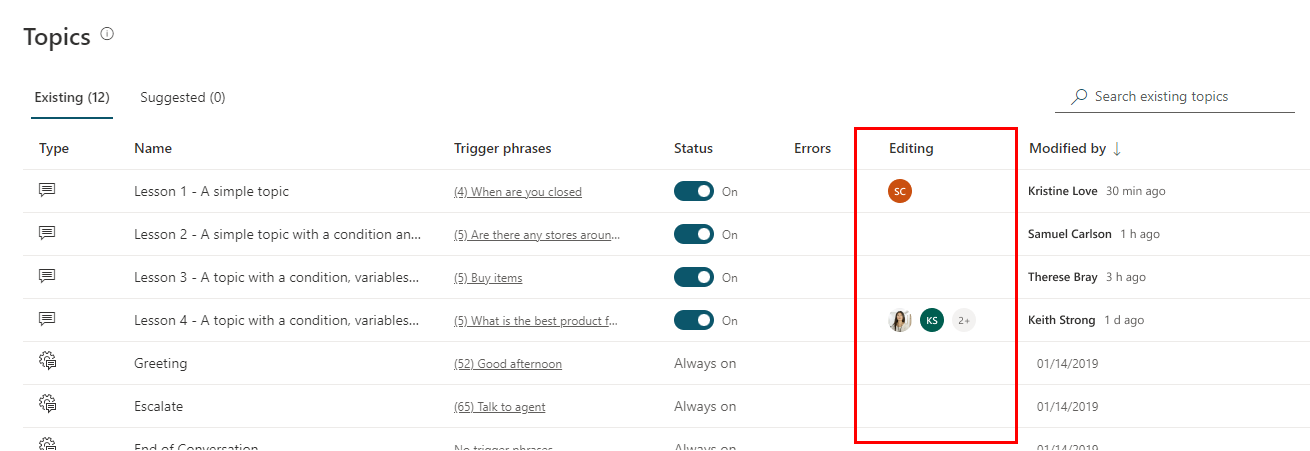
Collaborate on copilots
After you've shared a copilot, everyone can edit the copilot's topics.
In the Topics list, you can see who's working on a topic under the Editing column. You can select the person's icon to quickly chat with them in Teams or send them an email.
This list can help prevent conflicts if multiple people are working on the same topic.
Note
The list of authors in the Currently editing column is only refreshed when the page is loaded.
A list of who's editing the page also appears as user icons on the top of the authoring canvas when you've opened a topic for editing.

If an author doesn't make any changes to the topic, disconnects their computer, or closes the browser window, they're considered to have abandoned the topic. After 30 minutes of inactivity, the user isn't identified as editing the topic.
Occasionally, multiple people might make changes to a topic and attempt to save their changes concurrently. For example, you might open and start editing a topic. Your coworker opens the same topic, makes a small change, and saves it. Then, when you've finished editing the topic, you go to save it, only to find yourself in a conflict state.
Microsoft Copilot Studio detects this and prevents you from overwriting your coworker by prompting you with an option: you can reload the content with the latest changes (discarding your work), or you can save a copy of the topic (keeping your changes in a new, duplicate copy of the topic).
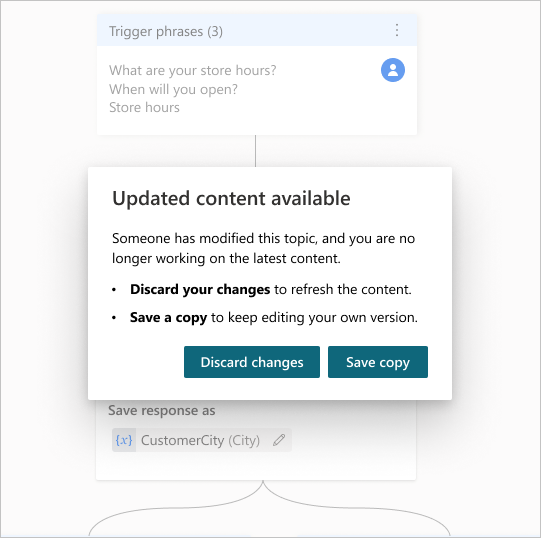
If you save your changes to a new topic, you can then review your coworker's changes and merge the two topics, deleting the copy of the topic once you've finished.
Feedback
Coming soon: Throughout 2024 we will be phasing out GitHub Issues as the feedback mechanism for content and replacing it with a new feedback system. For more information see: https://aka.ms/ContentUserFeedback.
Submit and view feedback for