Note
Access to this page requires authorization. You can try signing in or changing directories.
Access to this page requires authorization. You can try changing directories.
Azure Blob Storage SFTP supports Microsoft Entra ID-based access. Previously, Azure Blob Storage SFTP supported only local user-based access, requiring either a password or an SSH private key for authentication. By using this feature, users can apply their Microsoft Entra ID to connect to Azure storage accounts through SFTP without needing to create and maintain local users.
Microsoft Entra ID-based access brings many benefits to Azure Blob Storage SFTP, including role-based access control (RBAC), multifactor authentication (MFA), and Microsoft Entra ID Access Control Lists (ACLs).
Key benefits
Eliminate Local User Management - By using Microsoft Entra ID-based access, you don't need to create, rotate, or maintain local SFTP users for each storage account. Microsoft Entra ID handles authentication, which significantly reduces operational overhead and configuration complexity.
Enterprise grade identity and security - SFTP access uses Microsoft Entra ID, which enables:
- Centralized identity lifecycle management
- Strong authentication, including MFA through Microsoft Entra ID
- Consistent security posture aligned with enterprise IAM standards
- This approach improves security compared to static, long-lived local credentials.
Native Azure RBAC, ABAC and ACL Integration - Authorization for SFTP matches Azure Blob Storage's existing access control model:
- Role-based Access Control (RBAC)
- Attribute-based Access Control (ABAC)
- POSIX-style Access Control Lists (ACLs)
- Users can apply the same roles and permissions used for REST, SDK, and Portal access to SFTP.
Faster SFTP Onboarding - Because Microsoft Entra ID accounts are ubiquitous, users can:
- Reuse existing users, groups, and service principals
- Avoid time-consuming local user creation and key distribution
- Get SFTP up and running faster with fewer setup steps
- Significantly shorten time-to-value for SFTP-based workflows
Secure External Collaboration - By using Microsoft Entra ID External Identities, customers can securely grant SFTP access to partners and vendors without managing separate identity systems, while maintaining full control and auditability.
Overview
The following high-level overview describes the key steps involved in this process. You first authenticate by using Microsoft Entra ID, then obtain an OpenSSH certificate, and finally connect to Azure Blob Storage SFTP by using a compatible client or SDK. The following sections outline each of these steps in more detail.
Authenticate with Microsoft Entra ID via Azure CLI, PowerShell, SDK, and more.
Get an OpenSSH certificate from Microsoft Entra ID by passing a public key.
Use any SFTP client or SDK that supports OpenSSH certificates to connect to Azure Storage with the OpenSSH certificate and the public key from step 2.
Note
Password-based authentication isn't supported because no SFTP clients have native Microsoft Entra ID integration to provide a Microsoft Entra ID user experience for password entry.
Connecting to Azure Blob Storage with Microsoft Entra IDs
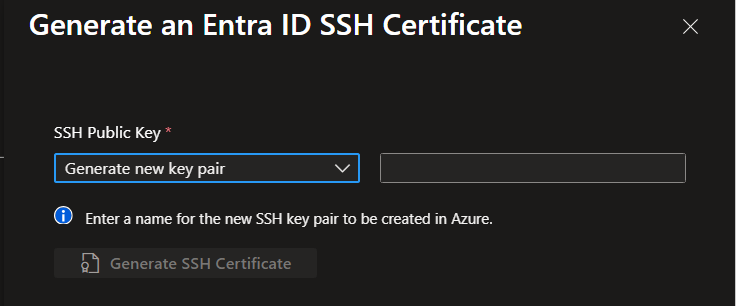
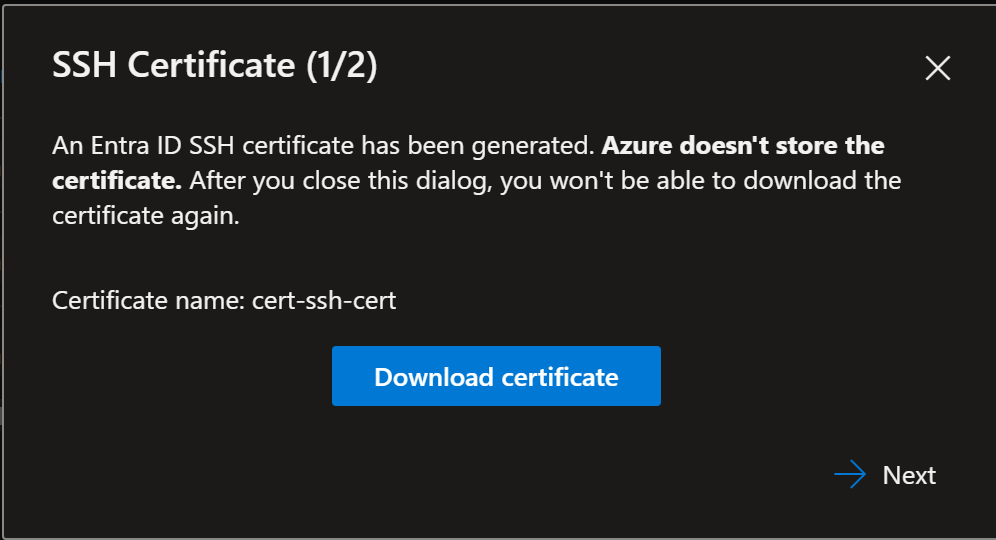
Generate OpenSSH certificate
Generate the OpenSSH certificate with the Azure CLI az sftp command as shown in the following example.
az login
az sftp cert --file ~/.ssh/my_cert.pub
For security reasons, the certificate is valid for only 65 minutes. After it expires, you need to rerun the command to get a new certificate.
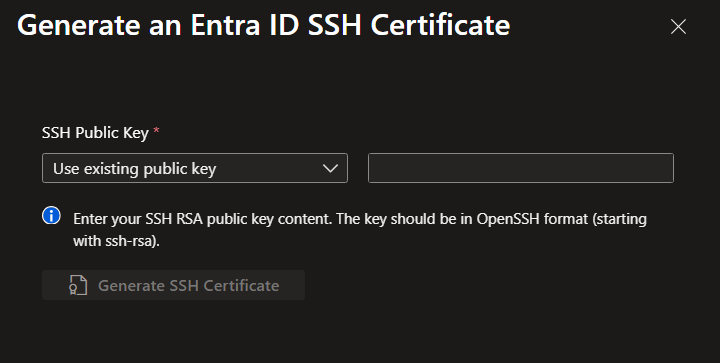
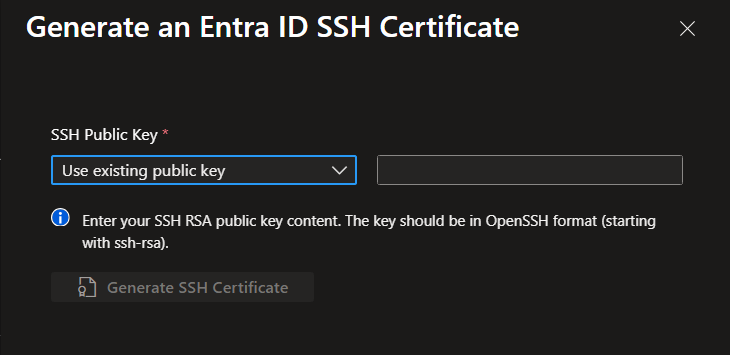
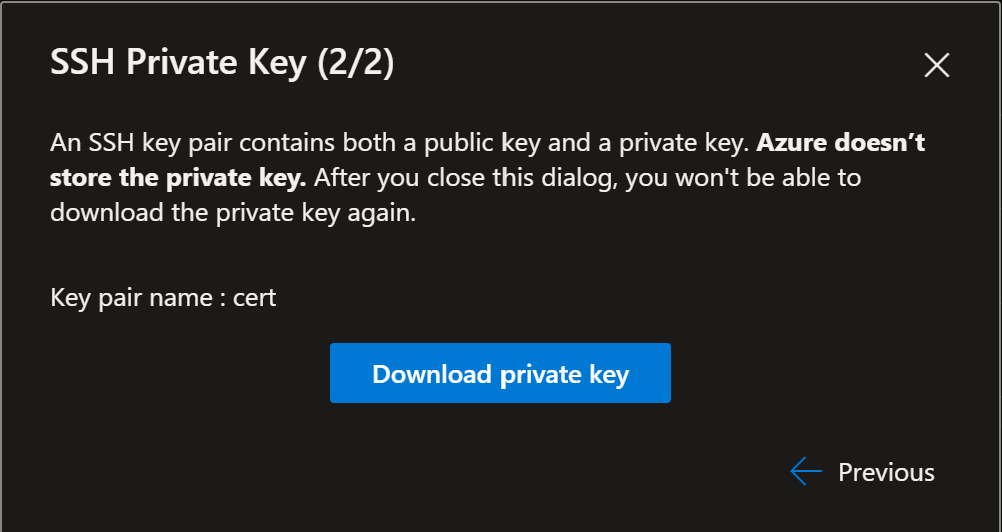
Optionally, you can generate your own SSH key pair and use it when downloading the certificate.
Generate SSH key pair: You must use RSA keys, as Microsoft Entra ID supports only RSA certificates.
ssh-keygen -t rsa
The following key files will be generated:
| File Name | Key Type |
|---|---|
| id_rsa | Private key |
| id_rsa.pub | Public key |
Use the following command to generate the SSH certificate with the generated keys:
az login
az sftp cert --public-key-file ~/.ssh/id_rsa.pub --file ~/.ssh/my_cert.pub
If you're using a service principal, you can sign in by using either a client secret or a certificate:
To sign in by using a certificate, use the following command:
az login --service-principal -u <application_id_or_client_id> --tenant <tenant_id> --certificate <path_to_certificate>
To sign in by using a client secret, use the following command:
az login --service-principal -u <application_id_or_client_id> -p <secret_value> --tenant <tenant_id>
After authentication, run the same command to download the certificate:
az sftp cert --public-key-file ~/.ssh/id_rsa.pub --file ~/.ssh/my_cert.pub

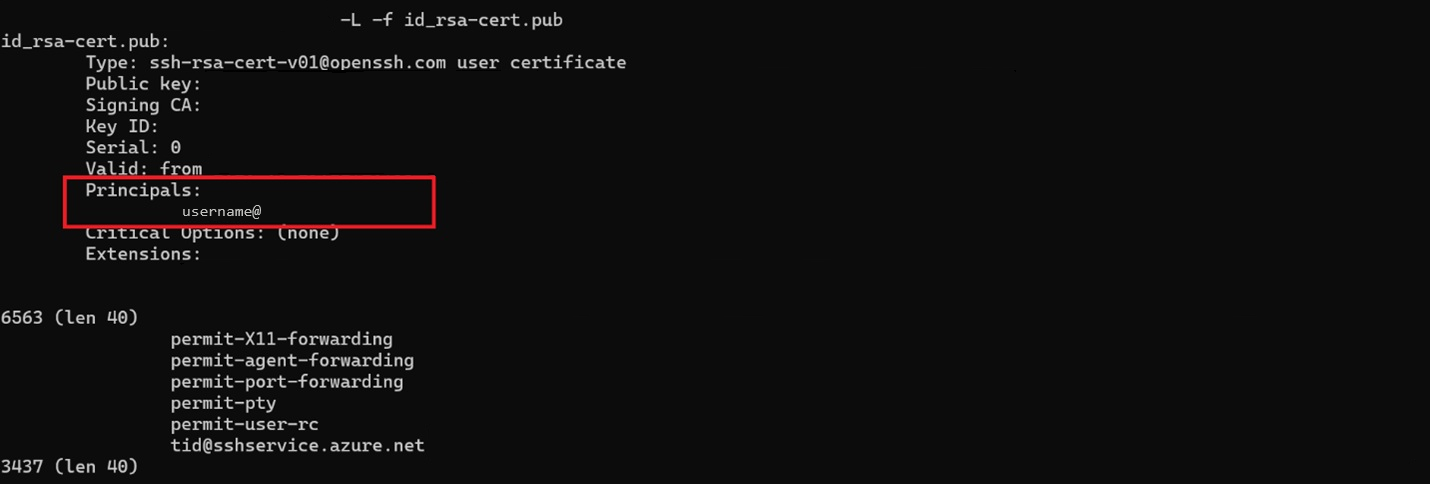
Verify the contents of the OpenSSH certificate [Optional]
Use the following command to view the OpenSSH certificate:
ssh-keygen -L -f ~/.ssh/my_cert.pub
In the output, the Principals section contains the username.
For security reasons, the OpenSSH certificate is valid for 65 minutes. After this period, you need to request a new certificate to initiate any further transactions.
Connect to the Storage Account by using OpenSSH
Connect by using an SFTP command
sftp -o PubkeyAcceptedKeyTypes="rsa-sha2-256-cert-v01@openssh.com,rsa-sha2-256" -o IdentityFile="~/.ssh/id_rsa" -o CertificateFile="~/.ssh/my_cert.pub" <storageaccountname>.<username>@<storageaccountname>.blob.core.windows.net
If the principal uses the format username@domain.com, make sure to exclude the domain section in the command and use only the username portion.
Both User and service principals are supported. For Service principals, use the service principal ID in place of the username in the connection string.
Note
Adding the container name directly to the connection string or setting it up via Home directory isn't supported.
Once connected, use the following command to upload a file to Azure Storage via SFTP:
put <local-file-path>
If you receive a permission denied error, ensure that you have the necessary Azure roles such as Storage Blob Data Contributor or Storage Blob Data Owner.
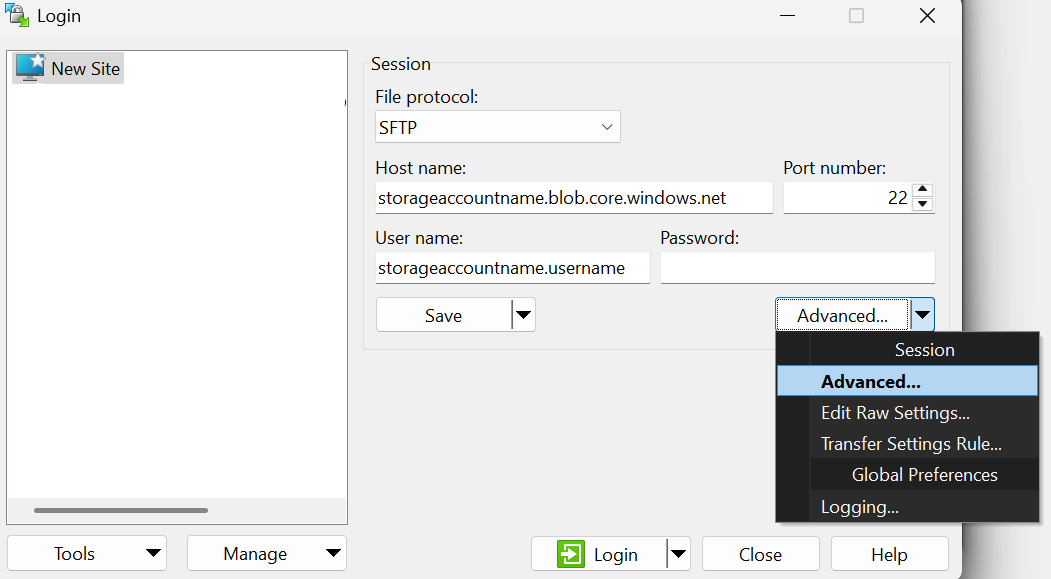
Connect by using an SFTP desktop client
SFTP clients such as WinSCP and PuTTY support OpenSSH-based authentication. The following steps show how to connect by using WinSCP:
WinSCP: Support for OpenSSH certificates for user authentication was implemented in version 6.0 (https://winscp.net/tracker/1873)
Obtain the OpenSSH certificate from the previous step (Generate OpenSSH certificate)
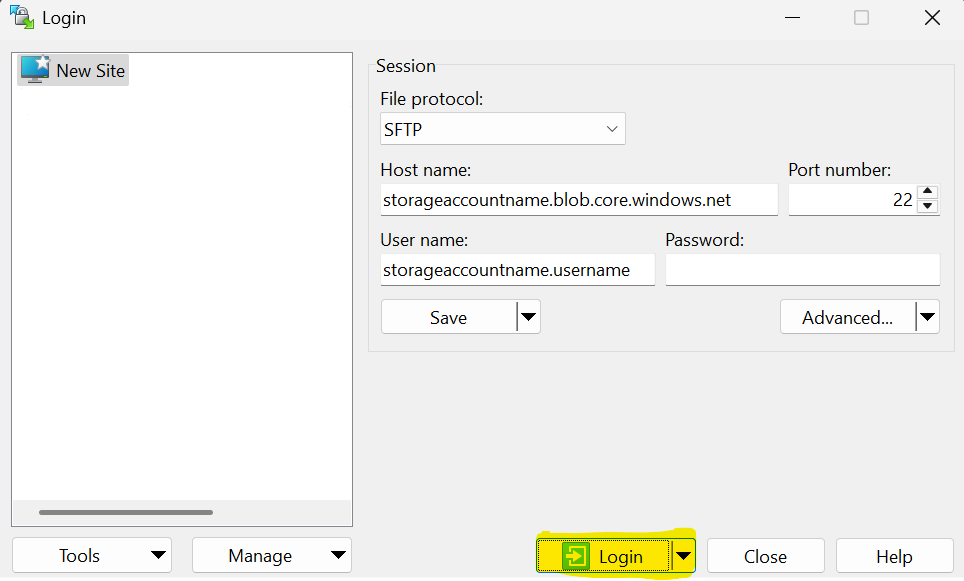
In WinSCP, enter the Host name and Username, and then select Advanced
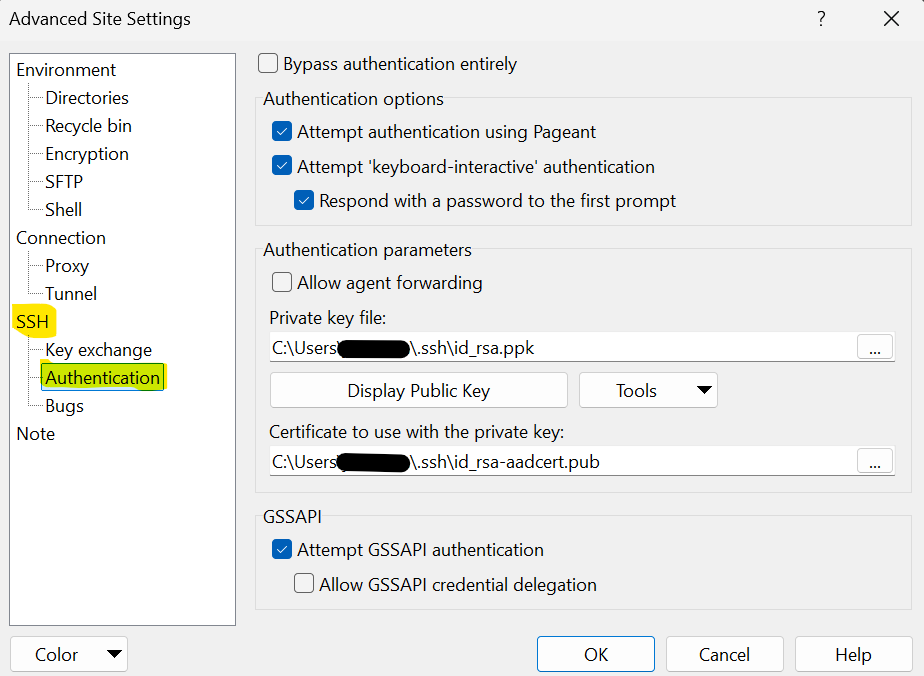
In the SSH tab, go to the Authentication section. Attach the private key and certificate files obtained from the previous sections, and then select OK.
Select Login to sign in by using the Microsoft Entra ID account and OpenSSH certificate.
Use the following command to connect by using the OpenSSH certificate obtained in the previous steps:
az sftp connect --storage-account <account_name> --certificate-file ~/.ssh/my_cert.pub
Additionally, you can get the OpenSSH certificate and connect to SFTP by using a single command as follows:
az sftp connect
az sftp connect --storage-account <account_name>
For more information about the commands, see here.
Microsoft Entra ID based access control model in Azure Blob Storage SFTP
| Mechanism | Status | Tutorial |
|---|---|---|
| Role-based access control (Azure RBAC) | Supported | Access control model for Azure Data Lake Storage - Azure Storage | Microsoft Learn |
| Access control lists (ACLs) | Supported | Access control model for Azure Data Lake Storage - Azure Storage | Microsoft Learn |
| Attribute-based access control (Azure ABAC) | Supported | Access control model for Azure Data Lake Storage - Azure Storage | Microsoft Learn |
How permissions are evaluated
SFTP mirrors Azure Blob Storage's access control model. For more information, see Access control model in Azure Data Lake Storage.
Sharing access to users outside of the home Microsoft Entra ID tenant
Organizations often need to share Azure Blob Storage SFTP access with external partners and customers. Microsoft Entra External Identities can address this requirement by enabling Azure Blob Storage SFTP to provide secure access to external collaborators. This feature enables efficient and secure connections and interactions with storage resources. By using Microsoft Entra ID External Identity capabilities, organizations can maintain strong access control and security measures while enabling collaboration with external entities. Learn more about adding guest users.
Known issues and limitations
Managed identity authorization is not supported for SFTP with Microsoft Entra ID.
Microsoft Entra ID support is limited to SSH certificates and public key authentication.
Only RSA certificates are supported. ECDSA isn't supported.
Setting a home directory isn't supported.
The connection string can't include the container name. The user connects to the root of the storage account and then navigates to the destination container and directories by using 'change directory' (cd) commands.
chownandchgrprequire either manage ownership or superuser permissions.chmodrequires either modify permissions or superuser permissions.
Troubleshooting
Opening any container fails with "Access denied"
An Access denied error can happen even if you're able to connect to storage accounts through WinSCP, and you can see the list of containers after signing in.
This error can happen because WinSCP automatically tries to canonicalize every directory it enters. That means that for every cd or directory listing, it sends one or more extra protocol requests to figure out the "true" absolute path.
- The root directory shows containers.
- Each container acts as a virtual chroot. Once you're inside it, you can't go above or outside it.
- Paths are virtual, not physical. Azure doesn't support
/-based absolute traversal above containers.
Resolve this problem by using one of the following options:
Disable Resolve Symbolic Links. Browse to Advanced->Environment->Directories and untick Resolve Symbolic Links.
Set the remote directory. Browse to Advanced->Environment->Directories, and set Remote Directory to "\<container-name>". By setting this value, you directly enter the specified container after signing in.