Note
Access to this page requires authorization. You can try signing in or changing directories.
Access to this page requires authorization. You can try changing directories.
Real-Time hub is the central place in Microsoft Fabric for discovering, ingesting, and managing streaming data. It includes built-in tutorial cards — guided walkthroughs that run directly inside the hub — to help you learn key workflows without manual setup.
In this tutorial, you complete the Learn to monitor streaming data walkthrough to connect a real-time weather source to an eventstream, preview the live data, and create an alert rule that sends you a notification when a condition is met.
Prerequisites
- A Microsoft Fabric workspace with contributor or higher permissions.
- Access to Fabric Real-Time Intelligence.
Navigate to Real-Time hub
Sign in to Microsoft Fabric.
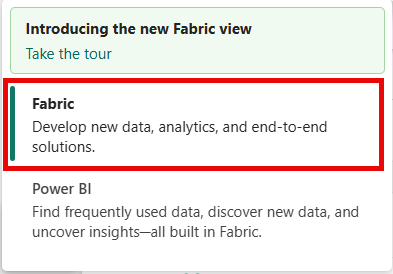
If you see Power BI at the bottom-left of the page, switch to the Fabric workload by selecting Power BI and then selecting Fabric.
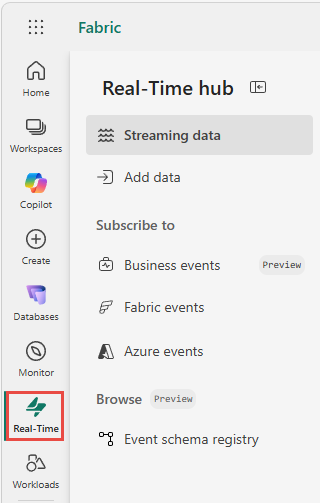
Select Real-Time on the left navigation bar.
Configure a data source and create an alert rule
Follow these steps to complete the guided tutorial in Real-Time hub. You configure a weather data source, preview the streaming data, and create a rain alert rule.
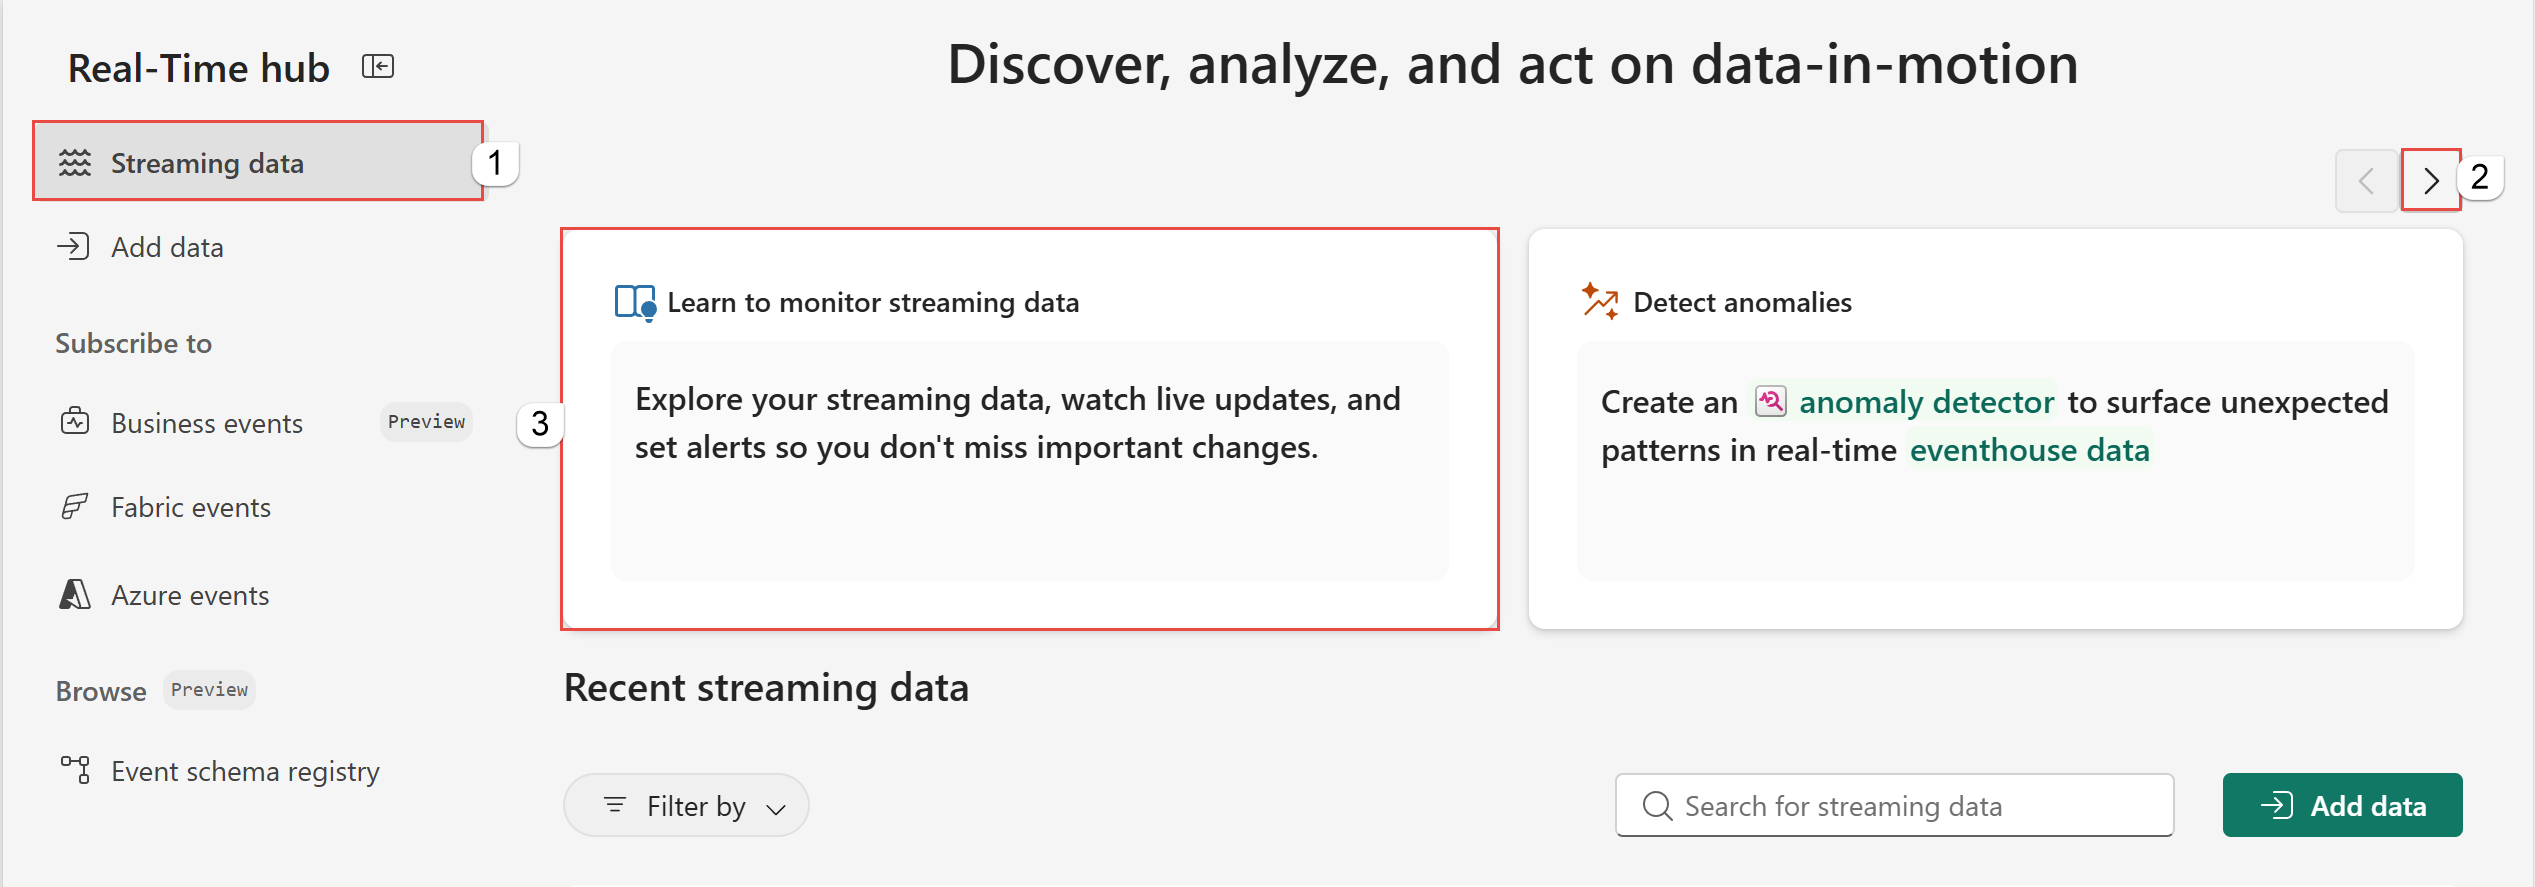
At the top of the Real-Time hub, scroll to the right, and select Learn to monitor streaming data.
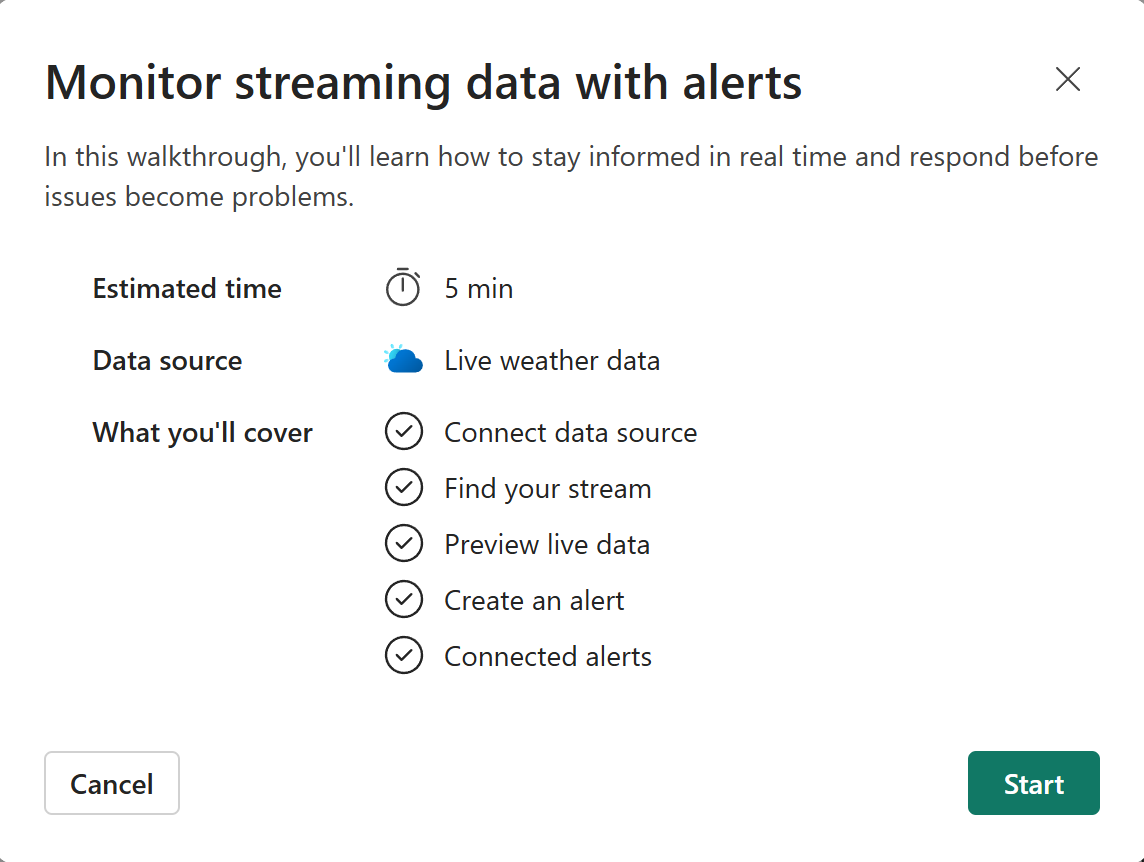
On the Monitor streaming data page, review the estimated time, data source, and what's covered in the tutorial. Select Start to go through the tutorial steps.
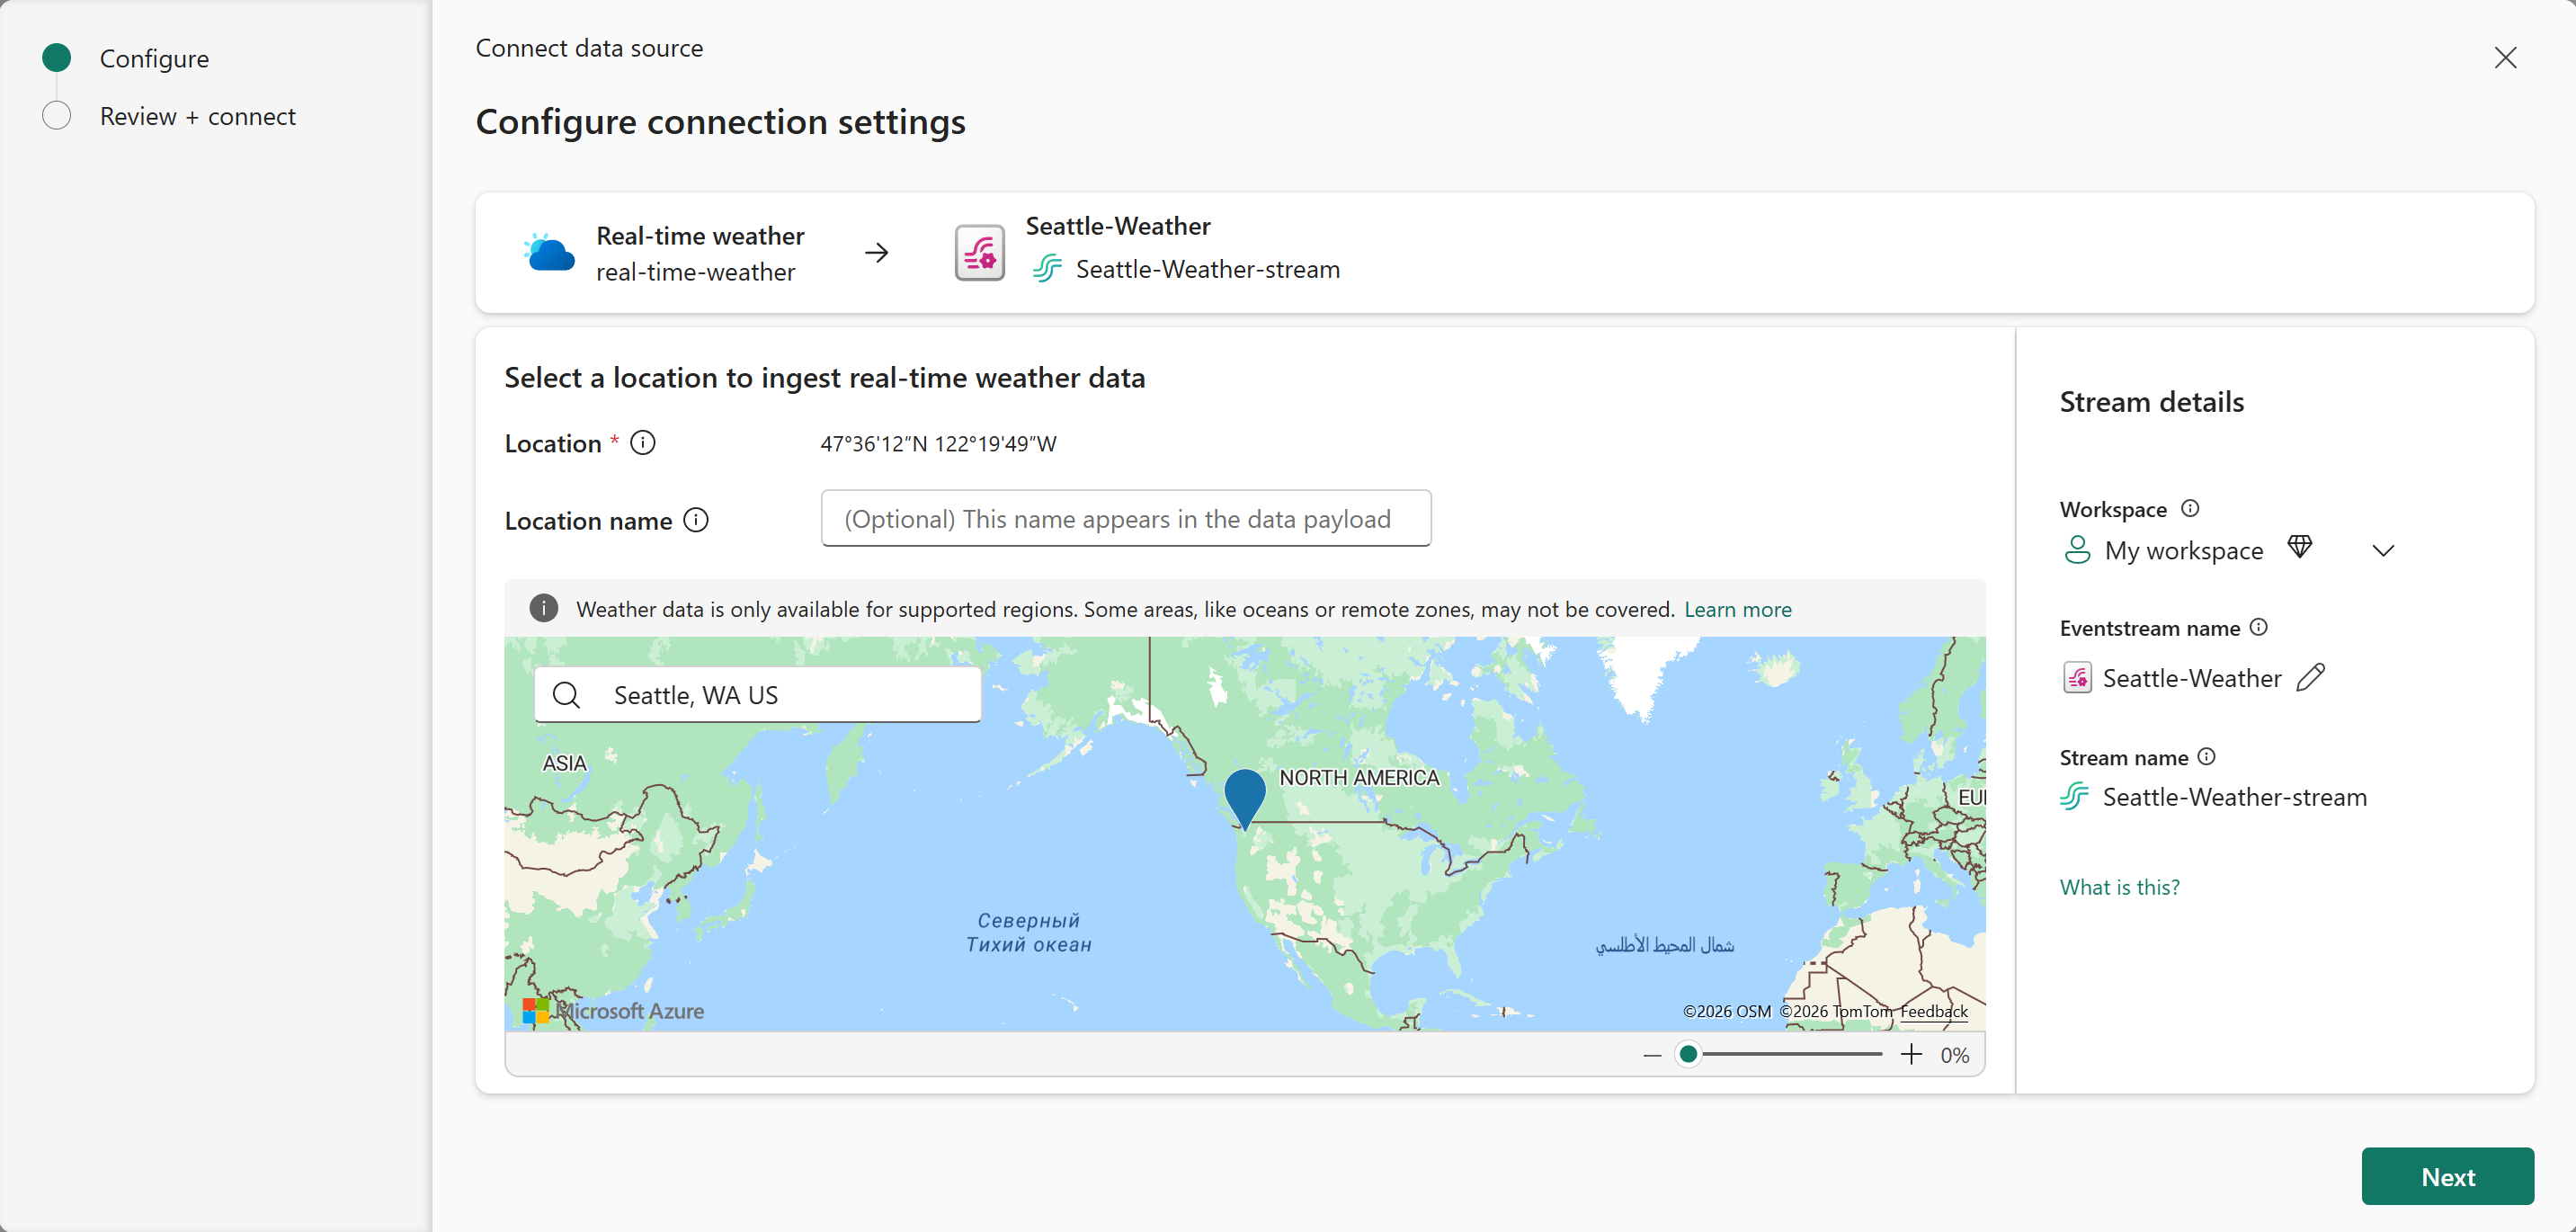
On the Configure page of the Configure data source wizard, follow these steps:
In the map view, search for a location.
In the Stream details pane, follow these steps:
- For Workspace, select your Fabric workspace.
- For Eventstream name, select the Pencil button, and enter a name for your eventstream.
- The Stream name should be automatically updated based on the eventstream name you entered.
Select Next at the bottom of the page.
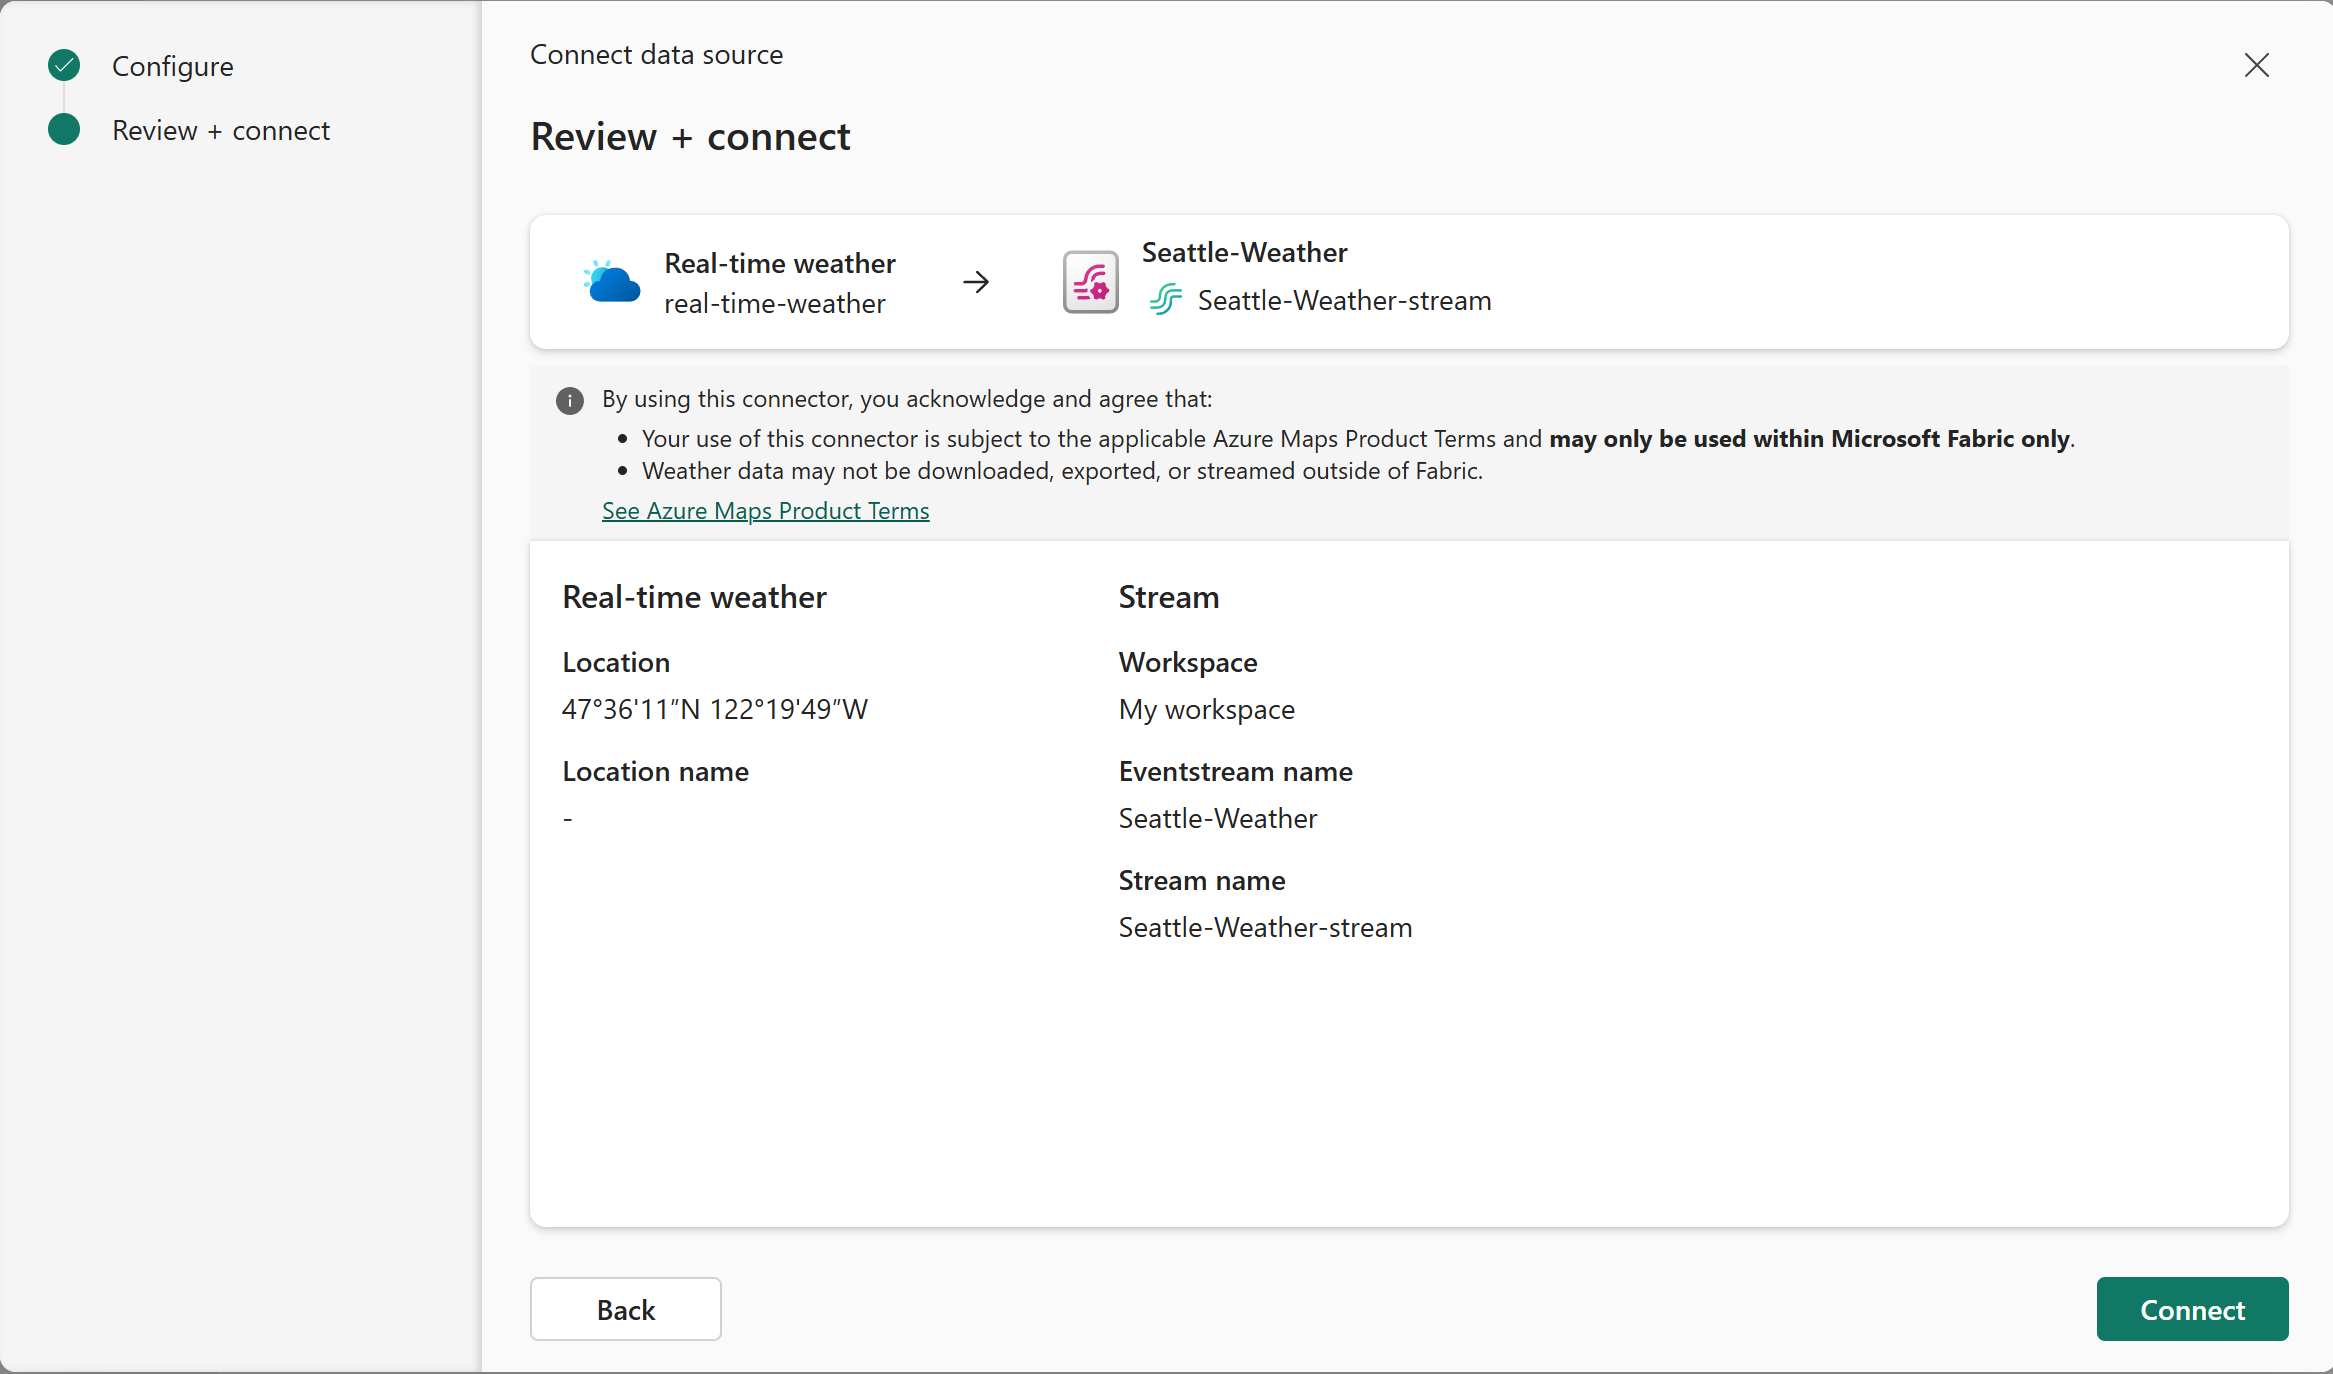
On the Review + connect page, review the configuration details, and select Connect to connect to the data source.
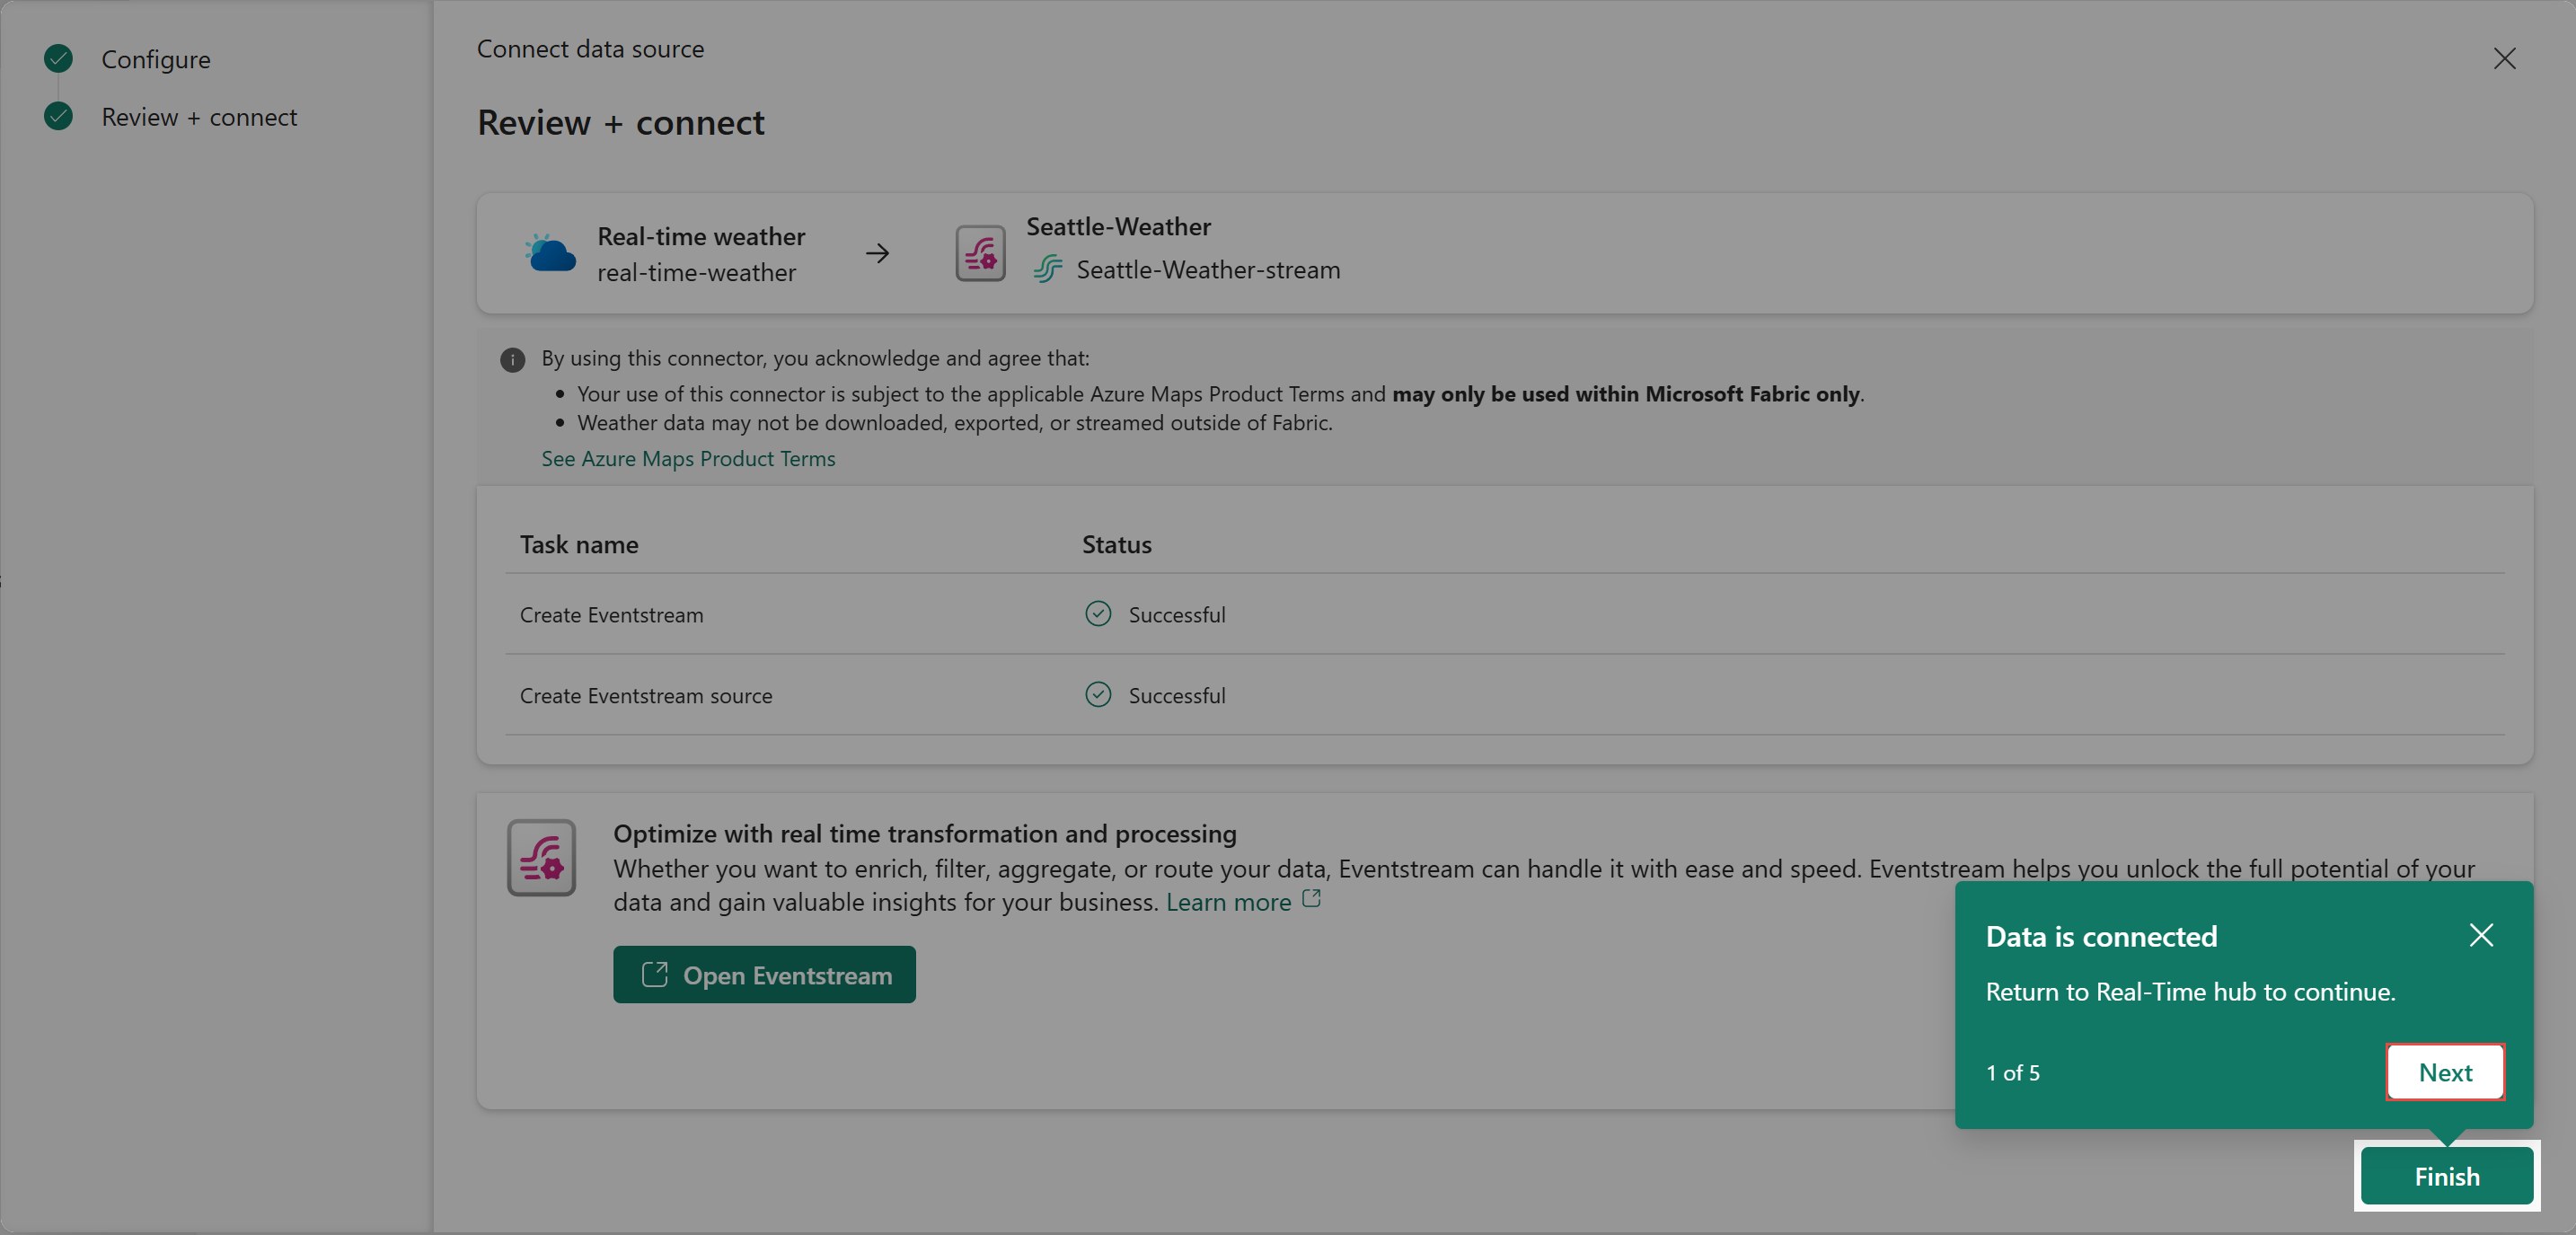
Select Next to complete the configuration and return to Real-Time hub.
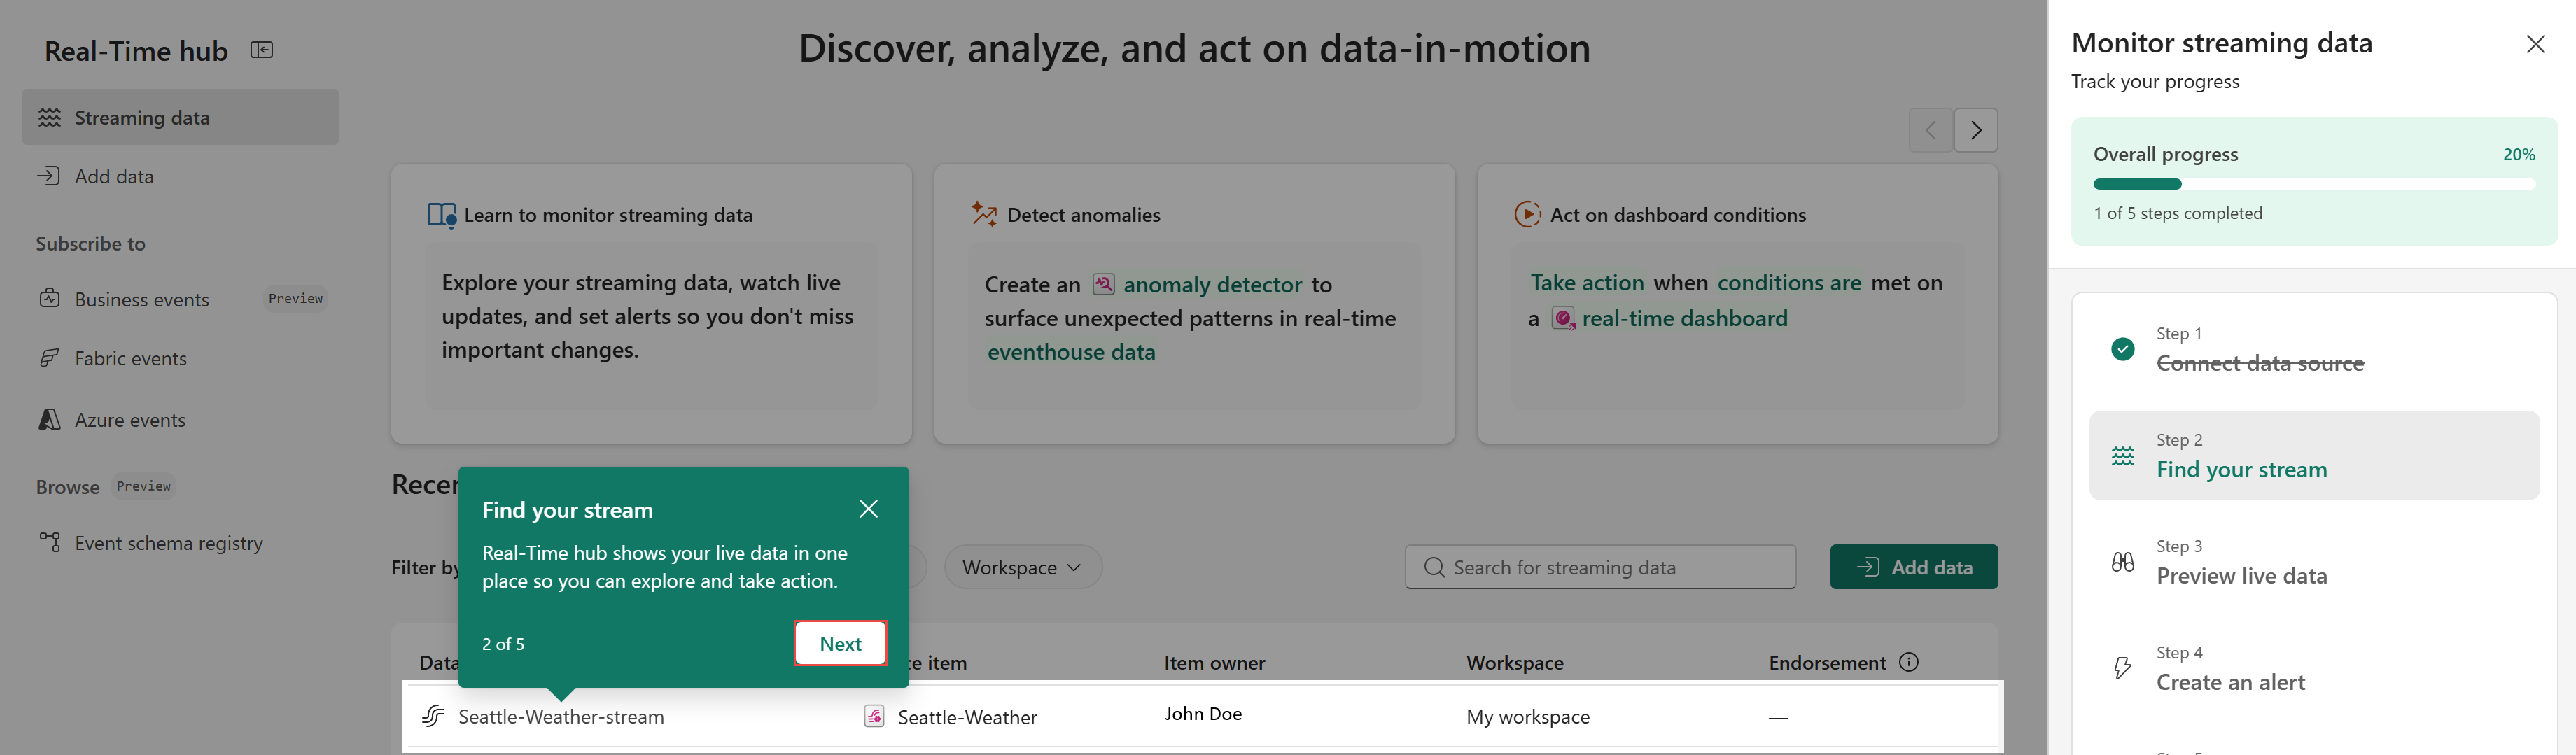
The Streaming data page shows the stream you created. Select Next in the Find your stream page to go to the next step of the tutorial. The tutorial automatically selects the stream from the list for you.
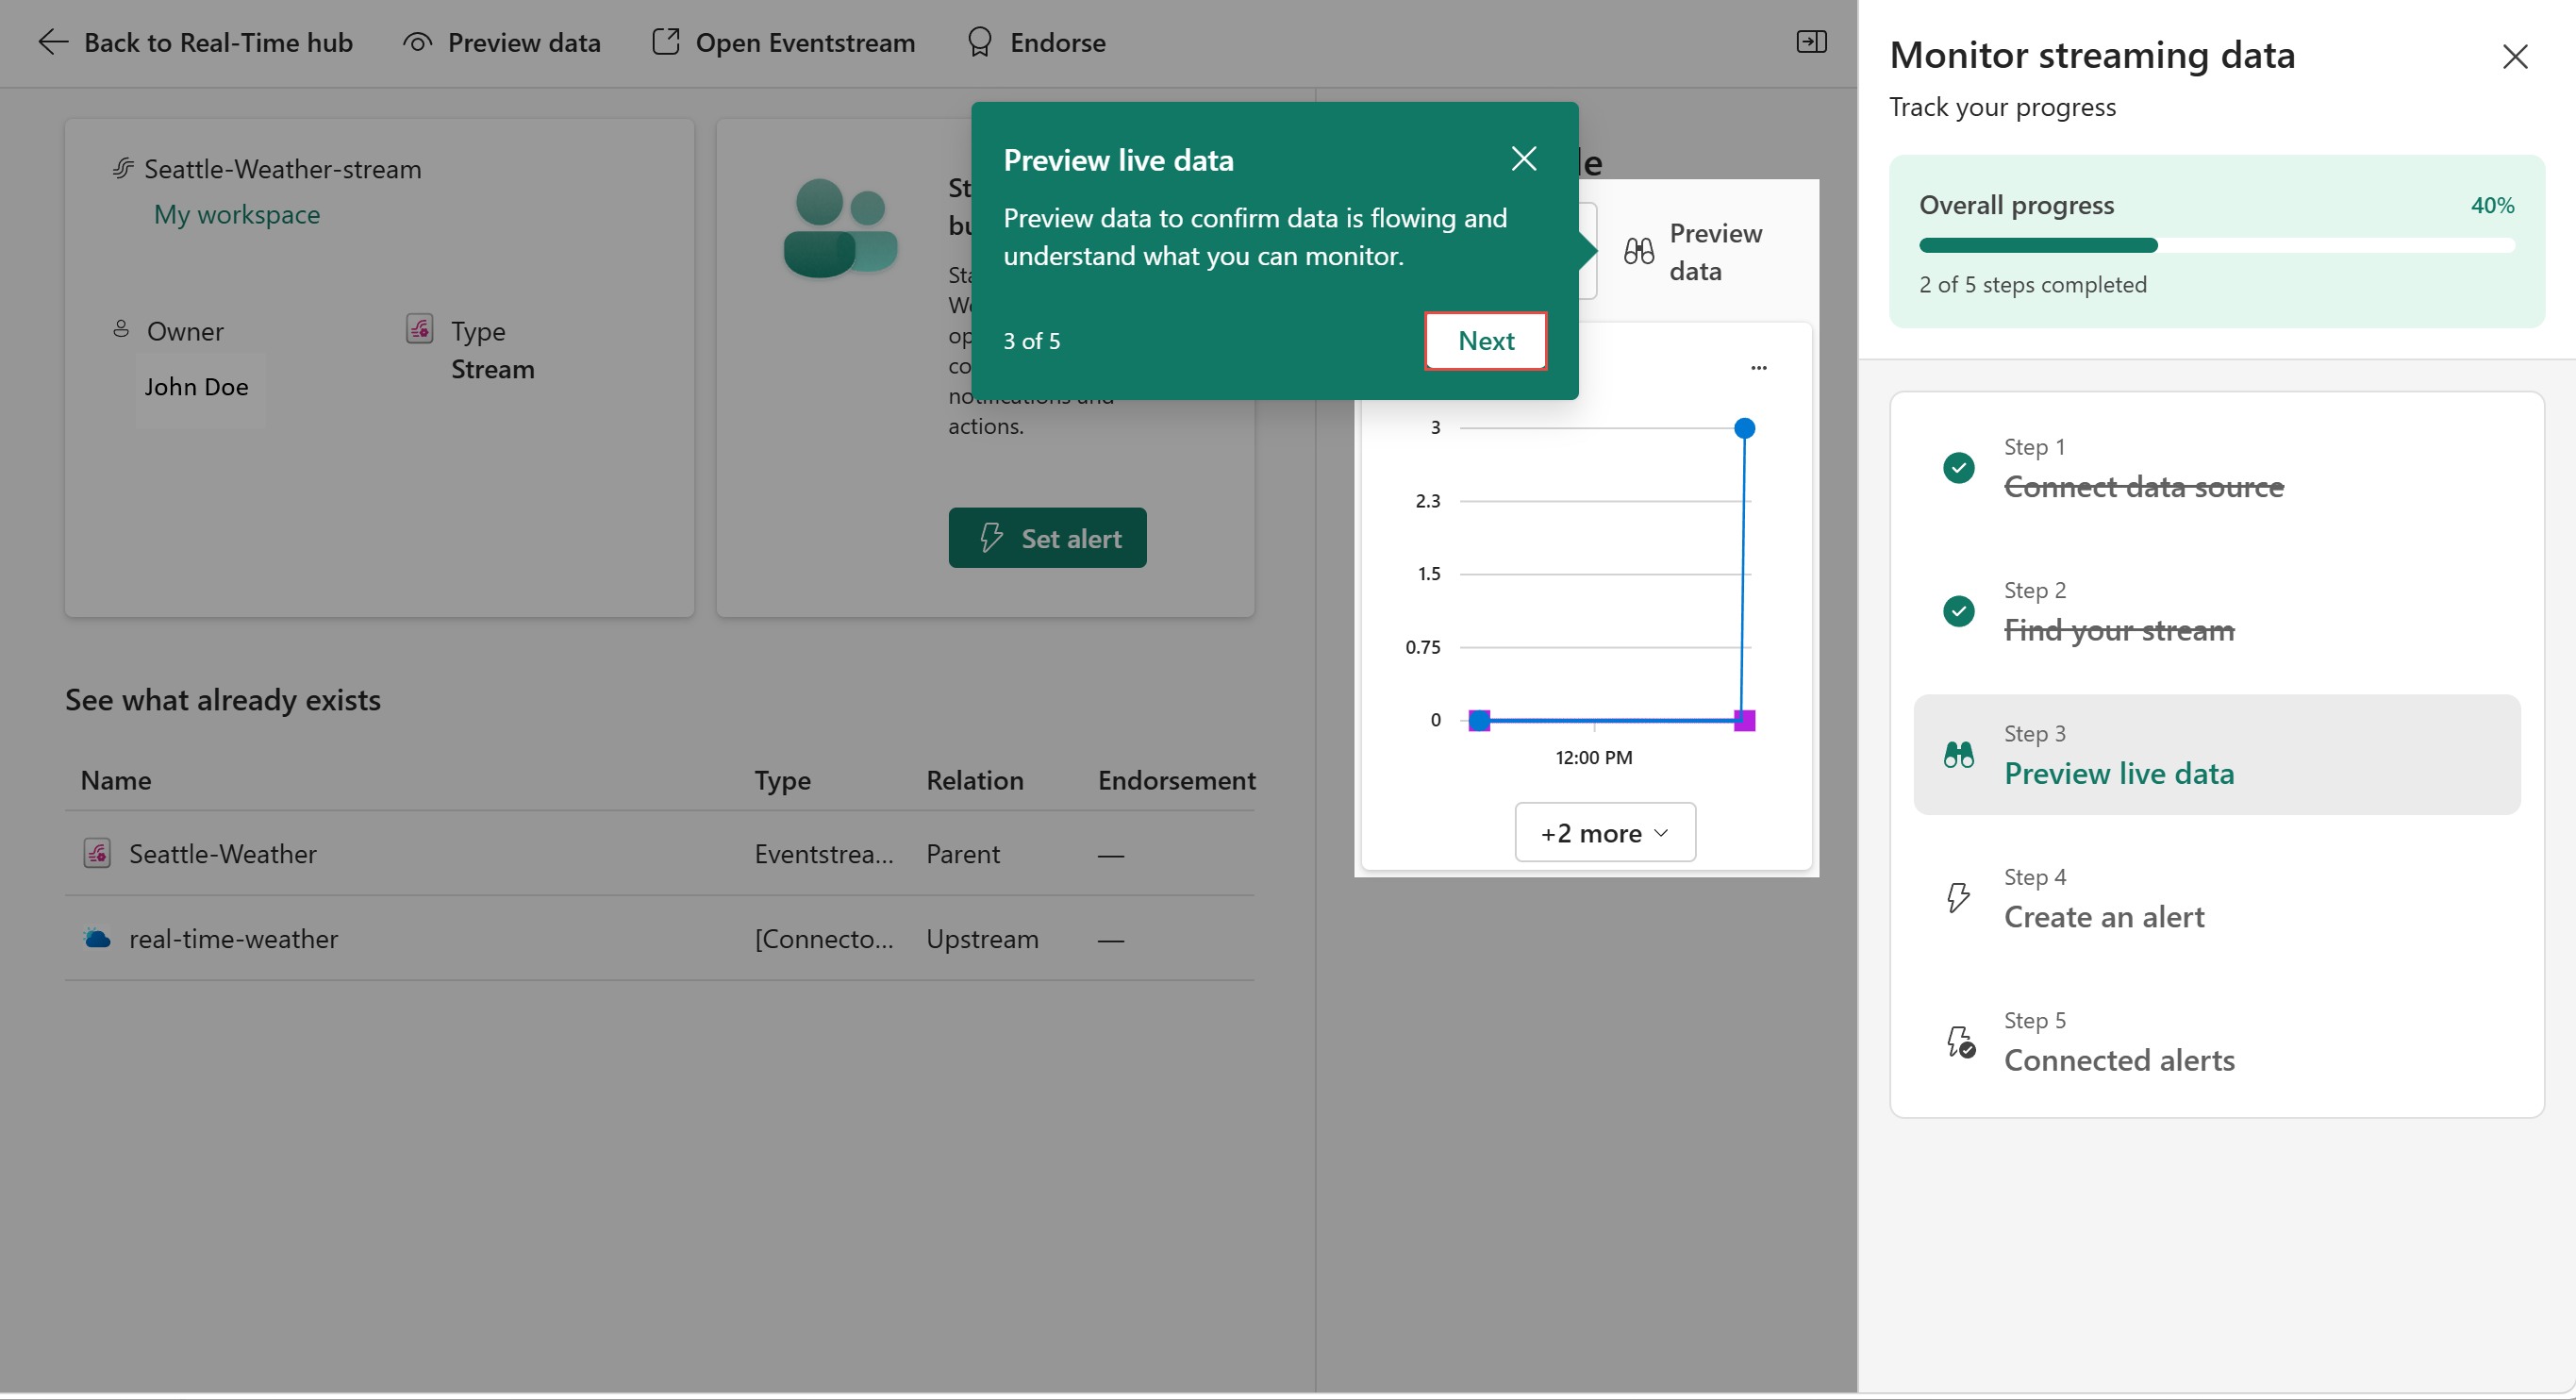
On the stream details page, if you wait for a few seconds, you see the graph is updated with the streaming data. In the Preview live data pop-up, select Next, which simulates the selection of the Preview data button.
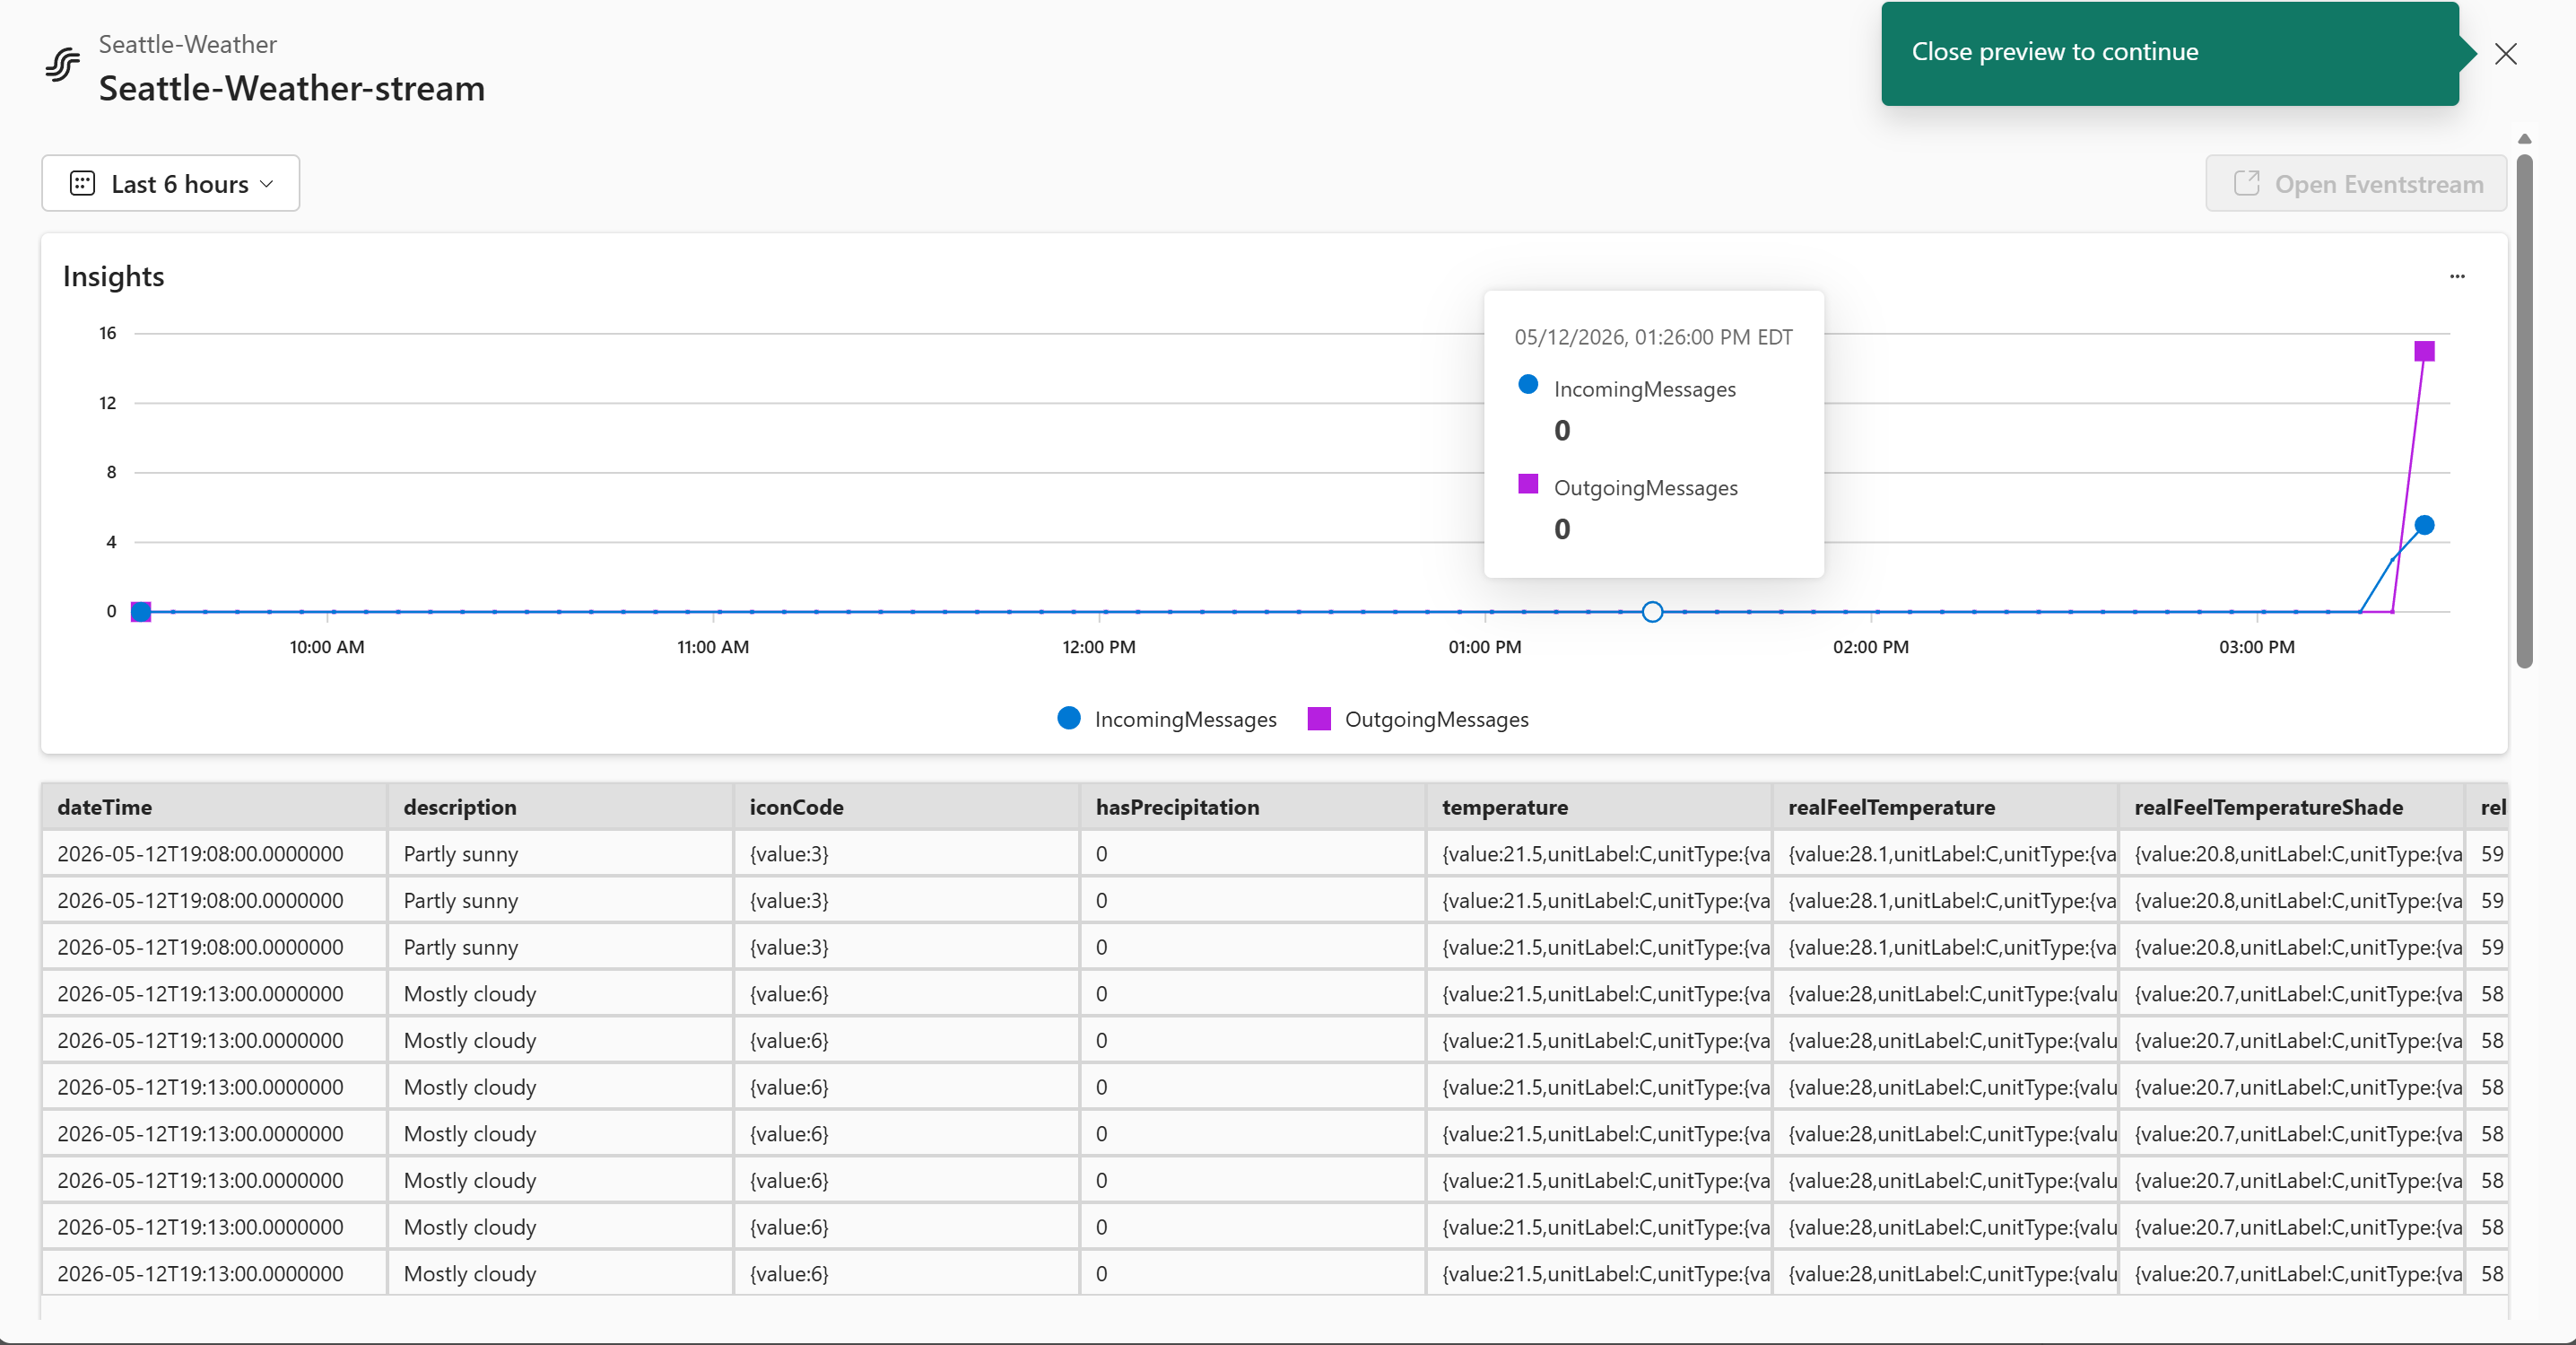
After a few seconds, the graph and list update with streaming data. Select X next to Close preview to continue in the top-right corner.
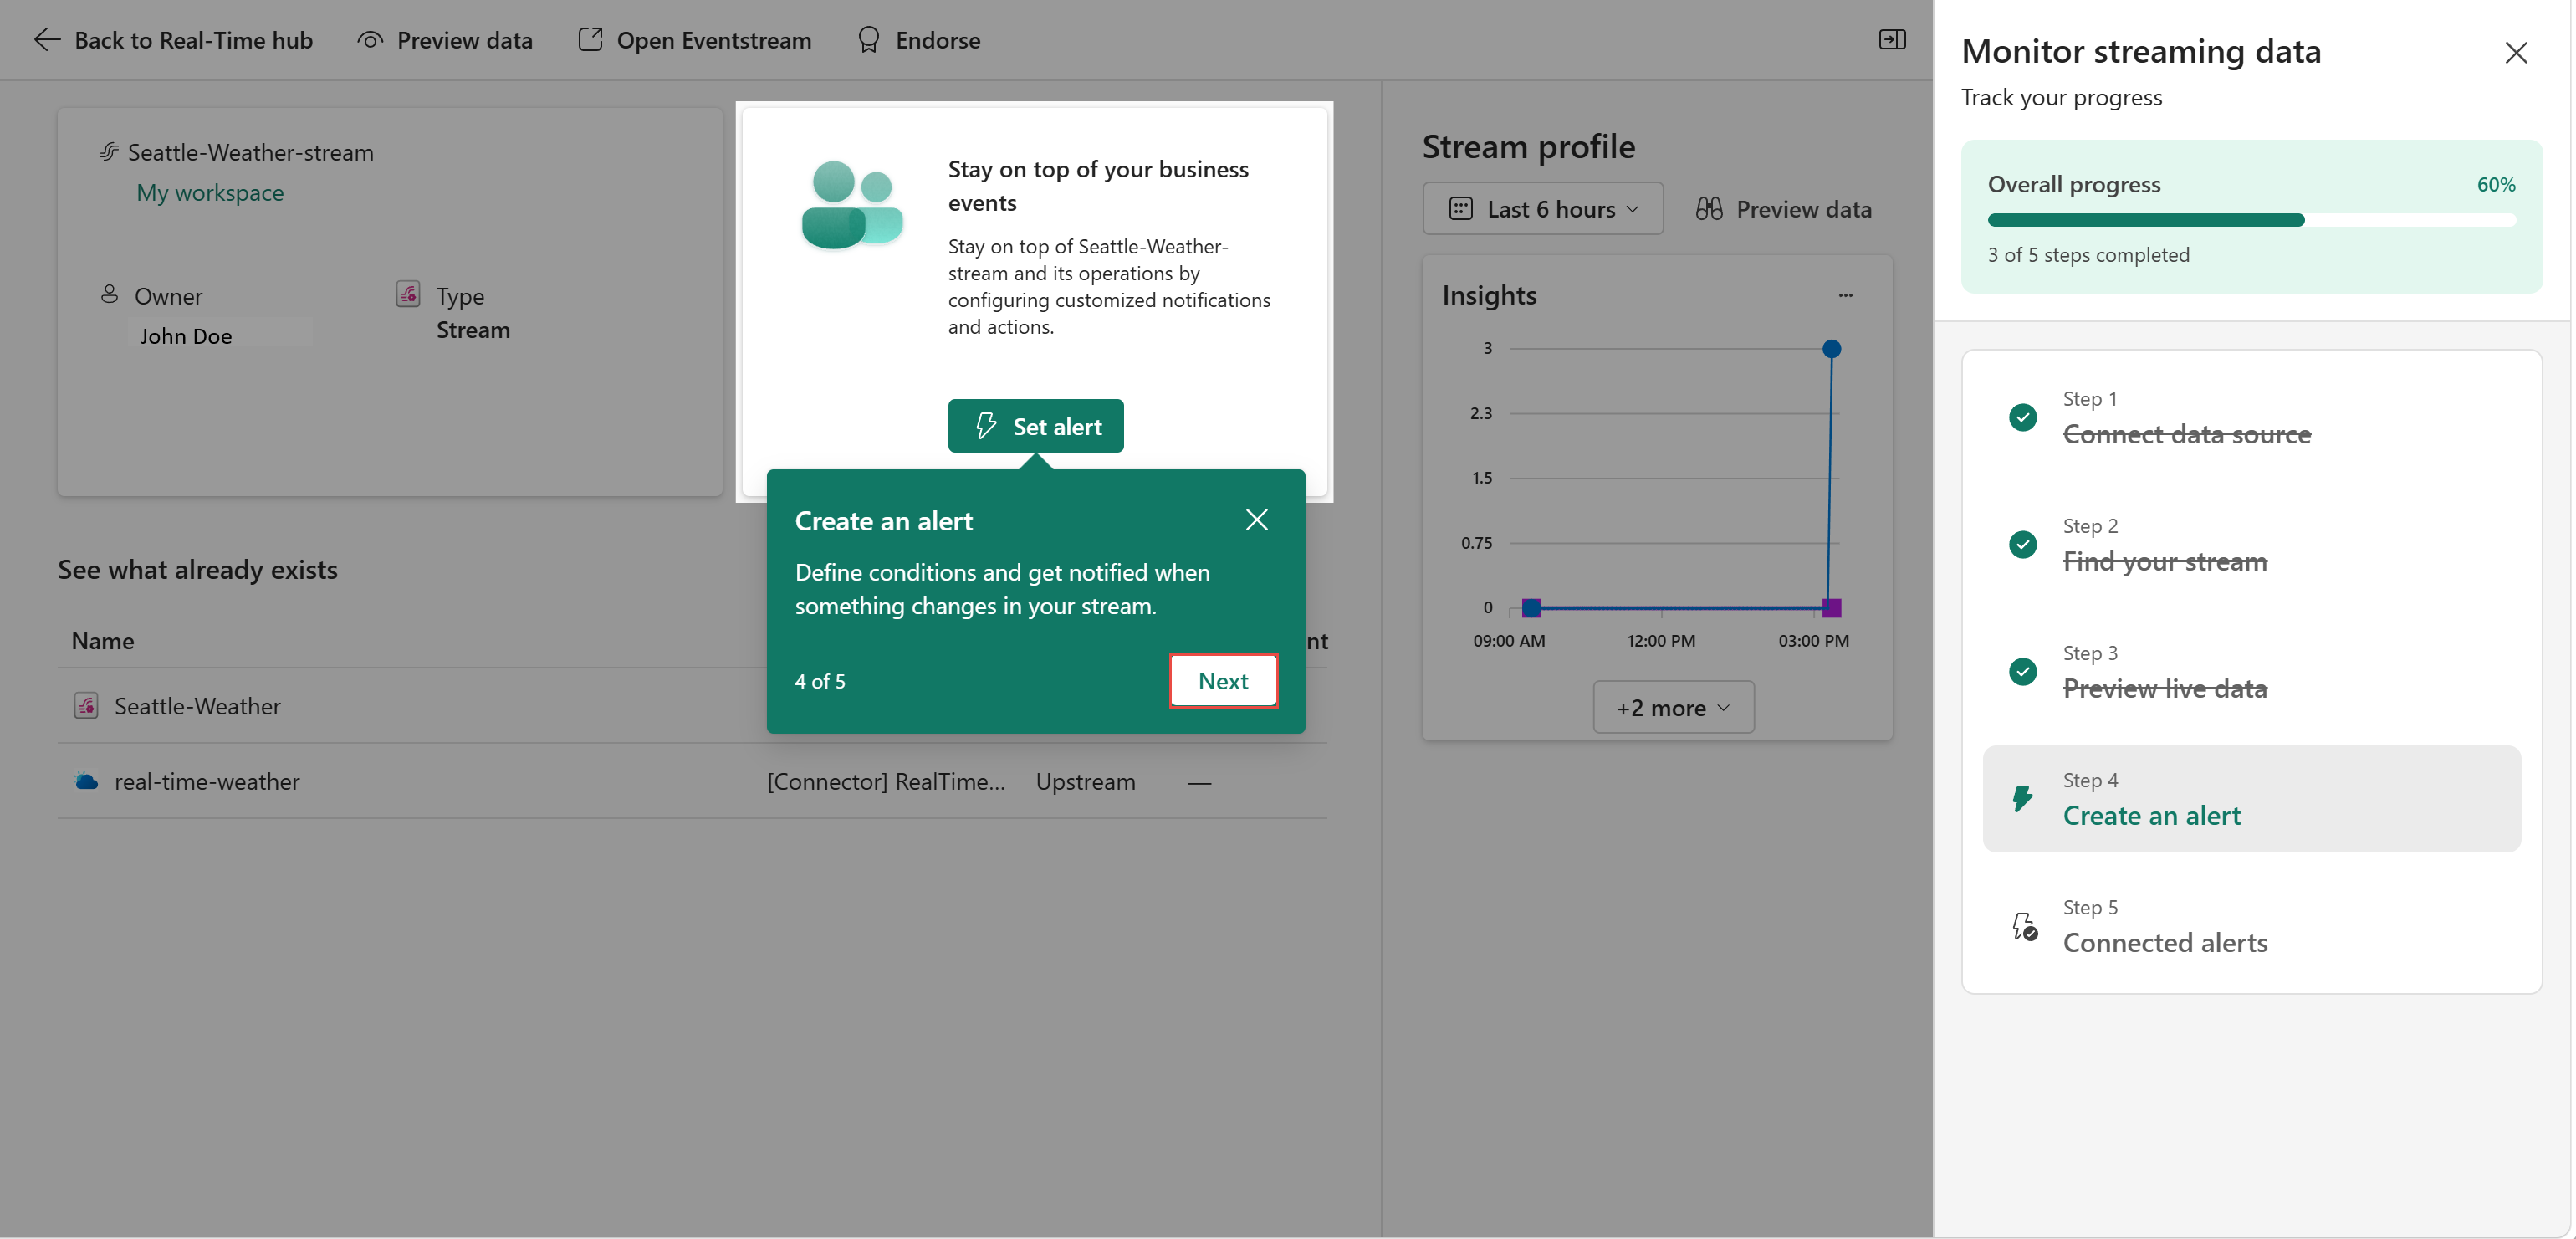
Back on the stream details page, select Next in the Create alert popup, which simulates the selection of the Set alert button.
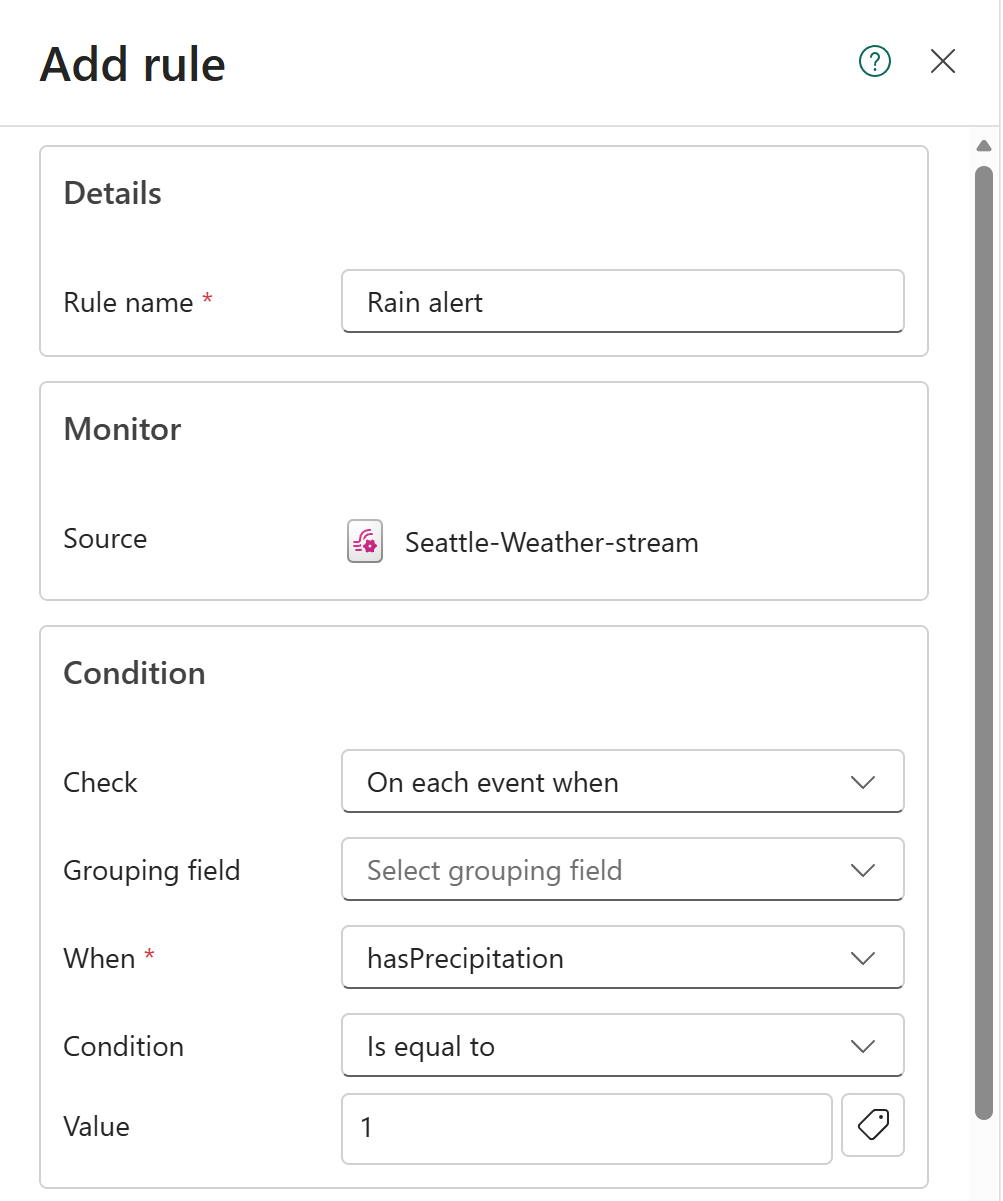
The Add rule page opens, and you see all the fields are filled in for you.
- In the Details section, the Rule name is set to Rain alert.
- In the Monitor section, the Source is set to the stream you created in the previous step.
- In the Condition section, the following values are configured:
Check is set to On each event when.
When is set to hasPrecipitation.
Condition is set to Is equal to.
Value is set to 1.
- In the Action section, the following values are configured:
- Select action is set to Message to individuals.
- To is set to your email address.
- Headline is set to Activator alert Rain alert.
- Notes is set to The condition for 'Rain alert' has been met.
- In the Save location section:
Save to is set to your workspace.
Item is set to an Activator item in your workspace. If you prefer to use a new Activator item, select Create a new item in the drop-down list, and enter a name for the new Activator item.
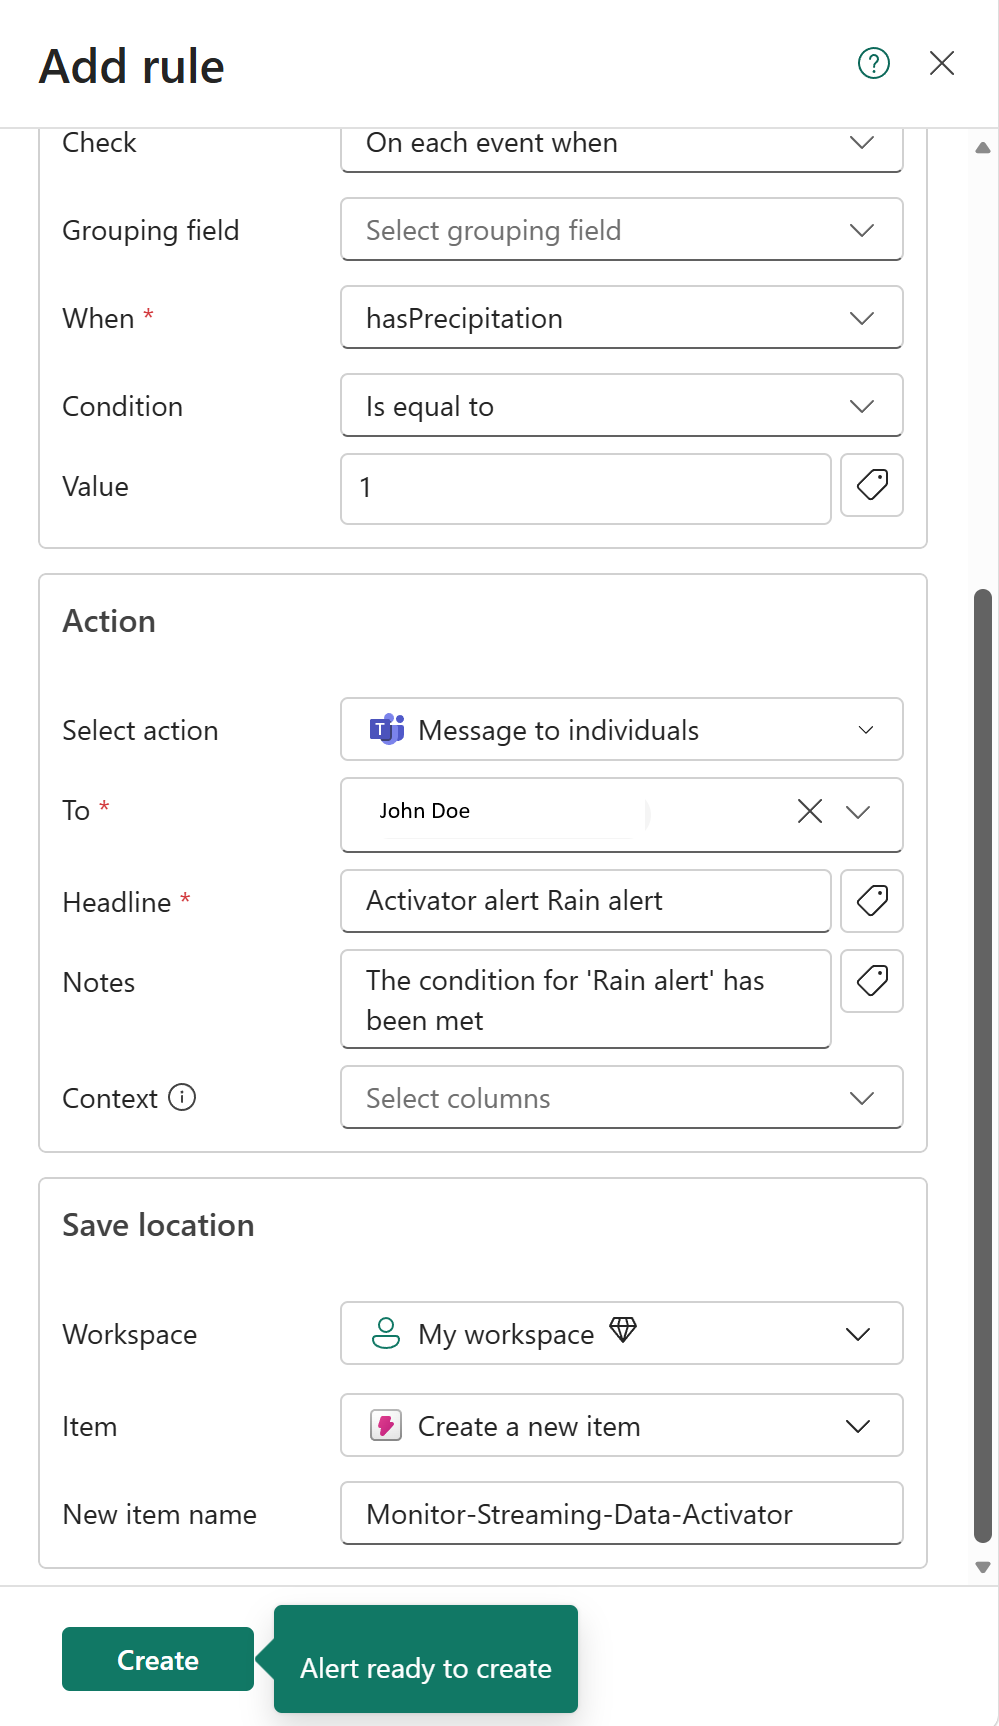
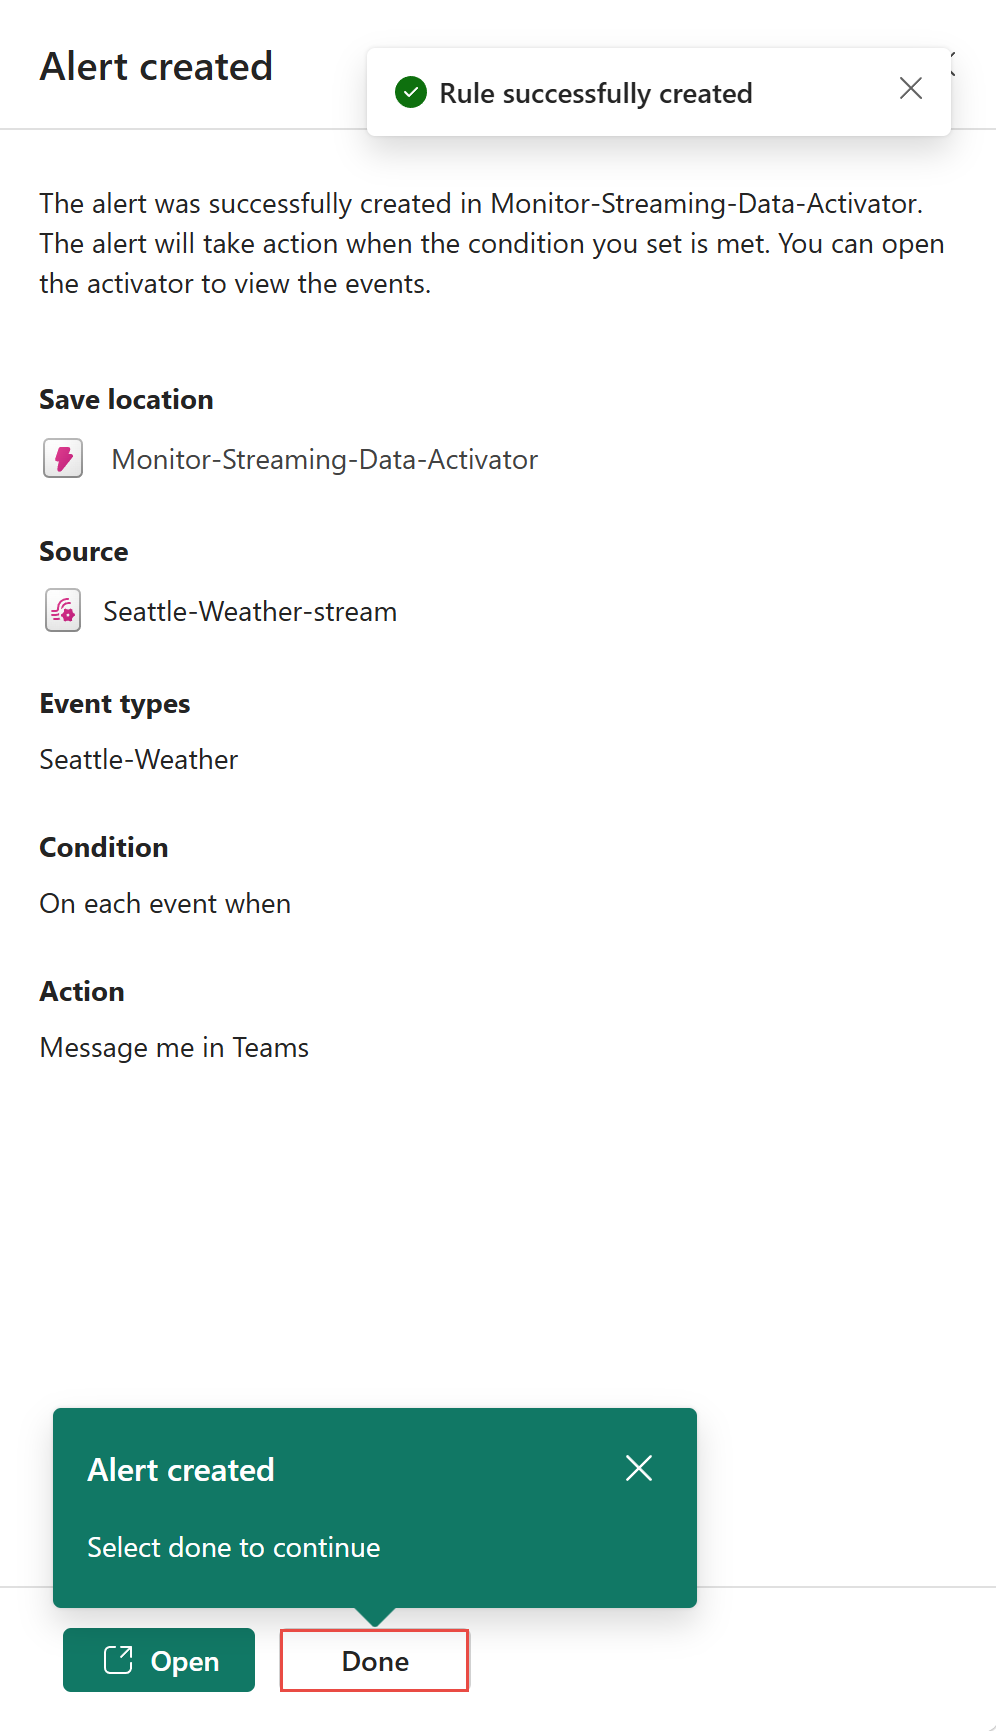
After reviewing the fields, select Create to create the alert rule. You see a confirmation message that the rule is created successfully. Select Done to continue. If you select Open, you see the Activator item (a Fabric item that triggers actions based on conditions) in the Activator user interface.
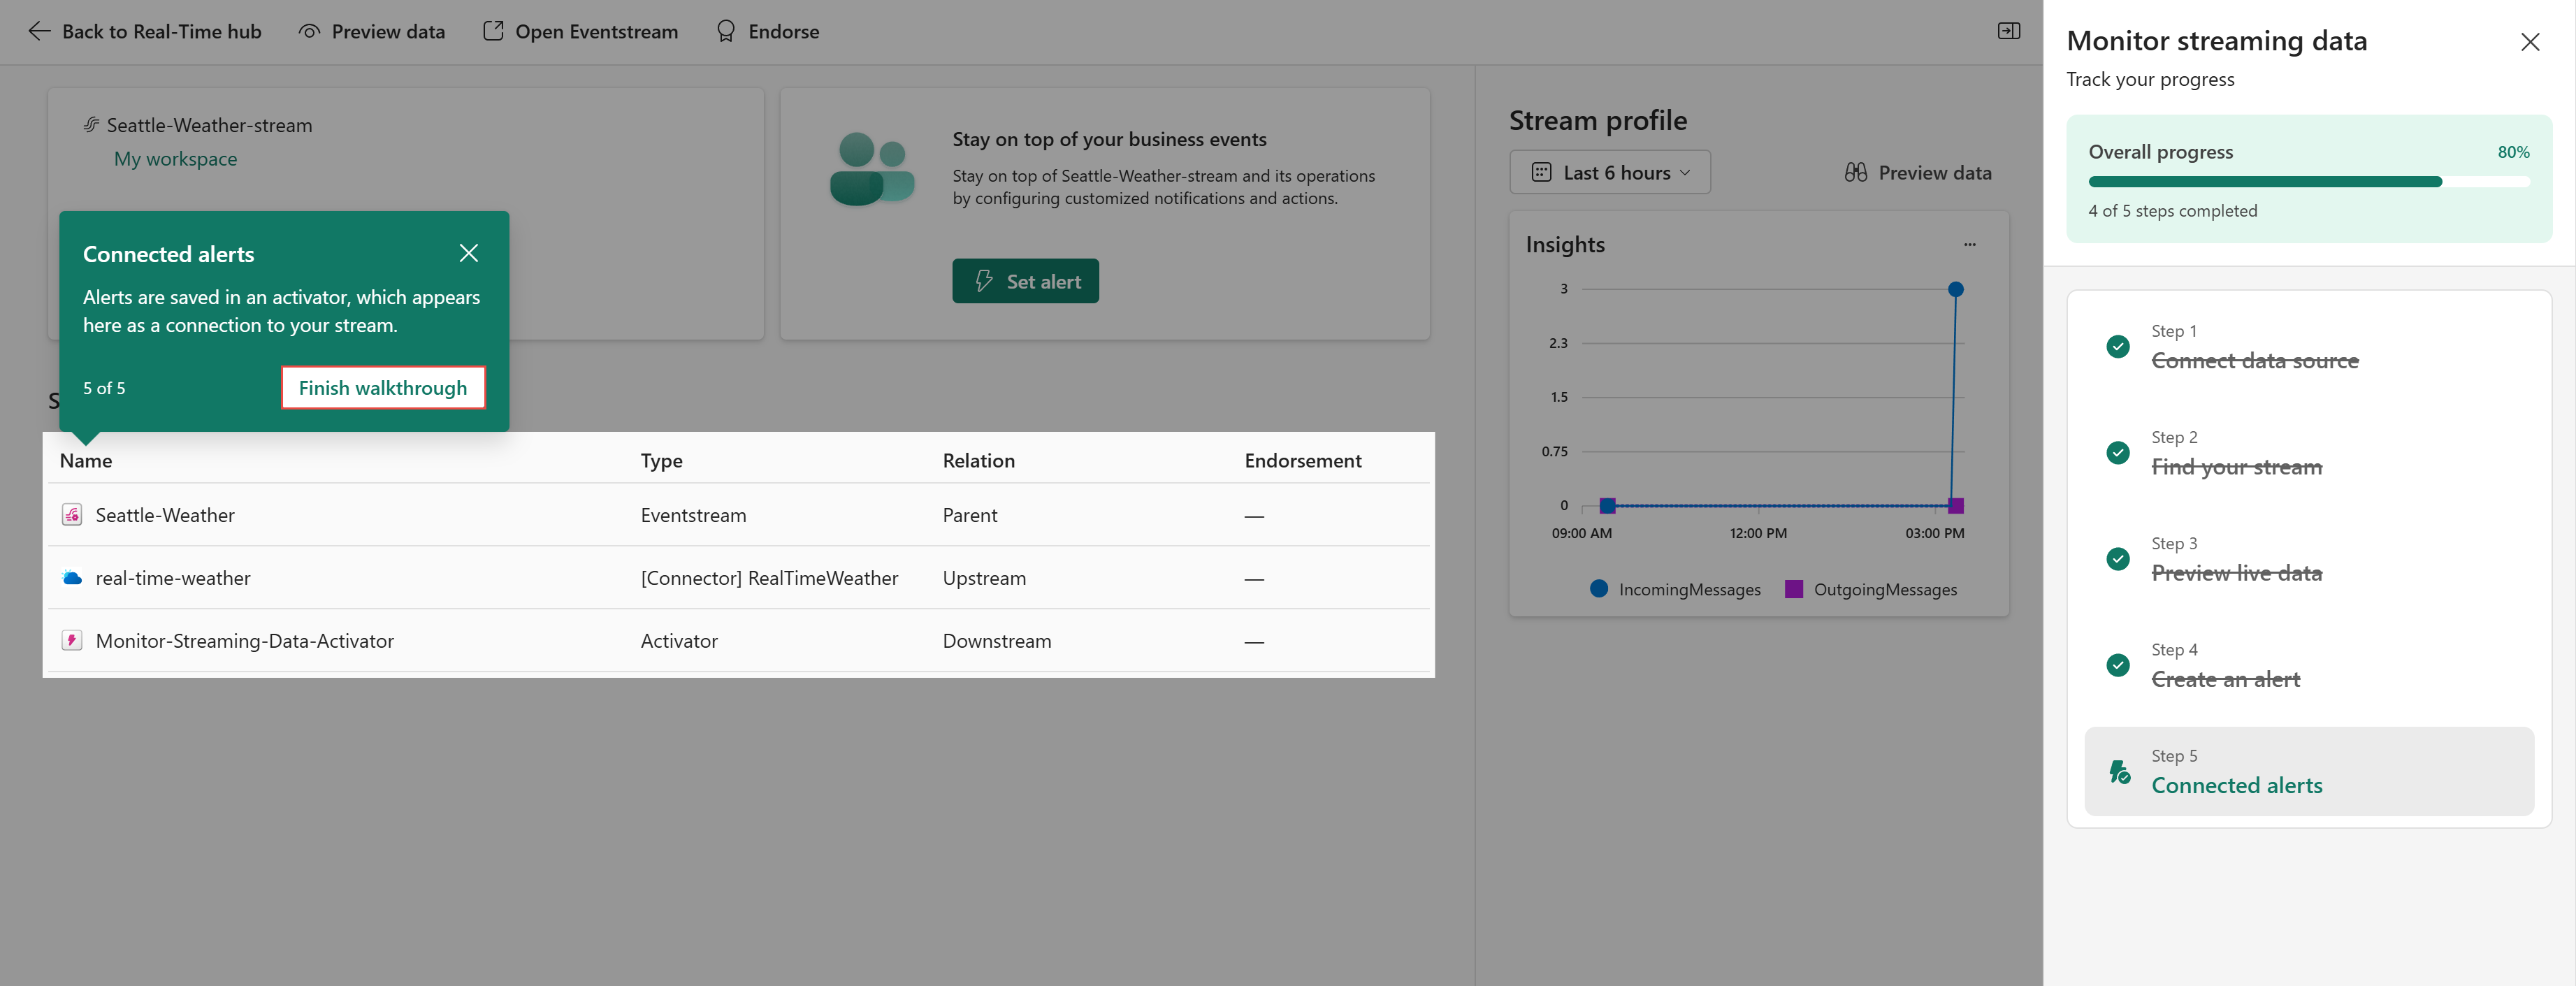
Review items displayed on the Stream details page, and select Finish walkthrough to complete the tutorial.
The Upstream is the real-time weather source.
The Downstream is the Activator item that has the Rain alert rule.
The Parent is the eventstream that receives real-time weather data from the real-time weather source and sends it to the Activator item, which raises an alert when the condition is met.
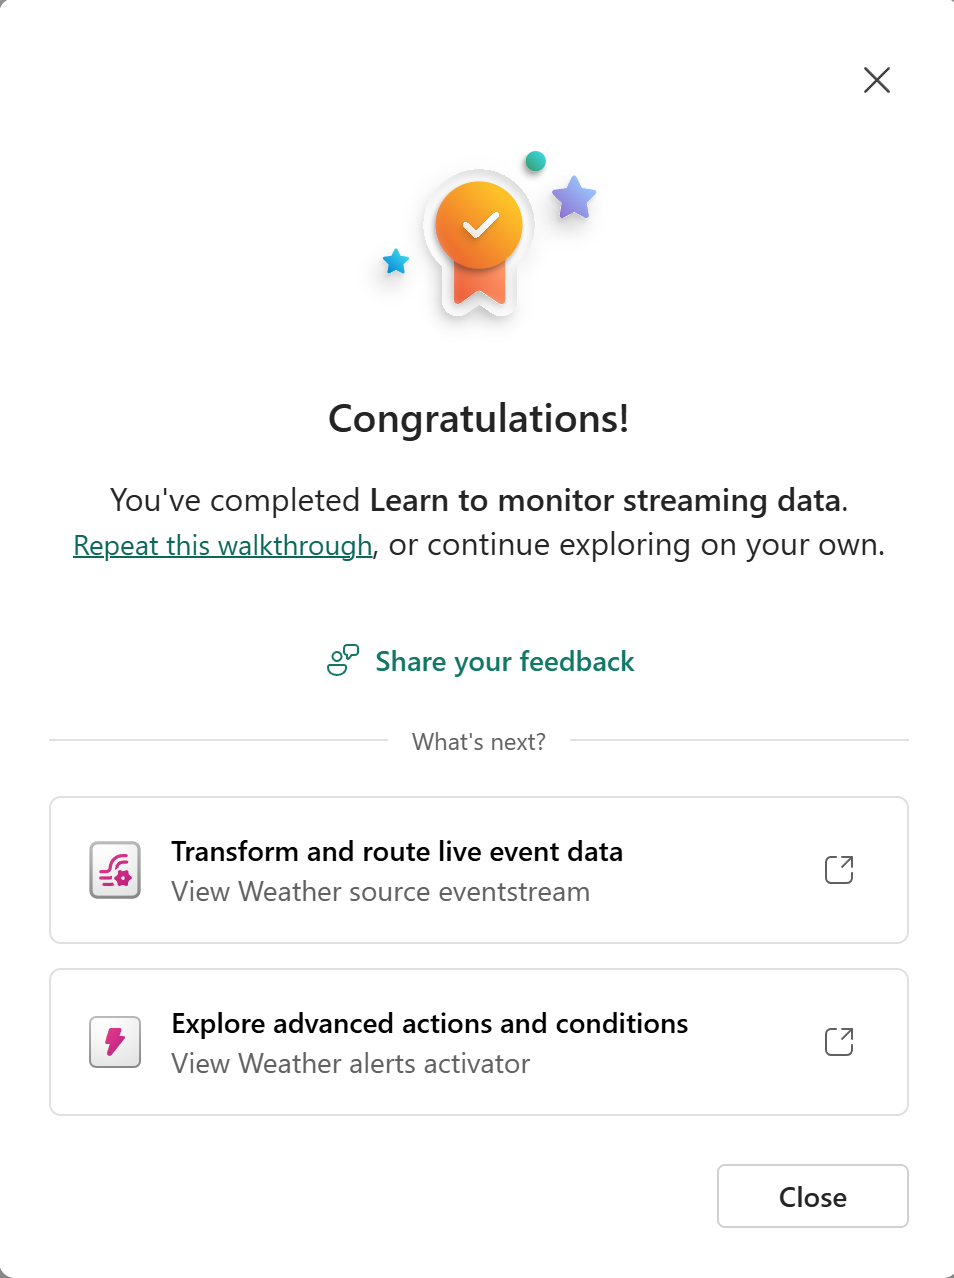
After you complete the tutorial, you see the Congratulations page with links to open the Eventstream and Activator items. Select Close to close the window.
Summary
In this tutorial, you used the guided tutorial card in Real-Time hub to:
- Connect to a real-time weather data source and create an eventstream.
- Preview live streaming data on the stream details page.
- Create a rain alert rule using Activator that sends an email when precipitation is detected.