Note
Access to this page requires authorization. You can try signing in or changing directories.
Access to this page requires authorization. You can try changing directories.
In this guide, you use the time window filter to enable a feature on a schedule for an ASP.NET Core application.
The example used in this article is based on the ASP.NET Core application introduced in the feature management quickstart. Before proceeding further, complete the quickstart to create an ASP.NET Core application with a Beta feature flag. Once completed, you must add a time window filter to the Beta feature flag in your App Configuration store.
Prerequisites
- Create an ASP.NET Core application with a feature flag.
- Add a time window filter to the feature flag
- Update the
Microsoft.FeatureManagement.AspNetCorepackage to version 3.0.0 or later.
Use the time window filter
You've added a time window filter for your Beta feature flag in the prerequisites. Next, you'll use the feature flag with the time window filter in your ASP.NET Core application.
Starting with version 3.0.0 of Microsoft.FeatureManagement, the following built-in filters are registered automatically as part of the AddFeatureManagement call. You don't need to add TimeWindowFilter manually.
TimeWindowFilterContextualTargetingFilterPercentageFilter
// This call will also register built-in filters to the container of services.
builder.Services.AddFeatureManagement();
Time window filter in action
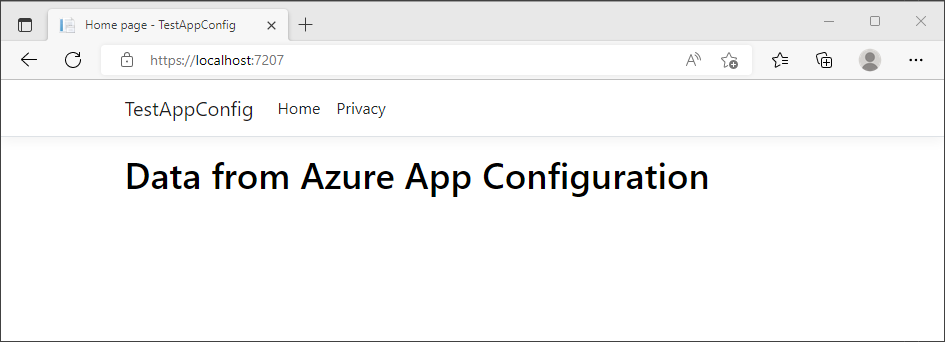
Relaunch the application. If your current time is earlier than the start time set for the time window filter, the Beta menu item won't appear on the toolbar. This is because the Beta feature flag is disabled by the time window filter.
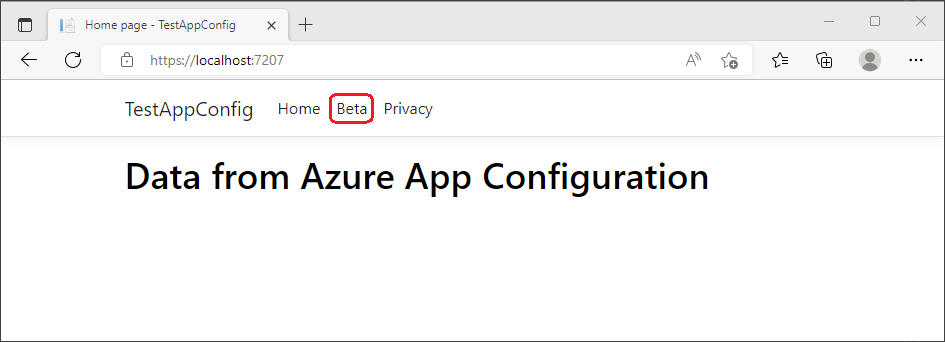
Once the start time has passed, refresh your browser a few times. You'll notice that the Beta menu item now appears. This is because the Beta feature flag is now enabled by the time window filter.
If recurrence is enabled when you set up the time window filter, the Beta menu will disappear once your current time passes the end time you set in the time window filter. However, the Beta menu will reappear according to your recurrence settings and continue this pattern until the recurrence expiration time, if set.
Next steps
To learn more about the feature filters, continue to the following documents.
For the full feature rundown of the .NET feature management library, continue to the following document.