Note
Access to this page requires authorization. You can try signing in or changing directories.
Access to this page requires authorization. You can try changing directories.
The Dapr extension for Azure Functions allows you to easily interact with the Dapr APIs from an Azure Function by using triggers and bindings. In this guide, you learn how to:
- Create an Azure Cache for Redis to use as a Dapr state store.
- Deploy an Azure Container Apps environment to host container apps.
- Deploy a Dapr-enabled function on Azure Container Apps:
- One function that invokes the other service.
- One function that creates an order and saves it to storage via Dapr state store.
- Verify the interaction between the two apps.
Prerequisites
Set up the environment
In the terminal, sign in to your Azure account.
az loginSet the active subscription you'd like to use.
az account set --subscription <subscription-id-or-name>Register the
Microsoft.AppandMicrosoft.OperationalInsightsnamespaces.az provider register --namespace Microsoft.Appaz provider register --namespace Microsoft.OperationalInsightsClone the Dapr extension for Azure Functions repo.
git clone https://github.com/Azure/azure-functions-dapr-extension.git
Create resource group
Specifying one of the available regions, create a resource group for your container app.
az group create --name <resource-group-name> --location <region>
Deploy the Azure Function templates
Change into the folder holding the template.
cd azure-functions-dapr-extension/quickstarts/dotnet-isolated/deploy/acaCreate a deployment group and specify the template you'd like to deploy.
az deployment group create --resource-group <resource-group-name> --template-file deploy-quickstart.bicepWhen prompted by the CLI, enter a resource name prefix. The name you choose must be a combination of numbers and lowercase letters, between 3 and 24 characters in length.
Please provide string value for 'resourceNamePrefix' (? for help): <your-resource-name-prefix>The template deploys the following resources and might take a while:
- A Container App Environment
- A Function App
- An Azure Blob Storage Account and a default storage container
- Application Insights
- Log Analytics workSpace
- Dapr Component (Azure Redis Cache) for state management
- The following .NET Dapr-enabled functions:
OrderServiceCreateNewOrderRetrieveOrder
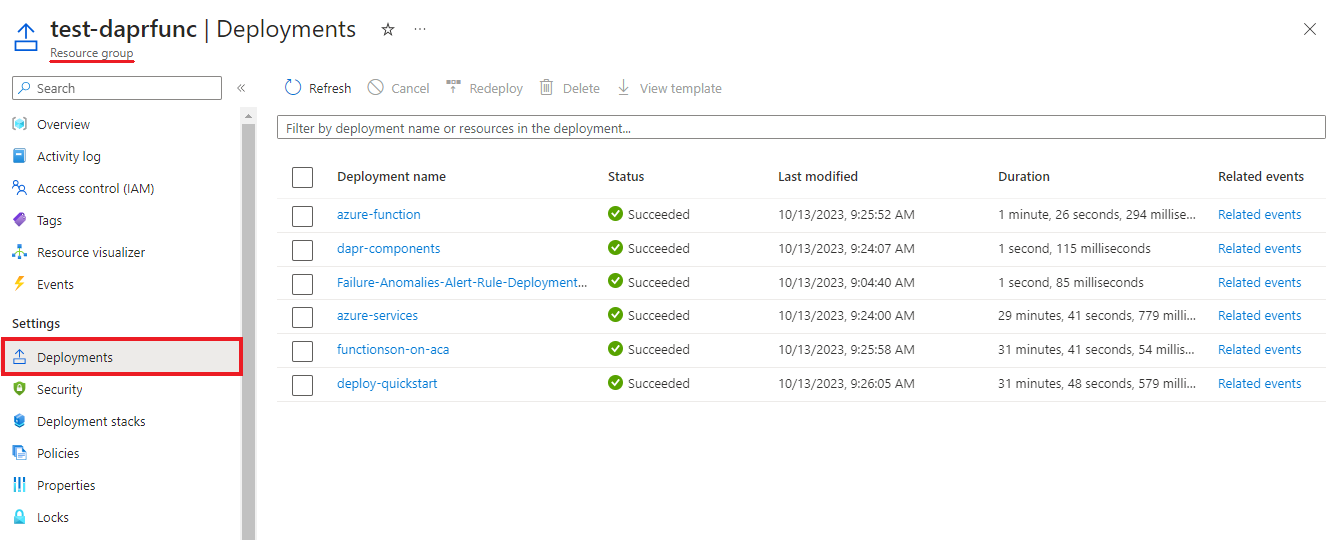
In the Azure portal, navigate to your resource group and select Deployments to track the deployment status.

Verify the result
After the template deploys successfully, run the following command to initiate an OrderService function that triggers the CreateNewOrder process. A new order is created and stored in the Redis state store.
In the command:
- Replace
<quickstart-functionapp-url>with your actual function app URL. For example:https://daprext-funcapp.wittyglacier-20884174.eastus.azurecontainerapps.io. - Replace
<quickstart-functionapp-name>with your function app name.
To find your function app URL, navigate to Container Apps in the Azure portal, then select your new container app.
Invoke-RestMethod -Uri 'https://<quickstart-functionapp-url.io>/api/invoke/<quickstart-functionapp-name>/CreateNewOrder' -Method POST -Headers @{"Content-Type" = "application/json"} -Body '{
    "data": {
        "value": {
            "orderId": "Order22"
        }
    }
}'
View logs
Data logged via a function app is stored in the ContainerAppConsoleLogs_CL custom table in the Log Analytics workspace. Wait a few minutes for the analytics to arrive for the first time before you query the logged data.
You can view logs through the Azure portal or from the command line.
Using the Azure portal
Navigate to your container app environment.
In the sidebar menu, under Monitoring, select Logs.
Run a query like the following to verify your function app is receiving the invoked message from Dapr.
ContainerAppsConsoleLogs_CL
| where RevisionName_s == $revision_name
| where Log_s contains "Order22"
| project Log_s

Using the Azure CLI
Run the following command to view the saved state.
Invoke-RestMethod -Uri 'https://<quickstart-functionapp-url.io>/api/retrieveorder' -Method GET
Clean up resources
After you finish with this tutorial, run the following command to delete your resource group, along with all the resources you created.
az group delete --resource-group <resource-group-name>