Load data into Azure Data Lake Storage Gen1 by using Azure Data Factory
APPLIES TO:  Azure Data Factory
Azure Synapse Analytics
Azure Data Factory
Azure Synapse Analytics
Tip
Try out Data Factory in Microsoft Fabric, an all-in-one analytics solution for enterprises. Microsoft Fabric covers everything from data movement to data science, real-time analytics, business intelligence, and reporting. Learn how to start a new trial for free!
Azure Data Lake Storage Gen1 (previously known as Azure Data Lake Store) is an enterprise-wide hyper-scale repository for big data analytic workloads. Data Lake Storage Gen1 lets you capture data of any size, type, and ingestion speed. The data is captured in a single place for operational and exploratory analytics.
Azure Data Factory is a fully managed cloud-based data integration service. You can use the service to populate the lake with data from your existing system and save time when building your analytics solutions.
Azure Data Factory offers the following benefits for loading data into Data Lake Storage Gen1:
- Easy to set up: An intuitive 5-step wizard with no scripting required.
- Rich data store support: Built-in support for a rich set of on-premises and cloud-based data stores. For a detailed list, see the table of Supported data stores.
- Secure and compliant: Data is transferred over HTTPS or ExpressRoute. The global service presence ensures that your data never leaves the geographical boundary.
- High performance: Up to 1-GB/s data loading speed into Data Lake Storage Gen1. For details, see Copy activity performance.
This article shows you how to use the Data Factory Copy Data tool to load data from Amazon S3 into Data Lake Storage Gen1. You can follow similar steps to copy data from other types of data stores.
Note
For more information, see Copy data to or from Data Lake Storage Gen1 by using Azure Data Factory.
Prerequisites
- Azure subscription: If you don't have an Azure subscription, create a free account before you begin.
- Data Lake Storage Gen1 account: If you don't have a Data Lake Storage Gen1 account, see the instructions in Create a Data Lake Storage Gen1 account.
- Amazon S3: This article shows how to copy data from Amazon S3. You can use other data stores by following similar steps.
Create a data factory
If you have not created your data factory yet, follow the steps in Quickstart: Create a data factory by using the Azure portal and Azure Data Factory Studio to create one. After creating it, browse to the data factory in the Azure portal.
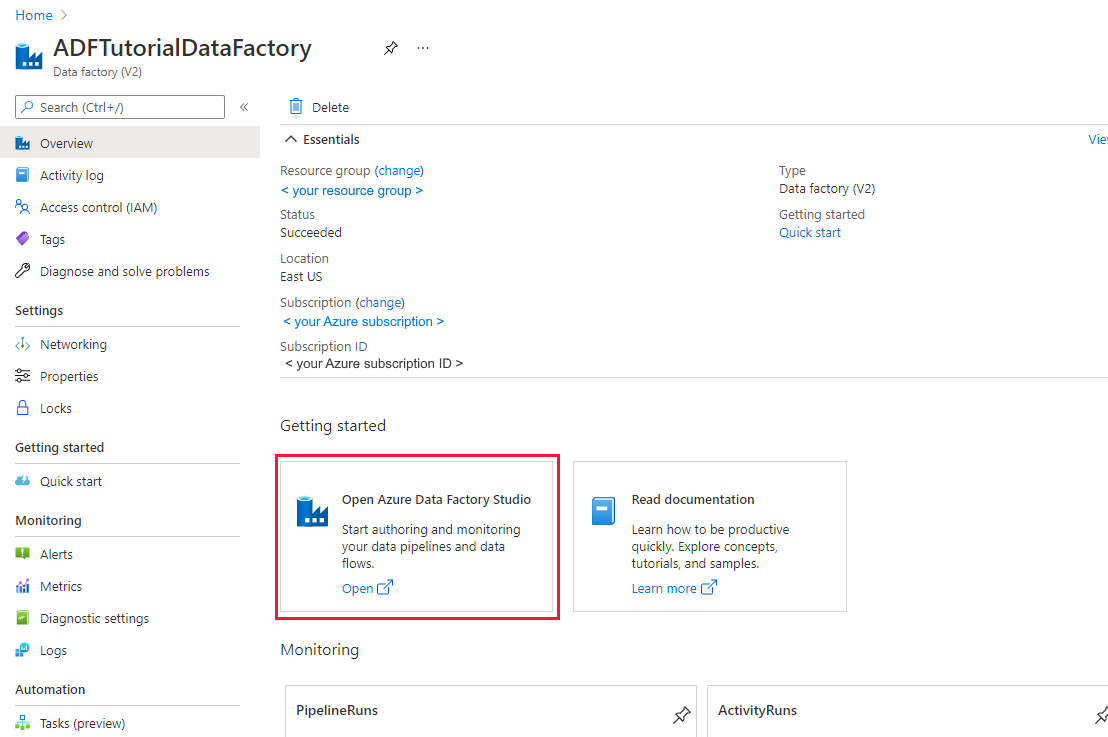
Select Open on the Open Azure Data Factory Studio tile to launch the Data Integration application in a separate tab.
Load data into Data Lake Storage Gen1
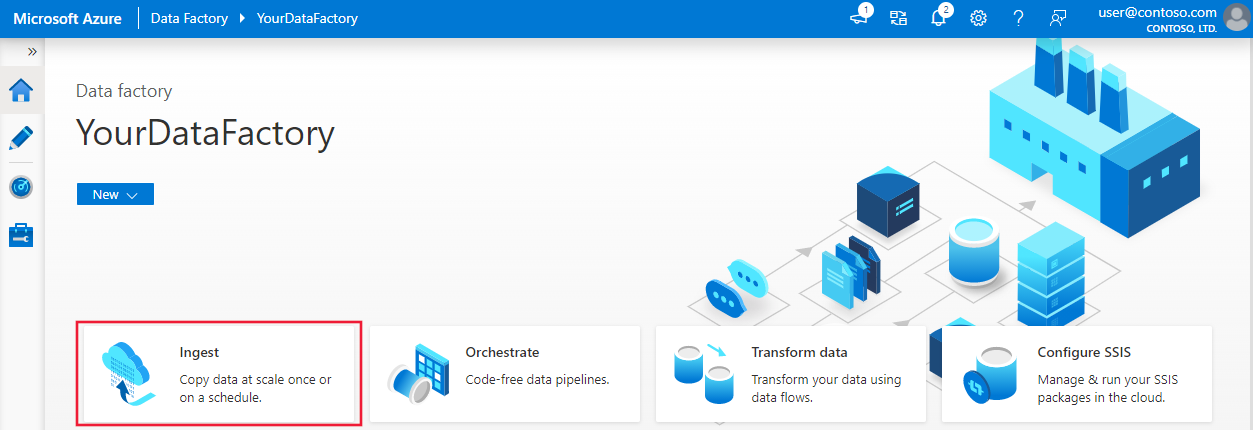
In the home page, select the Ingest tile to launch the Copy Data tool:
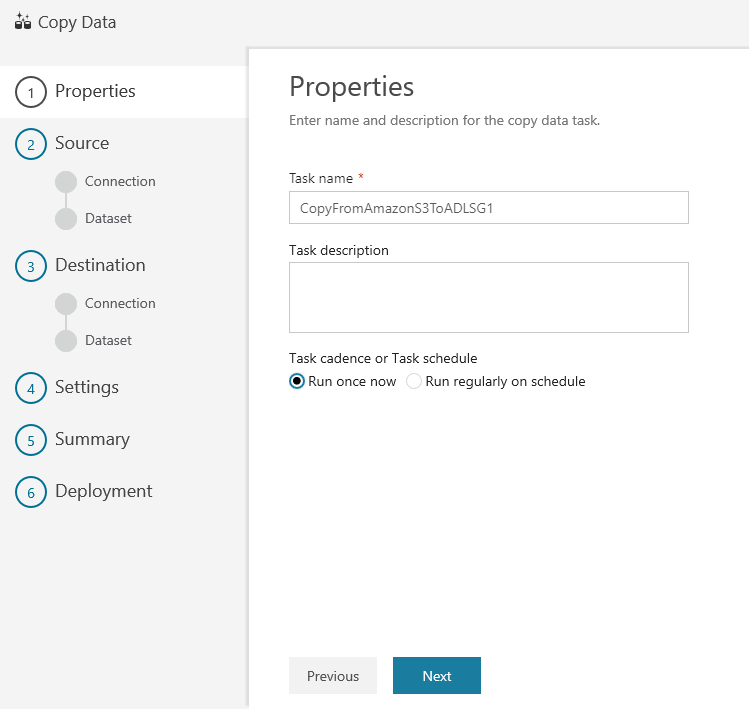
In the Properties page, specify CopyFromAmazonS3ToADLS for the Task name field, and select Next:
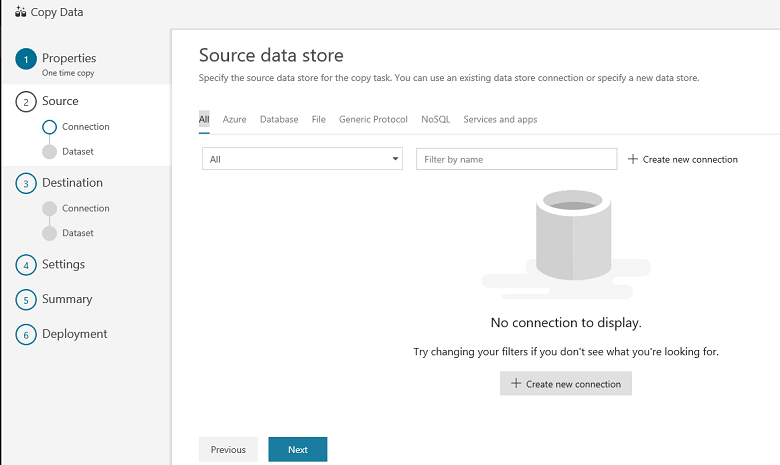
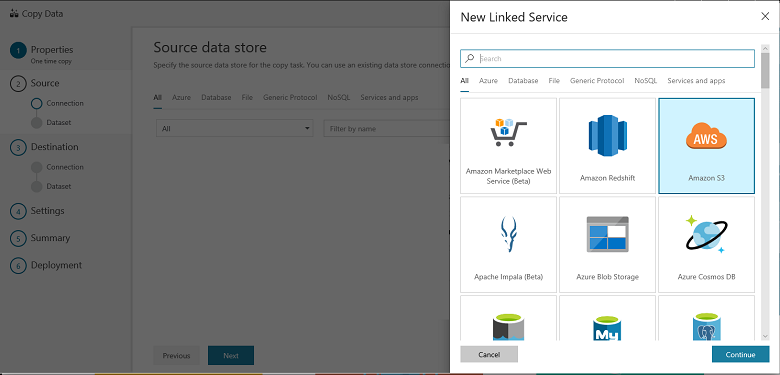
In the Source data store page, select + Create new connection:
Select Amazon S3, and select Continue
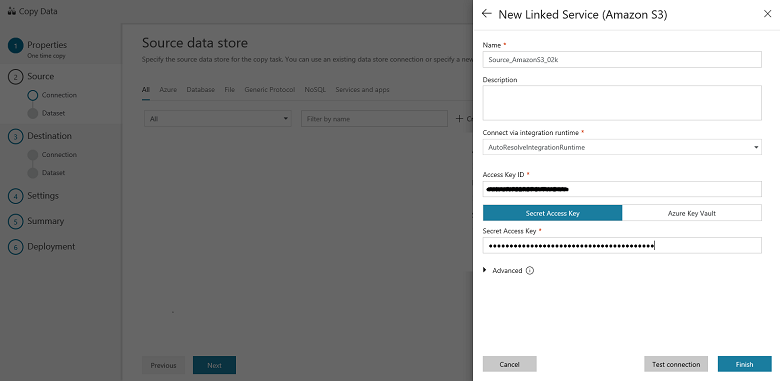
In the Specify Amazon S3 connection page, do the following steps:
Specify the Access Key ID value.
Specify the Secret Access Key value.
Select Finish.
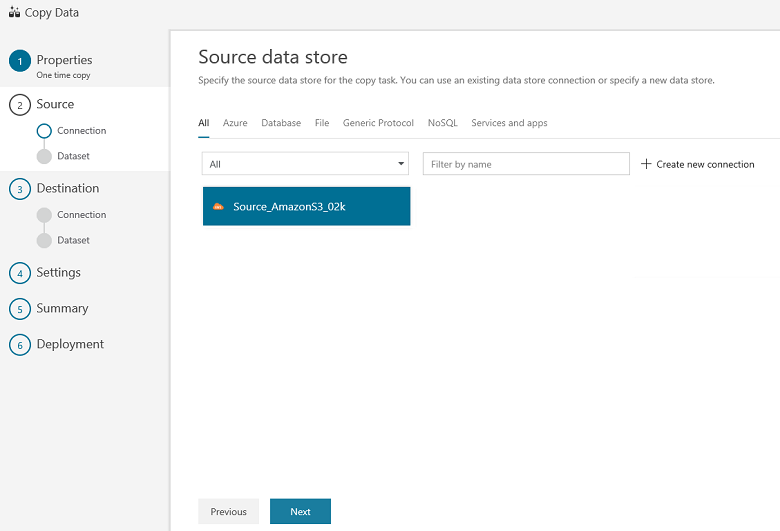
You will see a new connection. Select Next.
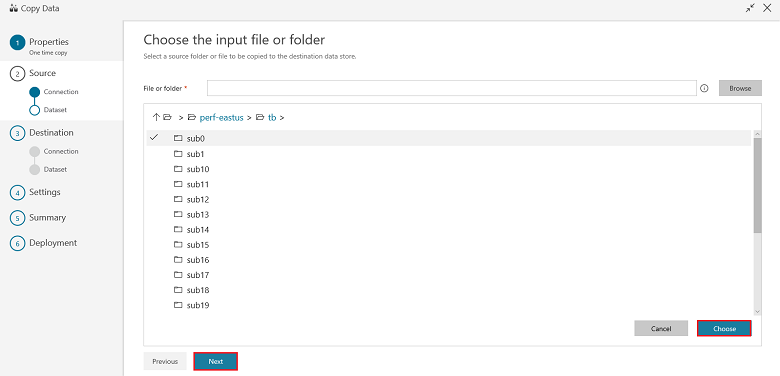
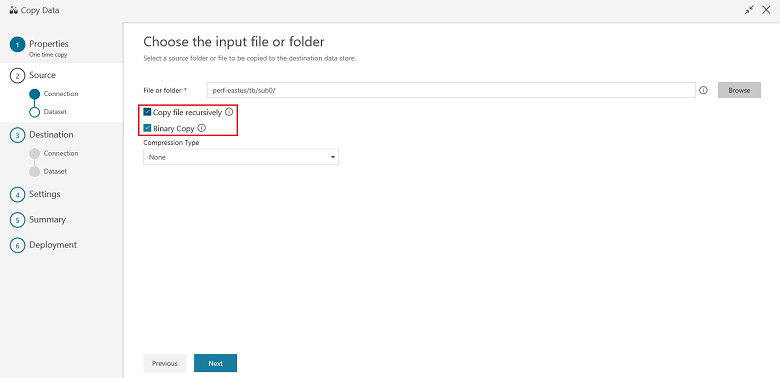
In the Choose the input file or folder page, browse to the folder and file that you want to copy over. Select the folder/file, select Choose, and then select Next:
Choose the copy behavior by selecting the Copy files recursively and Binary copy (copy files as-is) options. Select Next:
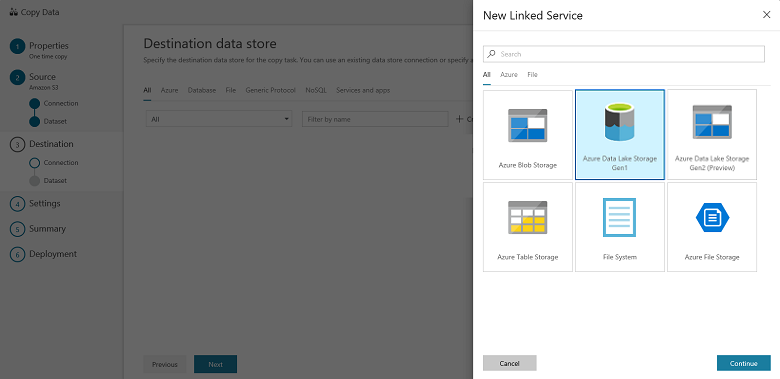
In the Destination data store page, select + Create new connection, and then select Azure Data Lake Storage Gen1, and select Continue:
In the New Linked Service (Azure Data Lake Storage Gen1) page, do the following steps:
- Select your Data Lake Storage Gen1 account for the Data Lake Store account name.
- Specify the Tenant, and select Finish.
- Select Next.
Important
In this walkthrough, you use a managed identity for Azure resources to authenticate your Data Lake Storage Gen1 account. Be sure to grant the MSI the proper permissions in Data Lake Storage Gen1 by following these instructions.

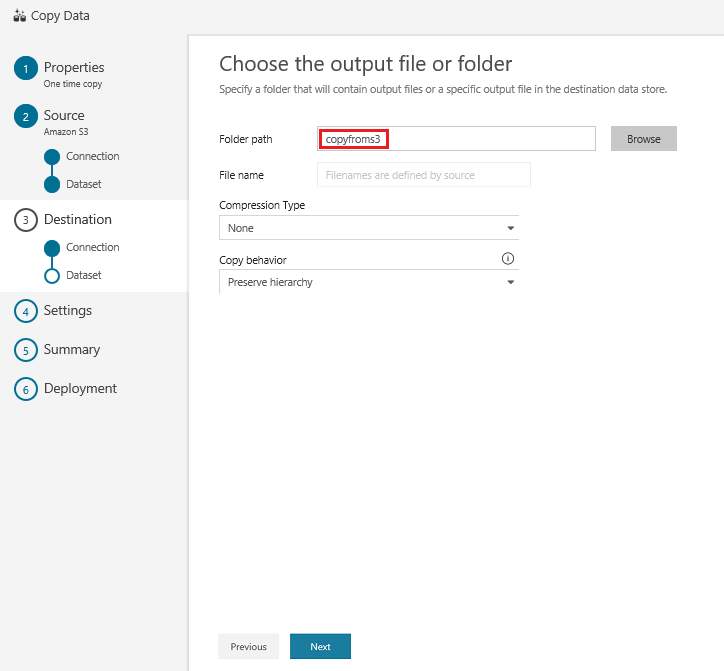
In the Choose the output file or folder page, enter copyfroms3 as the output folder name, and select Next:
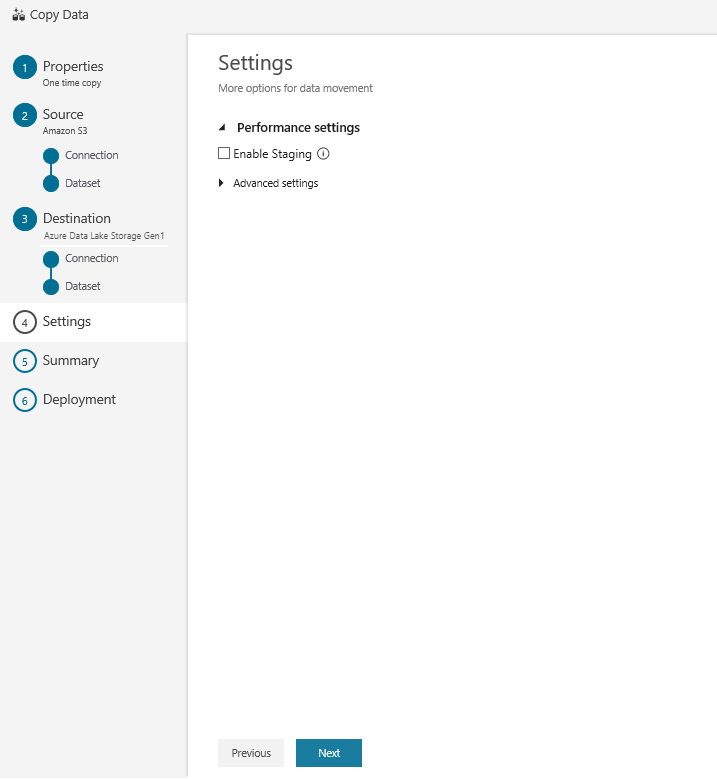
In the Settings page, select Next:
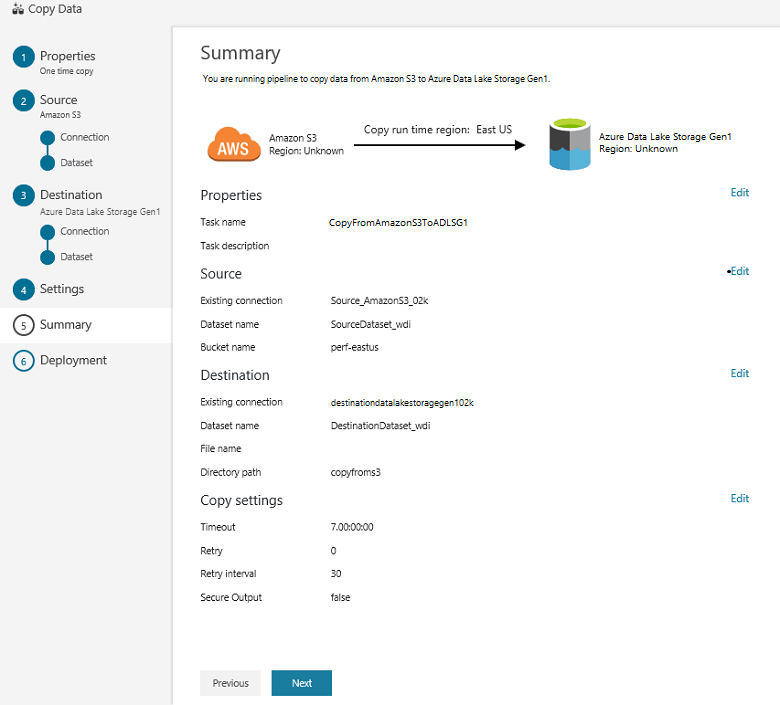
In the Summary page, review the settings, and select Next:
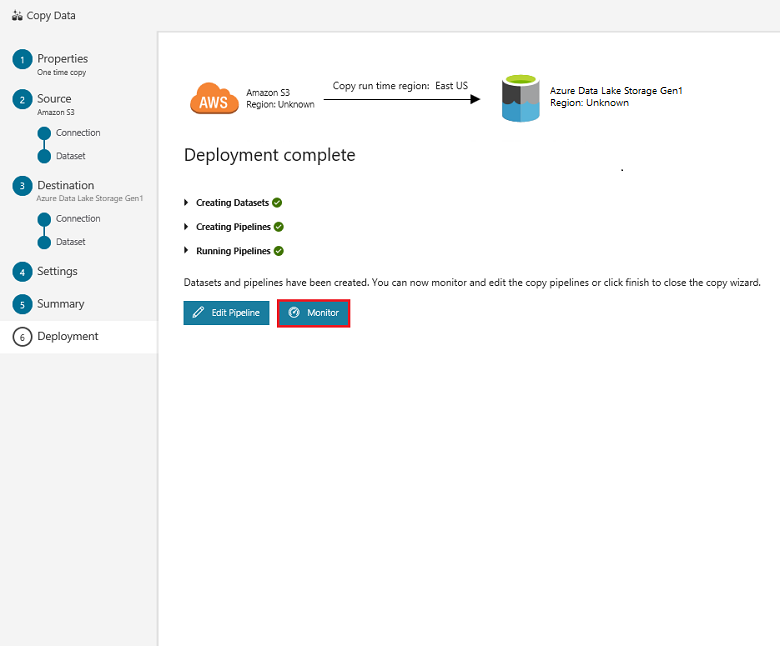
In the Deployment page, select Monitor to monitor the pipeline (task):
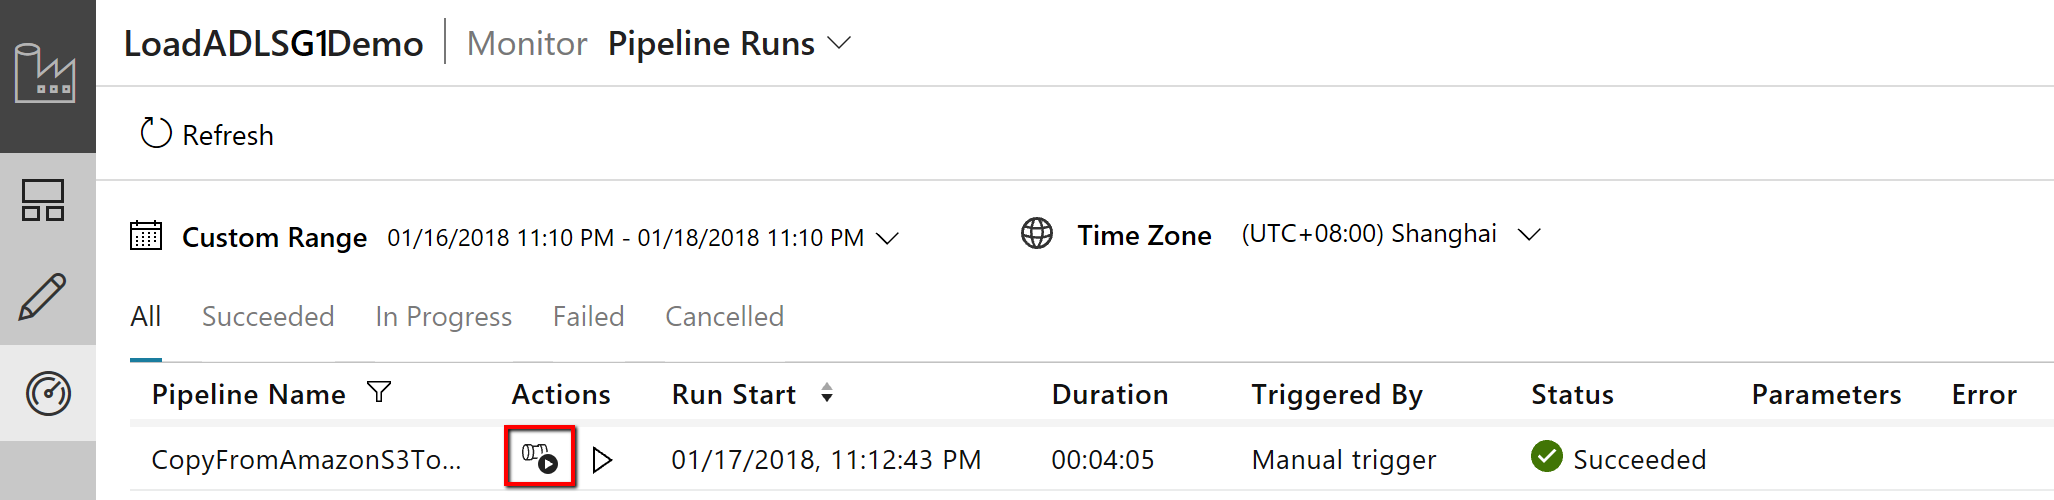
Notice that the Monitor tab on the left is automatically selected. The Actions column includes links to view activity run details and to rerun the pipeline:
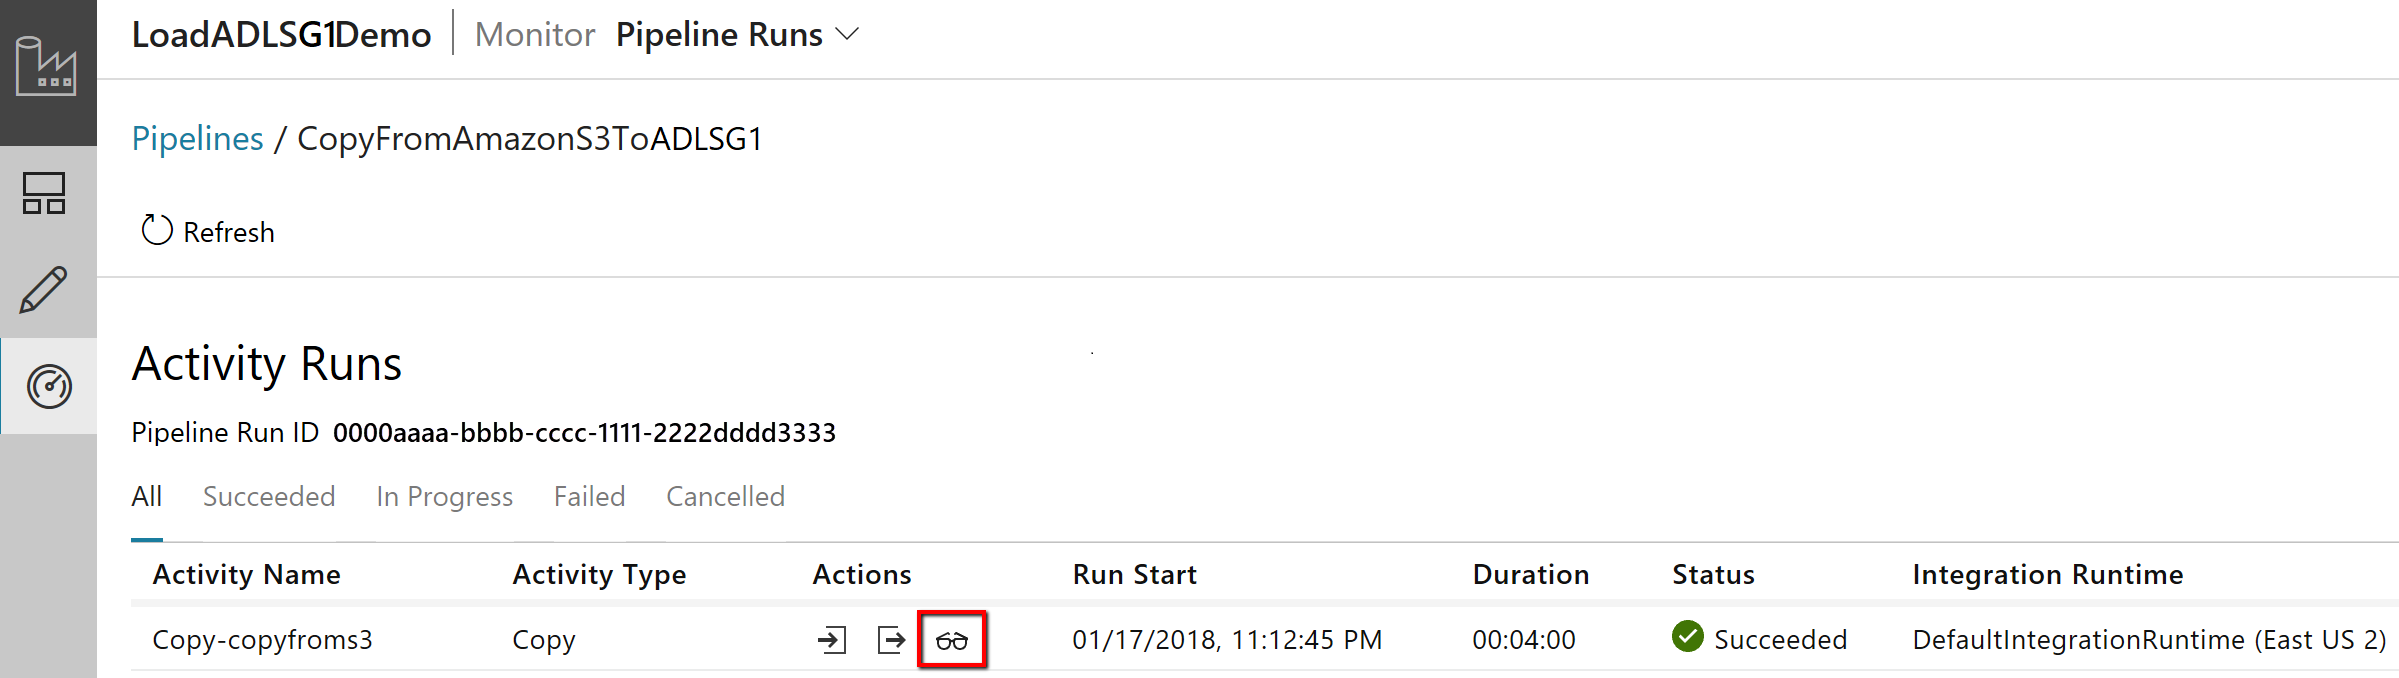
To view activity runs that are associated with the pipeline run, select the View Activity Runs link in the Actions column. There's only one activity (copy activity) in the pipeline, so you see only one entry. To switch back to the pipeline runs view, select the Pipelines link at the top. Select Refresh to refresh the list.
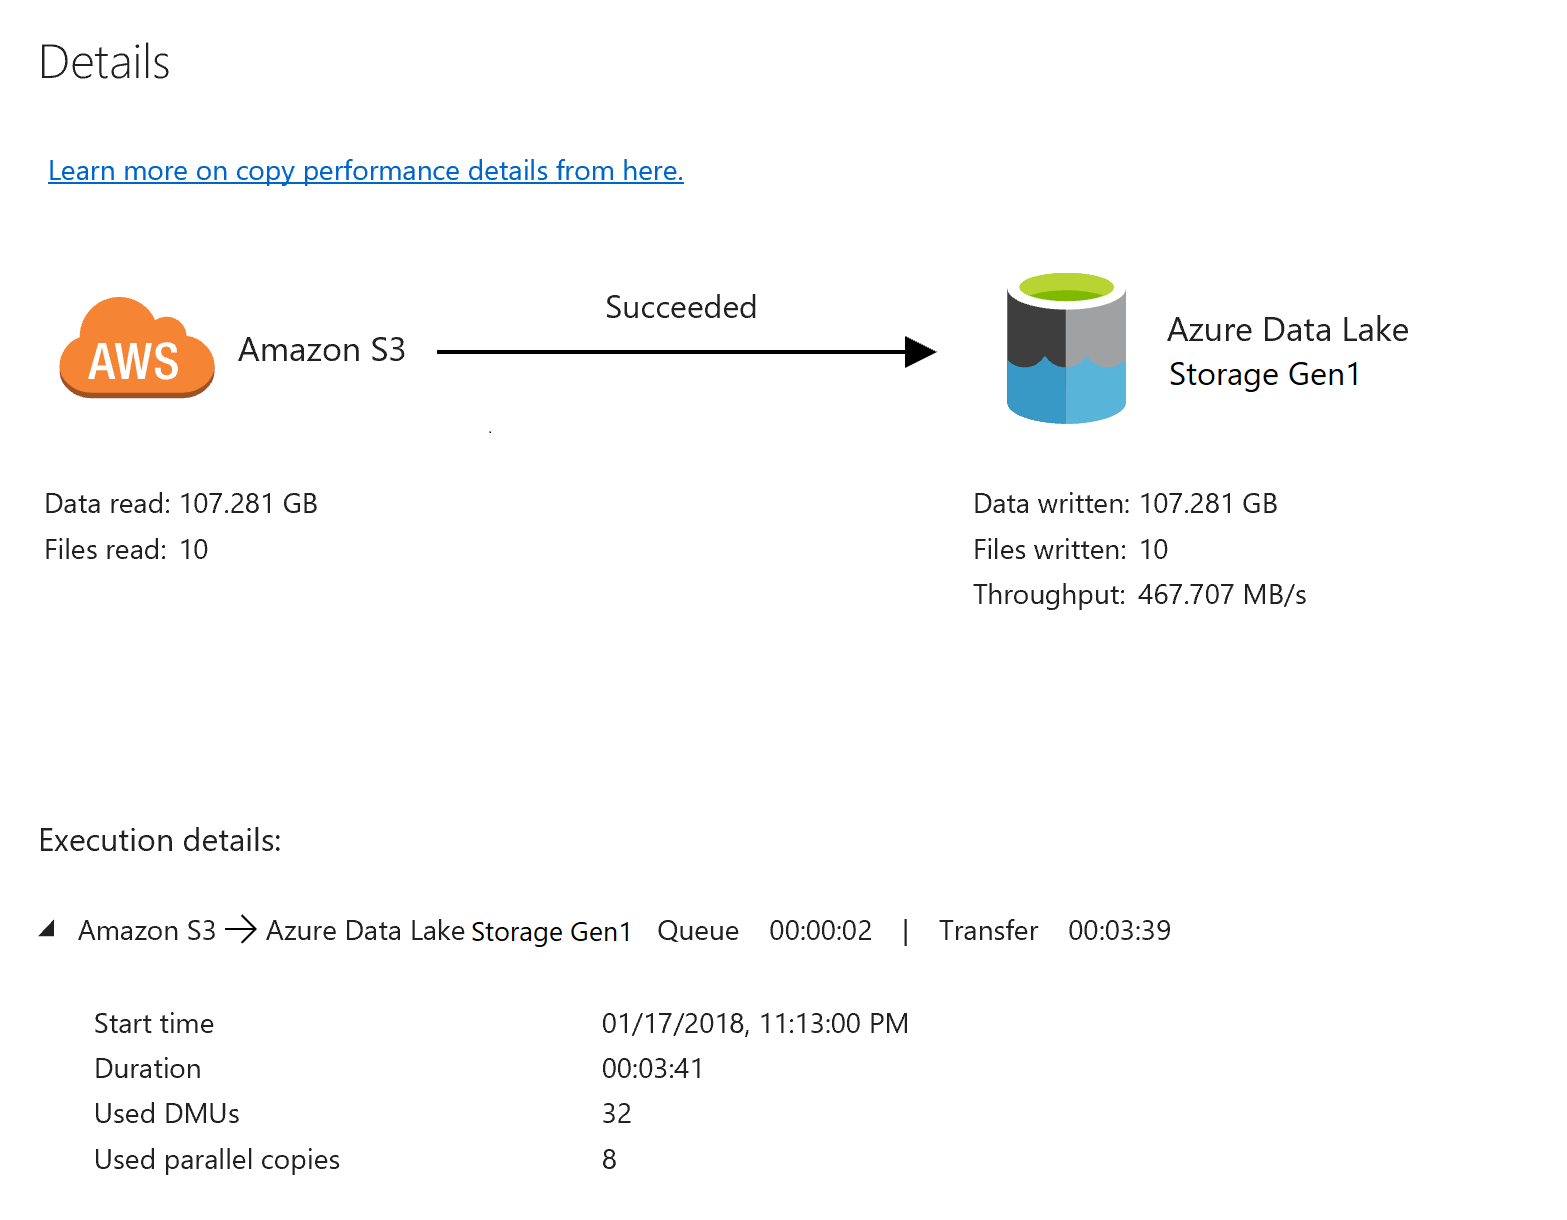
To monitor the execution details for each copy activity, select the Details link under Actions in the activity monitoring view. You can monitor details like the volume of data copied from the source to the sink, data throughput, execution steps with corresponding duration, and used configurations:
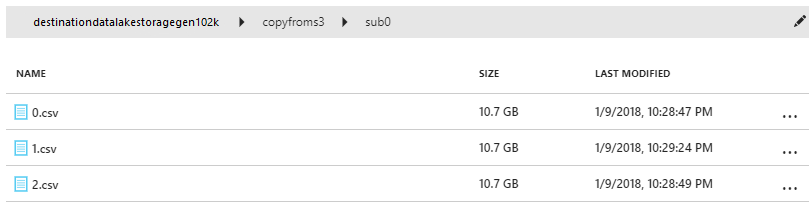
Verify that the data is copied into your Data Lake Storage Gen1 account:
Related content
Advance to the following article to learn about Data Lake Storage Gen1 support: