Quickstart: Create a Data Explorer pool using Synapse Studio (Preview)
Azure Synapse Data Explorer is a fast, fully managed data analytics service for real-time analysis on large volumes of data streaming from applications, websites, IoT devices, and more. To use Data Explorer, you first create a Data Explorer pool.
This quickstart describes the steps to create a Data Explorer pool in a Synapse workspace by using Synapse Studio.
Important
Billing for Data Explorer instances is prorated per minute, whether you are using them or not. Be sure to shutdown your Data Explorer instance after you have finished using it, or set a short timeout. For more information, see Clean up resources.
If you don't have an Azure subscription, create a free account before you begin.
Prerequisites
- You'll need an Azure subscription. If needed, create a free Azure account
- Synapse workspace
Sign in to the Azure portal
Sign in to the Azure portal
Navigate to the Synapse workspace
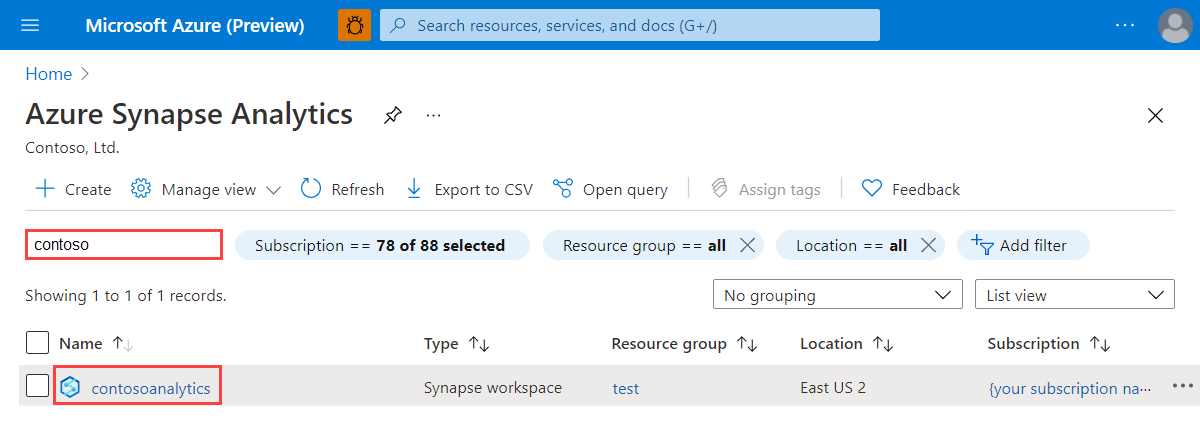
Navigate to the Synapse workspace where the Data Explorer pool will be created by typing the service name (or resource name directly) into the search bar.
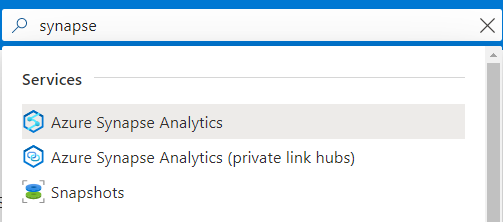
From the list of workspaces, type the name (or part of the name) of the workspace to open. For this example, we'll use a workspace named contosoanalytics.
Launch Synapse Studio
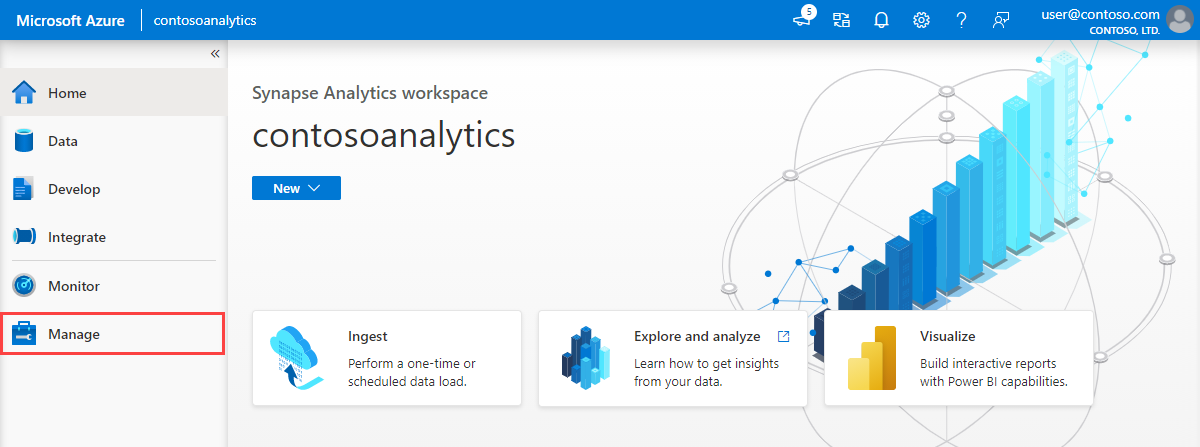
From the workspace overview, select the Workspace web URL to open Synapse Studio.

Create a new Data Explorer pool
On the Synapse Studio home page, navigate to the Management Hub in the left navigation by selecting the Manage icon.
Once in the Management Hub, navigate to the Data Explorer pools section to see the current list of Data Explorer pools that are available in the workspace.
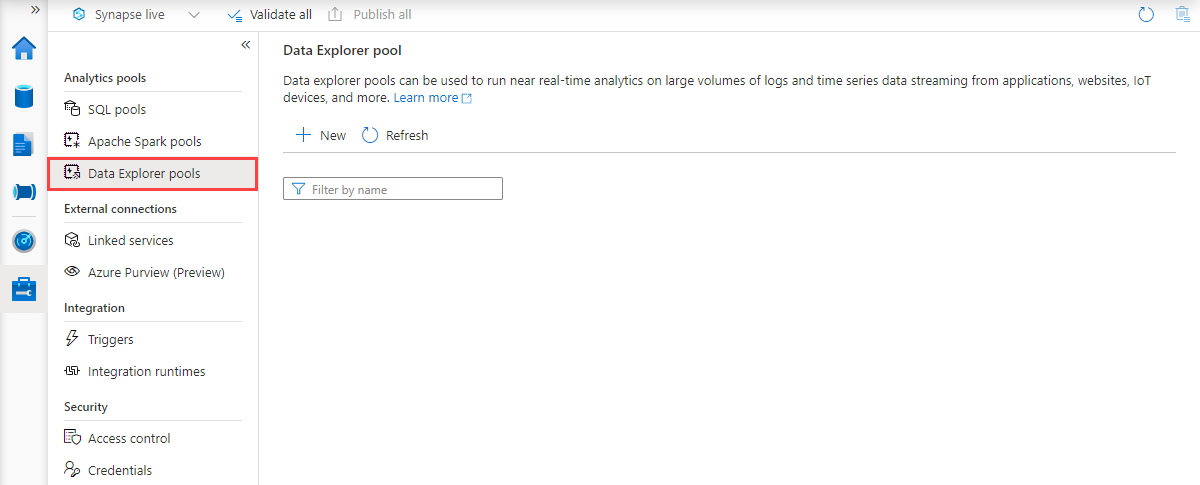
Select + New. The new Data Explorer pool create wizard appears.
Enter the following details in the Basics tab:
Setting Suggested value Description Data Explorer pool name contosodataexplorer This is the name that the Data Explorer pool will have. Workload Compute optimized This workload provides a higher CPU to SSD storage ratio. Node size Small (4 cores) Set this to the smallest size to reduce costs for this quickstart 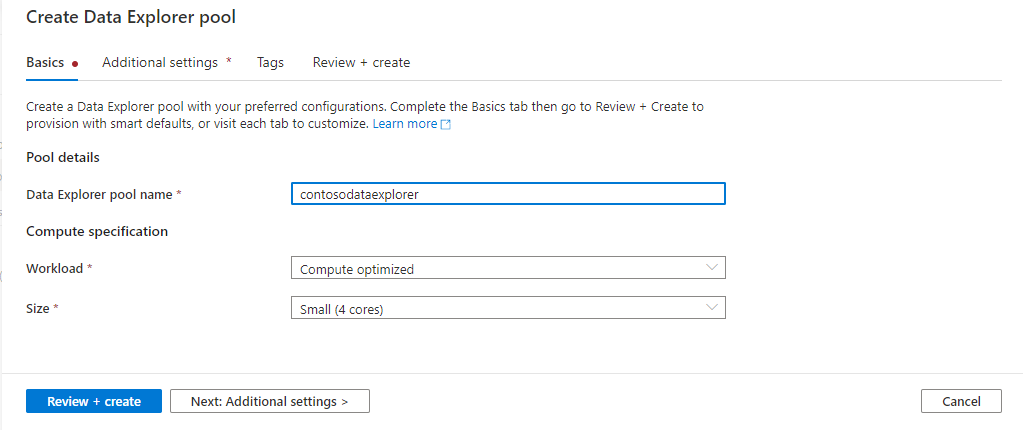
Important
Note that there are specific limitations for the names that Data Explorer pools can use. Names must contain lowercase letters and numbers only, must be between 4 and 15 characters, and must start with a letter.
Select Next: Additional settings. Use the following settings and leave the defaults for the remaining settings.
Setting Suggested value Description Autoscale Disabled We won't need autoscale in this quickstart Number of instances 2 Set this to the smallest size to reduce costs for this quickstart 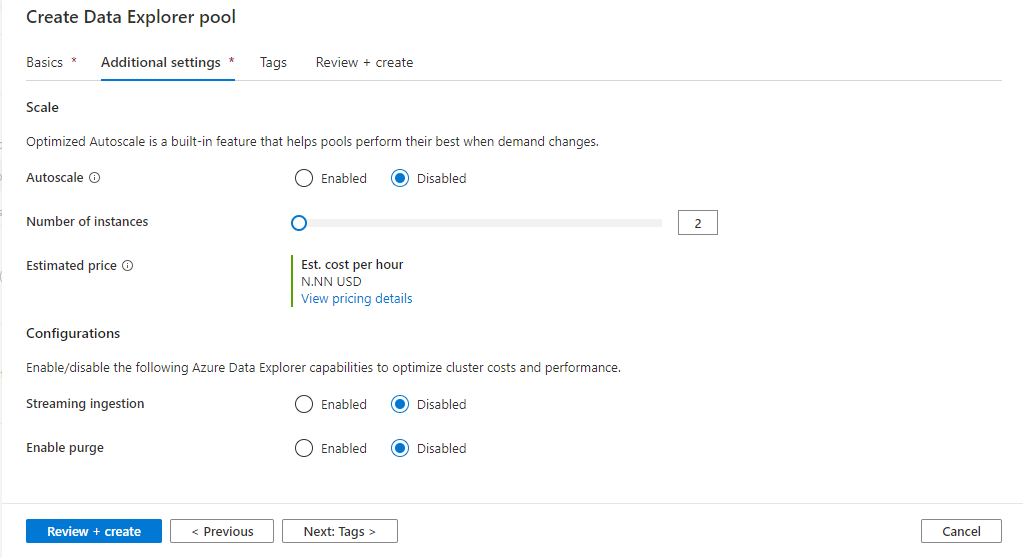
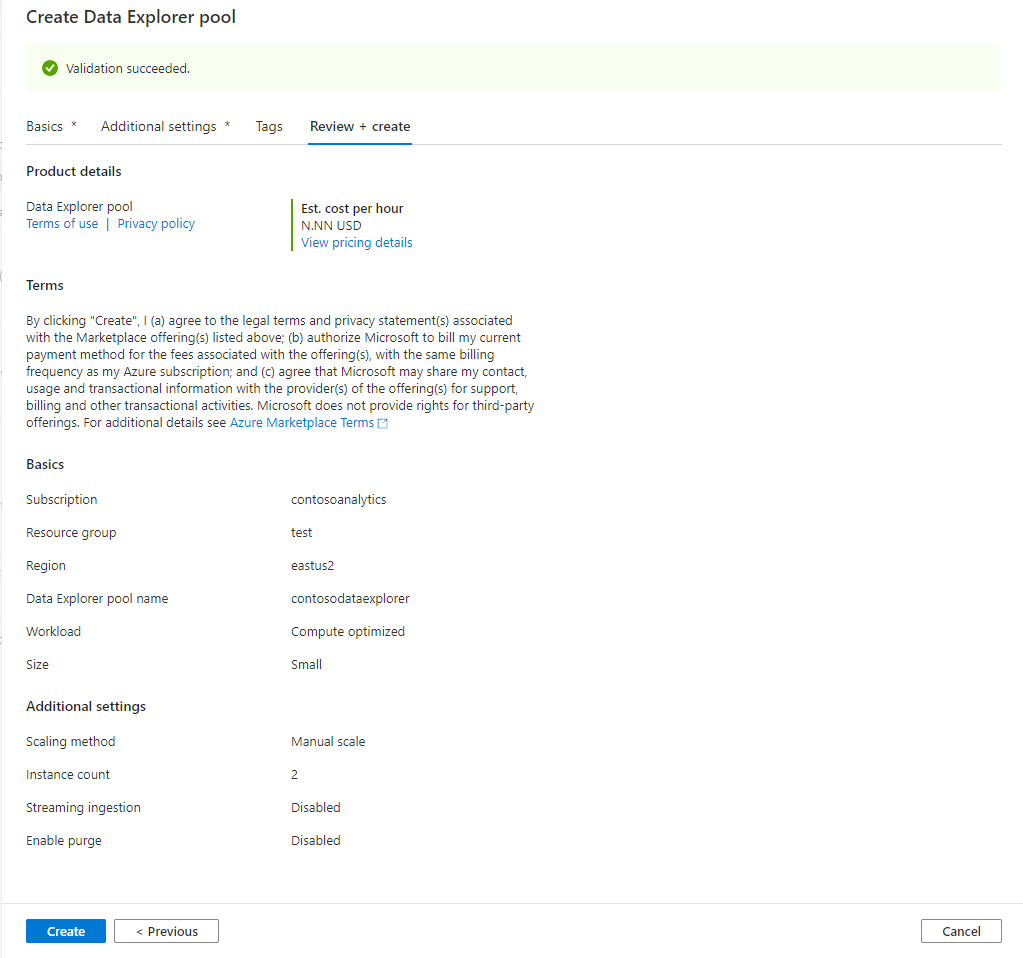
Select Next: tags. Don't add any tags.
Select Review + create.
Review the detail making sure they are correct, and then select Create.
The Data Explorer pool will start the provisioning process.
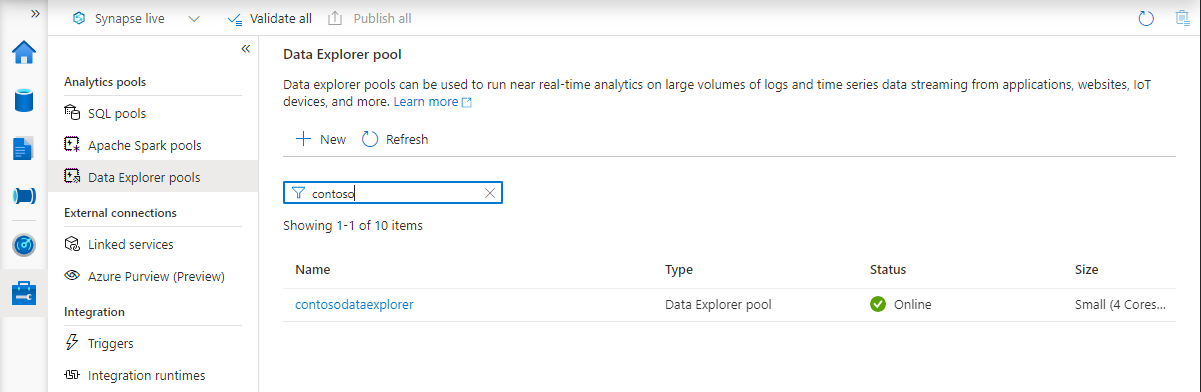
Once the provisioning is complete, navigate back to the workspace and verify that the new Data Explorer pool appears in the list.
Clean up Data Explorer pool resources using Synapse Studio
Use the following steps to delete the Data Explorer pool from the workspace using the Synapse Studio.
Warning
Deleting a data-explorer pool will remove the analytics engine from the workspace. It will no longer be possible to connect to the pool, and all queries, pipelines, and notebooks that use the deleted pool will no longer work.
Delete the Data Explorer pool
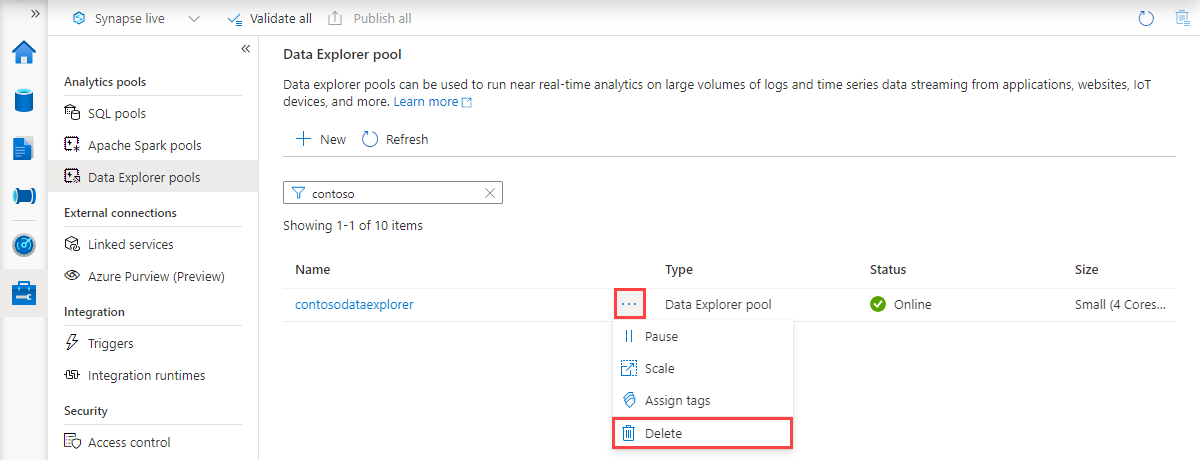
Navigate to the Data Explorer pools in the workspace.
To remove the Data Explorer pool (in this case, contosodataexplorer), select More [...] > Delete.
To confirm the deletion, enter the name of the pool being deleted and then select Delete.
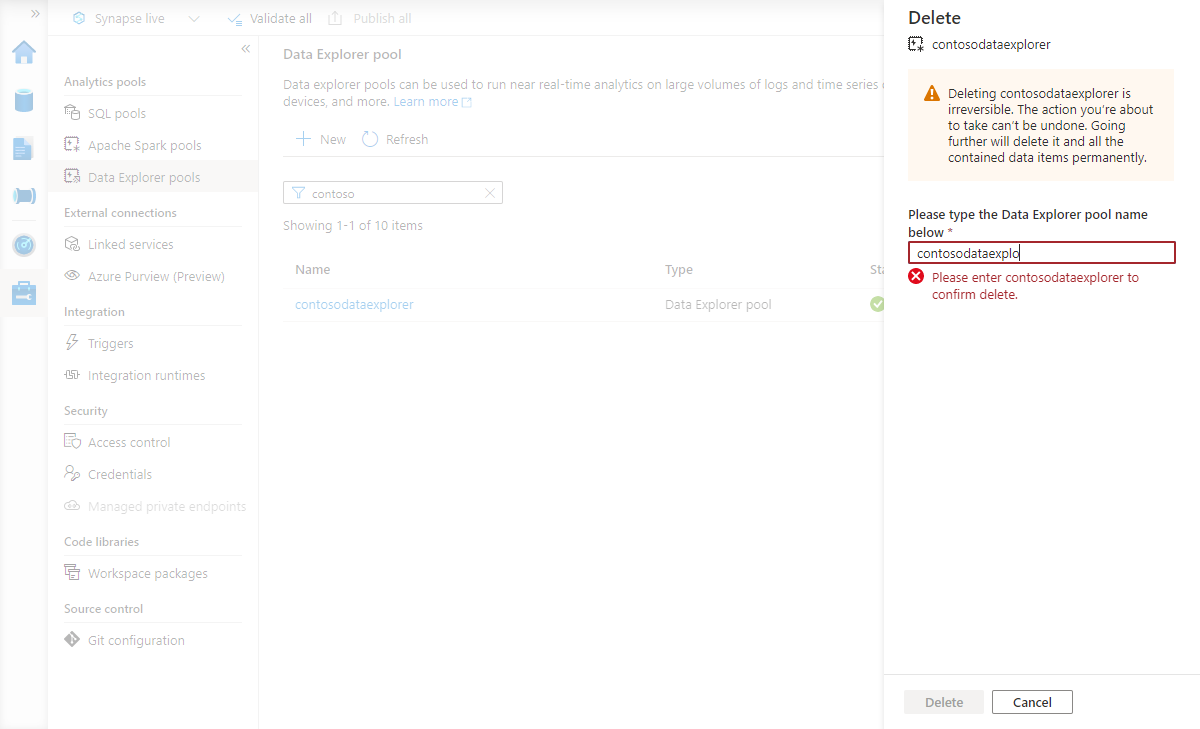
Once the process completes successfully, verify that the pool no longer appears in the list.
Next steps
Feedback
Coming soon: Throughout 2024 we will be phasing out GitHub Issues as the feedback mechanism for content and replacing it with a new feedback system. For more information see: https://aka.ms/ContentUserFeedback.
Submit and view feedback for