Control updates with Maintenance Configurations and the Azure portal
Applies to: ✔️ Linux VMs ✔️ Windows VMs ✔️ Flexible scale sets ✔️ Uniform scale sets
With the Maintenance Configurations feature, you can control when to apply updates to various Azure resources. This article covers the Azure portal options for using this feature. For more information about the benefits of using Maintenance Configurations, its limitations, and other management options, see Managing platform updates with Maintenance Configurations.
Create a maintenance configuration
Sign in to the Azure portal.
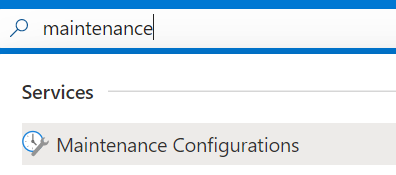
Search for maintenance configurations, and then open the Maintenance Configurations result.
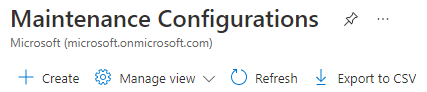
Select Create.
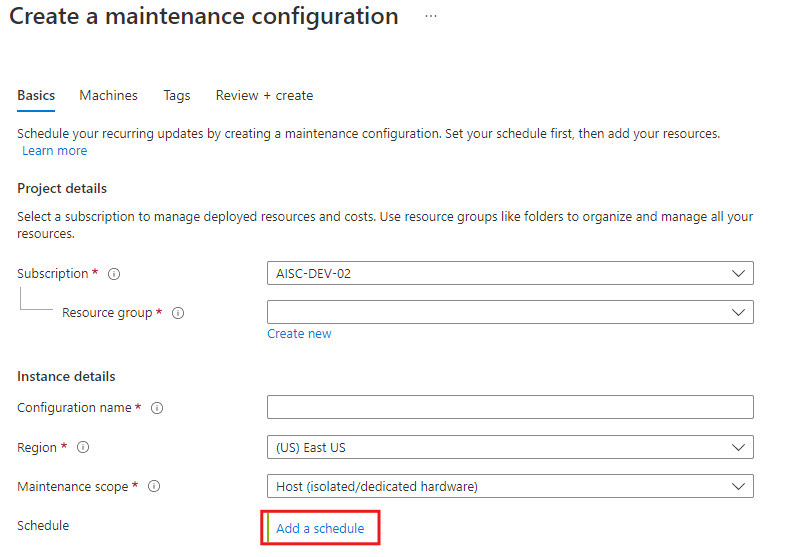
On the Basics tab, choose a subscription and resource group, provide a name for the configuration, choose a region, and select one of the scopes that you want to apply updates for. Then select Add a schedule to add or modify the schedule for your configuration.
Important
Certain virtual machine types and schedules require a specific kind of scope. To find the right scope for your virtual machine, see Scopes.
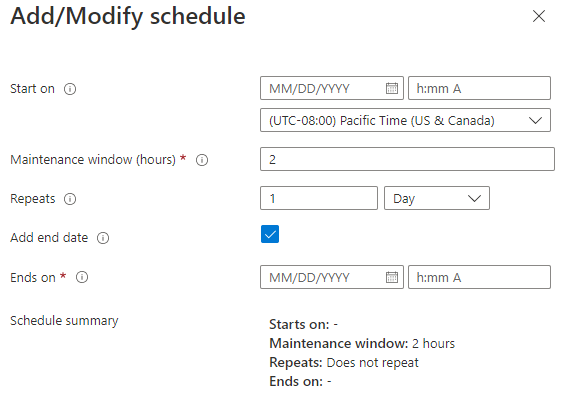
On the Add/Modify schedule pane, declare a scheduled window when Azure will apply the updates on your resources. Set a start date, maintenance window, and recurrence if your resource requires it. After you create a scheduled window, you no longer have to apply the updates manually. When you finish, select Next.
Important
The duration of the maintenance window must be 2 hours or longer.
On the Machines tab, assign resources now or skip this step and assign resources later (after you deploy the maintenance configuration). Then select Next.
On the Tags tab, add tags and values. Then select Next.

On the Review + create tab, review the summary. Then select Create.
After the deployment is complete, select Go to resource.
Assign the configuration
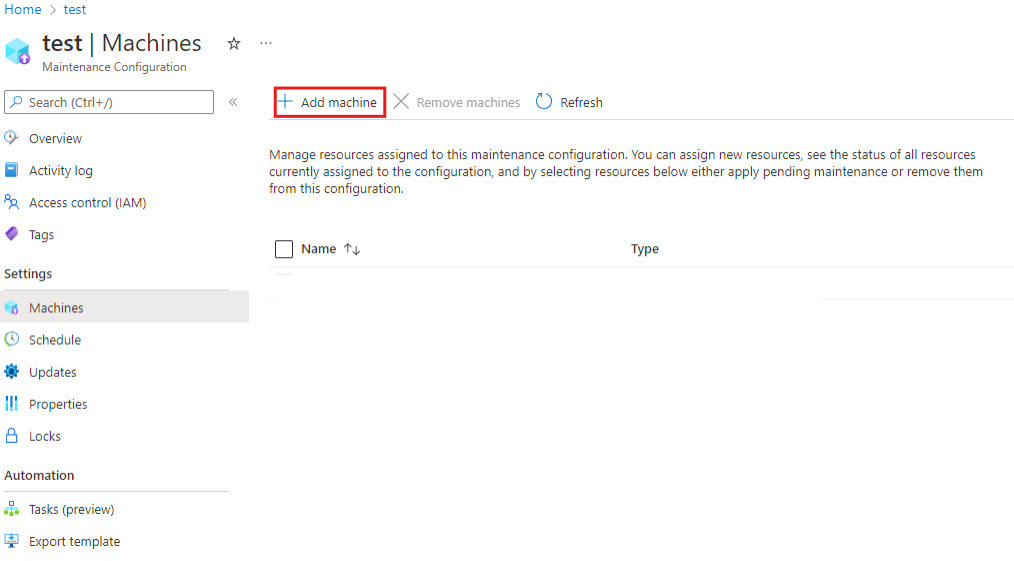
On the details page of the maintenance configuration, select Machines, and then select Add machine.
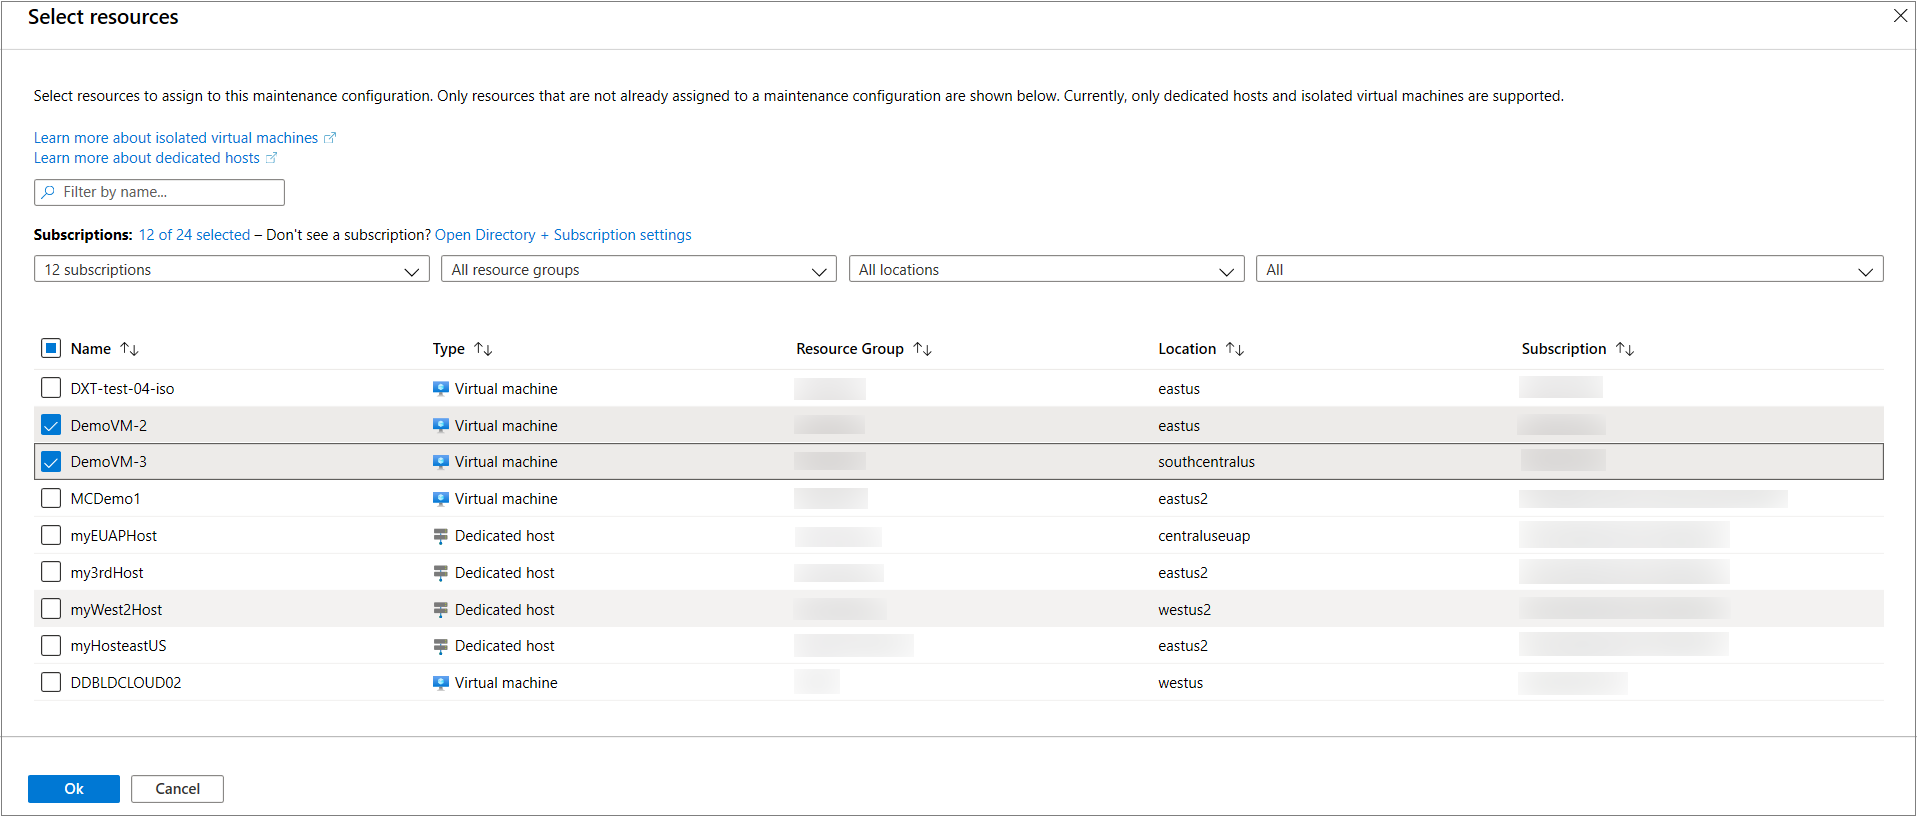
On the Select resources pane, select the resources that you want the maintenance configuration assigned to. The VMs that you select need to be running. If you try to assign a configuration to a VM that's stopped, an error occurs. When you finish, select Ok.
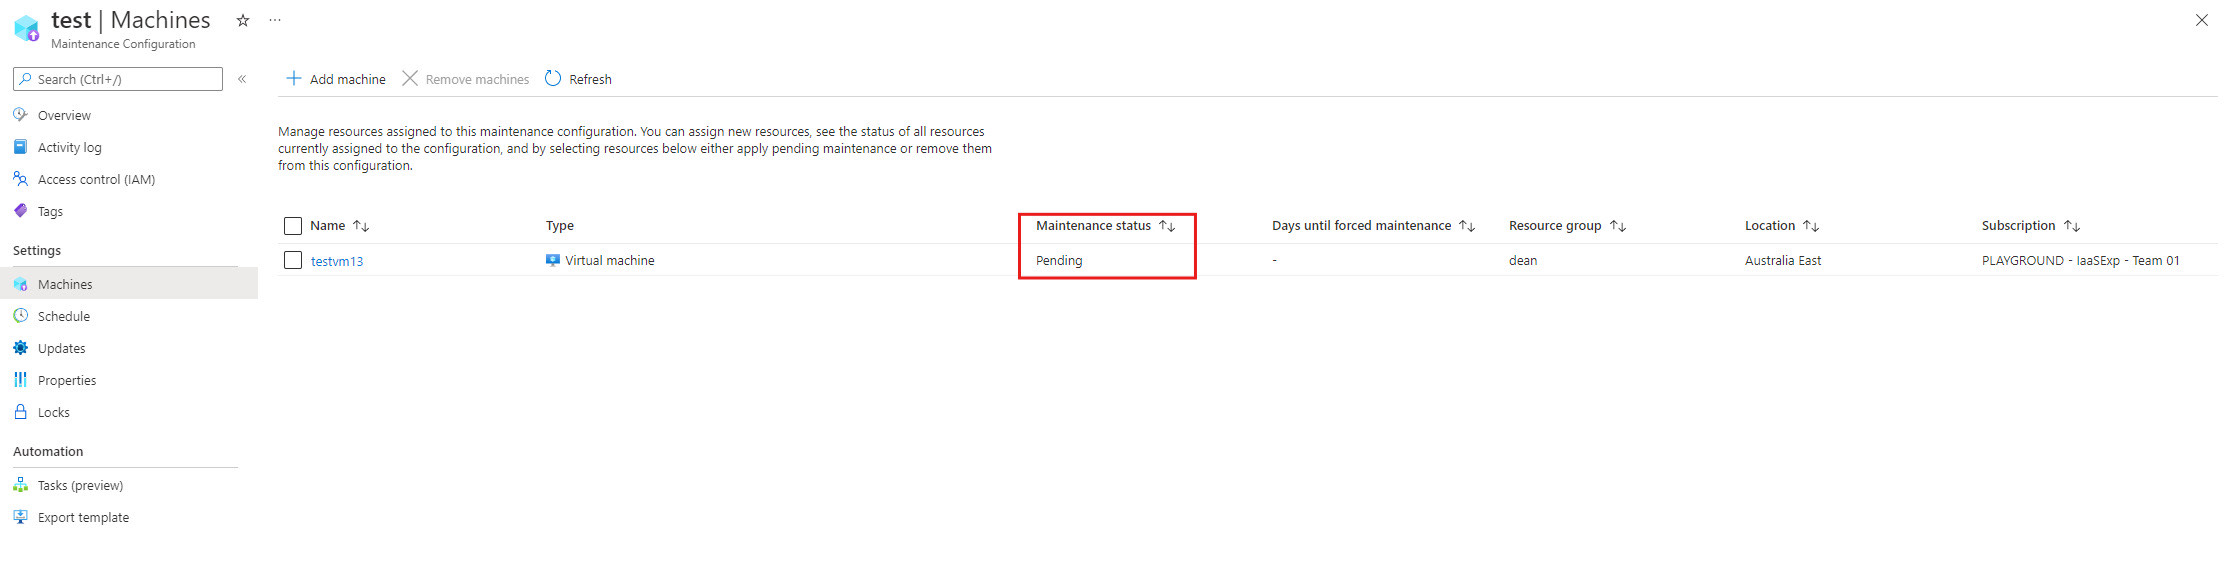
Check the configuration and status
You can verify that the configuration was applied correctly, or check which machines are assigned to a maintenance configuration, by going to Maintenance Configurations > Machines.
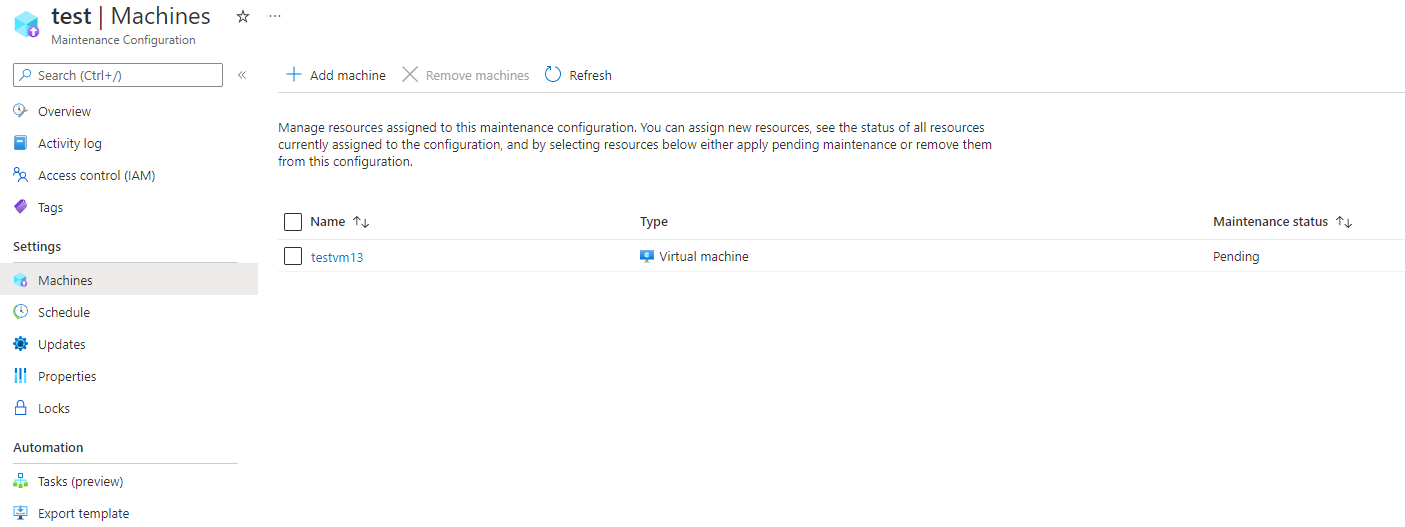
The Maintenance status column shows whether any updates are pending for a maintenance configuration.
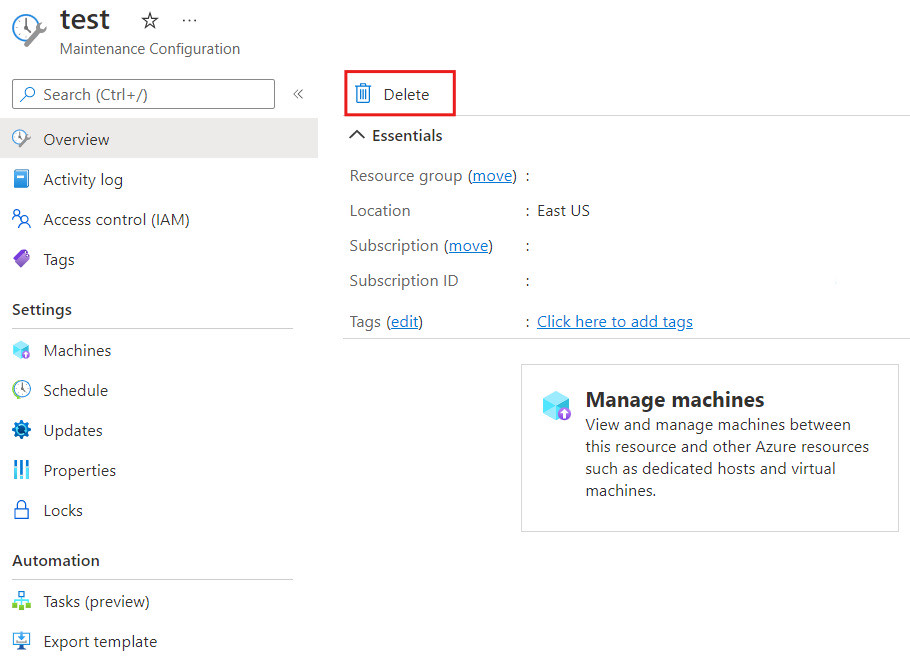
Delete a maintenance configuration
To delete a maintenance configuration, open the configuration details and select Delete.
Next steps
To learn more, see Maintenance for virtual machines in Azure.
Feedback
Coming soon: Throughout 2024 we will be phasing out GitHub Issues as the feedback mechanism for content and replacing it with a new feedback system. For more information see: https://aka.ms/ContentUserFeedback.
Submit and view feedback for