IT Admins- Manage and create custom meeting backgrounds for Teams meetings
APPLIES TO: ![]() Meetings
Meetings ![]() Webinars
Webinars ![]() Town halls
Town halls
 Some features described in this article require Teams Premium.
Overview
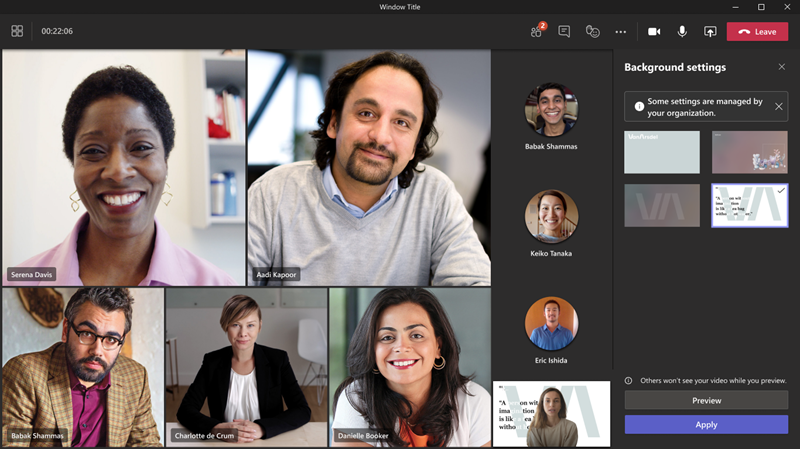
Custom meeting backgrounds are images that you, as an admin, can upload for your users to display in the background of their video feed during meetings.
Customization in Teams meetings allows organizations to extend their visual identities across the meeting experience. Using custom meeting backgrounds helps foster internal corporate culture building and increase overall brand awareness with both internal and external meeting participants. With the help of your organization's brand management and corporate communications teams, you can easily set up and create custom meeting backgrounds for various business units and departments within a single tenant.
Only you and Teams Premium licensed users that you assign this custom background policy to can use custom meeting backgrounds during meetings. Your users can still upload their own backgrounds for meetings, regardless of whether they have a Teams Premium license or not.
Prerequisites
Before setting up custom meeting backgrounds for your Teams meetings, check to make sure you have the following items:
- Your users who need to use custom backgrounds have a Teams Premium license.
- You’re an admin with access to the Teams admin center or you were assigned a customization policy.
- Your background images meet the required specifications.
Set up and manage custom meeting backgrounds in the Teams admin center
You can upload and manage custom meeting backgrounds for Teams meetings in the Teams admin center.
Enable the custom background policy
To enable the custom background policy, follow these steps:
Open the Teams admin center
Select Meetings from the navigation pane.
Under Meetings, there are two ways to access the custom background policy:
- You could select Customization Policies to select an existing policy, the global default, or create a new policy.
- Alternatively, you could select Meeting Policies and then select the Customize meeting visuals button in the upper right-hand corner.
Within your chosen policy, navigate to the Meeting Backgrounds section.
Toggle the Use background images from my organization setting from Off to On to enable the setting.
Add custom background images
When you toggle Use background images from my organization to On, an +Add button appears. Once you select +Add, a pane called Managing Backgrounds opens, allowing you to add your custom background images. These images are displayed on the end users’ interfaces, ordered by the time of upload.
Uploaded images must adhere to the following parameters. You can upload:
- PNG and JPEG image formats of your images.
- Images with a minimum dimension of 360 px X 360 px.
- Images with a maximum dimension of 3840 px X 2160 px.
- A maximum of 50 custom background images.
- For frosted glass backgrounds: a transparent png image.
Note
Only end users with a Teams Premium license have these images in their background settings panel to use during meetings.
Add a frosted glass background effect
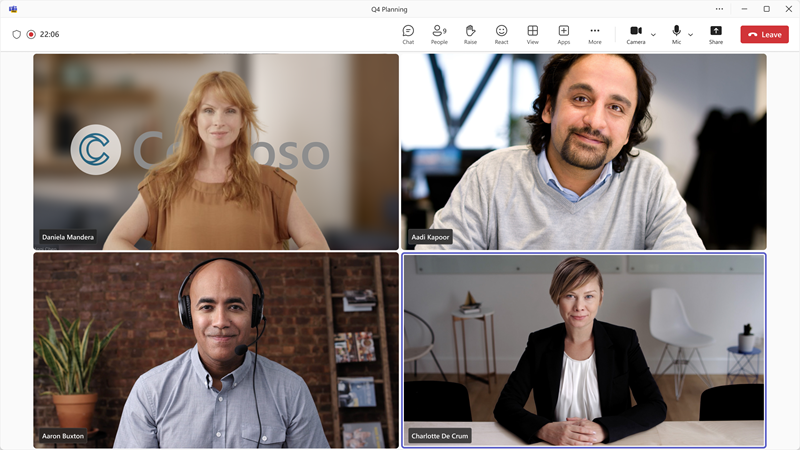
Frosted glass backgrounds blend the privacy of background blur with the personalization of your chosen image to create a polished background that looks like frosted glass windows.
To create this effect, upload a transparent PNG image as a custom background. Your image could be your company logo or a custom design. The frosted glass effect turns the transparent areas of your image into a blurred background, while the graphic remains as part of the background.
Save custom background images
You can find previews of your uploaded images in a new table under the Meeting backgrounds section. This table also displays the names and resolutions of your images. Once you confirm your choice of uploaded images, select the Save button below the preview table. Once you select save, your uploaded backgrounds are visible to your users with a Teams Premium license.
Choose a preset background
Important
You can't configure the Set as required and Apply background blur when no effect is selected settings within a single policy.
You can choose a preset background for your users in the Teams admin center. Users with this policy are restricted to the chosen background and can't change it.
To choose a preset background, follow these steps:
- Select Meetings from the navigation pane in the Teams admin center.
- Under Meetings, select Customization policies to select an existing policy or create a new one.
- Within your chosen policy, navigate to the Meeting backgrounds section.
- Select your desired uploaded background in the table.
- Next to the +Add button, select the Set as required button.
- Select Save.
Require users to only use the backgrounds you upload
You can decide to only show the custom backgrounds you upload in your users' gallery.
To only show the custom backgrounds that you upload, follow these steps:
- Select Meetings from the navigation pane in the Teams Admin Center
- Under Meetings, select Meeting Policies and select an existing policy, or create a new one.
- Within your chosen policy, navigate to the Audio and Video section and set Participants can use video effects to Off or Only background blur.
- Select Save.
- Navigate to Meetings > Customization Policies to select an existing policy or create a new one.
- Within your chosen policy, scroll down to the Meeting backgrounds section and toggle Use background images from my organization to On. If you haven't already, you can upload your custom backgrounds.
- Select Save.
Note
You must set Participants can use video effects to Off or Only background blur to only show your custom backgrounds in your users' gallery.
When custom backgrounds are required, users with this assigned policy can't view their own uploaded backgrounds. For your users to access and delete their personally uploaded images, they can navigate to the following file path and delete their images from there:
C:\Users\{username}\AppData\Local\Packages\MSTeams_8wekyb3d8bbwe\LocalCache\Microsoft\MSTeams\Backgrounds\Uploads
Apply a blur for users with no backgrounds
You can use the Teams admin center to automatically apply a background blur to any users that aren't using any video effects or background images during meetings. Meeting and customization policies both control meeting backgrounds. However, customization policies take precedence over meeting policies; any settings you change in customization policies will also reflect in meeting policies.
Use the following steps to apply blurred backgrounds for users that aren't using any backgrounds or video effects:
- Select Meetings from the navigation pane in the Teams admin center.
- Under Meetings, select Customization policies to select an existing policy or create a new one.
- Within your chosen policy, navigate to the Meeting backgrounds section.
- Toggle the Apply background blur when no effect is selected setting from Off to On to enable the setting.
- Select Save.
Where are custom backgrounds visible
The following list displays supported clients where custom backgrounds are visible:
- Web client
- Desktop client
- Android
- iOS
Who can select and apply custom meeting backgrounds
Only Teams Premium licensed users can use the meeting backgrounds in their Background Settings panel.
Note
External or anonymous users can't use custom meeting backgrounds.
Who can view custom meeting backgrounds
While only licensed end users can select their choice of uploaded backgrounds, anyone can view the backgrounds that are applied to a meeting. These users include the following types:
- In-tenant, Teams Premium licensed users
- In-tenant, nonlicensed users
- External Users
- Anonymous users

