
Events
Power BI DataViz World Championships
Feb 14, 4 p.m. - Mar 31, 4 p.m.
With 4 chances to enter, you could win a conference package and make it to the LIVE Grand Finale in Las Vegas
Learn moreThis browser is no longer supported.
Upgrade to Microsoft Edge to take advantage of the latest features, security updates, and technical support.
APPLIES TO: ![]() Power BI Desktop
Power BI Desktop ![]() Power BI service
Power BI service
You have control over report filter design and functionality. This article explains how you can format the Filters pane to look like the rest of the report. You can lock and even hide filters.
The first step is to add filters to your report. Then as a report designer, there are many of ways you can format the Filters pane:
Users can hover over any visual to see a read-only list of the filters or slicers affecting that visual.

Read about how report readers use filters in report Reading mode.
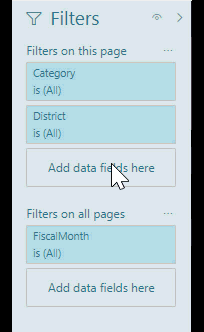
By default, the Filters pane is formatted based on your current report settings. In the Filters pane, you configure which filters to include and update existing filters. The Filters pane looks the same for your report consumers when you publish your report.
When you add a visual to a report canvas, Power BI automatically adds a filter to the Filters pane for each field in the visual.
To build your Filters pane, drag other fields of interest into the Filters pane either as visual, page, or report level filters.
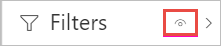
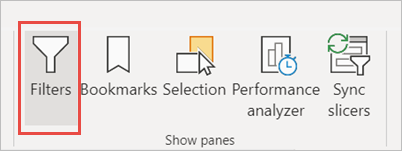
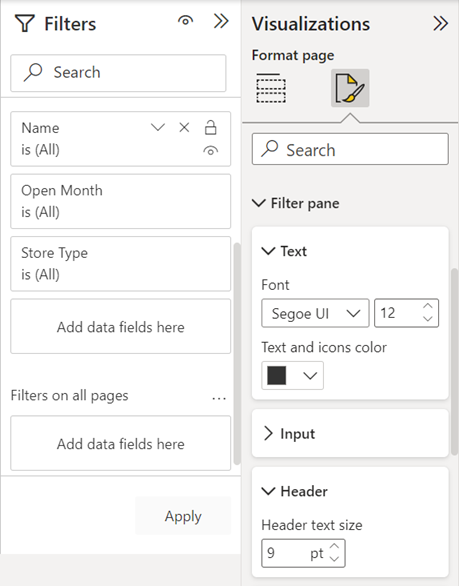
If you don't want your report readers to see the Filters pane, select the eye icon next to Filters.
You can hide the Filters pane while you're editing your report when you need extra space.
This setting only hides the Filters pane in Power BI Desktop. There's no equivalent in Editing mode in the Power BI service.
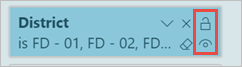
You can lock or hide individual filter cards. If you lock a filter, your report consumers can see but not change it. If you hide the filter, they can't even see it. Hiding filter cards is typically useful if you need to hide data cleanup filters that exclude nulls or unexpected values.
In the Filters pane, select or clear the Lock filter or Hide filter icons in a filter card.
As you turn these settings on and off in the Filters pane, you see the changes reflected in the report. Hidden filters don't show up in the pop-up filter list for a visual.
You can also configure the Filters pane state to flow with your report bookmarks. The pane's open, close, and visibility state are all bookmarkable.
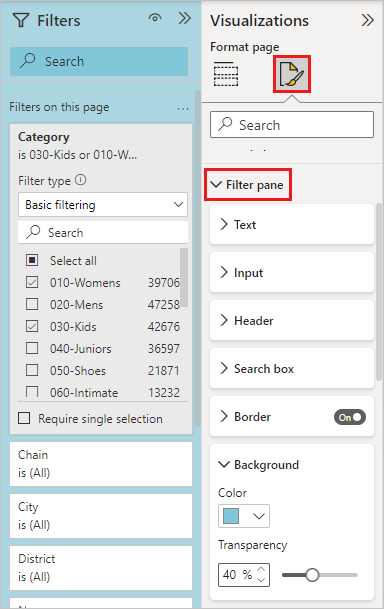
A large part of the filter experience is that you can format the Filters pane to match the look and feel of your report. You can also format the Filters pane differently for each page in the report. Here are elements you can format:
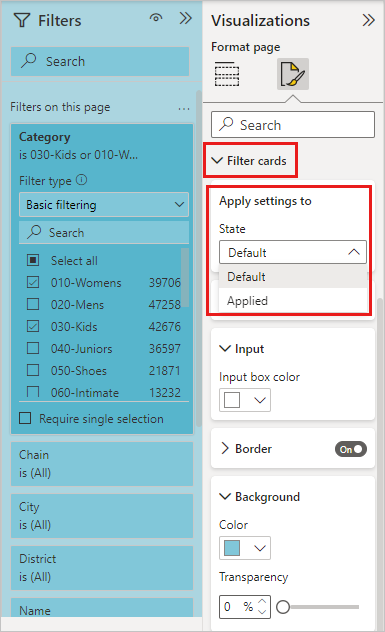
You can also format these elements for filter cards, depending on if they're applied (set to something) or available (cleared):
In the report, select the report itself or the background (wallpaper), then in the Visualizations pane, select Format.
You see options for formatting the report page, the wallpaper, and the Filters pane and Filter cards.
Expand Filters pane to set color for the background, icon, and left border, to complement the report page.
Expand Filter cards to set the Default and Applied color and border. If you make available and applied cards different colors, it's obvious which filters are applied.
You can now modify the default settings of the Filters pane with the theme file. Here's a sample theme snippet to get you started:
"outspacePane": [{
        "backgroundColor": {
            "solid": {
                "color": "#0000ff"
            }
        },
        "foregroundColor": {
            "solid": {
                "color": "#00ff00"
            }
        },
        "transparency": 50,
        "titleSize": 35,
        "headerSize": 8,
        "fontFamily": "Georgia",
        "border": true,
        "borderColor": {
            "solid": {
                "color": "#ff0000"
            }
        }
    }
], "filterCard": [{
        "$id": "Applied",
        "transparency": 0,
        "backgroundColor": {
            "solid": {
                "color": "#ff0000"
            }
        },
        "foregroundColor": {
            "solid": {
                "color": "#45f442"
            }
        },
        "textSize": 30,
        "fontFamily": "Arial",
        "border": true,
        "borderColor": {
            "solid": {
                "color": "#ffffff"
            }
        },
        "inputBoxColor": {
            "solid": {
                "color": "#C8C8C8"
            }
        }
    }, {
        "$id": "Available",
        "transparency": 40,
        "backgroundColor": {
            "solid": {
                "color": "#00ff00"
            }
        },
        "foregroundColor": {
            "solid": {
                "color": "#ffffff"
            }
        },
        "textSize": 10,
        "fontFamily": "Times New Roman",
        "border": true,
        "borderColor": {
            "solid": {
                "color": "#123456"
            }
        },
        "inputBoxColor": {
            "solid": {
                "color": "#777777"
            }
        }
    }
]
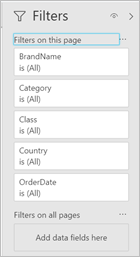
Custom sort functionality is available in the Filters pane. When creating your report, you can drag and drop filters to rearrange them in any order.
The default sort order for filters is alphabetical. To start custom sort mode, drag any filter to a new position. You can only reorder filters within the level they apply to. For example, you can change the order of the visual-level filters within the visual-level section of the Filters pane.
We've improved the keyboard navigation for the Filters pane. You can tab through every part of the Filters pane and use the context key on your keyboard or Shift+F10 to open the context menu.
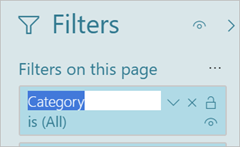
When you're editing the Filters pane, you can double-click the title to edit it. Renaming is useful if you want to update the filter card to make more sense for your end users. Renaming the filter card doesn't rename the display name of the field in the fields list. Renaming the filter card just changes the display name used in the filter card.
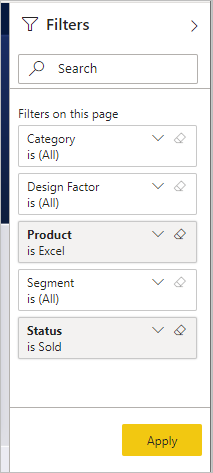
The Filters pane search feature allows you to search across your filter cards by title. This feature is helpful if you have several different filter cards in your Filters pane and need to find a specific card.

You can also format the search box, just as you can format the other elements of the Filters pane.
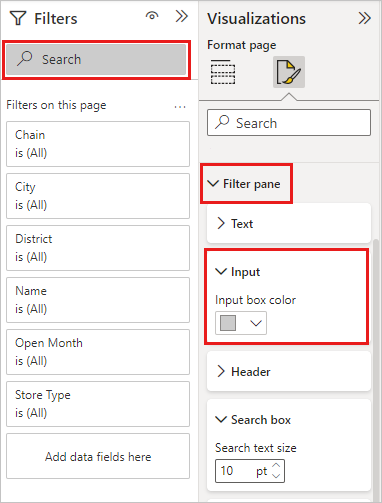
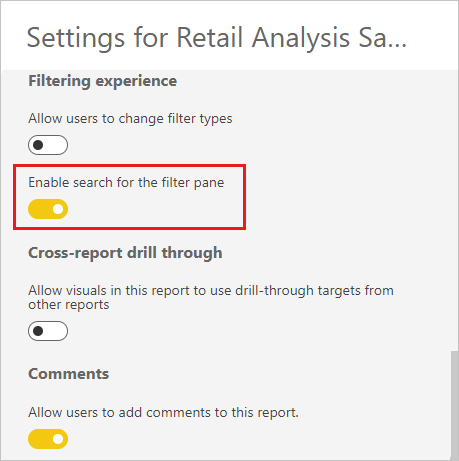
While the Filters pane search feature is on by default, you can also choose to turn it on or off by selecting Enable search for Filters pane in the Report settings of the Options dialog.
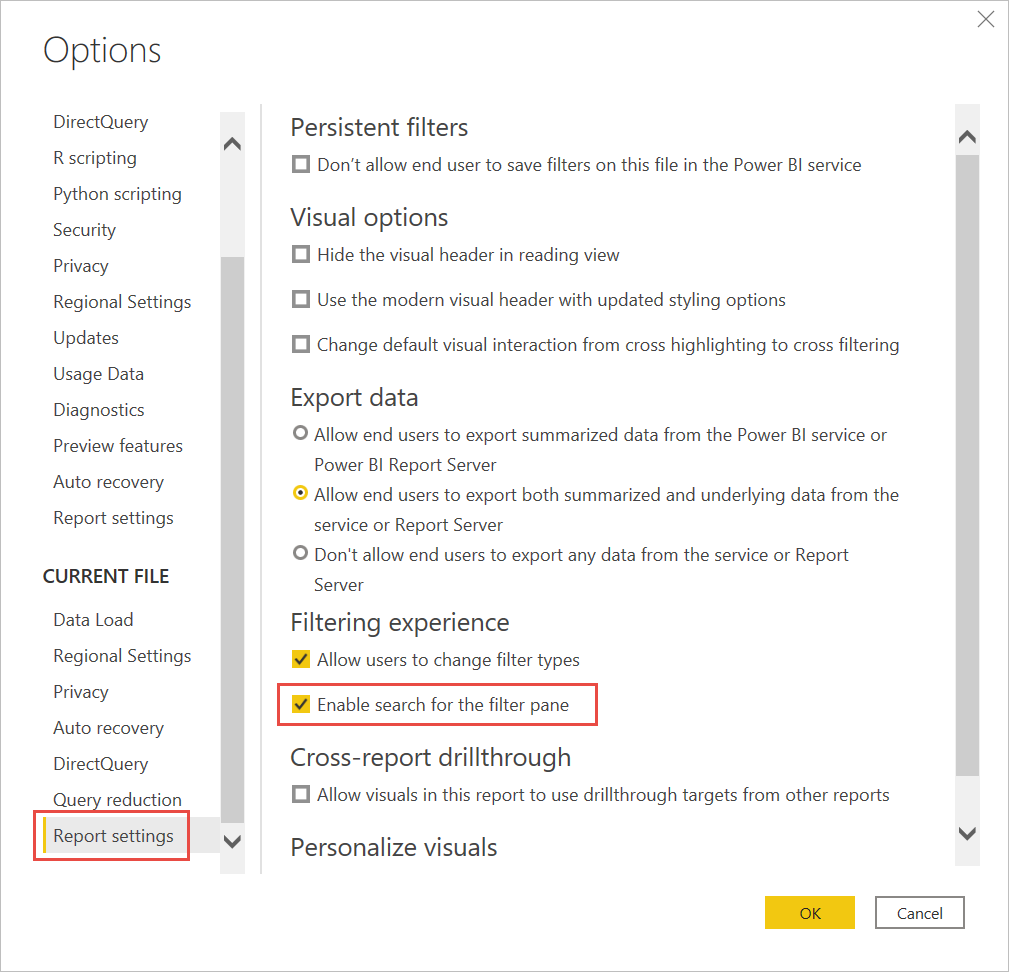
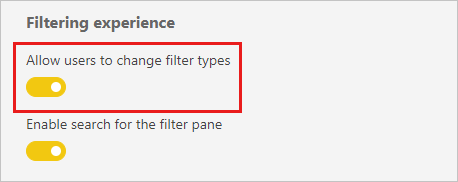
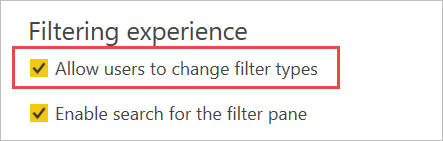
Under the Filtering experience section of Report settings, you can control if users can change the filter type.
By default, your report readers can save filters for your report. You can choose to not allow them to save filters.
Also in Report settings of the Options dialog, under Persistent filters, select Don't allow end users to save filters on this file in the Power BI service.

In Power BI Desktop, you can add a single Apply button to the filter pane, allowing you and your end-users to apply all filter modifications at once. Having this button is useful if you want to defer applying filter changes. You only have to wait once, after you're ready to apply all the filter changes to the report or visuals.
You can set this feature at the report level, only in Power BI Desktop. However, the feature is off by default.
Go to File > Options and settings > Options > Query reduction.
Select Add a single Apply button to the filter pane to apply changes at once.

Currently, you can control some of the formatting for the Apply text for the button. In the Filter pane section of the Format pane, set these options:
Under Text
Under Header
Publish-to-web doesn't display the Filters pane. If you're planning to publish a report to the web, consider adding slicers for filtering instead.
More questions? Try the Power BI Community
Events
Power BI DataViz World Championships
Feb 14, 4 p.m. - Mar 31, 4 p.m.
With 4 chances to enter, you could win a conference package and make it to the LIVE Grand Finale in Las Vegas
Learn moreTraining
Module
Configure Power BI report filters - Training
Report filtering is a complex topic because many techniques are available for filtering a Microsoft Power BI report. However, with complexity comes control, allowing you to design reports that meet requirements and expectations.
Certification
Microsoft Certified: Power BI Data Analyst Associate - Certifications
Demonstrate methods and best practices that align with business and technical requirements for modeling, visualizing, and analyzing data with Microsoft Power BI.