Note
Access to this page requires authorization. You can try signing in or changing directories.
Access to this page requires authorization. You can try changing directories.
| Function | Applies to |
|---|---|
| Remove | |
| RemoveIf |
Removes records from a data source.
Note
PAC CLI pac power-fx commands do not support the RemoveIf function.
Description
Remove function
Use the Remove function to remove a specific record or records from a data source.
For collections, the entire record must match. You can use the RemoveFlags.All argument to remove all copies of a record; otherwise, only one copy of the record is removed.
RemoveIf function
Use the RemoveIf function to remove a record or records based on a condition or a set of conditions. Each condition can be any formula that results in a true or false and can reference columns of the data source by name. Each condition is evaluated individually for each record, and the record is removed if all conditions evaluate to true.
Remove and RemoveIf return the modified data source as a table. You can use both functions only in behavior formulas.
You can also use the Clear function to remove all of the records in a collection.
Delegation
RemoveIf is supported by only a few data sources. For data sources that don't upport this feature, Power Apps will query the server and retrieve all data matching the filter expression, up to a maximum of either 500 or 2000 records or the data page size. Subsequently, it will delete each of those records individually by making separate calls to the server.
Syntax
Remove( DataSource, Record1 [, Record2, ... ] [, RemoveFlags.All ] )
- DataSource – Required. The data source that contains the record or records that you want to remove.
- Record(s) – Required. The record or records to remove.
- RemoveFlags.All – Optional. In a collection, the same record may appear more than once. You can add the RemoveFlags.All argument to remove all copies of the record.
Remove( DataSource, Table [, RemoveFlags.All ] )
- DataSource – Required. The data source that contains the records that you want to remove.
- Table – Required. A table of records to remove.
- RemoveFlags.All – Optional. In a collection, the same record may appear more than once. You can add the RemoveFlags.All argument to remove all copies of the record.
RemoveIf( DataSource, Condition [, ... ] )
- DataSource – Required. The data source that contains the record or records that you want to remove.
- Condition(s) – Required. A formula that evaluates to true for the record or records to remove. You can use column names from the DataSource in the formula. If you specify multiple Conditions, all must evaluate to true for the record or records to be removed.
Examples - single formulas
In these examples, you'll remove a record or records in a data source that's named IceCream and that starts with the data in this table:

Create a collection with sample records
To create a collection with this data:
Insert a Button control.
Set button control's OnSelect property to the below formula:
ClearCollect( IceCream,
              { ID: 1, Flavor: "Chocolate",  Quantity: 100 },
              { ID: 2, Flavor: "Vanilla",    Quantity: 200 },
              { ID: 3, Flavor: "Strawberry", Quantity: 300 }
)
Select the button while holding down the Alt key:
Remove sample records from collection using a formula
| Formula | Description | Result |
|---|---|---|
| Remove( IceCream, LookUp( IceCream, Flavor="Chocolate" )) |
Removes the Chocolate record from the data source. |  The IceCream data source has been modified. |
| Remove( IceCream, LookUp( IceCream, Flavor="Chocolate" ), LookUp( IceCream, Flavor="Strawberry" ) ) |
Removes two records from the data source. |  The IceCream data source has been modified. |
| RemoveIf( IceCream, Quantity > 150 ) | Removes records that have a Quantity that's greater than 150. |  The IceCream data source has been modified. |
| RemoveIf( IceCream, Quantity > 150, Left( Flavor, 1 ) = "S" ) | Removes records that have a Quantity that's greater than 150 and Flavor starts with an S. |  The IceCream data source has been modified. |
| RemoveIf( IceCream, true ) | Removes all records from the data source. |  The IceCream data source has been modified. |
Examples - remove button outside a gallery
In this example, you'll use a Gallery control to list the records in a table. And then use the Remove function to selectively remove an item.
Prepare for sample data
This example uses the Contacts table in Microsoft Dataverse available with the sample apps and data. You can deploy sample apps and data when you create an environment. You can also use any other data source instead.
Remove button outside a gallery
In this example, you'll remove an item by using a button that is outside the gallery.
Create a new blank canvas app using a Phone layout.
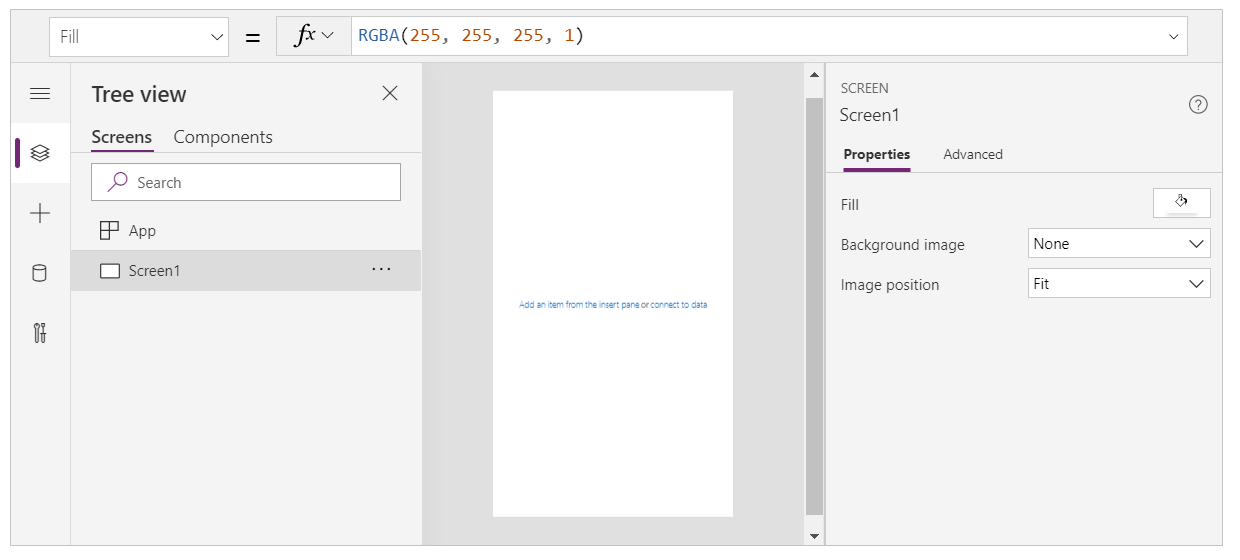
Select the Insert from the left pane.
Select Vertical gallery.
A Gallery control is be added to your screen.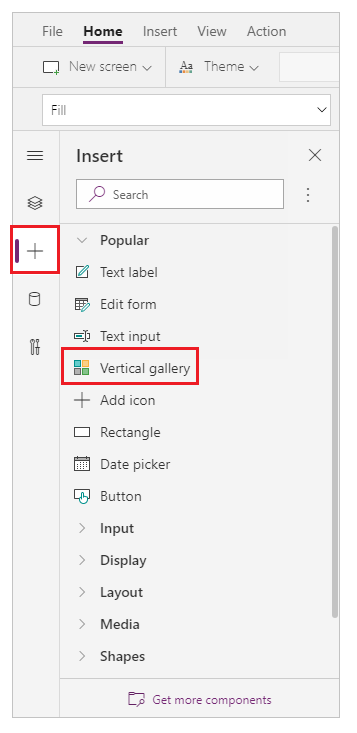
You're prompted to select a data source where you can select a data source from the available data sources.
For example, select the Contacts table to use sample data: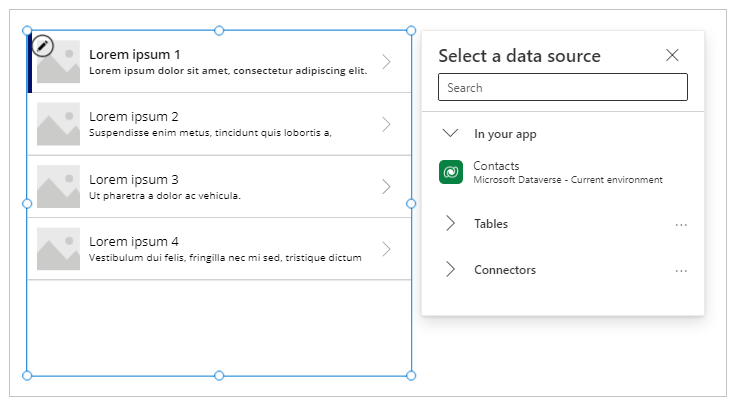
The gallery shows items from this table:
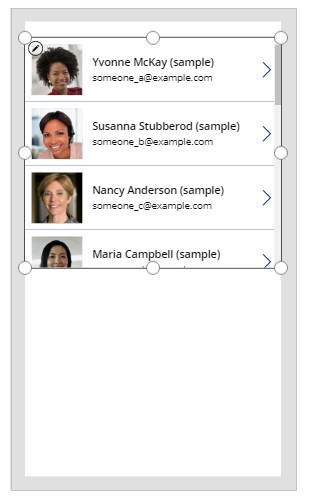
Insert a Button control from left pane:
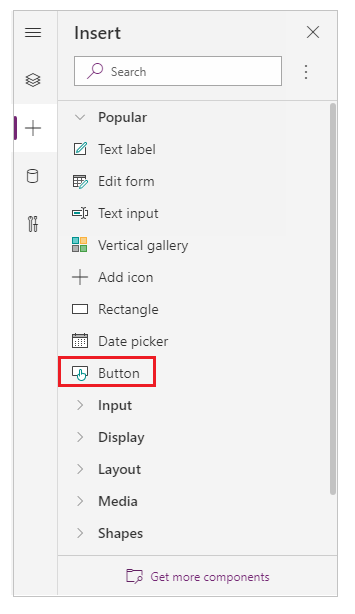
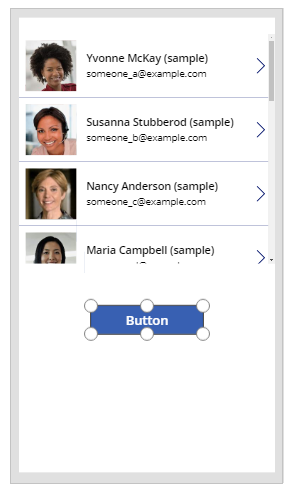
Move the added button below the gallery items:
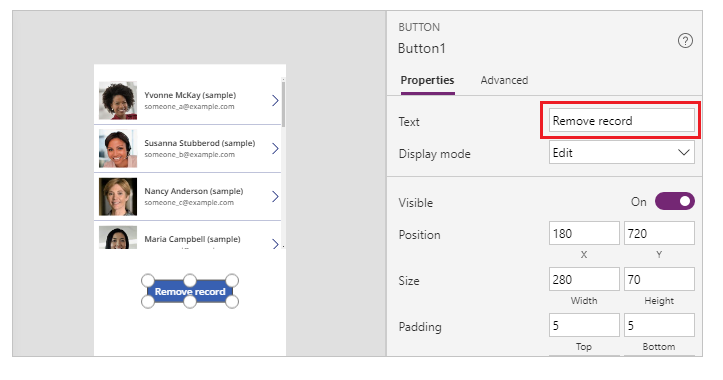
Update button text property to Remove record. You can also use text of your choice:
Set the OnSelect property for this button control to the following formula:
Remove( Contacts, Gallery1.Selected )
The gallery control makes the currently selected record available using Selected property. Remove function refers to this selected record to remove it.
Preview the app using the Play button on the top right, or press F5 on keyboard:
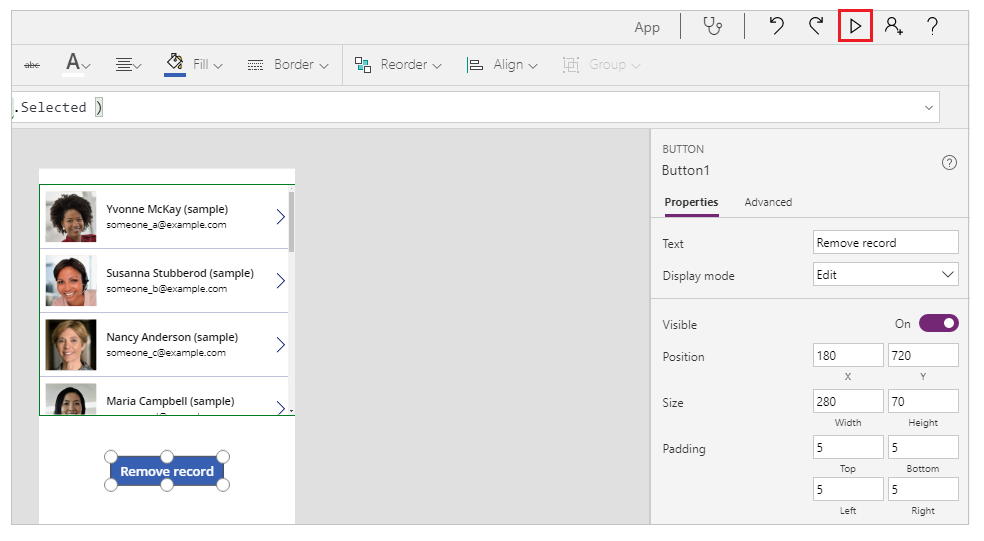
Select a record to remove, such as Nancy's record in this example:
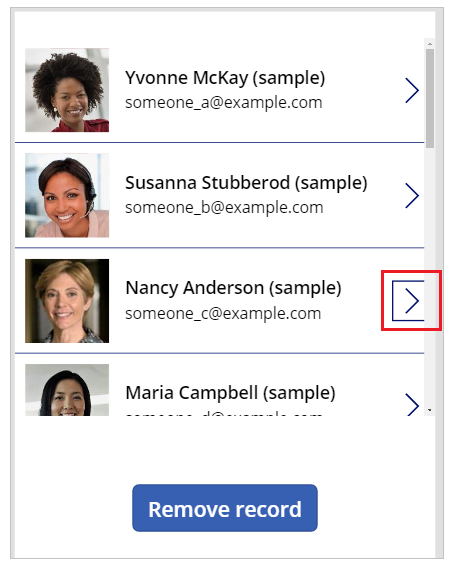
Select Remove record:
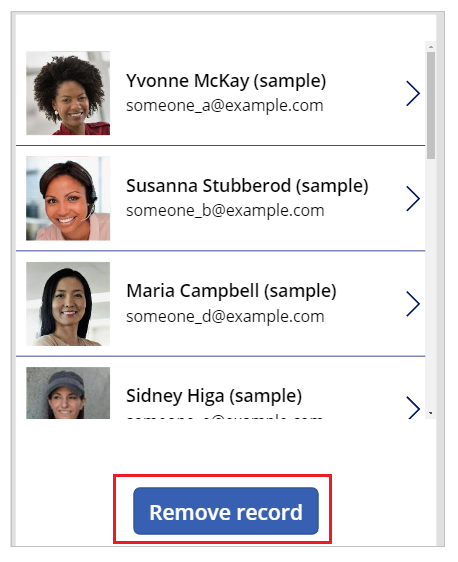
Selecting the button removes the selected record (in this example, Nancy's record).
Close the app preview.
Tip
You can also use alternate behavior with Alt key instead of using the app preview with Play button or F5.
Examples - trash can icon inside a gallery
In this example, you'll remove an item by using an icon placed inside the gallery.
Create a collection with sample data
If you already have prepared sample data, skip this step and move to Trash can icon inside a gallery.
Add a Button control to your screen.
Set the OnSelect property to the following formula:
ClearCollect( SampleContacts,
      { 'Full Name': "Yvonne McKay (sample)",      'Primary Email': "someone_a@example.com" },
      { 'Full Name': "Susanna Stubberod (sample)", 'Primary Email': "someone_b@example.com" },
      { 'Full Name': "Nancy Anderson (sample)",    'Primary Email': "someone_c@example.com" },
      { 'Full Name': "Maria Campbell (sample)",    'Primary Email': "someone_d@example.com" },
      { 'Full Name': "Robert Lyon (sample)",       'Primary Email': "someone_e@example.com" },
      { 'Full Name': "Paul Cannon (sample)",       'Primary Email': "someone_f@example.com" },
      { 'Full Name': "Rene Valdes (sample)",       'Primary Email': "someone_g@example.com" }
)
Select the button while holding down the Alt key.
Sample collection is created that you can use in the following example.
Trash can icon inside a gallery
Create a new blank canvas app using a Phone layout.

Select the Insert from the left pane.
Select Vertical gallery.
A Gallery control is be added to your screen.
You're prompted to select a data source where you can select a data source from the available data sources.
For example, select the Contacts table to use sample data:
If you created a collection, select your collection instead:
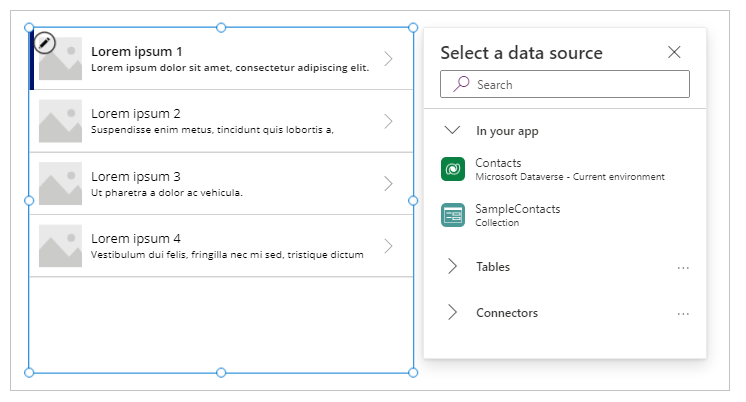
Select a control within the top item in the gallery.
To ensure next step inserts item into gallery's template and not outside the gallery, ensure you follow this step before moving to the next step.
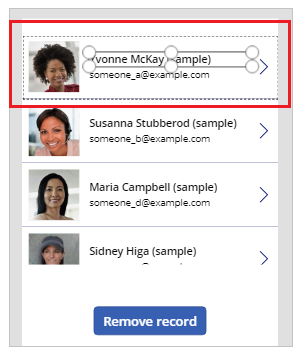
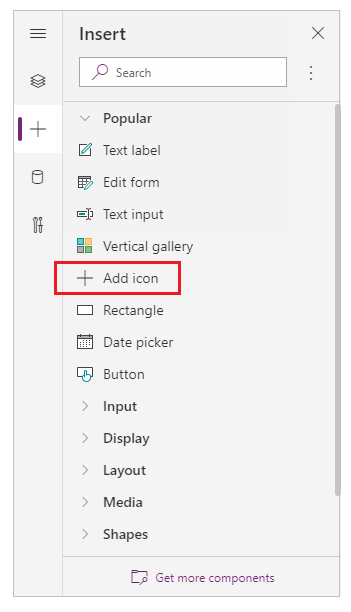
Select Add icon from left pane.
Note
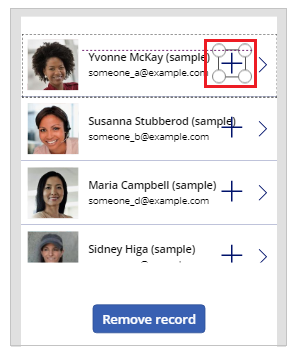
Add icon inserts a + icon on the left side of the gallery, replicated for each item in the gallery.
In the top item, move the icon to the right side of the screen.
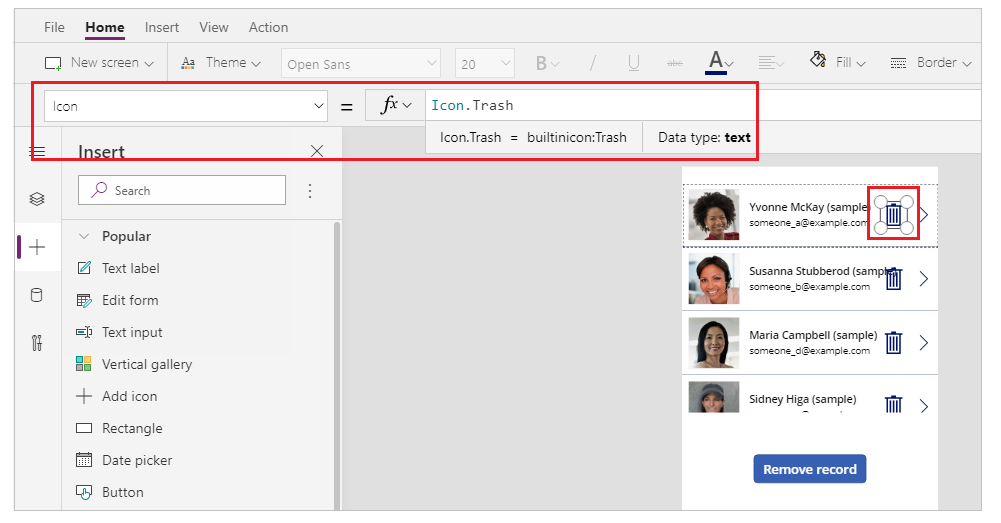
Select the Icon property for icon and set it to the following formula to update the icon image as trash icon:
Icon.TrashNote
The Icon. prefix is only shown when you're actively editing the formula.
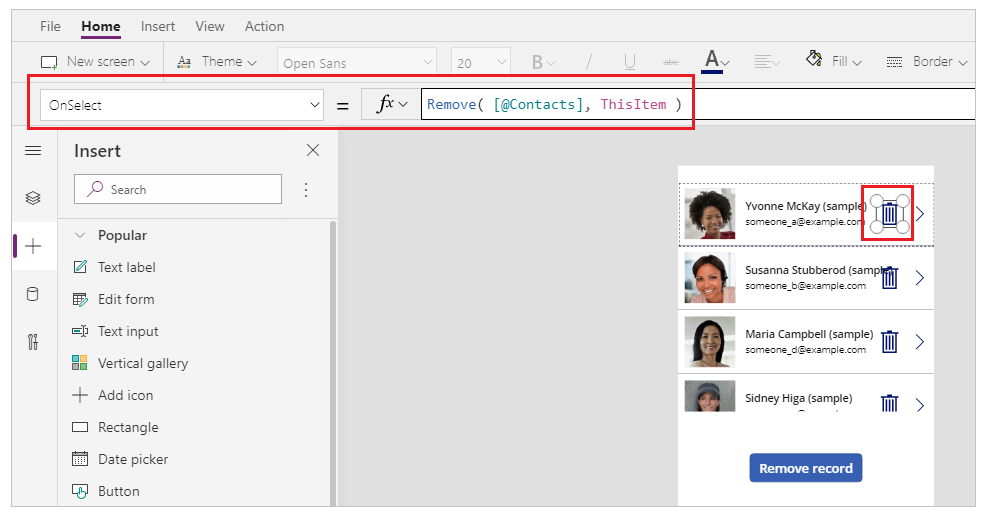
Set the OnSelect property to the following formula:
Remove( [@Contacts], ThisItem )Note
You must use global disambiguation operator [@...] in this example with sample data that uses the Contacts table to avoid conflict with a One-to-Many relationship. If you use data sources such as a list or a SQL Server table, using global disambiguation operator is not required.
Preview the app using the Play button on the top right, or press F5 on keyboard.
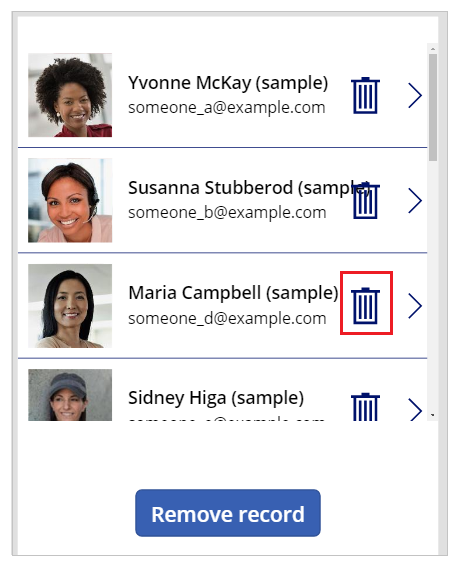
Select the trash icon next to a record, for example Maria's:
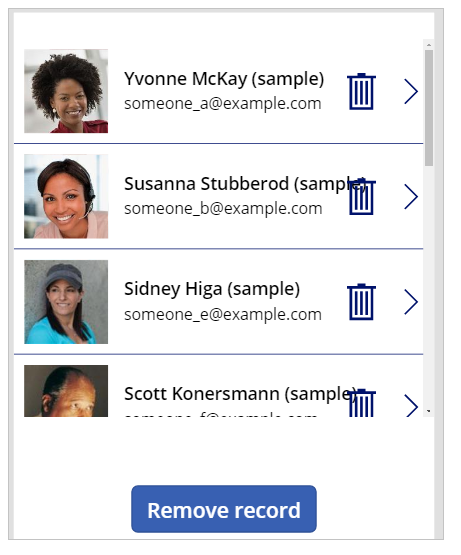
The record is deleted:
Close the app preview.