Note
Access to this page requires authorization. You can try signing in or changing directories.
Access to this page requires authorization. You can try changing directories.
When you attempt to connect to a data source using a new connector for the first time, you might be asked to select the authentication method to use when accessing the data. After you select the authentication method, you won't be asked to select an authentication method for the connector using the specified connection parameters again. However, if you need to change the authentication method later, you can do so.
Select an authentication method
Different connectors show different authentication methods. For example, the OData Feed connector in Power BI Desktop and Excel displays the following authentication method dialog box.

If you're using a connector from an online app, such as the Power BI service or Power Apps, Power Query displays an authentication method dialog box for the OData Feed connector that looks something like the following image.

As you can see, a different selection of authentication methods is presented from an online app. Also in the online app, some connectors might ask you to enter the name of an on-premises data gateway to be able to connect to your data. For more information about authentication in Power Query Online, go to Connections and authentication in Power Query Online.
Set the level of the authentication method
In connectors that require you to enter a URL, you're asked to select the level to which the authentication method is applied. For example, if you select the Web connector with a URL of https://contoso.com/2020data/List_of_countries_and_capitals, the default level setting for your authentication method is https://contoso.com.

The level you select for the authentication method you chose for this connector determines what part of a URL has the authentication method applied to it. If you select the top-level web address, the authentication method you select for this connector is used for that URL address or any subaddress within that address.
However, you might not want to set the top-level address to a specific authentication method because different subaddresses can require different authentication methods. One example might be if you were accessing two separate folders of a single SharePoint site and wanted to use different Microsoft accounts to access each one.
After you set the authentication method for a connector's specific address, you won't need to select the authentication method for that connector using that URL address or any subaddress again. For example, let's say you select the https://contoso.com/ address as the level you want the Web connector URL settings to apply to. Whenever you use a Web connector to access any webpage that begins with this address, you aren't required to select the authentication method again.
Change the authentication method
Normally when Power Query recognizes a set of connection settings, it tries to look up in its respective credentials storage to see if there's a connection that matches those settings and, if so, automatically selects that connection. However, in some cases you might need to change the authentication method you use in a connector to access a specific data source.
To edit the authentication method in Power BI Desktop or Excel:
Do one of the following:
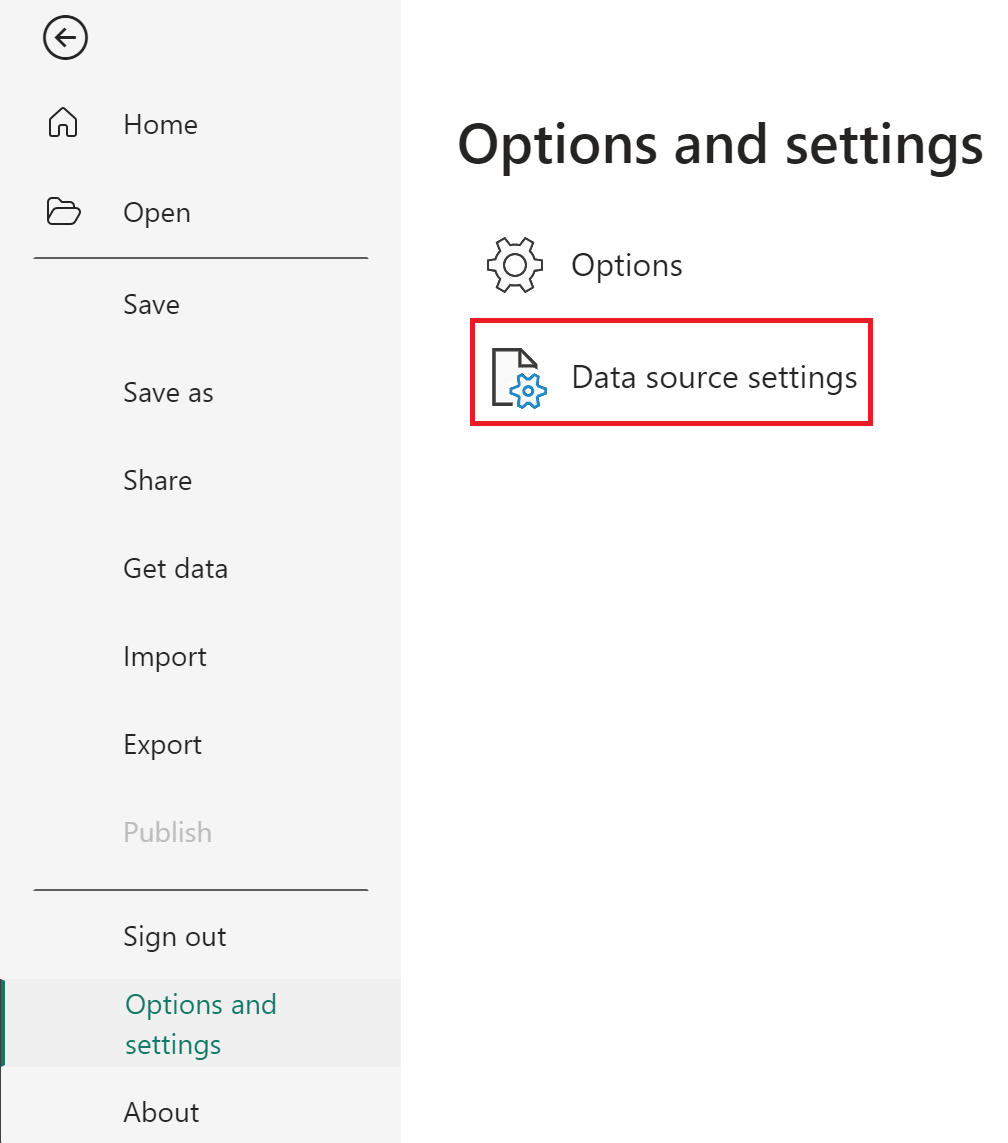
In Power BI Desktop, on the File tab, select Options and settings > Data source settings.
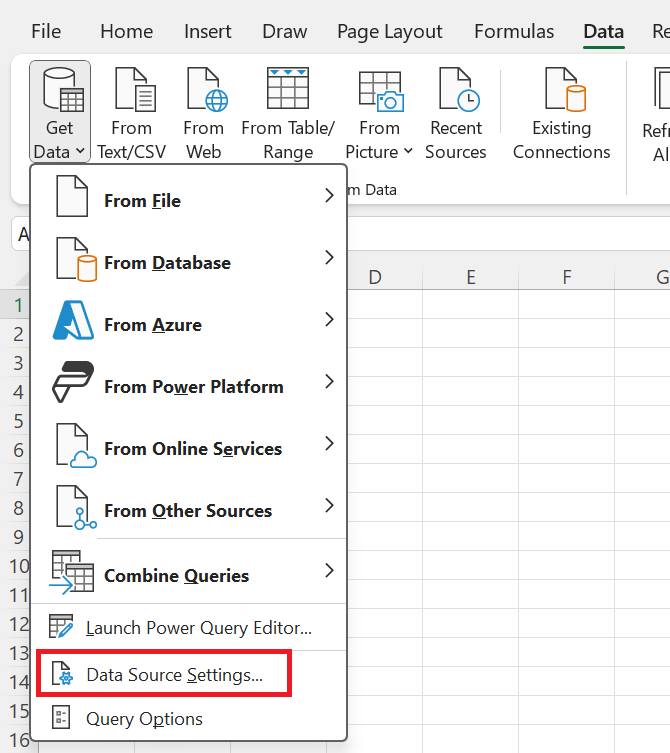
In Excel, on the Data tab, select Get Data > Data Source Settings.
In the Data source settings dialog box, select Global permissions, choose the data source where you want to change the permission setting, and then select Edit Permissions.
In the Edit Permissions dialog box, under Credentials, select Edit.
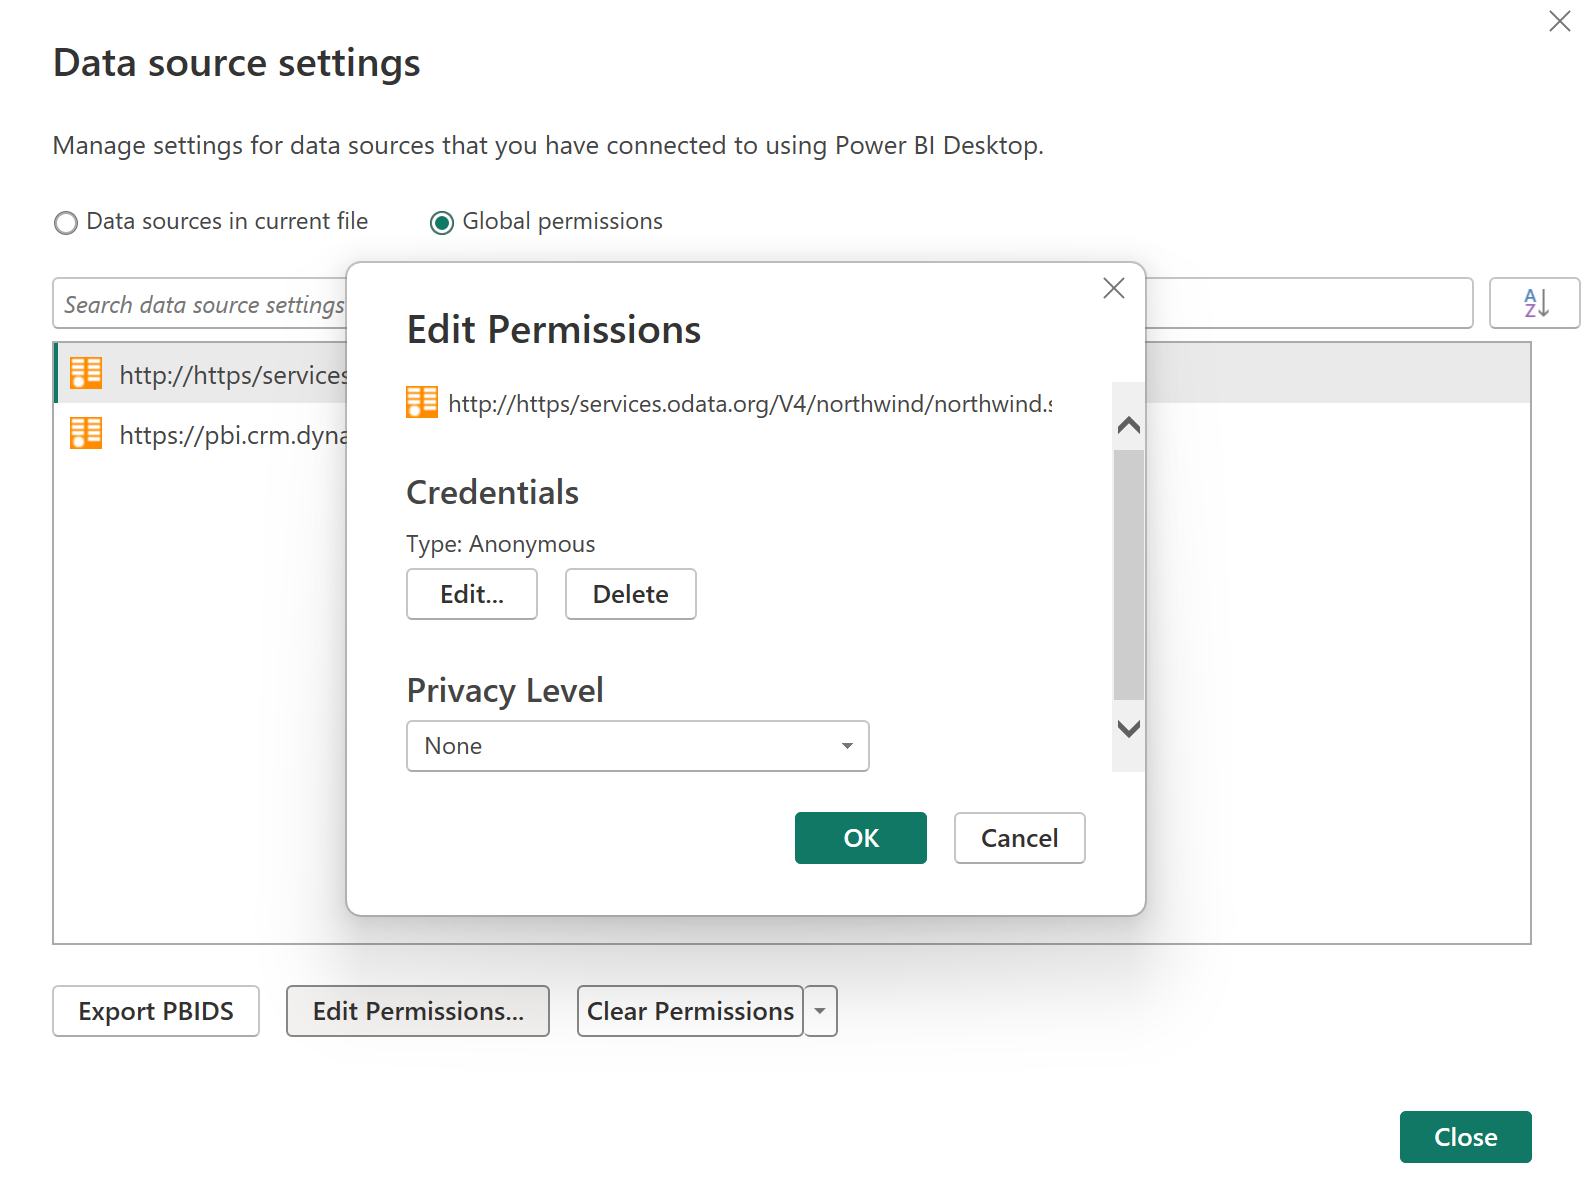
Change the credentials to the type required by the data source, select Save, and then select OK.


You can also delete the credentials for a particular data source in step 3 by selecting Clear Permissions for a selected data source, or by selecting Clear All Permissions for all of the listed data sources.
Connecting with Microsoft Entra ID using the Web and OData connectors
When connecting to data sources and services that require authentication through OAuth or Microsoft Entra ID-based authentication, in certain cases where the service is configured correctly, you can use the built-in Web or OData Feed connectors to authenticate and connect to data without requiring a service-specific or custom connector.
This section outlines connection symptoms when the service isn't configured properly. It also provides information on how Power Query interacts with the service when it's properly configured.
Symptoms when the service isn't configured properly
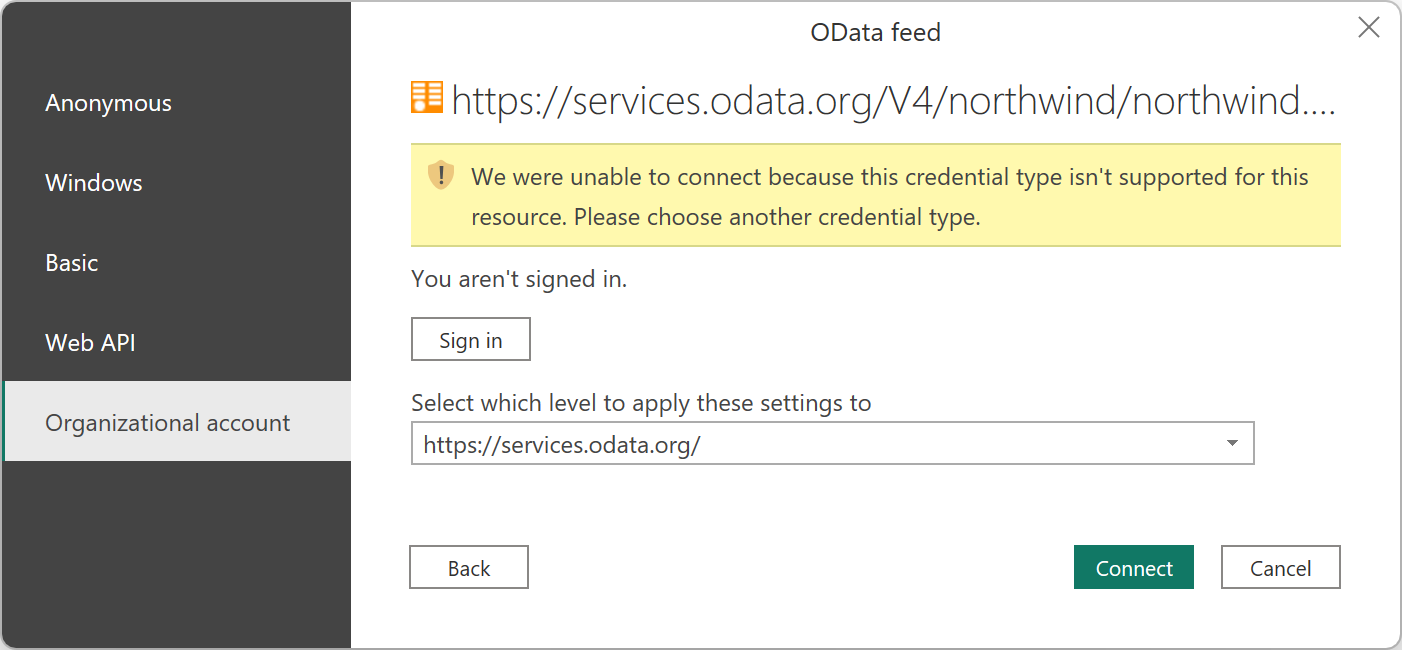
You might run into the error We were unable to connect because this credential type isn't supported for this resource. Please choose another credential type. This error means that your service doesn't support the authentication type.
One example where this error could occur is in the Northwind OData service.
Enter the Northwind endpoint in the "Get Data" experience using the OData connector.

Select OK to enter the authentication experience. Normally, because Northwind isn't an authenticated service, you would just use Anonymous. To demonstrate lack of support for Microsoft Entra ID, choose Organizational account, and then select Sign in.
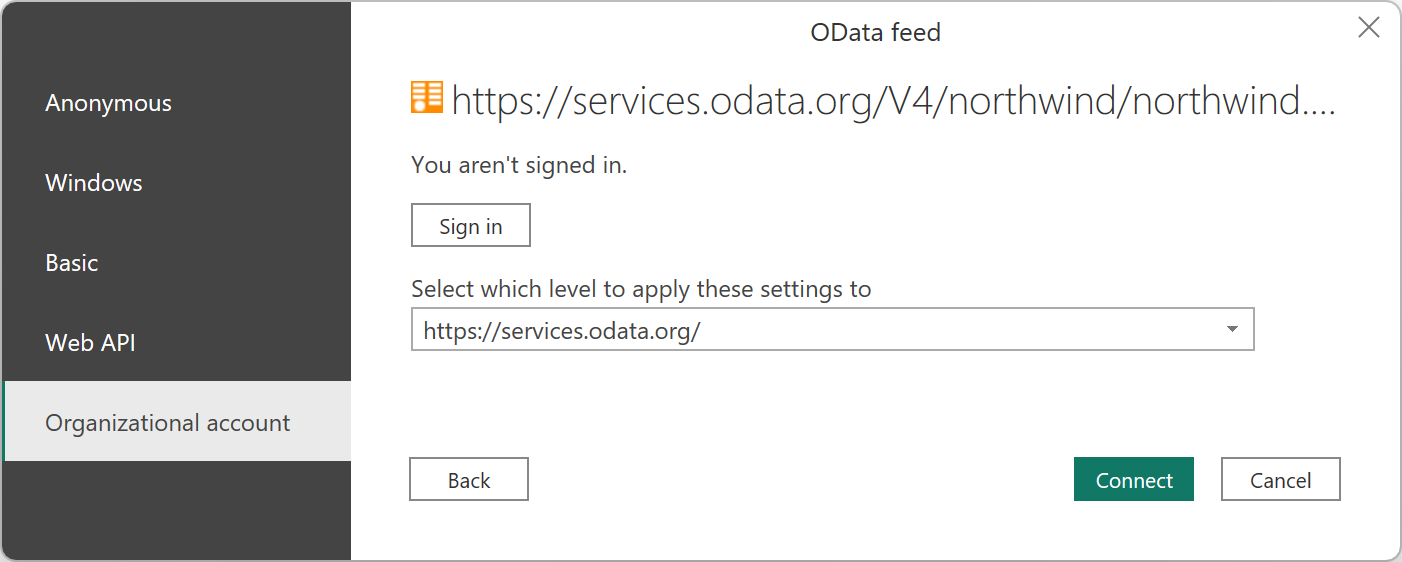
You encounter an error, indicating that OAuth or Microsoft Entra ID authentication isn't supported in the service.


Supported workflow
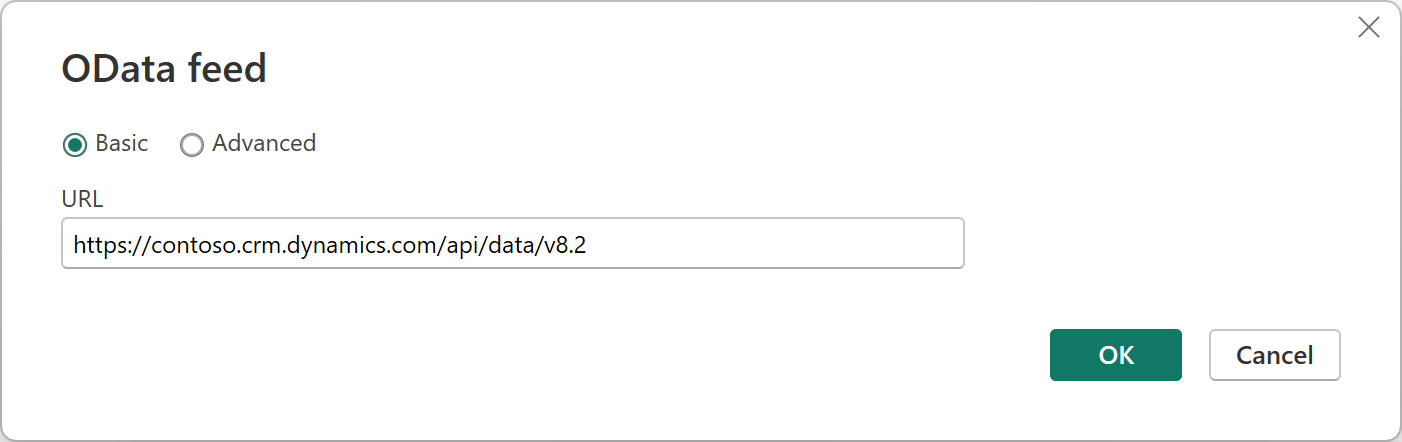
One example of a supported service working properly with OAuth is CRM, for example, https://contoso.crm.dynamics.com/api/data/v8.2.
Enter the URL in the "Get Data" experience using the OData connector.
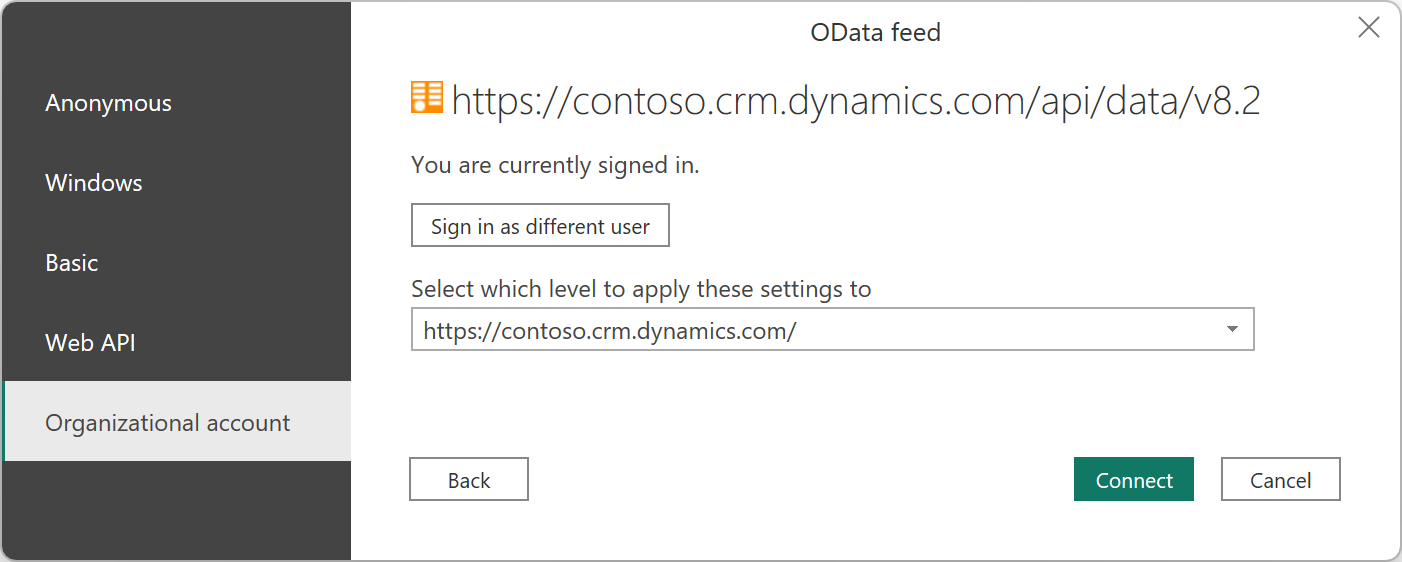
Select Organizational Account, and then select Sign-in to proceed to connect using OAuth.

The request succeeds and the OAuth flow continues to allow you to authenticate successfully.


When you select Sign-in in Step 2 above, Power Query sends a request to the provided URL endpoint with an authorization header with an empty bearer token.
GET https://contoso.crm.dynamics.com/api/data/v8.2 HTTP/1.1
Authorization: Bearer
User-Agent: Microsoft.Data.Mashup (https://go.microsoft.com/fwlink/?LinkID=304225)
Host: contoso.crm.dynamics.com
Connection: Keep-Alive
The service is then expected to respond with a 401 response with a WWW-Authenticate header indicating the Microsoft Entra ID authorization URI to use. This response should include the tenant to sign into, or /common/ if the resource isn't associated with a specific tenant.
HTTP/1.1 401 Unauthorized
Cache-Control: private
Content-Type: text/html
Server:
WWW-Authenticate: Bearer authorization_uri=https://login.microsoftonline.com/aaaabbbb-0000-cccc-1111-dddd2222eeee/oauth2/authorize
Date: Wed, 15 Aug 2018 15:02:04 GMT
Content-Length: 49
Power Query can then initiate the OAuth flow against the authorization_uri. Power Query requests a Microsoft Entra ID Resource or Audience value equal to the domain of the URL being requested. This value would be the value you use for your Azure Application ID URL value in your API/service registration. For example, if accessing https://api.myservice.com/path/to/data/api, Power Query would expect your Application ID URL value to be equal to https://api.myservice.com.
If you need more control over the OAuth flow (for example, if your service must respond with a 302 rather than a 401), or if your application's Application ID URL or Microsoft Entra ID Resource value don't match the URL of your service, then you'd need to use a custom connector. For more information about using our built-in Microsoft Entra ID flow, go to Microsoft Entra ID authentication.
Microsoft Entra ID client IDs
The following Microsoft Entra ID client IDs are used by Power Query. You might need to explicitly allow these client IDs to access your service and API, depending on your overall Microsoft Entra ID settings. Go to step 6 of Add a scope for more details.
| Client ID | Title | Description |
|---|---|---|
| a672d62c-fc7b-4e81-a576-e60dc46e951d | Power Query for Excel | Public client, used in Power BI Desktop and the gateway. |
| b52893c8-bc2e-47fc-918b-77022b299bbc | Power BI Data Refresh | Confidential client, used in Power BI service. |
| 7ab7862c-4c57-491e-8a45-d52a7e023983 | Power Apps and Power Automate | Confidential client, used in Power Apps and Power Automate. |