Exercise - Inspect and prepare data
Your task for this exercise is to create a new process mining project from a dataset that you receive in a CSV format.
In this exercise, you review the data, verify that the required fields are included in the dataset, identify what other columns to use in your process mining, and then load the dataset.
Objectives
Your objectives for this exercise are to:
Review and prepare data.
Verify that required fields are included in the dataset.
Create the process and load data.
Map attributes.
Save data for analysis.
Required fields
For process mining to analyze your event logs, you're required to have the following fields: Case ID, Activity, and Event Start.
Prepare data and load
You receive a dataset in CSV format. You want to review the data, make sure that all required fields are included in the dataset, and then create the process.
High-level steps
Try to perform the following high-level steps to complete this exercise. If you get stuck, go to the step-by-step section and follow those instructions instead.
Open and check the dataset.
If necessary, convert the data to a format that's easily readable.
Verify that all required columns are included in the data.
Identify the columns to map for process mining.
Save the data in the correct format.
Create the process and load the data.
Map attributes.
Step by step
This section provides more in-depth guidance for the preceding high-level steps.
Task: Inspect the data
Your first task is to inspect the data by following these steps:
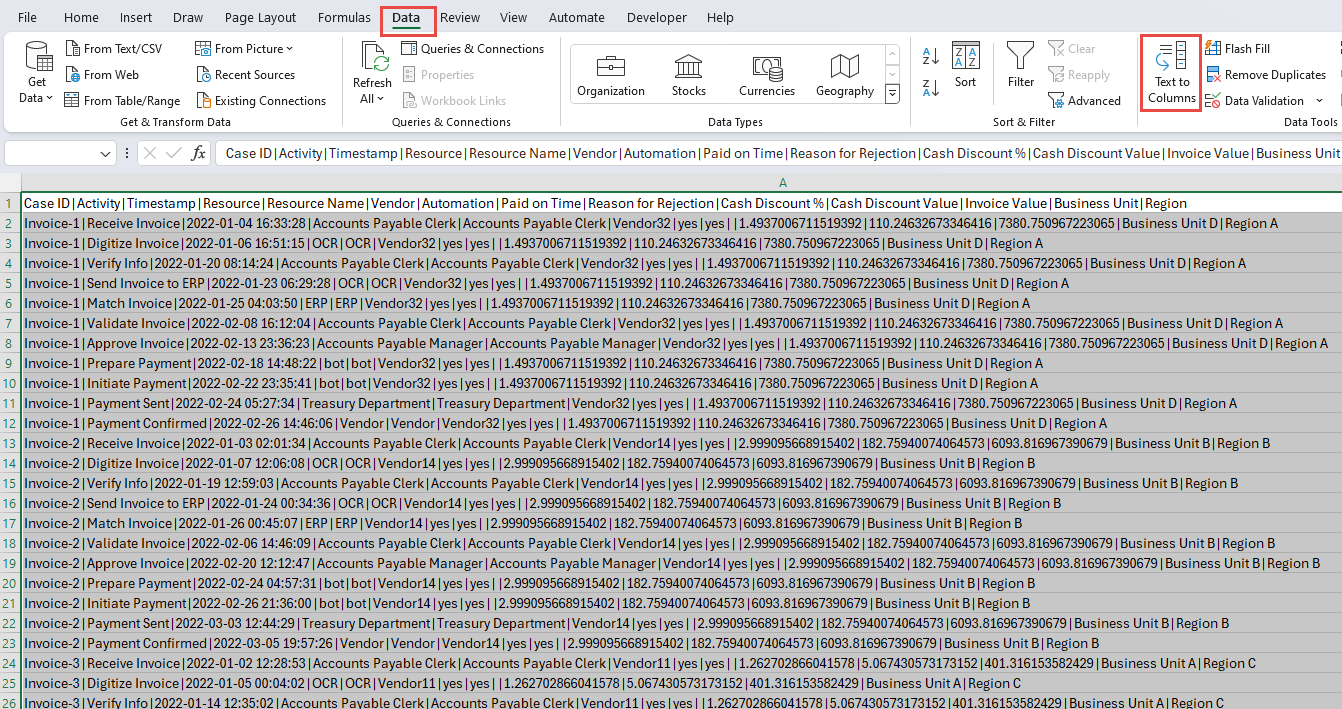
Locate and open the AP_EV_LAB_Inspect.csv file.
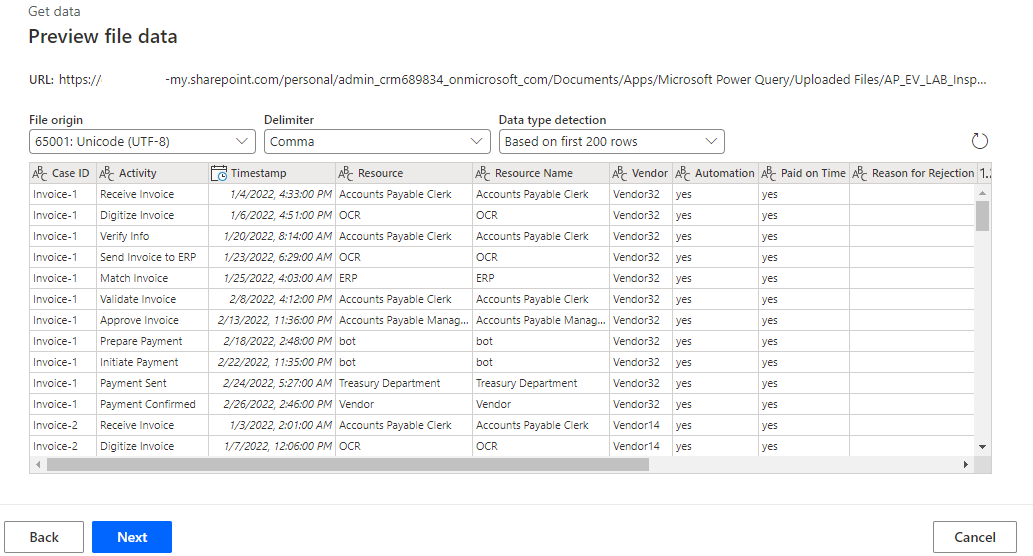
The data in the file should resemble the following image.

Note
A pipe or vertical bar (|) separates the data, which makes it difficult to read. Use the Text to Columns feature of Microsoft Excel to make the data easier to read.
Select the Data tab.
All data for each row is in one cell. Select all rows, including the header, and then select the Text to Columns button.
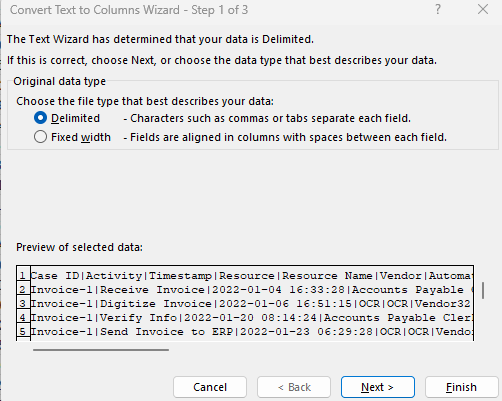
Select Delimited and then select Next.
Select Other, enter a vertical bar (|) character, and then select Next.
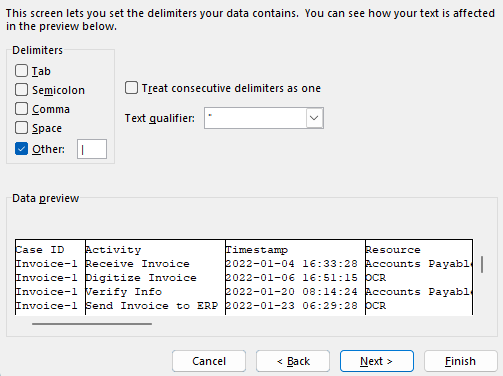
Select Finish.
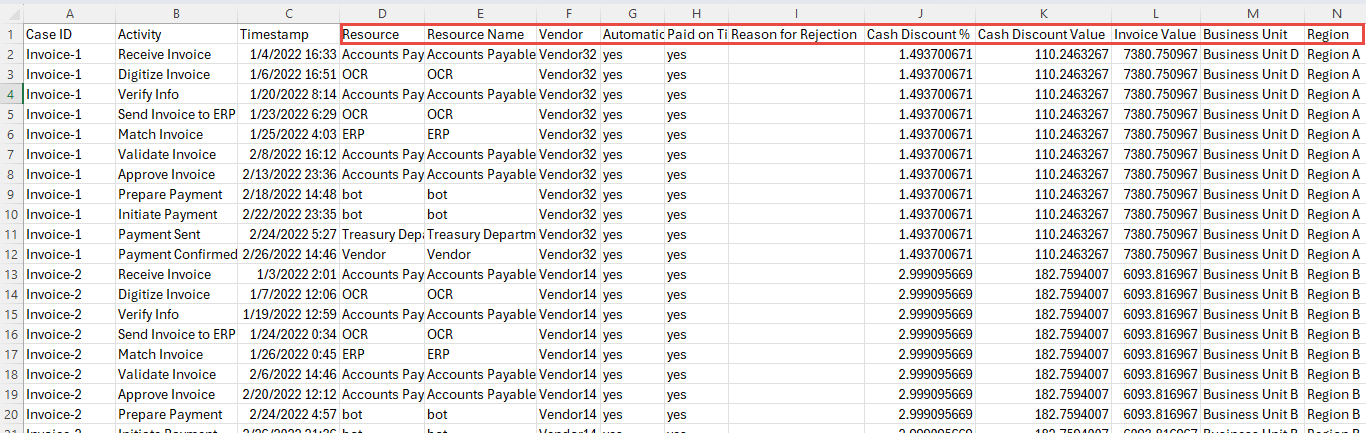
The data should now become easier to read.
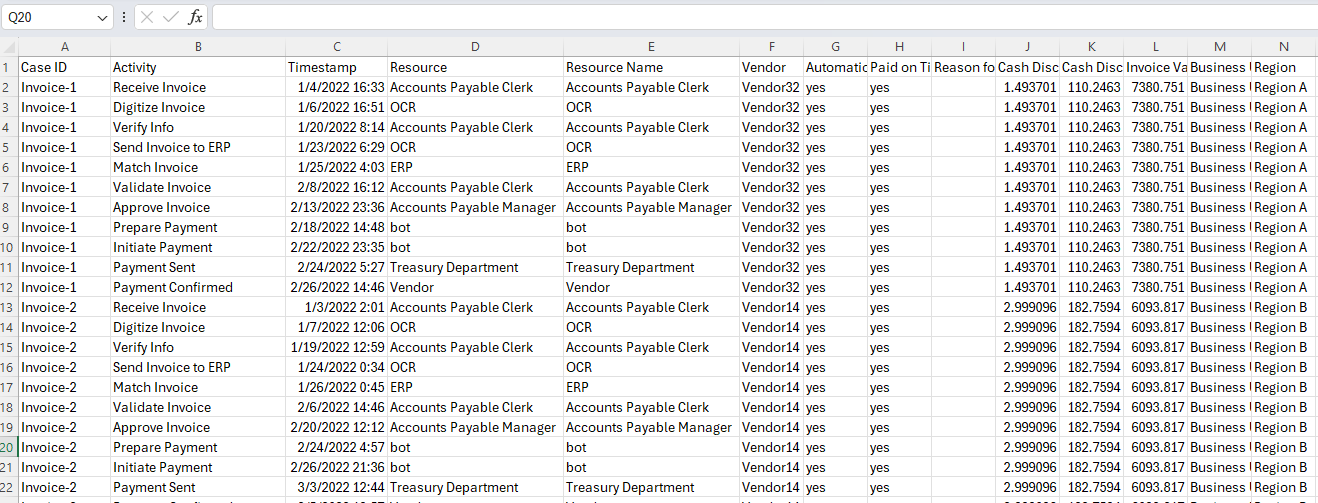


Task: Identify columns and save the dataset
For Power Automate Process Mining to analyze your event logs, you're required to have the following fields: Case ID, Activity Name, and Timestamp.
Identify the required fields.
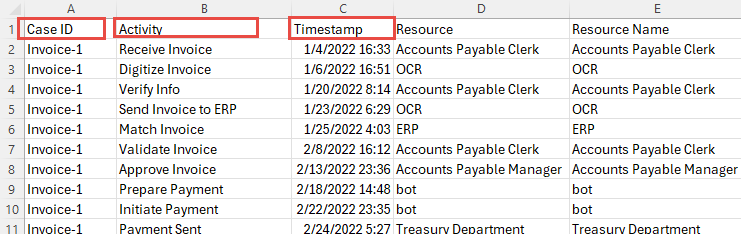
Identify other fields that you want to map for process mining.
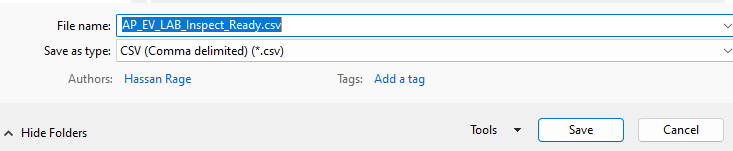
Optionally, you can take notes on what fields to use. After you finish inspecting the data, select File > Save As.
Save the file as CSV and then give it an appropriate name.
Close the file.


Task 3: Create the process
To create the process, follow these steps:
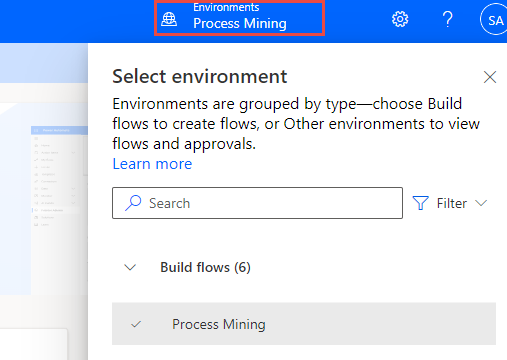
Go to Microsoft Power Automate and select the correct environment.
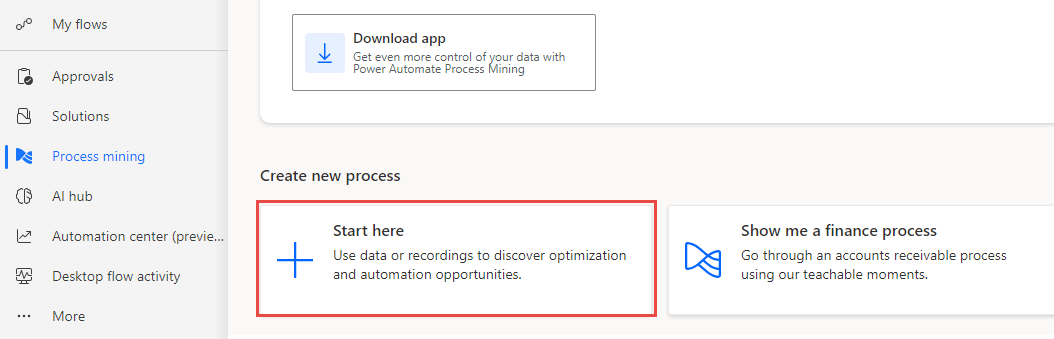
Select Process mining from the left pane and then select + Start here.
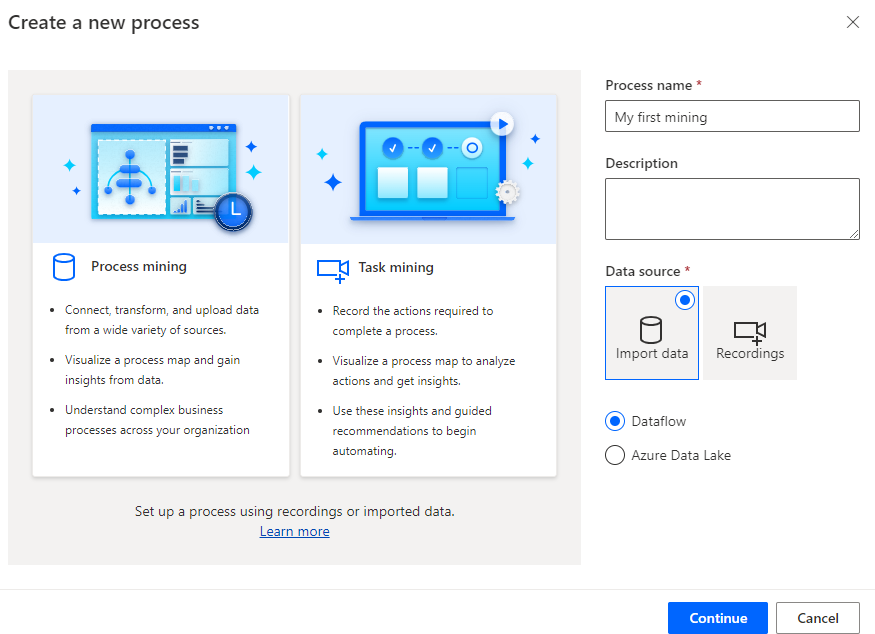
Enter My first mining for the Process name, select Import data for the Data source, select Dataflow, and then select Continue.
Select Skip if the system prompts you to add Power BI workspace.
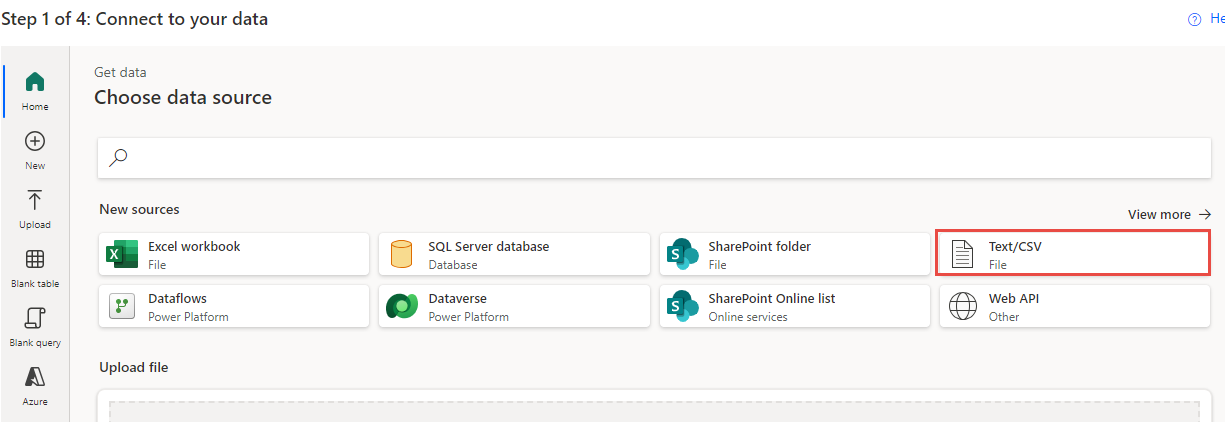
Select Text/CSV as the data source.
Select Upload file and then select the Browse button.

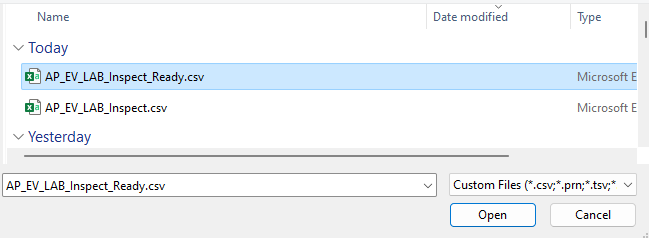
Select the CSV file that you created and then select Open.
If you aren't signed in, select the Sign in button and provide your credentials.
Select Next.

A preview of the data should display. Select Next.
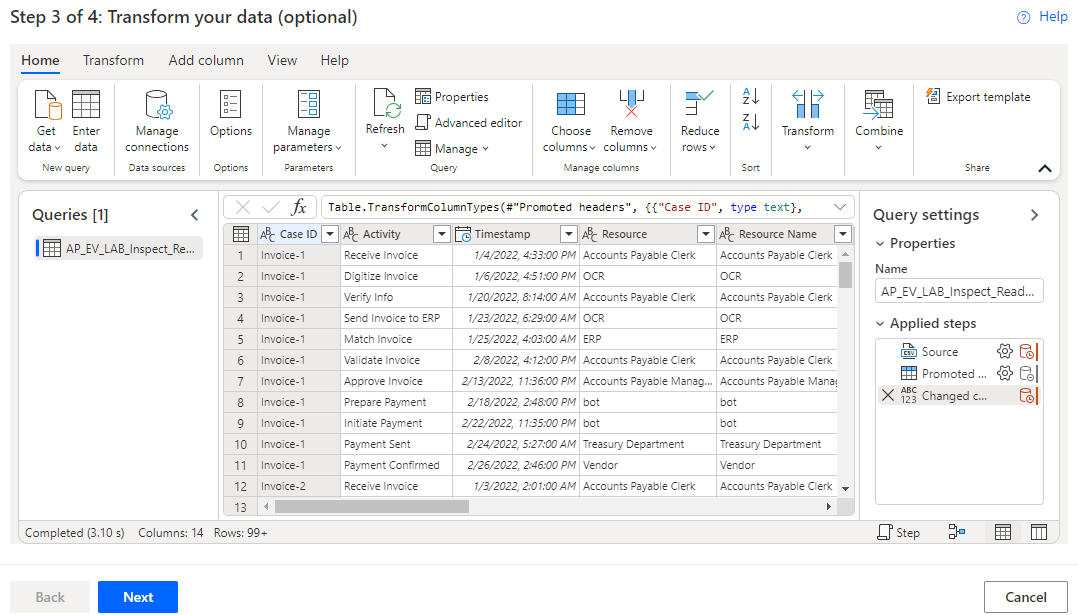
The system should advance you to the Transform stage. Leave all other settings as they are and then select Next.
You should advance to the mapping stage. First, you map the required fields, as shown in the following table.
Attribute name Attribute type Attribute data type Case ID Case ID Text Activity Activity Text Timestamp Event Start Date/Time 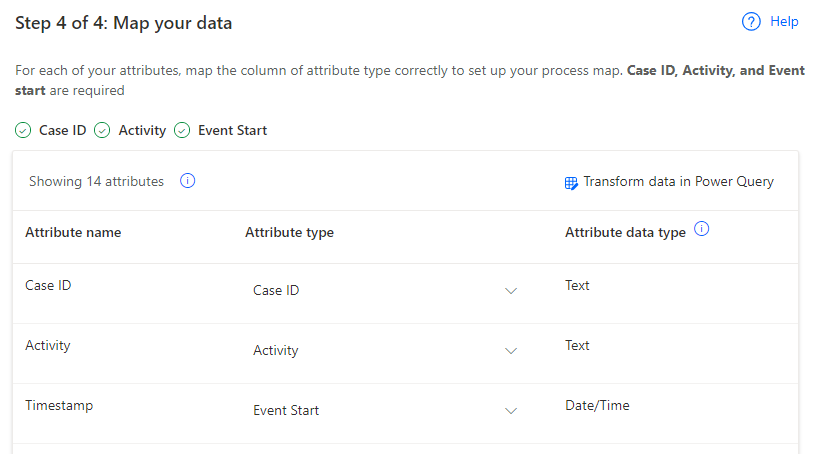
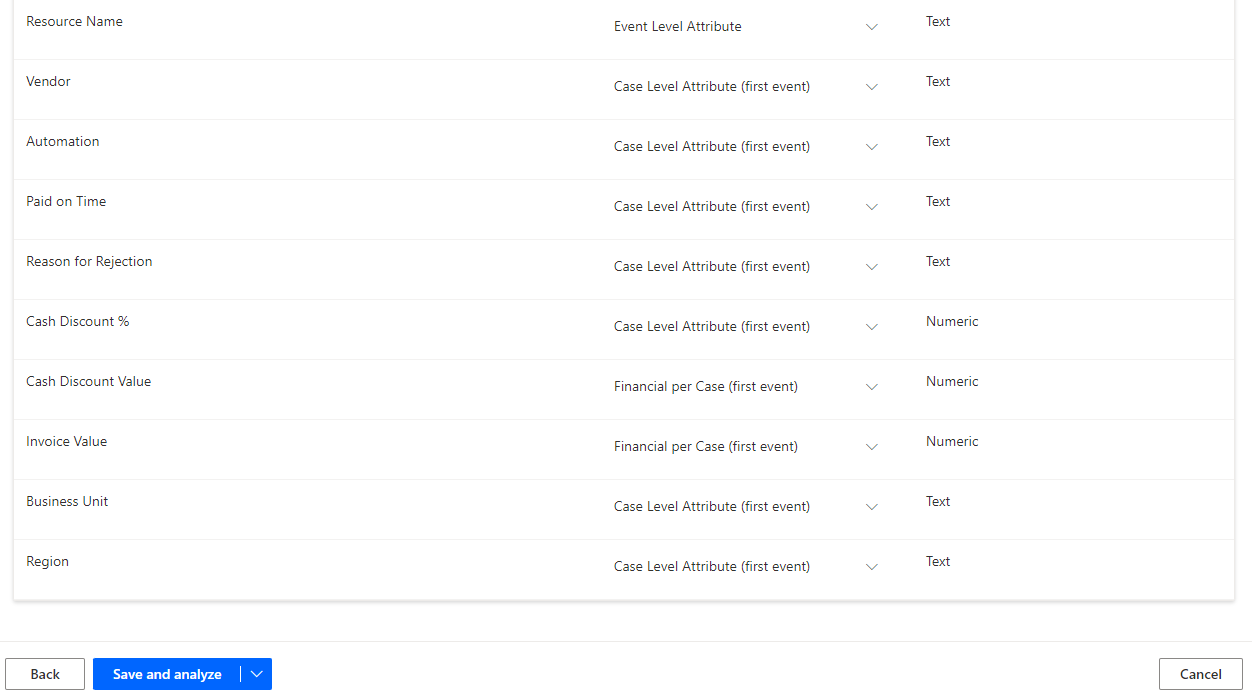
Map any other fields that you want to include. For this exercise, you map all fields.
Map the rest of the fields as shown in the following table.
Attribute name Attribute type Attribute data type Resource Resource Text Resource Name Event Level Attribute Text Vendor Case Level Attribute (first event) Text Automation Case Level Attribute (first event) Text Paid on Time Case Level Attribute (first event) Text Reason for Rejection Case Level Attribute (first event) Text Cash Discount % Case Level Attribute (first event) Numeric Cash Discount Value Financial per Case (first event) Numeric Invoice Value Financial per Case (first event) Numeric Business Unit Case Level Attribute (first event) Text Region Case Level Attribute (first event) Text After mapping the fields, select Save and analyze.
Wait for analysis to complete. This process could take a few minutes.


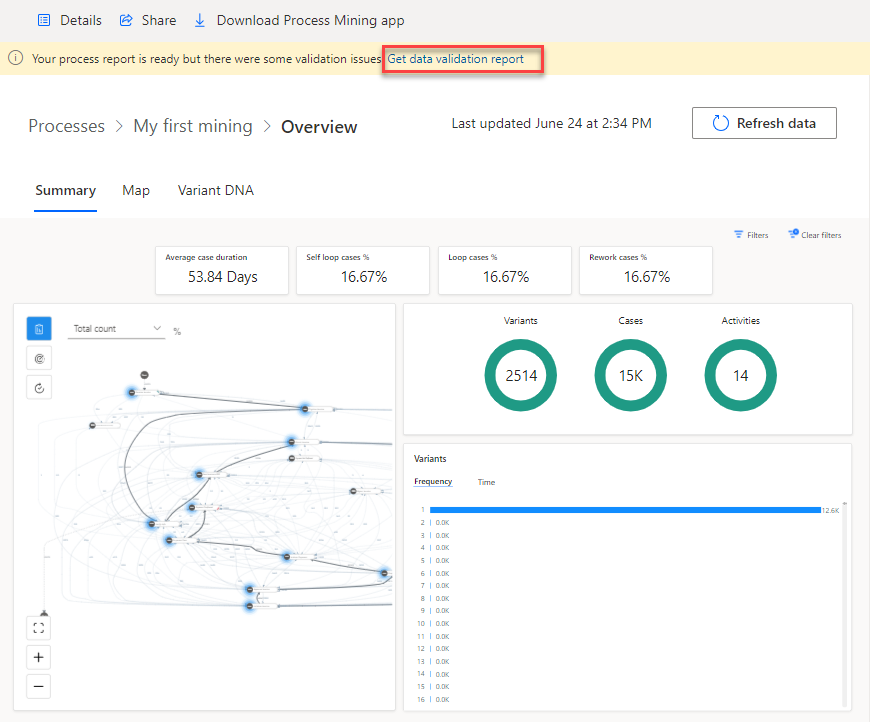
After analysis is complete, the process overview should resemble the following image.

Task: Review the validation report
Your final task is to review the validation report by following these steps:
In the upper part of your overview, locate the data validation report notification and then select Get data validation report.
Open the downloaded data validation report.
By default, the report shows a validation summary. The following image shows a summary that displays the Reason for Rejection field indicating a value of 99% of the records already contained or had values replaced by default value.
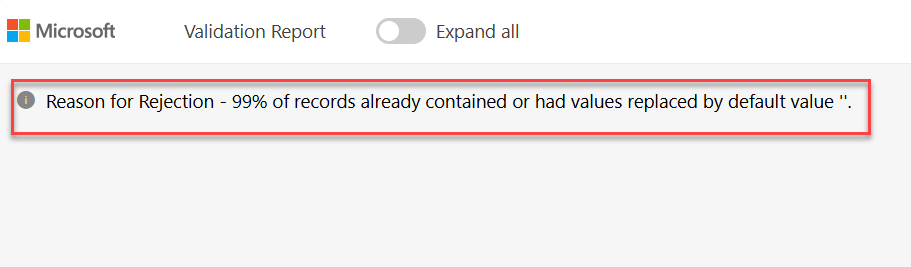
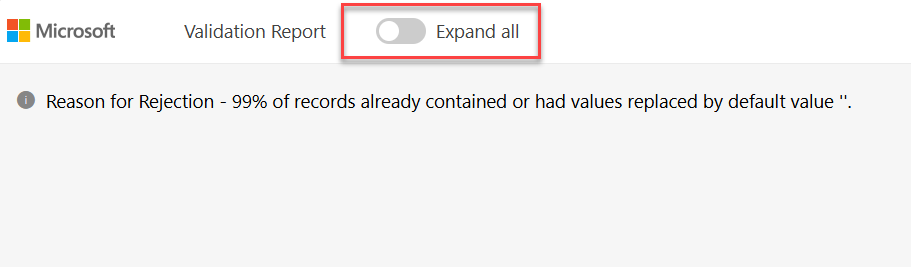
Select Expand all.
The report should expand and show all columns. The fields that cause the validation issues should show with a different background color.
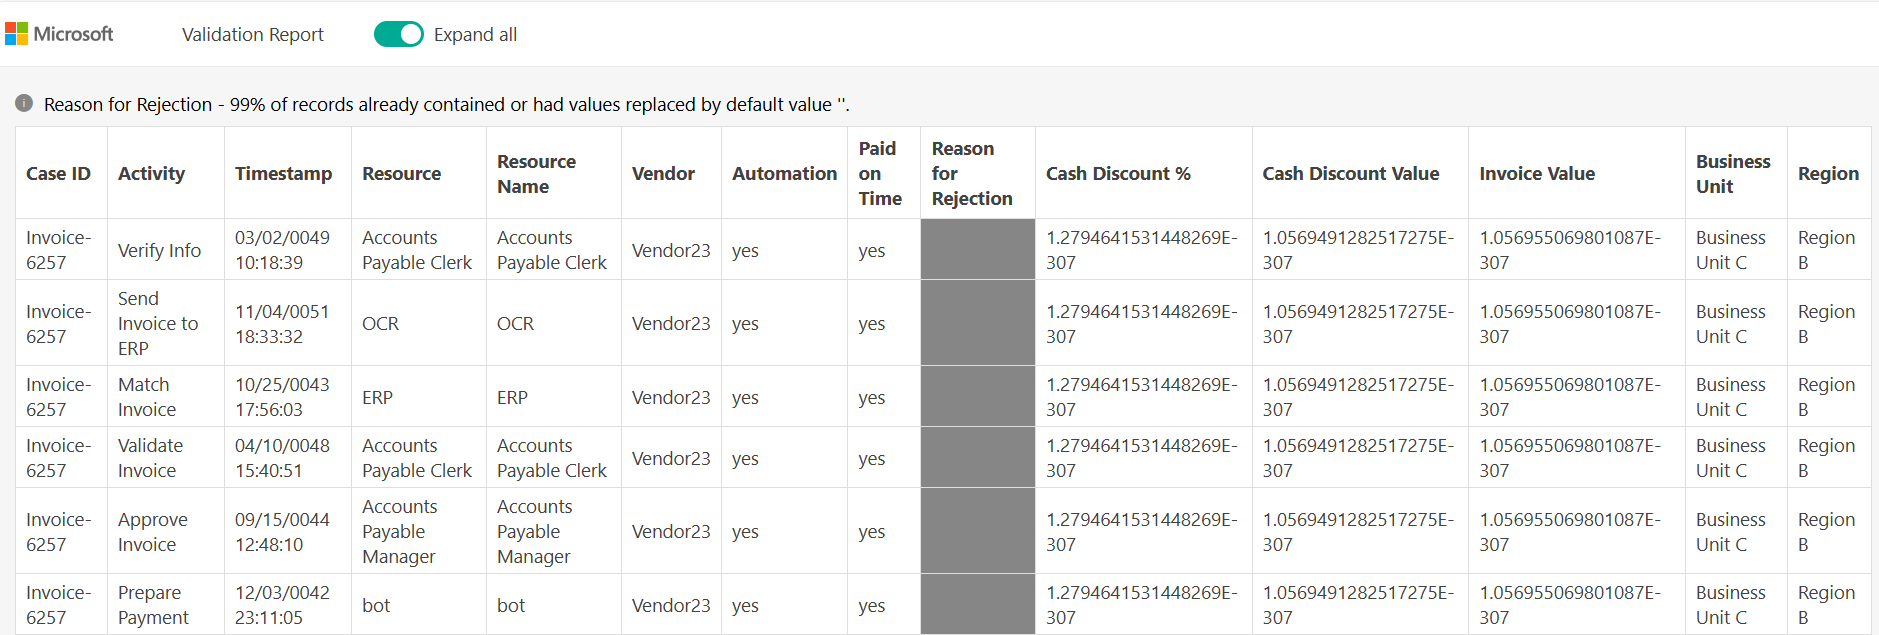
After reviewing the validations error, you can decide whether to make corrections and reload the data or not.
Close the data validation report.


