' cx='32' cy='32' r='32' /%3E%3Ctext x='50%25' y='55%25' dominant-baseline='middle' text-anchor='middle' fill='%23FFF' %3EJK%3C/text%3E%3C/svg%3E)
28,656 questions
' cx='32' cy='32' r='32' /%3E%3Ctext x='50%25' y='55%25' dominant-baseline='middle' text-anchor='middle' fill='%23FFF' %3EA%3C/text%3E%3C/svg%3E)
Hello
Thank you for posting in Q&A forum.
Here are some steps you can try to restore:
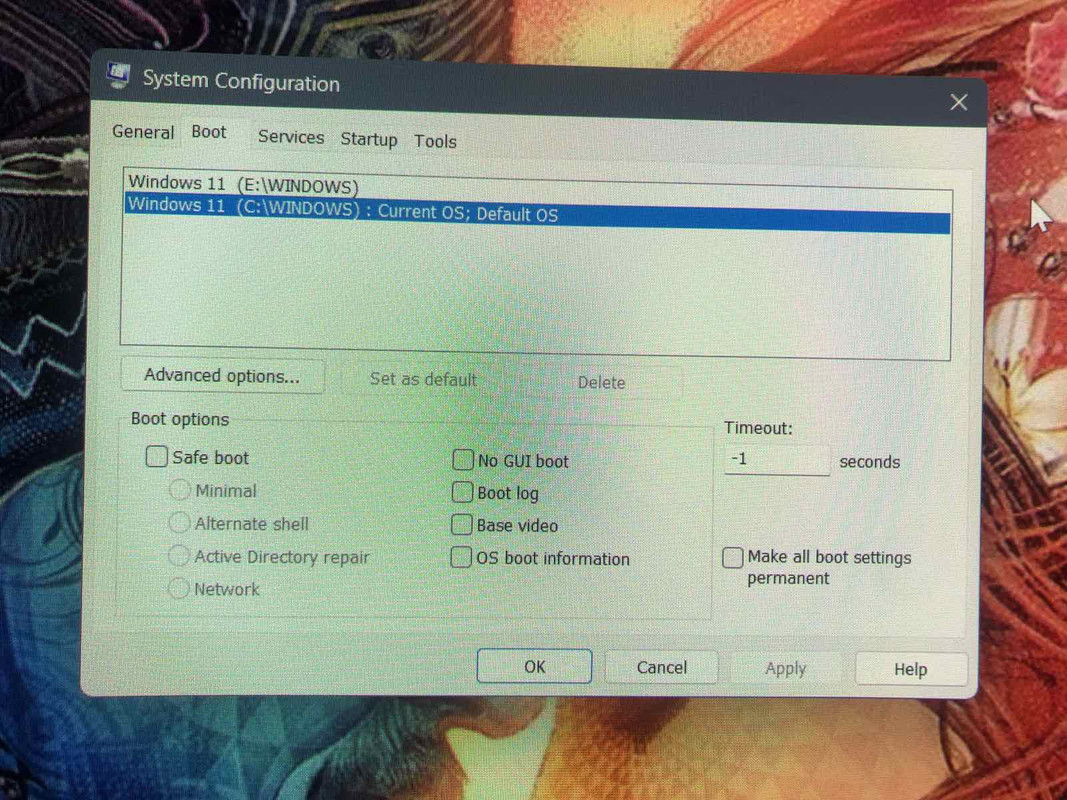
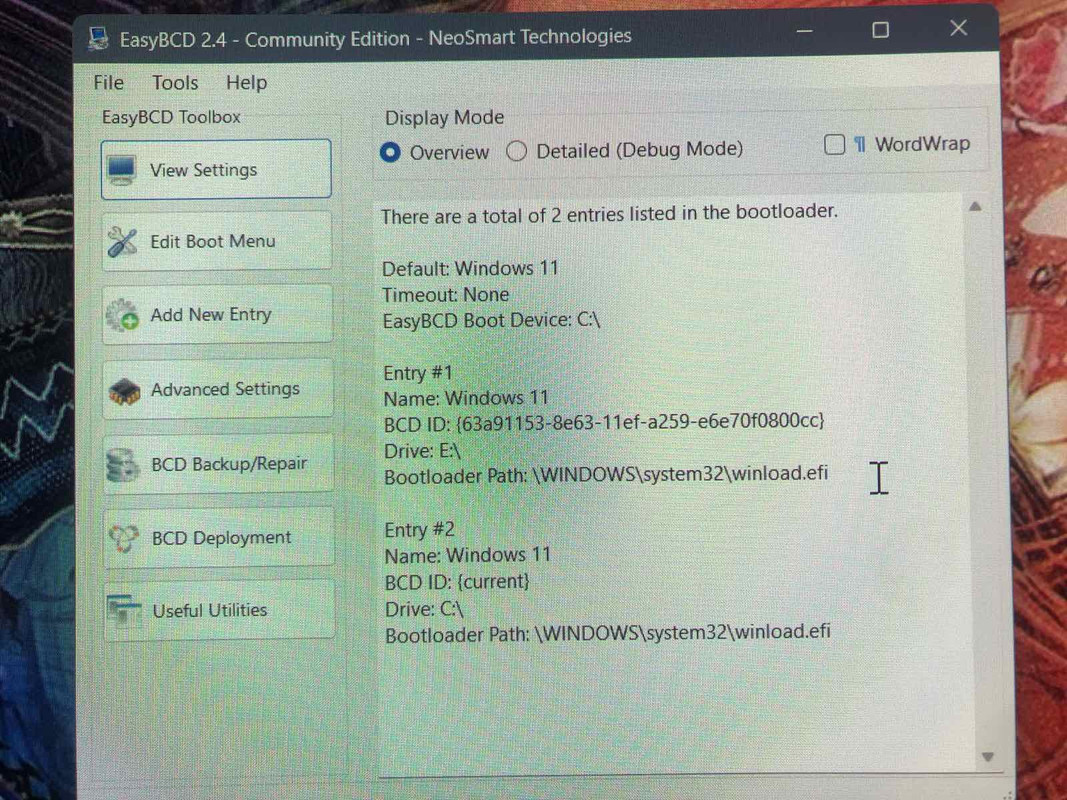
1. Manually Repair BCD
- Boot into a working Windows system.
- Open Command Prompt as an administrator.
- Run the following commands to rebuild the BCD: bcdedit /enum
• Review the current boot configuration and confirm any unnecessary entries.
• Note down the {identifier} of valid and invalid boot entries.
2. Delete invalid boot entries:
bcdedit /delete {Invalid Entry ID}
3. Rebuild the boot records (optional):
bootrec /rebuildbcd
4. Use Advanced Startup Options
- Open Settings > System > Recovery.
- Under Advanced startup, click Restart now.
- Navigate to Troubleshoot > Advanced options > Command Prompt.
- Use the Command Prompt to run the BCD repair commands as mentioned above.
I hope the information above is helpful.
If you have any questions or concerns, please feel free to let us know.
Best Regards,
Daisy Zhou
============================================
If the Answer is helpful, please click "Accept Answer" and upvote it.