Service Manager - New HTML5 Portal - Basic Customizations 2/5 - Logo
In this post series about the Service Manager new Portal customization, I'll analyze how to modify some basic page features, about this topics:
Title Logo Colors and Tiles Icons New Sidebar Link
Warning: not all the changes are supported! Changes to cshtml pages might be overwritten by product upgrades; Moreover, as a result of problems caused by the change of a few pages, Microsoft support may require replacement of the custom file with the original file. For this reason I'll mark as red not supported changes and as green , supported
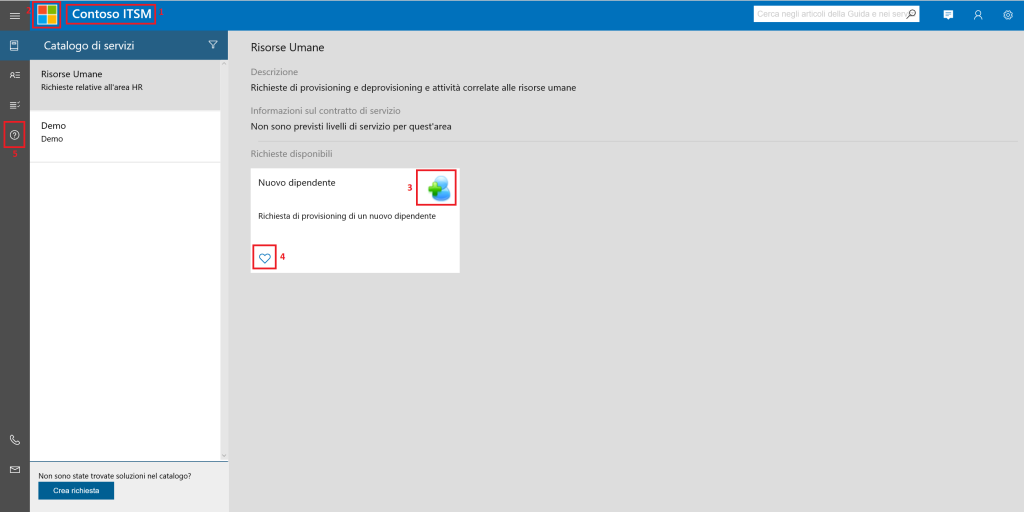
This is the default homepage, with a classic Request Offering, on which I am going to do some customization
>2 Logo. As you may have seen, the logo file is found in C:\inetpub\wwwroot\SelfServicePortal\Content\Images\company_logo.png. I'm pretty sure that you have tried to put your own and result probably is not as expected.
I'll try to put my logo following the default procedure:
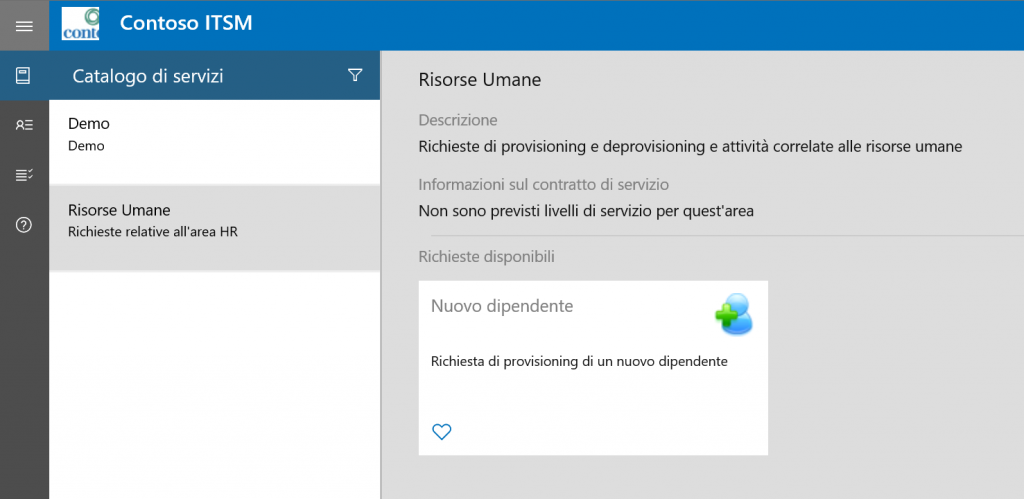
1. Upload my file contoso_logo.png into the directory c:\inetpub\wwwroot\SelfServicePortal\Content\Images
2. Due to the page format and styling, is not possible to insert an image higher than the header, for this reason I'm going to resize the logo with an height of 40 pixels. In my case the resized image will be 40x74. The final result wouldn't be satisfying, cause the space for the image is only 32x32 pixels.

3. Now I'll proceed to increase the image space, going to the main.css in c:\inetpub\wwwroot\SelfServicePortal\Content\CSS and searching for the class
.top_bar .company_logo. Copy the block to the custom.css file:
.top_bar .company_logo {
padding-top: 0.5em;
margin-left: 1em;
max-width: 3em;
height: 3em;
overflow: hidden;
}
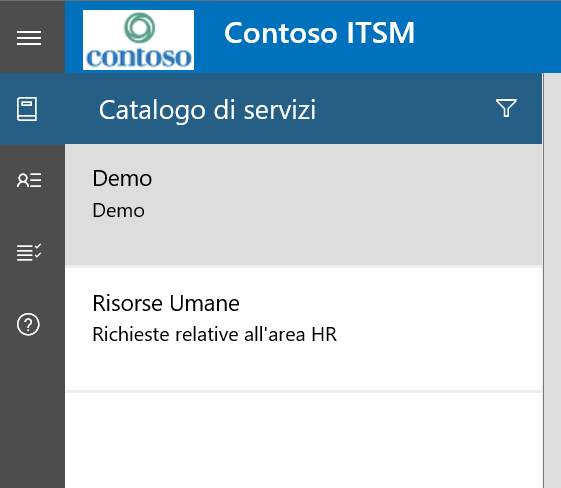
I'll modify it to obtain this:
.top_bar .company_logo {
padding-top: 0.5em;
margin-left: 1em;
max-width: 74px;
height: 40px;
overflow: hidden;
}


