Enable virtual network integration in Azure App Service
Through integrating with an Azure virtual network from your Azure App Service app, you can reach private resources from your app within the virtual network.
Prerequisites
The virtual network integration feature requires:
- An App Service pricing tier that supports virtual network integration.
- A virtual network in the same region with an empty subnet.
The subnet must be delegated to Microsoft.Web/serverFarms. If the delegation isn't done before integration, the provisioning process configures this delegation. The subnet must be allocated an IPv4 /28 block (16 addresses). We recommend that you have a minimum of 64 addresses (IPv4 /26 block) to allow for maximum horizontal scale.
If the virtual network is in a different subscription than the app, you must ensure that the subscription with the virtual network is registered for the Microsoft.Web resource provider. You can explicitly register the provider by following this documentation, but it's automatically registered when creating the first web app in a subscription.
Configure in the Azure portal
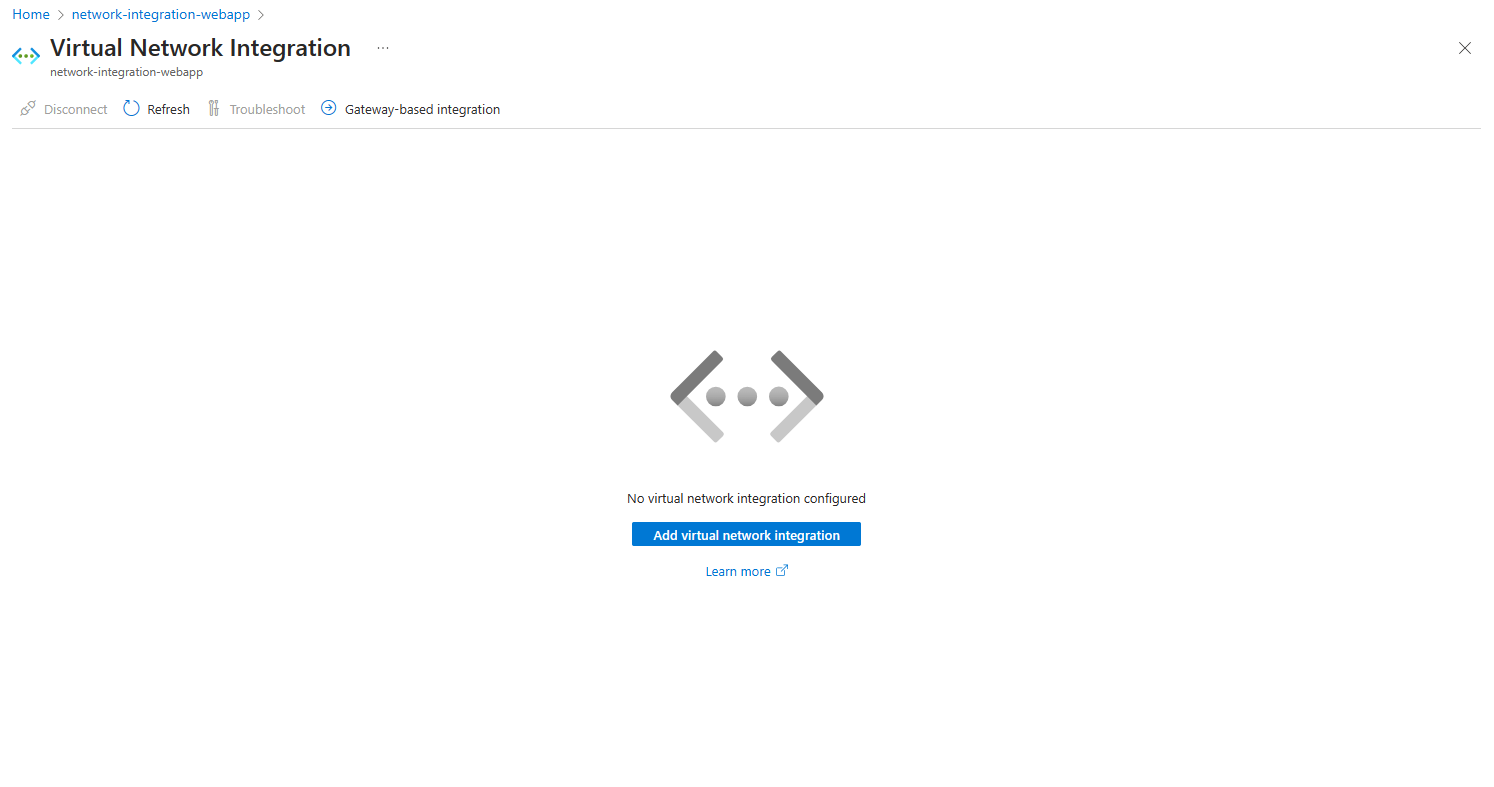
Go to Networking in the App Service portal. Under Outbound traffic configuration, select Virtual network integration.
Select Add virtual network integration.
The dropdown list contains all the virtual networks in your subscription in the same region. Select an empty pre-existing subnet or create a new subnet.
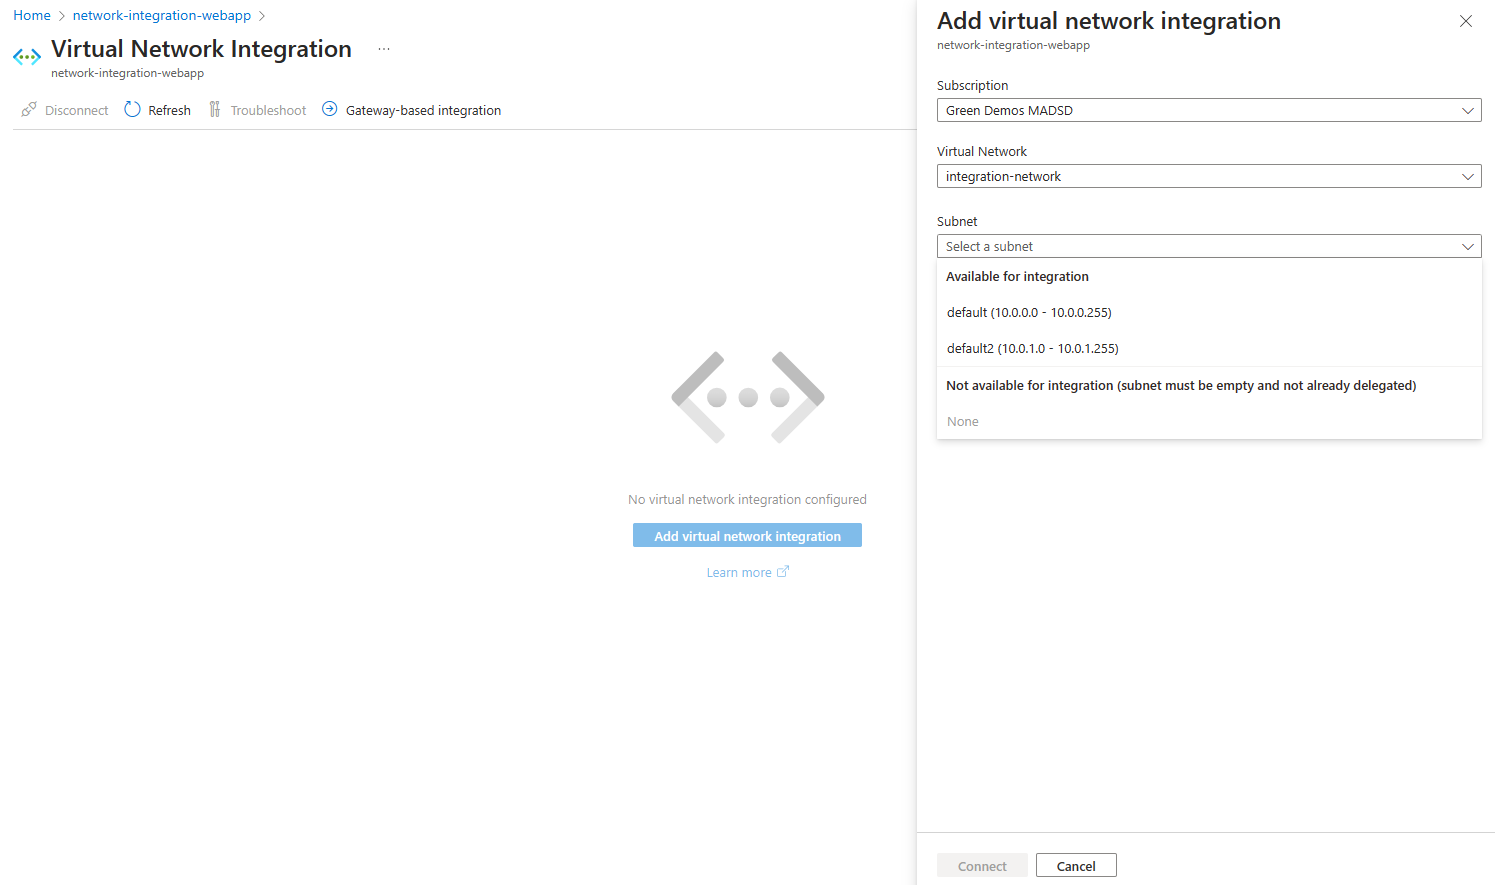
During the integration, your app is restarted. When integration is finished, you see details on the virtual network you're integrated with.
Configure with the Azure CLI
You can also configure virtual network integration by using the Azure CLI:
az webapp vnet-integration add --resource-group <group-name> --name <app-name> --vnet <vnet-name> --subnet <subnet-name>
Note
The command checks if the subnet is delegated to Microsoft.Web/serverFarms and applies the necessary delegation if it isn't configured. If the subnet was configured, and you don't have permissions to check it, or if the virtual network is in another subscription, you can use the --skip-delegation-check parameter to bypass the validation.
Configure with Azure PowerShell
Prepare parameters.
$siteName = '<app-name>'
$vNetResourceGroupName = '<group-name>'
$webAppResourceGroupName = '<group-name>'
$vNetName = '<vnet-name>'
$integrationSubnetName = '<subnet-name>'
$vNetSubscriptionId = '<subscription-guid>'
Note
If the virtual network is in another subscription than webapp, you can use the Set-AzContext -Subscription "xxxx-xxxx-xxxx-xxxx" command to set the current subscription context. Set the current subscription context to the subscription where the virtual network was deployed.
Check if the subnet is delegated to Microsoft.Web/serverFarms.
$vnet = Get-AzVirtualNetwork -Name $vNetName -ResourceGroupName $vNetResourceGroupName
$subnet = Get-AzVirtualNetworkSubnetConfig -Name $integrationSubnetName -VirtualNetwork $vnet
Get-AzDelegation -Subnet $subnet
If your subnet isn't delegated to Microsoft.Web/serverFarms, add delegation using below commands.
$subnet = Add-AzDelegation -Name "myDelegation" -ServiceName "Microsoft.Web/serverFarms" -Subnet $subnet
Set-AzVirtualNetwork -VirtualNetwork $vnet
Configure virtual network integration.
Note
If the webapp is in another subscription than virtual network, you can use the Set-AzContext -Subscription "xxxx-xxxx-xxxx-xxxx" command to set the current subscription context. Set the current subscription context to the subscription where the web app was deployed.
$subnetResourceId = "/subscriptions/$vNetSubscriptionId/resourceGroups/$vNetResourceGroupName/providers/Microsoft.Network/virtualNetworks/$vNetName/subnets/$integrationSubnetName"
$webApp = Get-AzResource -ResourceType Microsoft.Web/sites -ResourceGroupName $webAppResourceGroupName -ResourceName $siteName
$webApp.Properties.virtualNetworkSubnetId = $subnetResourceId
$webApp.Properties.vnetRouteAllEnabled = 'true'
$webApp | Set-AzResource -Force