Label your data using the Language Studio
Data labeling is a crucial step in development lifecycle. In this step, you label your documents with the new entities you defined in your schema to populate their learned components. This data will be used in the next step when training your model so that your model can learn from the labeled data to know which entities to extract. If you already have labeled data, you can directly import it into your project, but you need to make sure that your data follows the accepted data format. See create project to learn more about importing labeled data into your project. If your data isn't labeled already, you can label it in the Language Studio.
Prerequisites
Before you can label your data, you need:
- A successfully created project with a configured Azure blob storage account
- Text data that has been uploaded to your storage account.
See the project development lifecycle for more information.
Data labeling guidelines
After preparing your data, designing your schema and creating your project, you will need to label your data. Labeling your data is important so your model knows which words will be associated with the entity types you need to extract. When you label your data in Language Studio (or import labeled data), these labels are stored in the JSON document in your storage container that you have connected to this project.
As you label your data, keep in mind:
- You can't add labels for Text Analytics for health entities as they're pretrained prebuilt entities. You can only add labels to new entity categories that you defined during schema definition.
If you want to improve the recall for a prebuilt entity, you can extend it by adding a list component while you are defining your schema.
In general, more labeled data leads to better results, provided the data is labeled accurately.
The precision, consistency and completeness of your labeled data are key factors to determining model performance.
- Label precisely: Label each entity to its right type always. Only include what you want extracted, avoid unnecessary data in your labels.
- Label consistently: The same entity should have the same label across all the documents.
- Label completely: Label all the instances of the entity in all your documents.
Note
There is no fixed number of labels that can guarantee your model will perform the best. Model performance is dependent on possible ambiguity in your schema, and the quality of your labeled data. Nevertheless, we recommend having around 50 labeled instances per entity type.
Label your data
Use the following steps to label your data:
Go to your project page in Language Studio.
From the left side menu, select Data labeling. You can find a list of all documents in your storage container.
Tip
You can use the filters in top menu to view the unlabeled documents so that you can start labeling them. You can also use the filters to view the documents that are labeled with a specific entity type.
Change to a single document view from the left side in the top menu or select a specific document to start labeling. You can find a list of all
.txtdocuments available in your project to the left. You can use the Back and Next button from the bottom of the page to navigate through your documents.Note
If you enabled multiple languages for your project, you will find a Language dropdown in the top menu, which lets you select the language of each document. Hebrew is not supported with multi-lingual projects.
In the right side pane, you can use the Add entity type button to add additional entities to your project that you missed during schema definition.
You have two options to label your document:
Option Description Label using a brush Select the brush icon next to an entity type in the right pane, then highlight the text in the document you want to annotate with this entity type. Label using a menu Highlight the word you want to label as an entity, and a menu will appear. Select the entity type you want to assign for this entity. The below screenshot shows labeling using a brush.
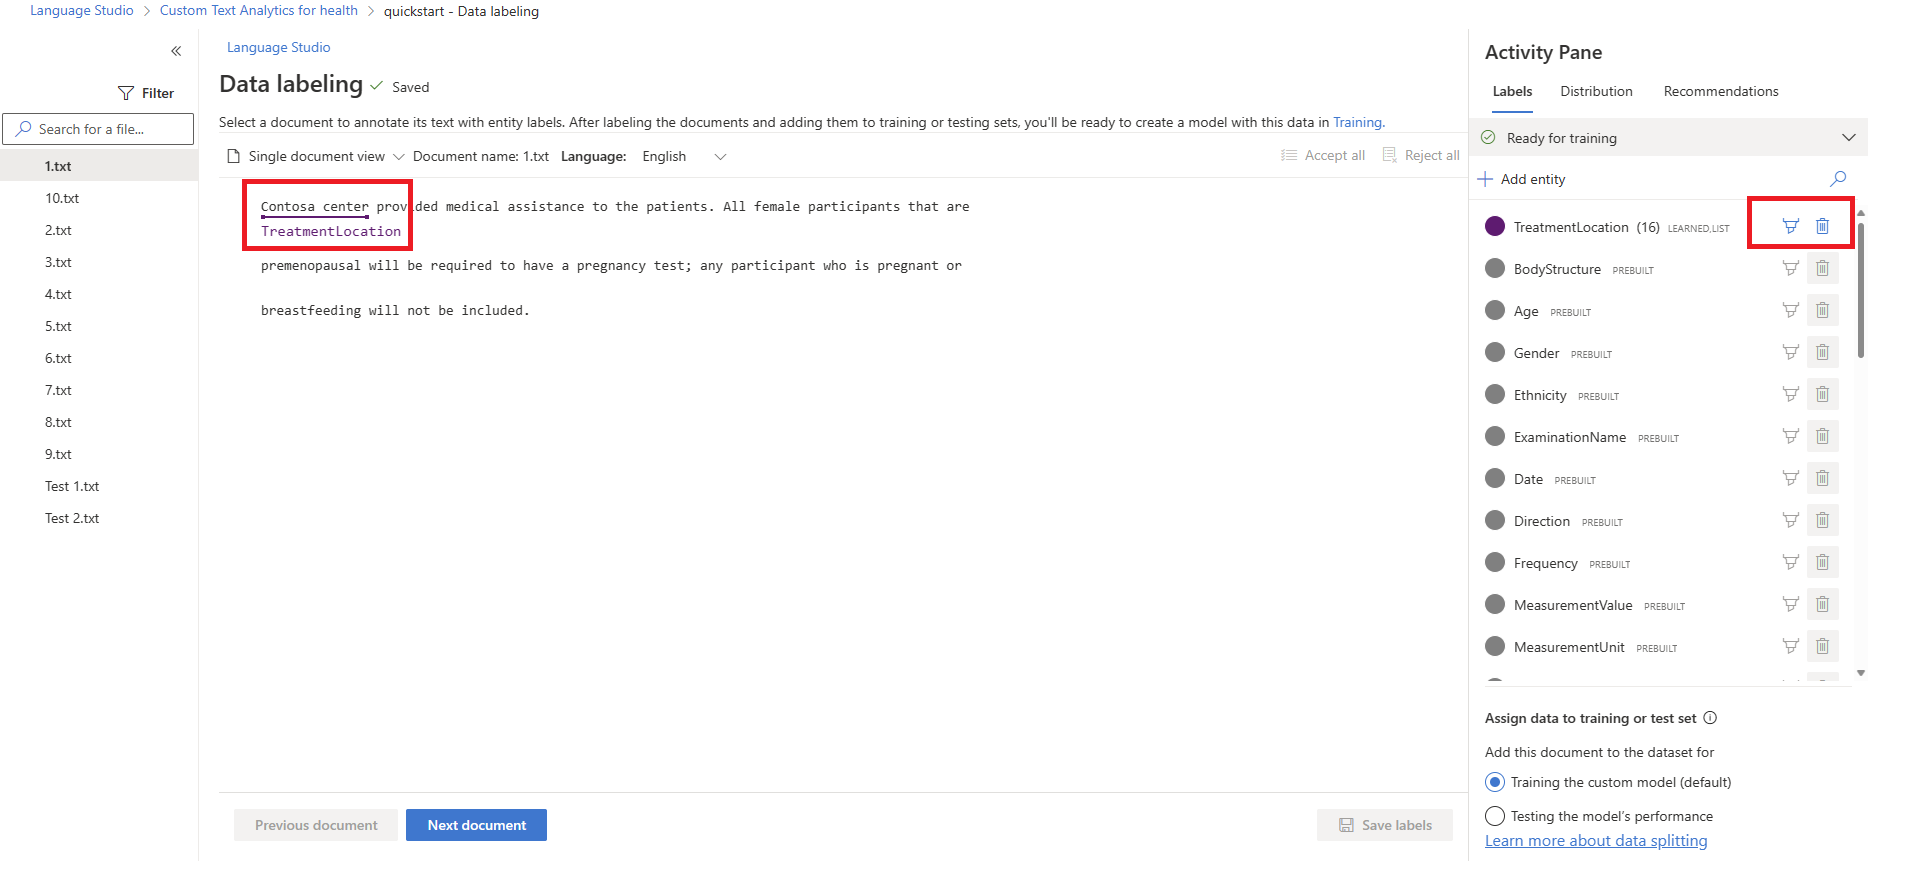
In the right side pane under the Labels pivot you can find all the entity types in your project and the count of labeled instances per each. The prebuilt entities will be shown for reference but you will not be able to label for these prebuilt entities as they are pretrained.
In the bottom section of the right side pane you can add the current document you are viewing to the training set or the testing set. By default all the documents are added to your training set. See training and testing sets for information on how they are used for model training and evaluation.
Tip
If you are planning on using Automatic data splitting, use the default option of assigning all the documents into your training set.
Under the Distribution pivot you can view the distribution across training and testing sets. You have two options for viewing:
- Total instances where you can view count of all labeled instances of a specific entity type.
- Documents with at least one label where each document is counted if it contains at least one labeled instance of this entity.
When you're labeling, your changes are synced periodically, if they have not been saved yet you will find a warning at the top of your page. If you want to save manually, select Save labels button at the bottom of the page.

Remove labels
To remove a label
- Select the entity you want to remove a label from.
- Scroll through the menu that appears, and select Remove label.
Delete entities
You cannot delete any of the Text Analytics for health pretrained entities because they have a prebuilt component. You are only permitted to delete newly defined entity categories. To delete an entity, select the delete icon next to the entity you want to remove. Deleting an entity removes all its labeled instances from your dataset.
Next steps
After you've labeled your data, you can begin training a model that will learn based on your data.
Feedback
Coming soon: Throughout 2024 we will be phasing out GitHub Issues as the feedback mechanism for content and replacing it with a new feedback system. For more information see: https://aka.ms/ContentUserFeedback.
Submit and view feedback for