Pay for your Azure subscription by wire transfer
This article helps you set up your Azure subscription to pay by wire transfer.
This article applies to you if you meet one of these conditions:
- You have a Microsoft Customer Agreement.
- You signed up for Azure through the Azure website to create a Microsoft Online Subscription Program account. This type of account is also called a pay-as-you-go account.
If you signed up for Azure through a Microsoft representative, your default payment method is already set to wire transfer. You don't need to follow the steps in this article.
When you switch to payment by wire transfer:
- Specify the invoice ID that you want to pay on your wire transfer.
- Send the wire payment to the designated bank, as stated on your monthly invoice.
- Send the exact amount on the invoice.
- Pay the bill by the due date.
Prerequisites
Users who have a Microsoft Customer Agreement must submit an Azure support request to set up payment by wire transfer. Any user who has access to the Microsoft Online Subscription Program (pay-as-you-go) billing profile can submit the request to pay by wire transfer.
Currently, customers who have a Microsoft Online Subscription Program (pay-as-you-go) account must submit an Azure support request to set up payment by wire transfer. Any user who has access to the Microsoft Customer Agreement billing profile can submit the request to pay by wire transfer.
To qualify for wire transfer payments, you must:
- Be an established customer for at least six months and have no outstanding balances.
- Have a subscription cost that exceeds a certain amount. This amount varies by service location.
Important
- Payment by wire transfer is available only for customers who use Azure on behalf of a company.
- You must pay all outstanding charges before switching to payment by wire transfer.
- Your default payment method pays any outstanding invoice. To have a wire transfer pay an outstanding invoice, you must change your default payment method to wire transfer after you're approved.
- Currently, payment by wire transfer isn't supported for Azure global in China.
- If you switch to payment by wire transfer, you can't switch back to paying by credit or debit card, except for one-time payments.
- As of September 30, 2023, Microsoft no longer accepts checks as a payment method.
Submit a request to set up payment by wire transfer
Users in all regions can manually submit an Azure support request to pay by wire transfer. If your request is approved, you can switch to payment by wire transfer in the Azure portal by using the following steps:
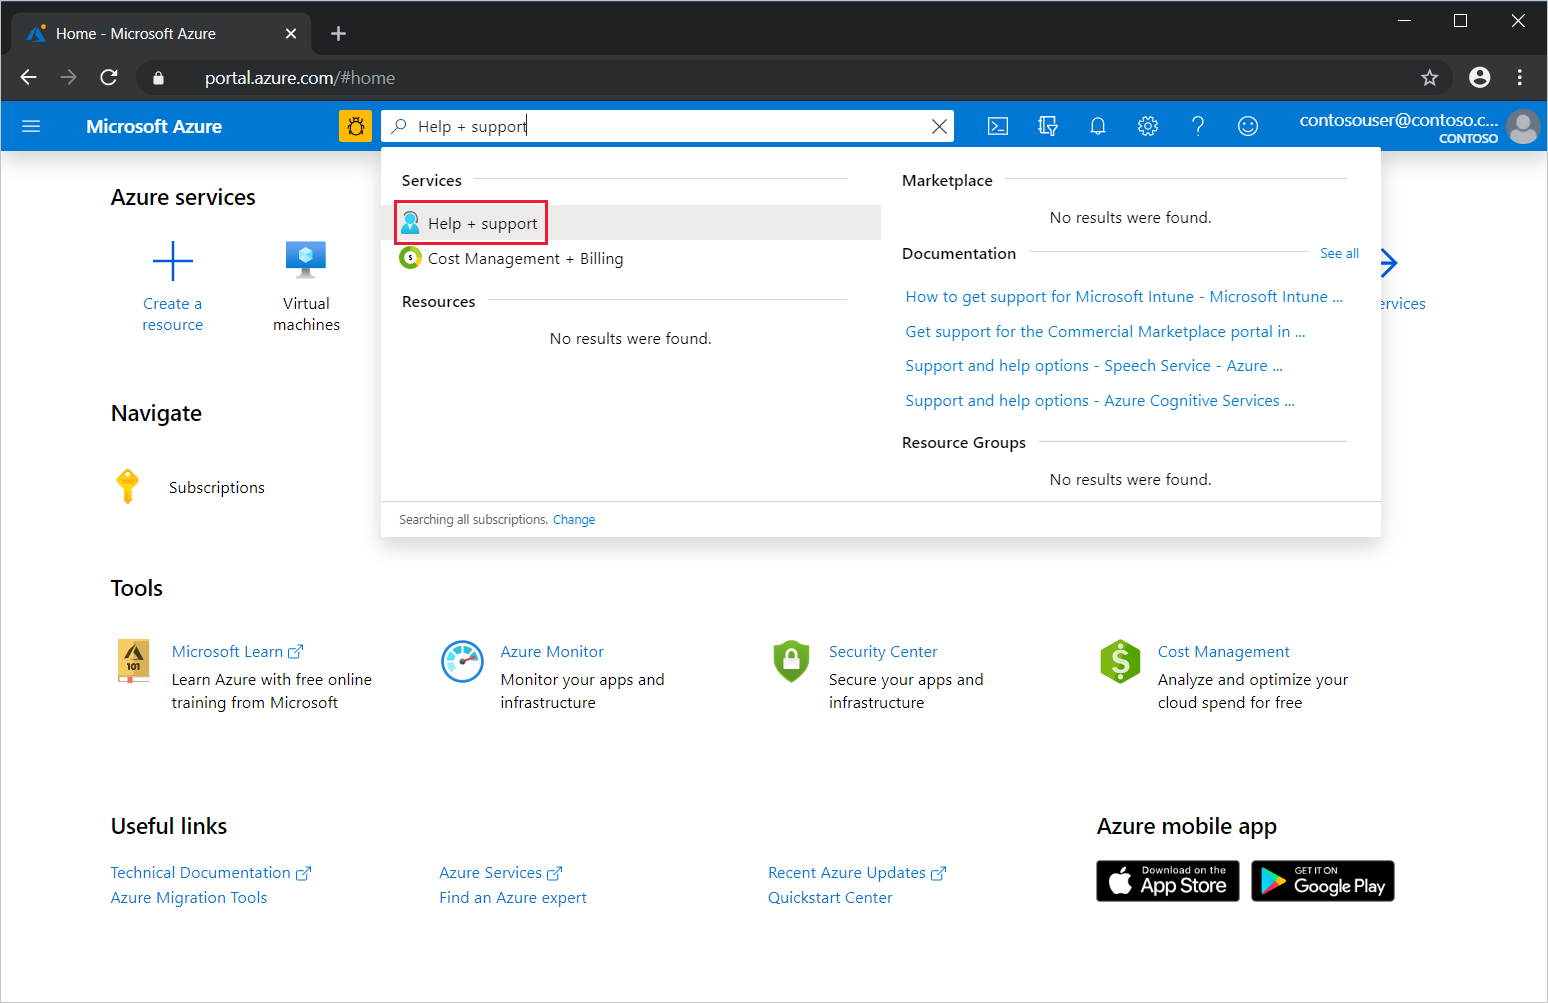
Sign in to the Azure portal, and then search for and select Help + support.
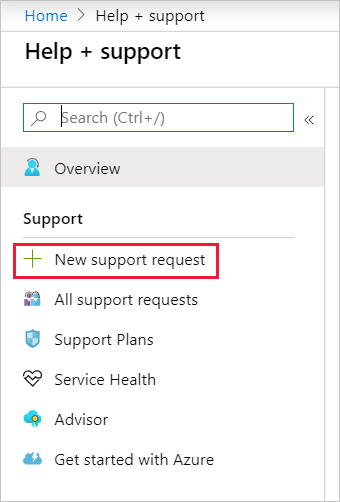
Select New support request.
For Issue type, select Billing. The issue type is the support request category. Select the subscription for which you want to pay by wire transfer, select a support plan, and then select Next.
For Problem type, select Manage Payment Methods. The problem type is the support request subcategory.
For Problem subtype, select Switch to pay by invoice as my default payment method.
In the Details box, enter the following information, and then select Next.
Whether you're a new or existing customer.
Current payment method, if you're an existing customer.
Order ID (requesting for invoice option).
Microsoft account ID for account admins. This ID should be a company domain.
Commerce account ID. To find this ID in the Azure portal:
Search for Cost Management and select it (not Cost Management + Billing). It's a green hexagon-shaped symbol.
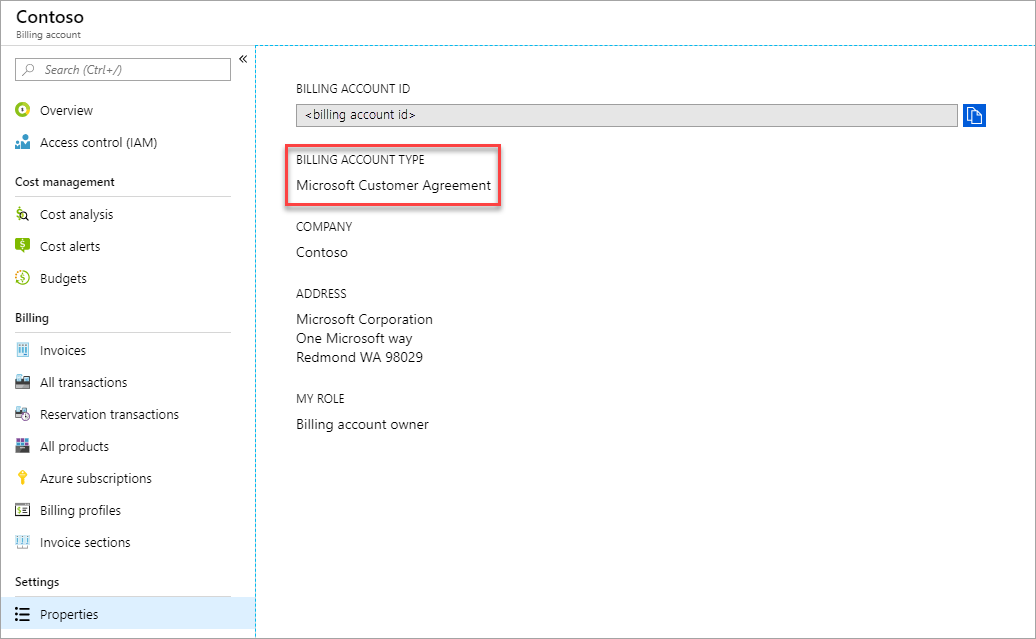
On the left menu, select Properties. If Properties doesn't appear on the left menu, go to the top of the pane under Scope, and then select Go to billing account.
On the Properties pane that opens, your billing account ID appears as a GUID value. That's your commerce account ID.
Company name and address, as registered under VAT or government website.
Company website.
Country/region.
Tax ID or VAT ID.
Year when the company was established.
Any prior business with Microsoft.
Contact name, phone, and email. You must add your billing contact information in the Azure portal before the credit limit can be approved. The contact details should be related to the company's Accounts Payable or Finance department.
Justification for why you want to use wire transfer instead of a credit card for payment.
File upload. Attach legal documentation that shows the company name and company address. Your information in the Azure portal (that is, the information for the Azure account) should match the legal information registered in the legal document. You can provide one of the following examples:
- A certificate of incorporation signed by the company's legal representatives.
- Any government-issued document that has the company name and address, such as a tax certification.
- A company registration form signed and issued by the government.
To view or update your company name or company address, see Change your Azure account profile information.
For an increase in cores, provide the following information:
- Existing cores (old quota).
- Requested cores (new quota).
- Specific region and series of your subscription.
Verify your contact information and preferred contact method, and then select Create.


If we need to run a credit check because of the amount of credit that you need, we'll send you a credit check application. We might ask you to provide your company's audited financial statements. We might also ask for a security deposit or a standby letter of credit to approve your credit check request. We ask for them when:
- We didn't receive financial information.
- The information isn't strong enough to support the requested amount of credit.
Switch to payment by wire transfer after approval
If you have a Microsoft Online Subscription Program (pay-as-you-go) account and you're approved to pay by wire transfer, you can switch your payment method in the Azure portal.
With a Microsoft Customer Agreement, you can switch your billing profile to wire transfer.
Switch your Azure subscription to wire transfer
Use the following steps to switch your Azure subscription to payment by wire transfer.
Note
After you switch to payment by wire transfer, you can't switch back to a credit card.
Go to the Azure portal and sign in as the account administrator. Then search for and select Cost Management + Billing.

Select the subscription or billing profile that you want to switch to payment by wire transfer.
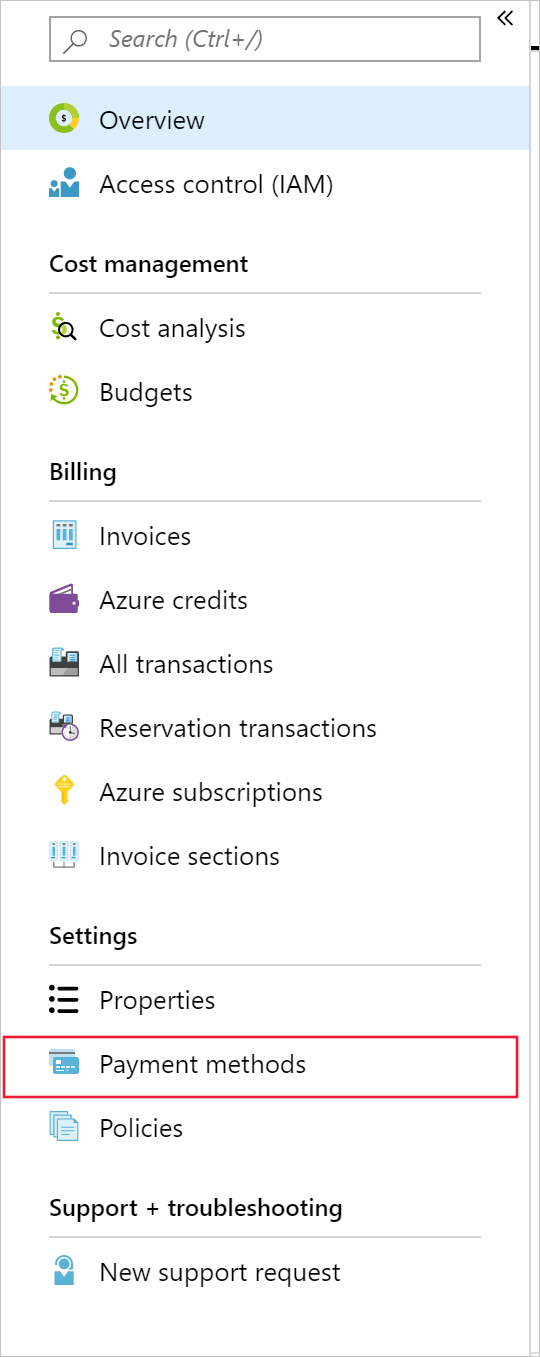
On the left menu, under Billing, select Payment methods.
On the Payment methods pane, select the ellipsis (...), and then select Make default to change the default payment method to wire transfer.

Switch your billing profile to wire transfer
Use the following steps to switch a billing profile to wire transfer. Only the person who signed up for Azure can change the default payment method of a billing profile.
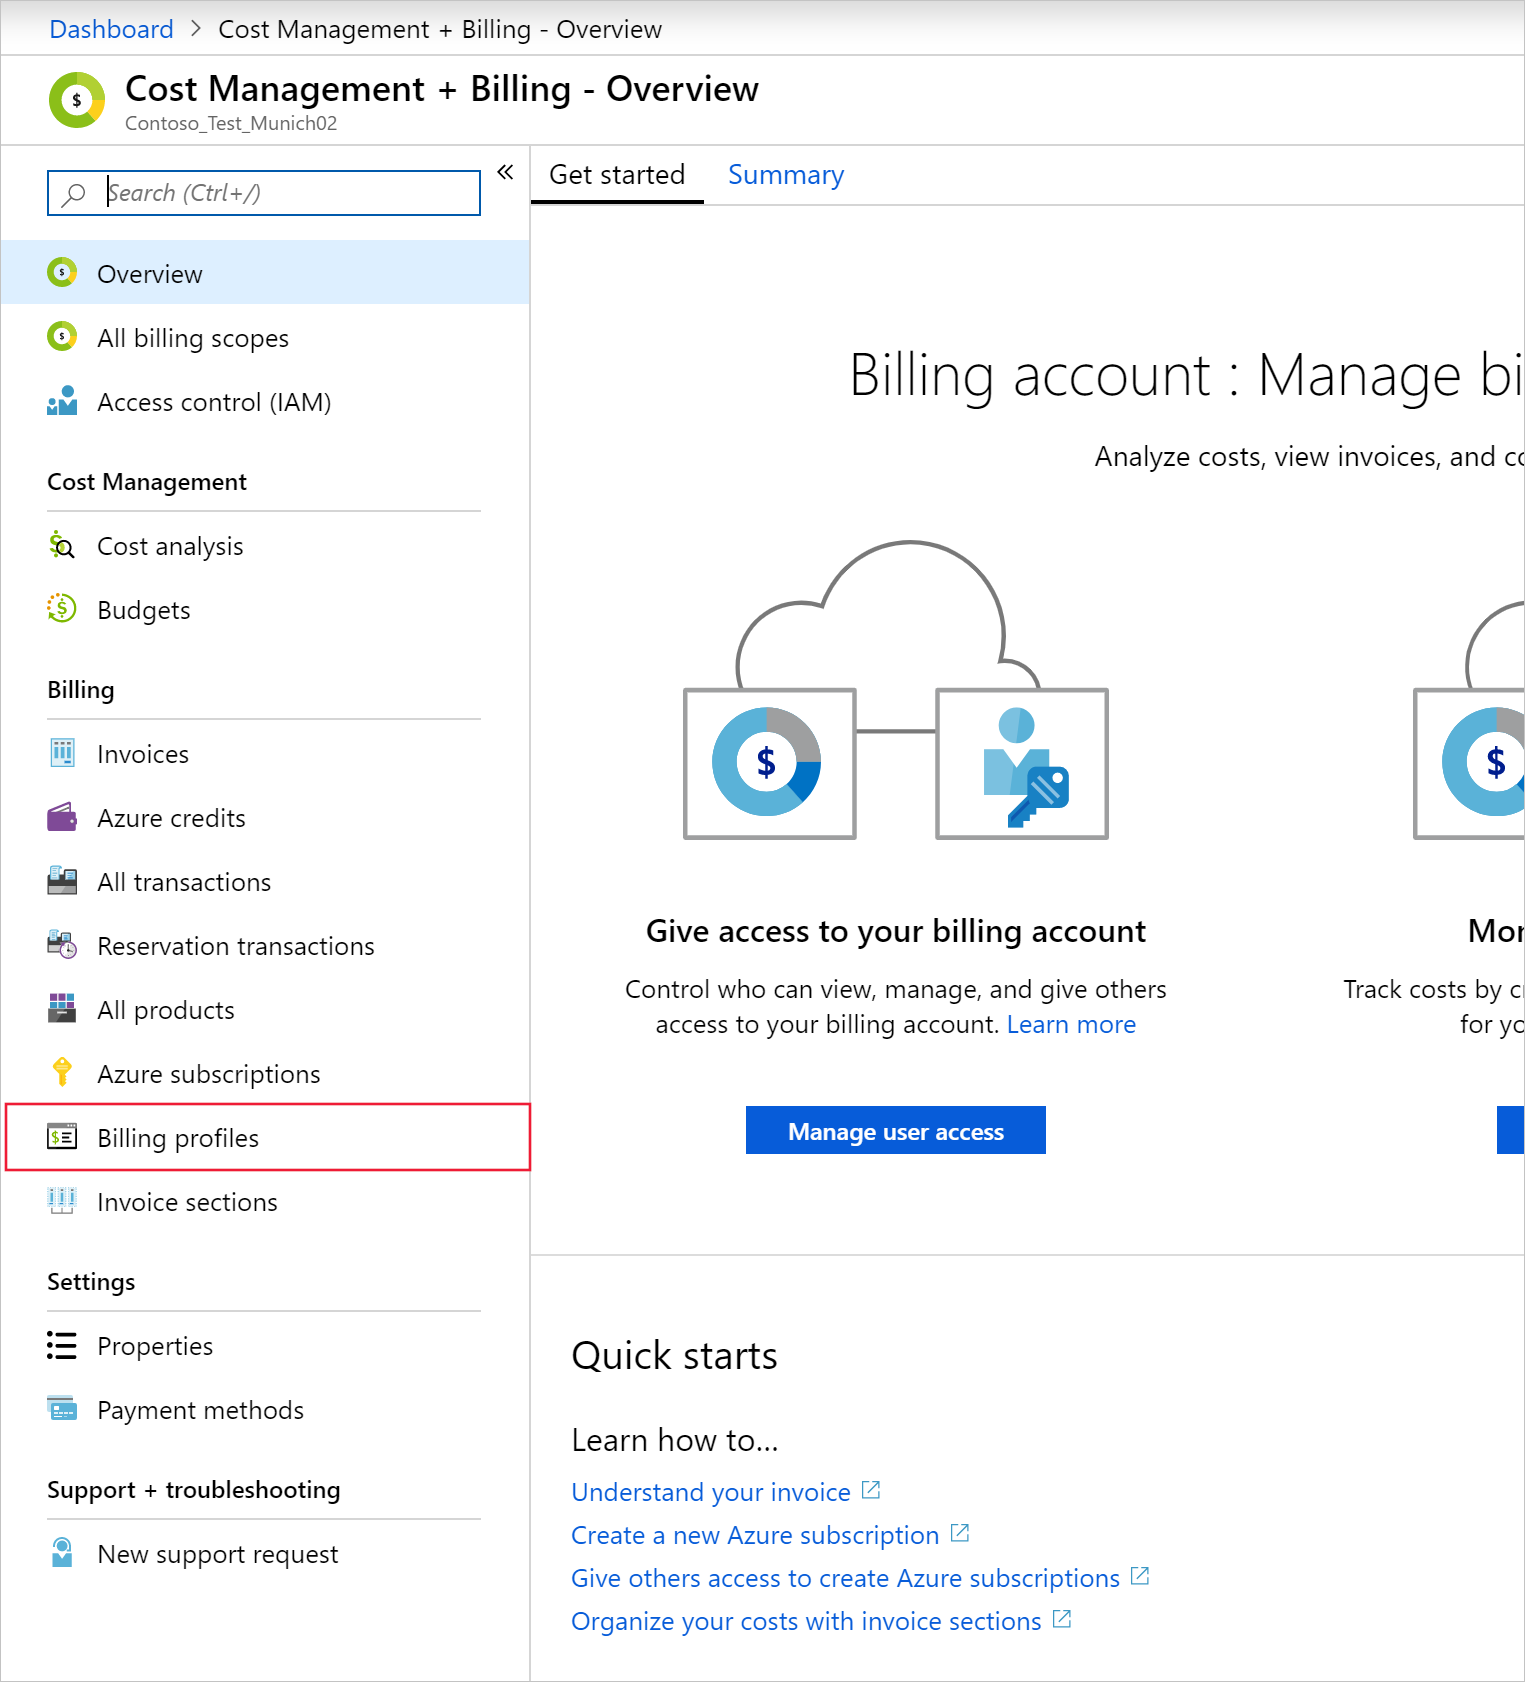
Go to the Azure portal, and then search for and select Cost Management + Billing.
On the left menu, select Billing profiles.
Select a billing profile.
On the Billing profile menu, select Payment methods.
Under Other payment methods, select the ellipsis (...), and then select Make default.


Check the type of your account
To check the agreement type to determine whether you have access to a billing account for a Microsoft Customer Agreement, follow these steps:
- Go to the Azure portal to check for billing account access. Search for and select Cost Management + Billing.

- If you have access to just one billing scope, select Properties from the menu. You have access to a billing account for a Microsoft Customer Agreement if the billing account type is Microsoft Customer Agreement.
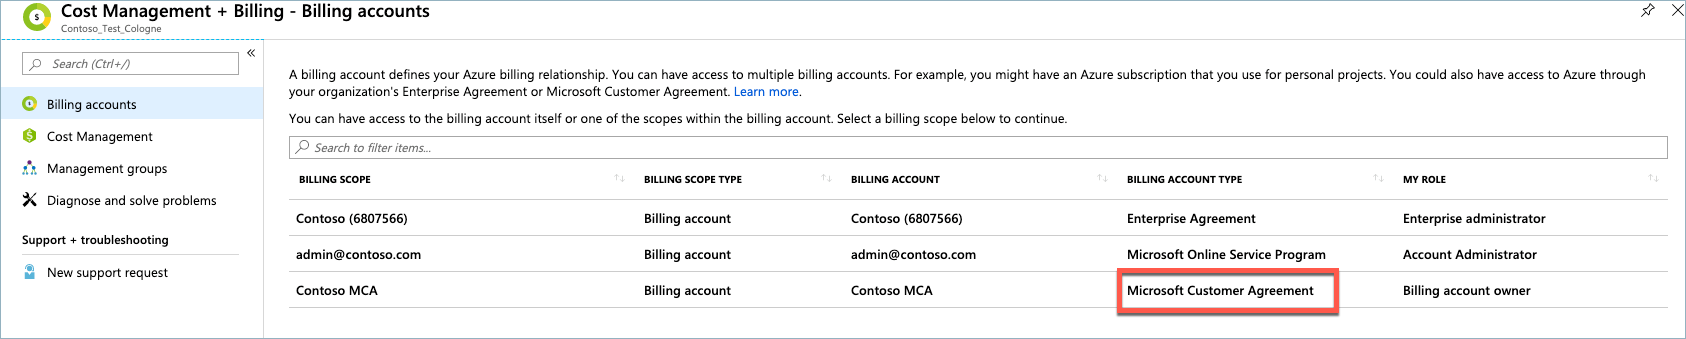
If you have access to multiple billing scopes, check the type in the billing account column. You have access to a billing account for a Microsoft Customer Agreement if the billing account type for any of the scopes is Microsoft Customer Agreement.


Frequently asked questions
Why did I receive a request for a legal document?
Occasionally, Microsoft needs legal documentation if the information that you provided is incomplete or not verifiable. Examples might include:
- A difference between the account name and company name.
- A name change.
What's the processing time for wire transfer payments?
Payments that you make by wire transfer have processing times that vary, depending on the type of transfer:
- ACH domestic transfers take about five business days: two to three days to arrive, plus two days to post.
- Wire transfers (domestic) take four business days: two days to arrive, plus two days to post.
- Wire transfers (international) take seven business days: five days to arrive, plus two days to post.
When your account is approved for wire transfer payment, you can find the instructions for payment on the invoice.
Need help? Contact us.
If you have questions or need help, create a support request.