Note
Access to this page requires authorization. You can try signing in or changing directories.
Access to this page requires authorization. You can try changing directories.
This article describes how to enable or disable high availability (HA) on your Azure HorizonDB cluster.
The high-availability feature enhances reliability and fault tolerance by deploying physically isolated primary and standby compute replicas across different availability zones within the same Azure region. This zone-level separation ensures that your database remains resilient to infrastructure failures, such as zone outages, and enabling automatic failover to the standby replica when needed.
The high-availability feature enhances reliability and fault tolerance by deploying physically isolated primary and standby compute replicas across different availability zones within the same Azure region. This zone-level separation ensures that your database remains resilient to infrastructure failures, such as zone outages. When you enable high availability, you also enable automatic failover to the standby replica.
Steps to enable high availability on an existing cluster
You can enable high availability on an existing Azure HorizonDB cluster at any time. Enabling high availability creates a standby compute replica that mirrors your primary replica.
Use the Azure portal:
Select your Azure HorizonDB cluster.
In the resource menu, under the Settings section, select High availability.
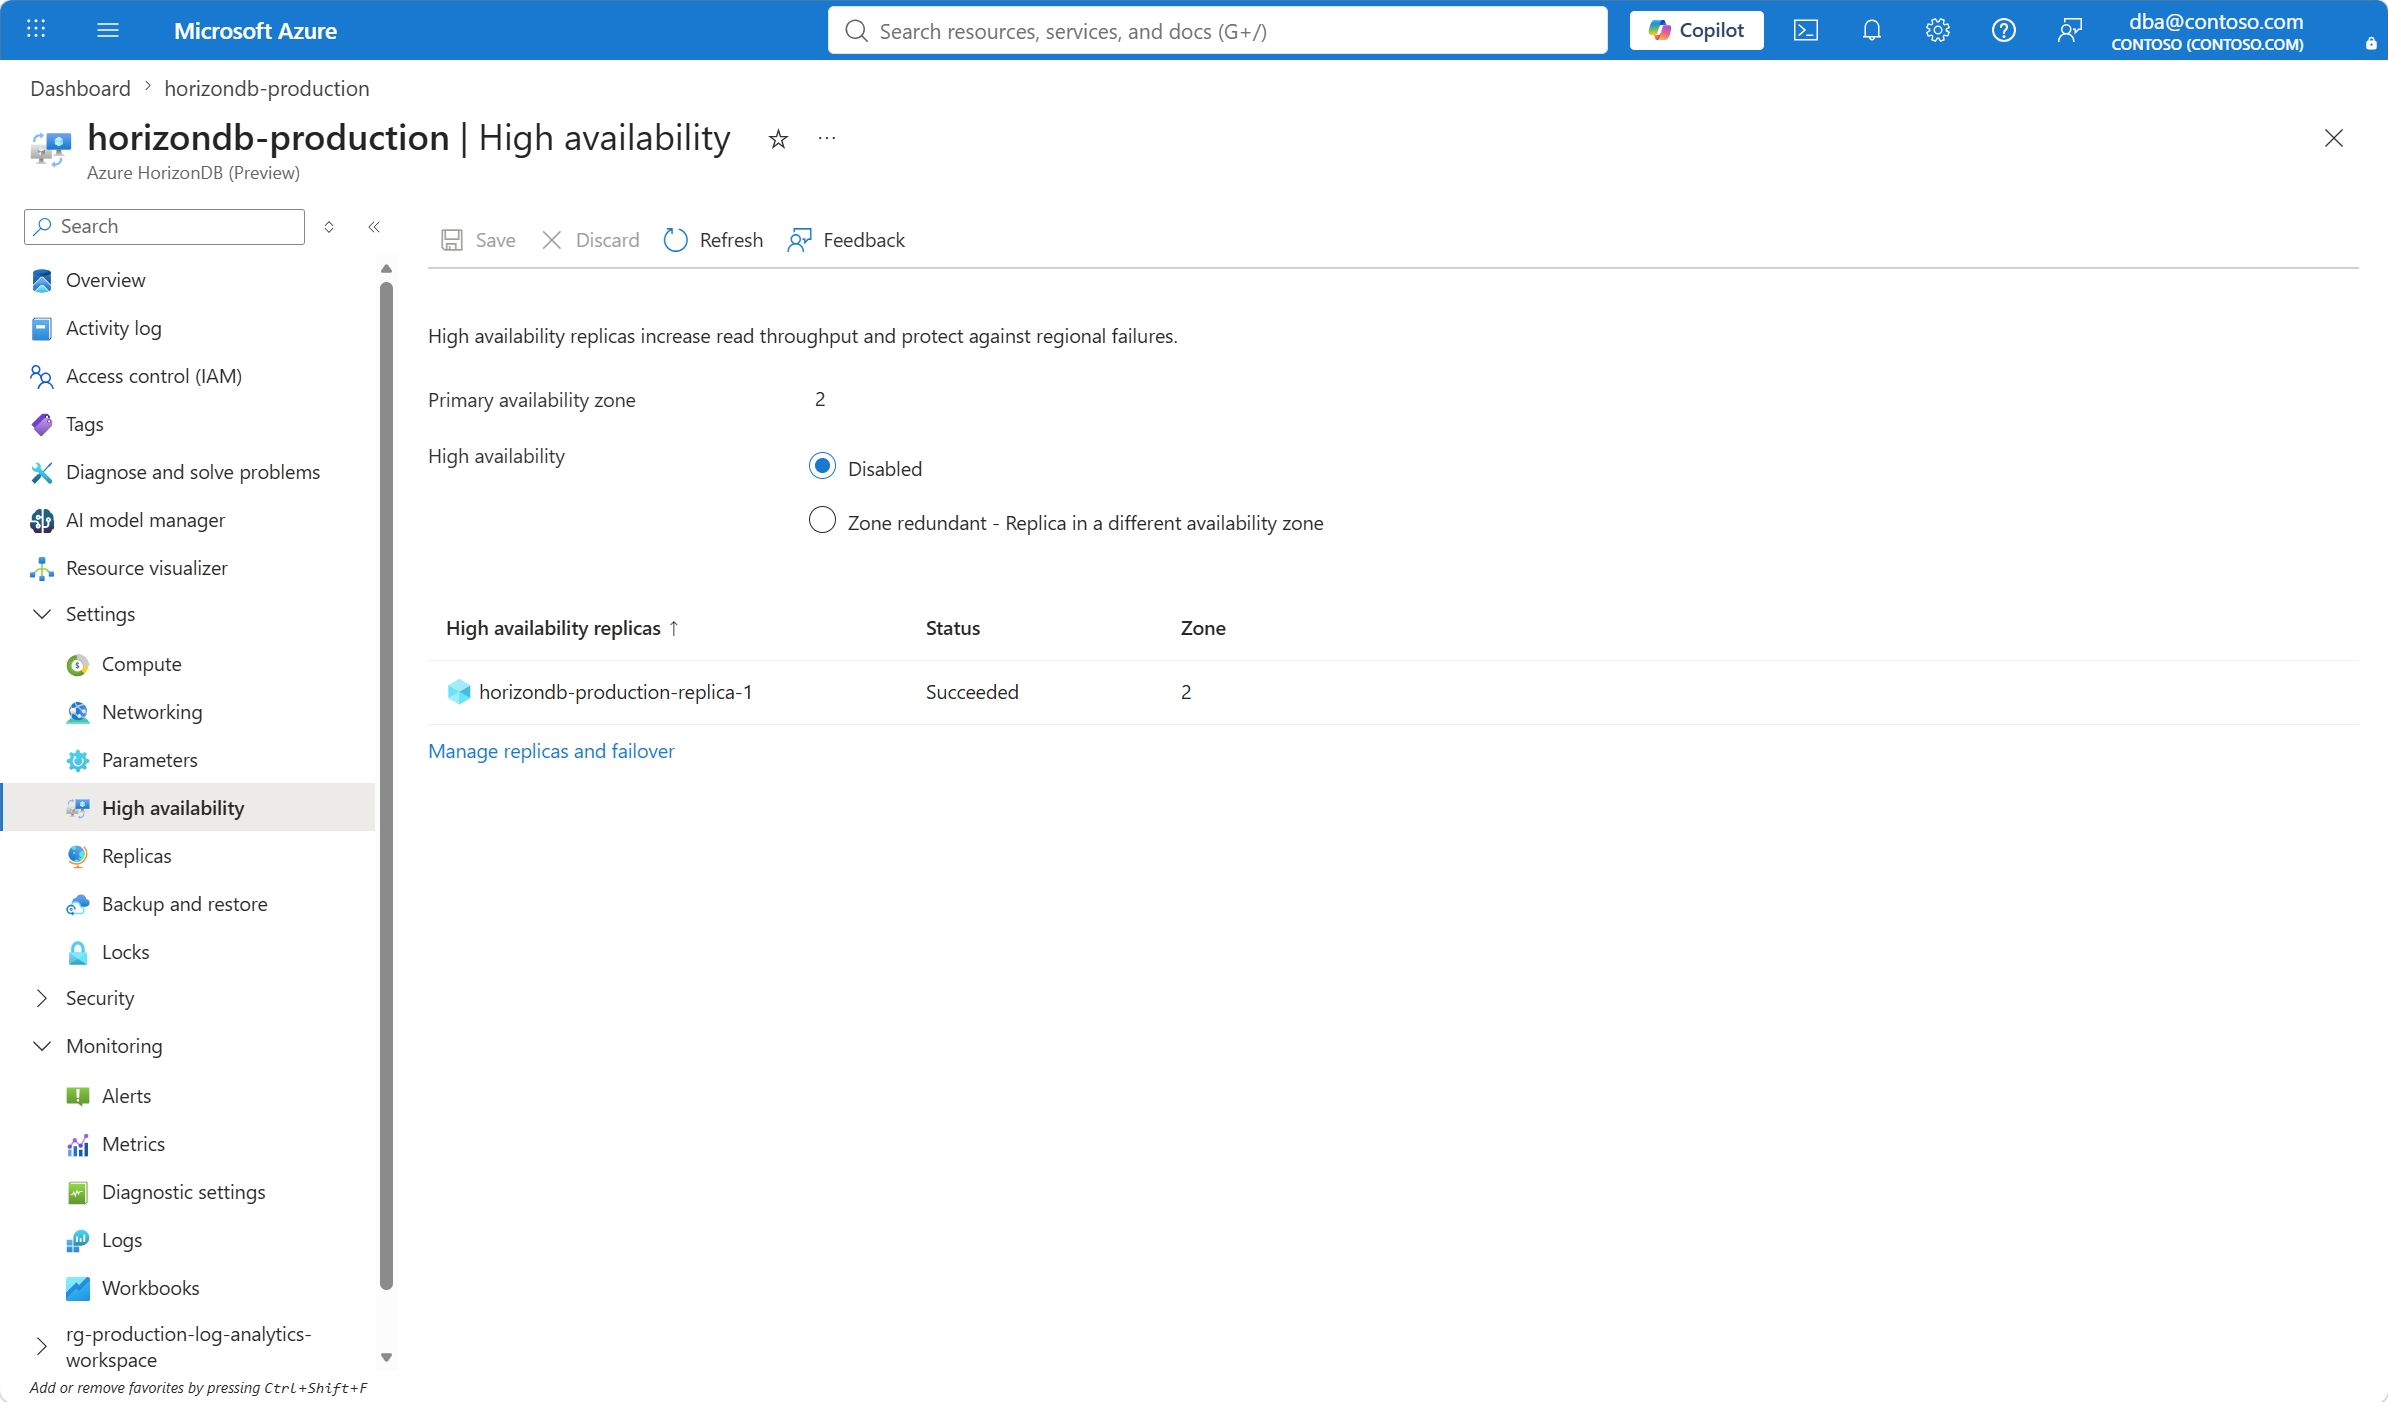
From the two options, this is what each option represents:
- Disabled - High availability isn't configured.
- Zone redundant - Replica in a different availability zone - A standby compute replica is provisioned in a different availability zone.
Select the Zone redundant - Replica in a different availability zone option to enable high availability.
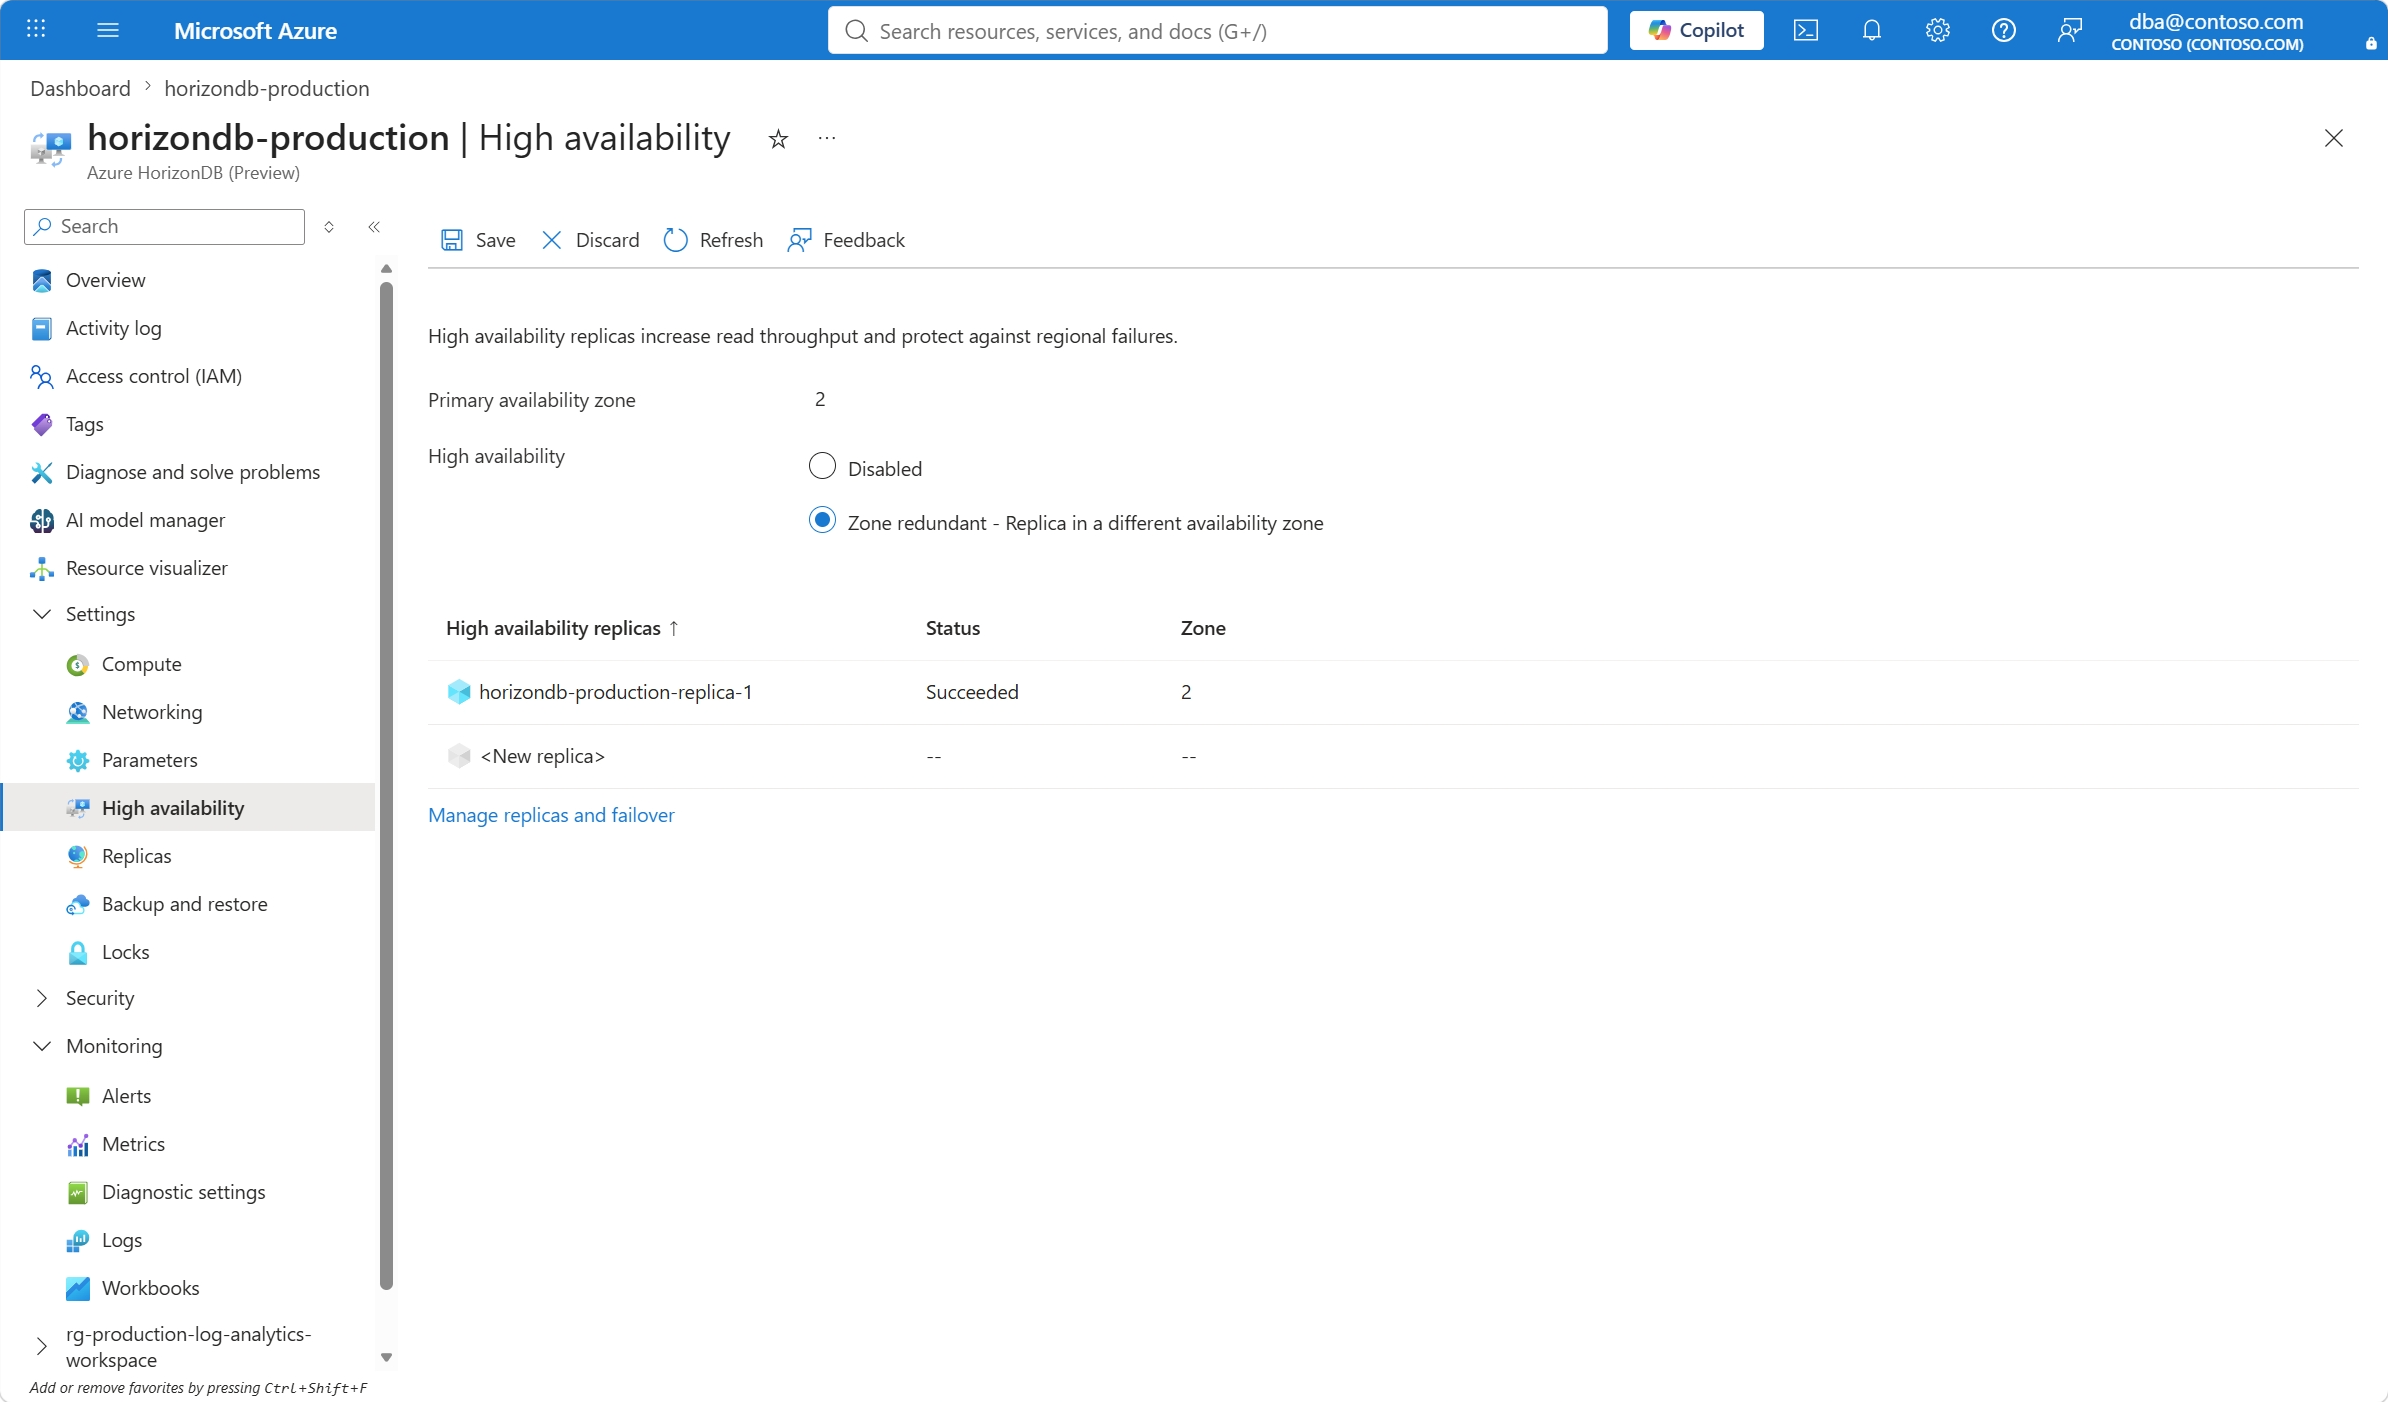
Select Save to enable high availability. A notification informs you that the service is enabling high availability.
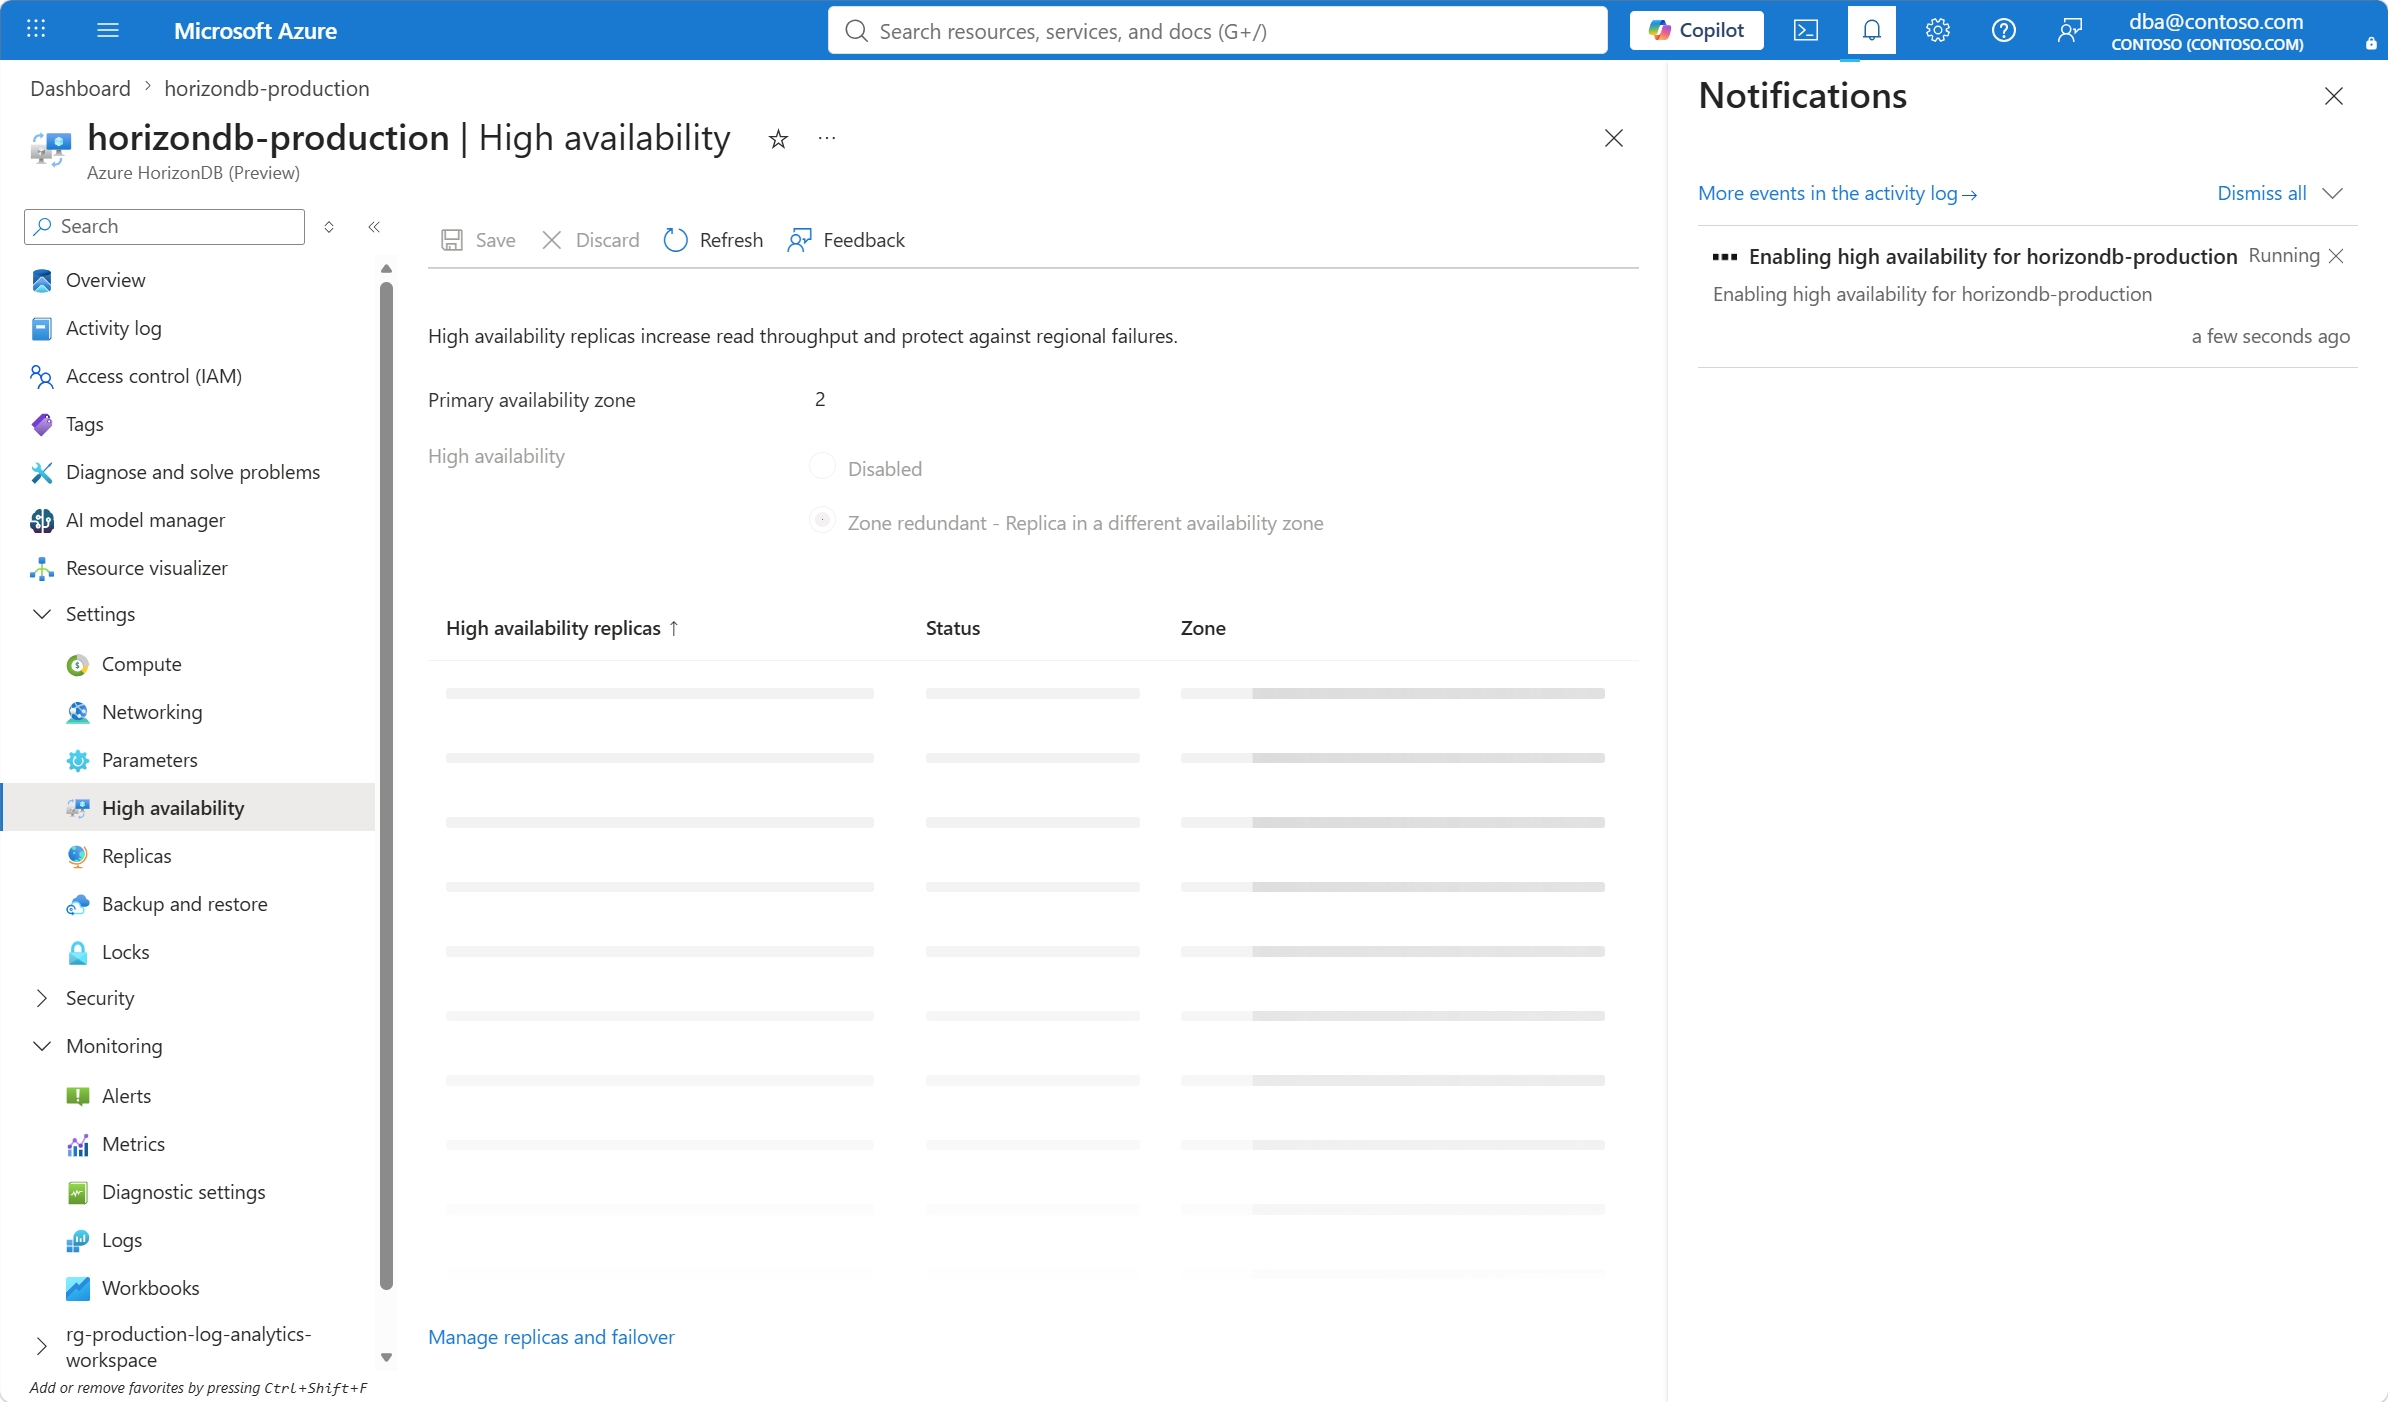
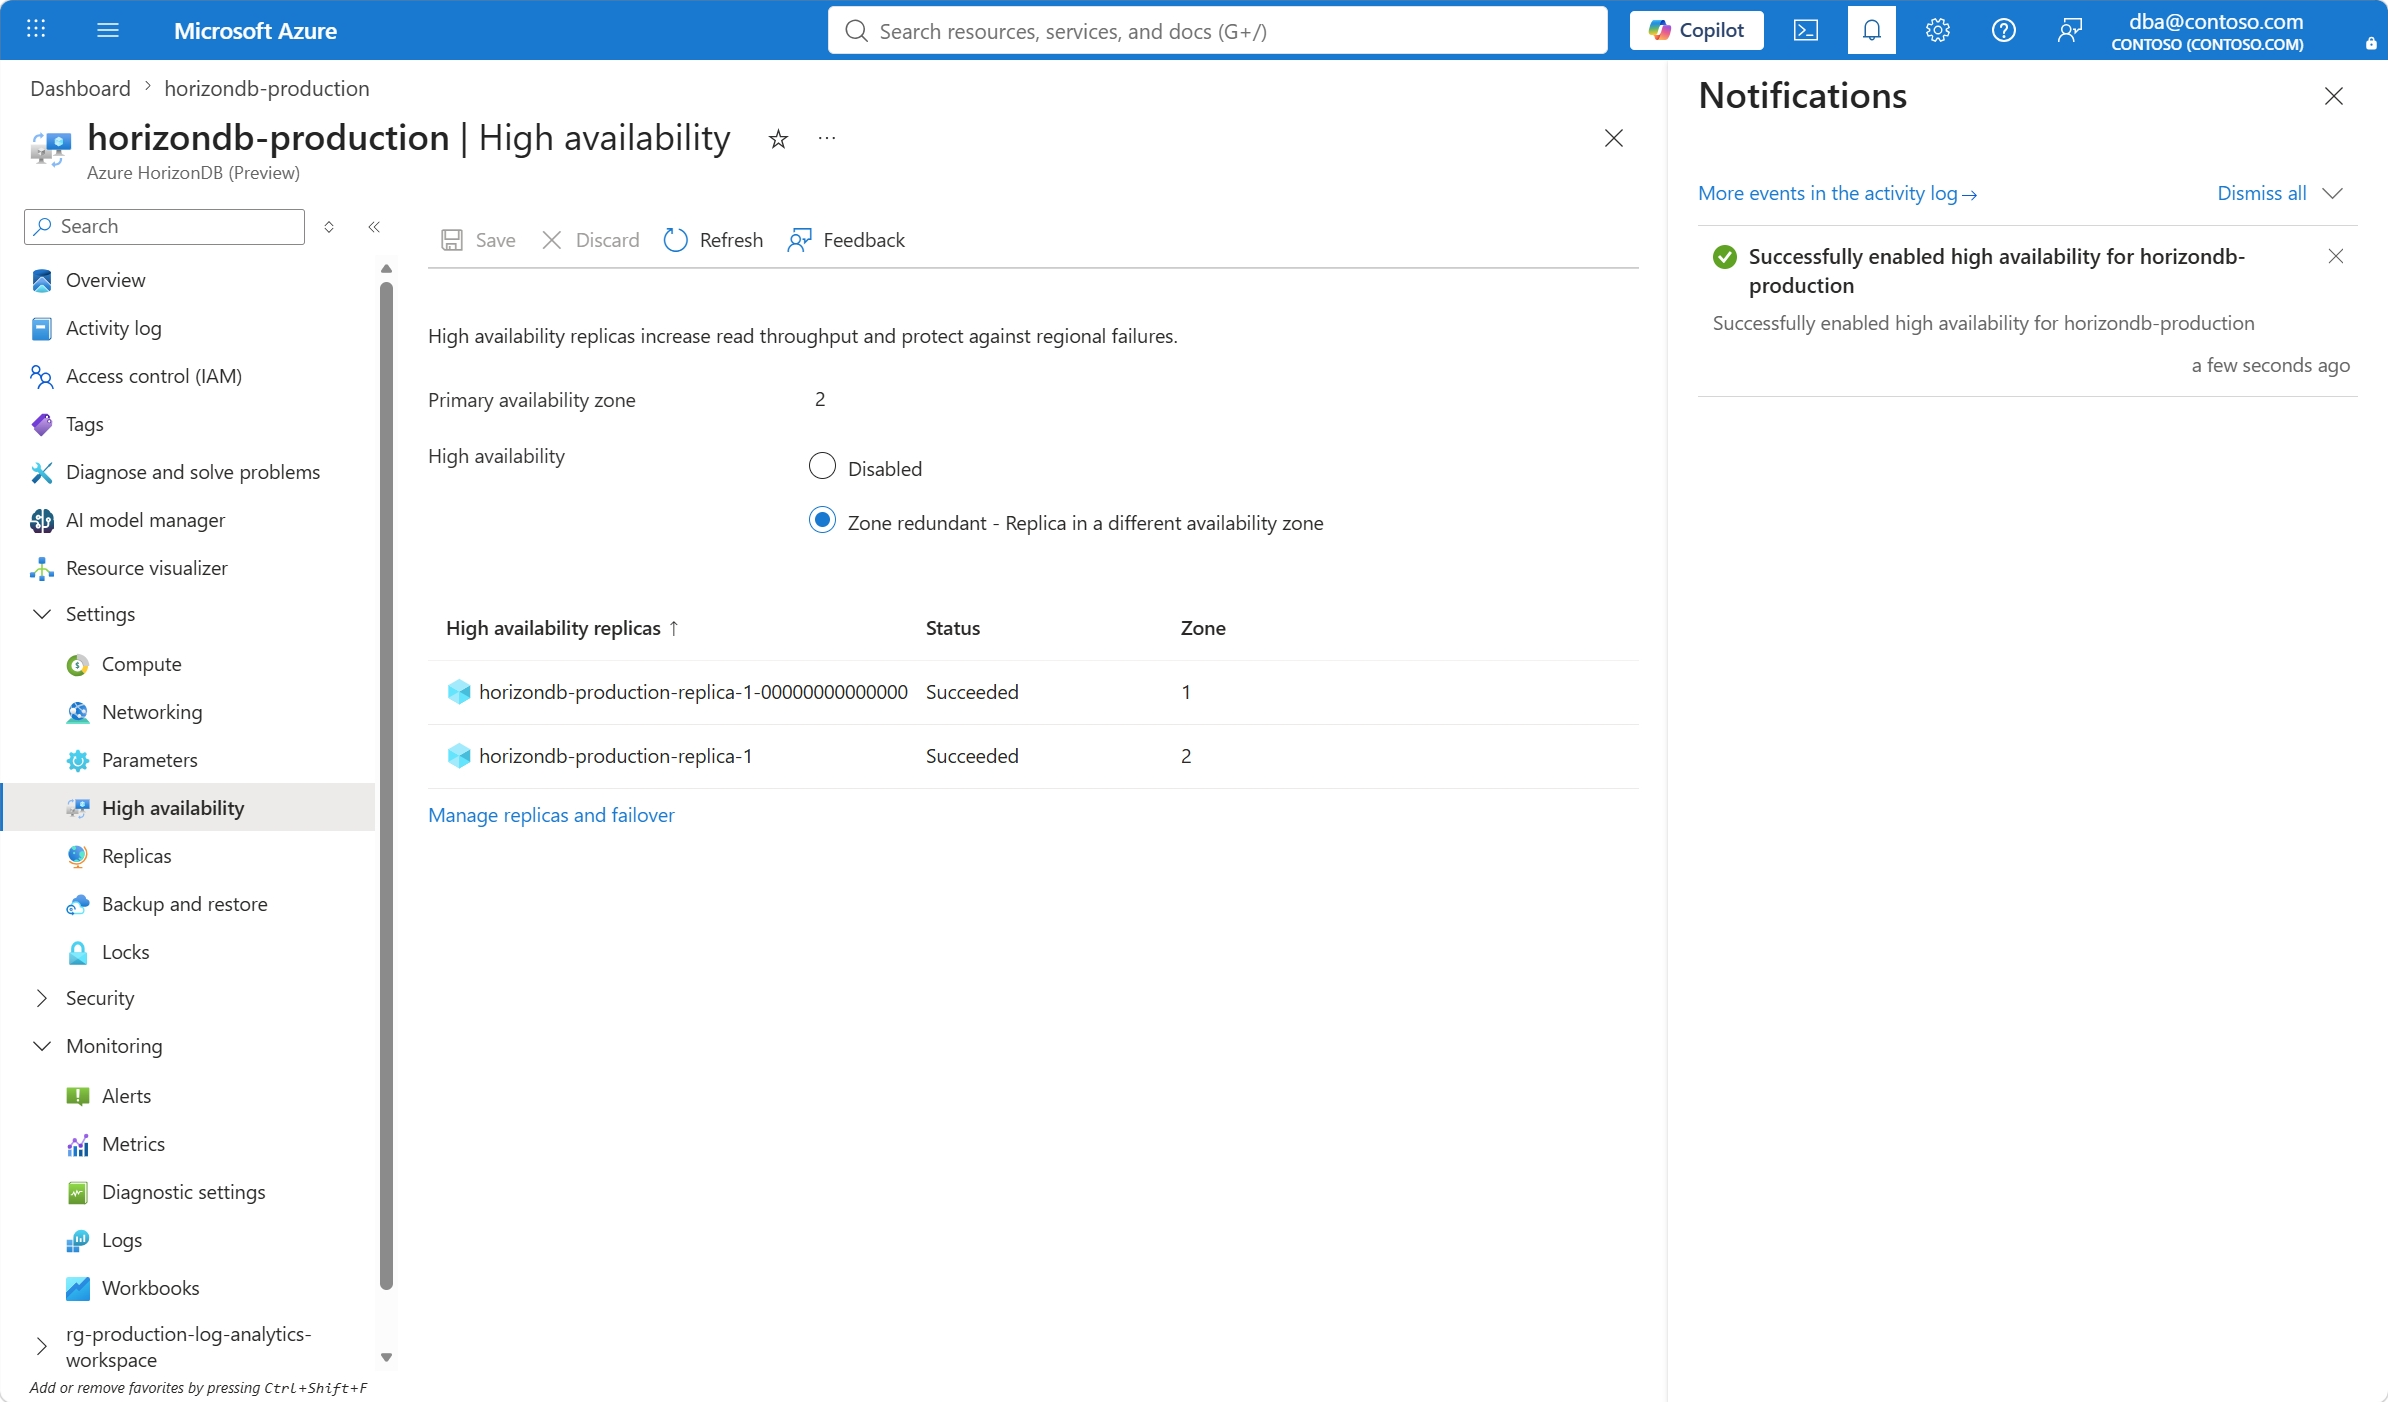
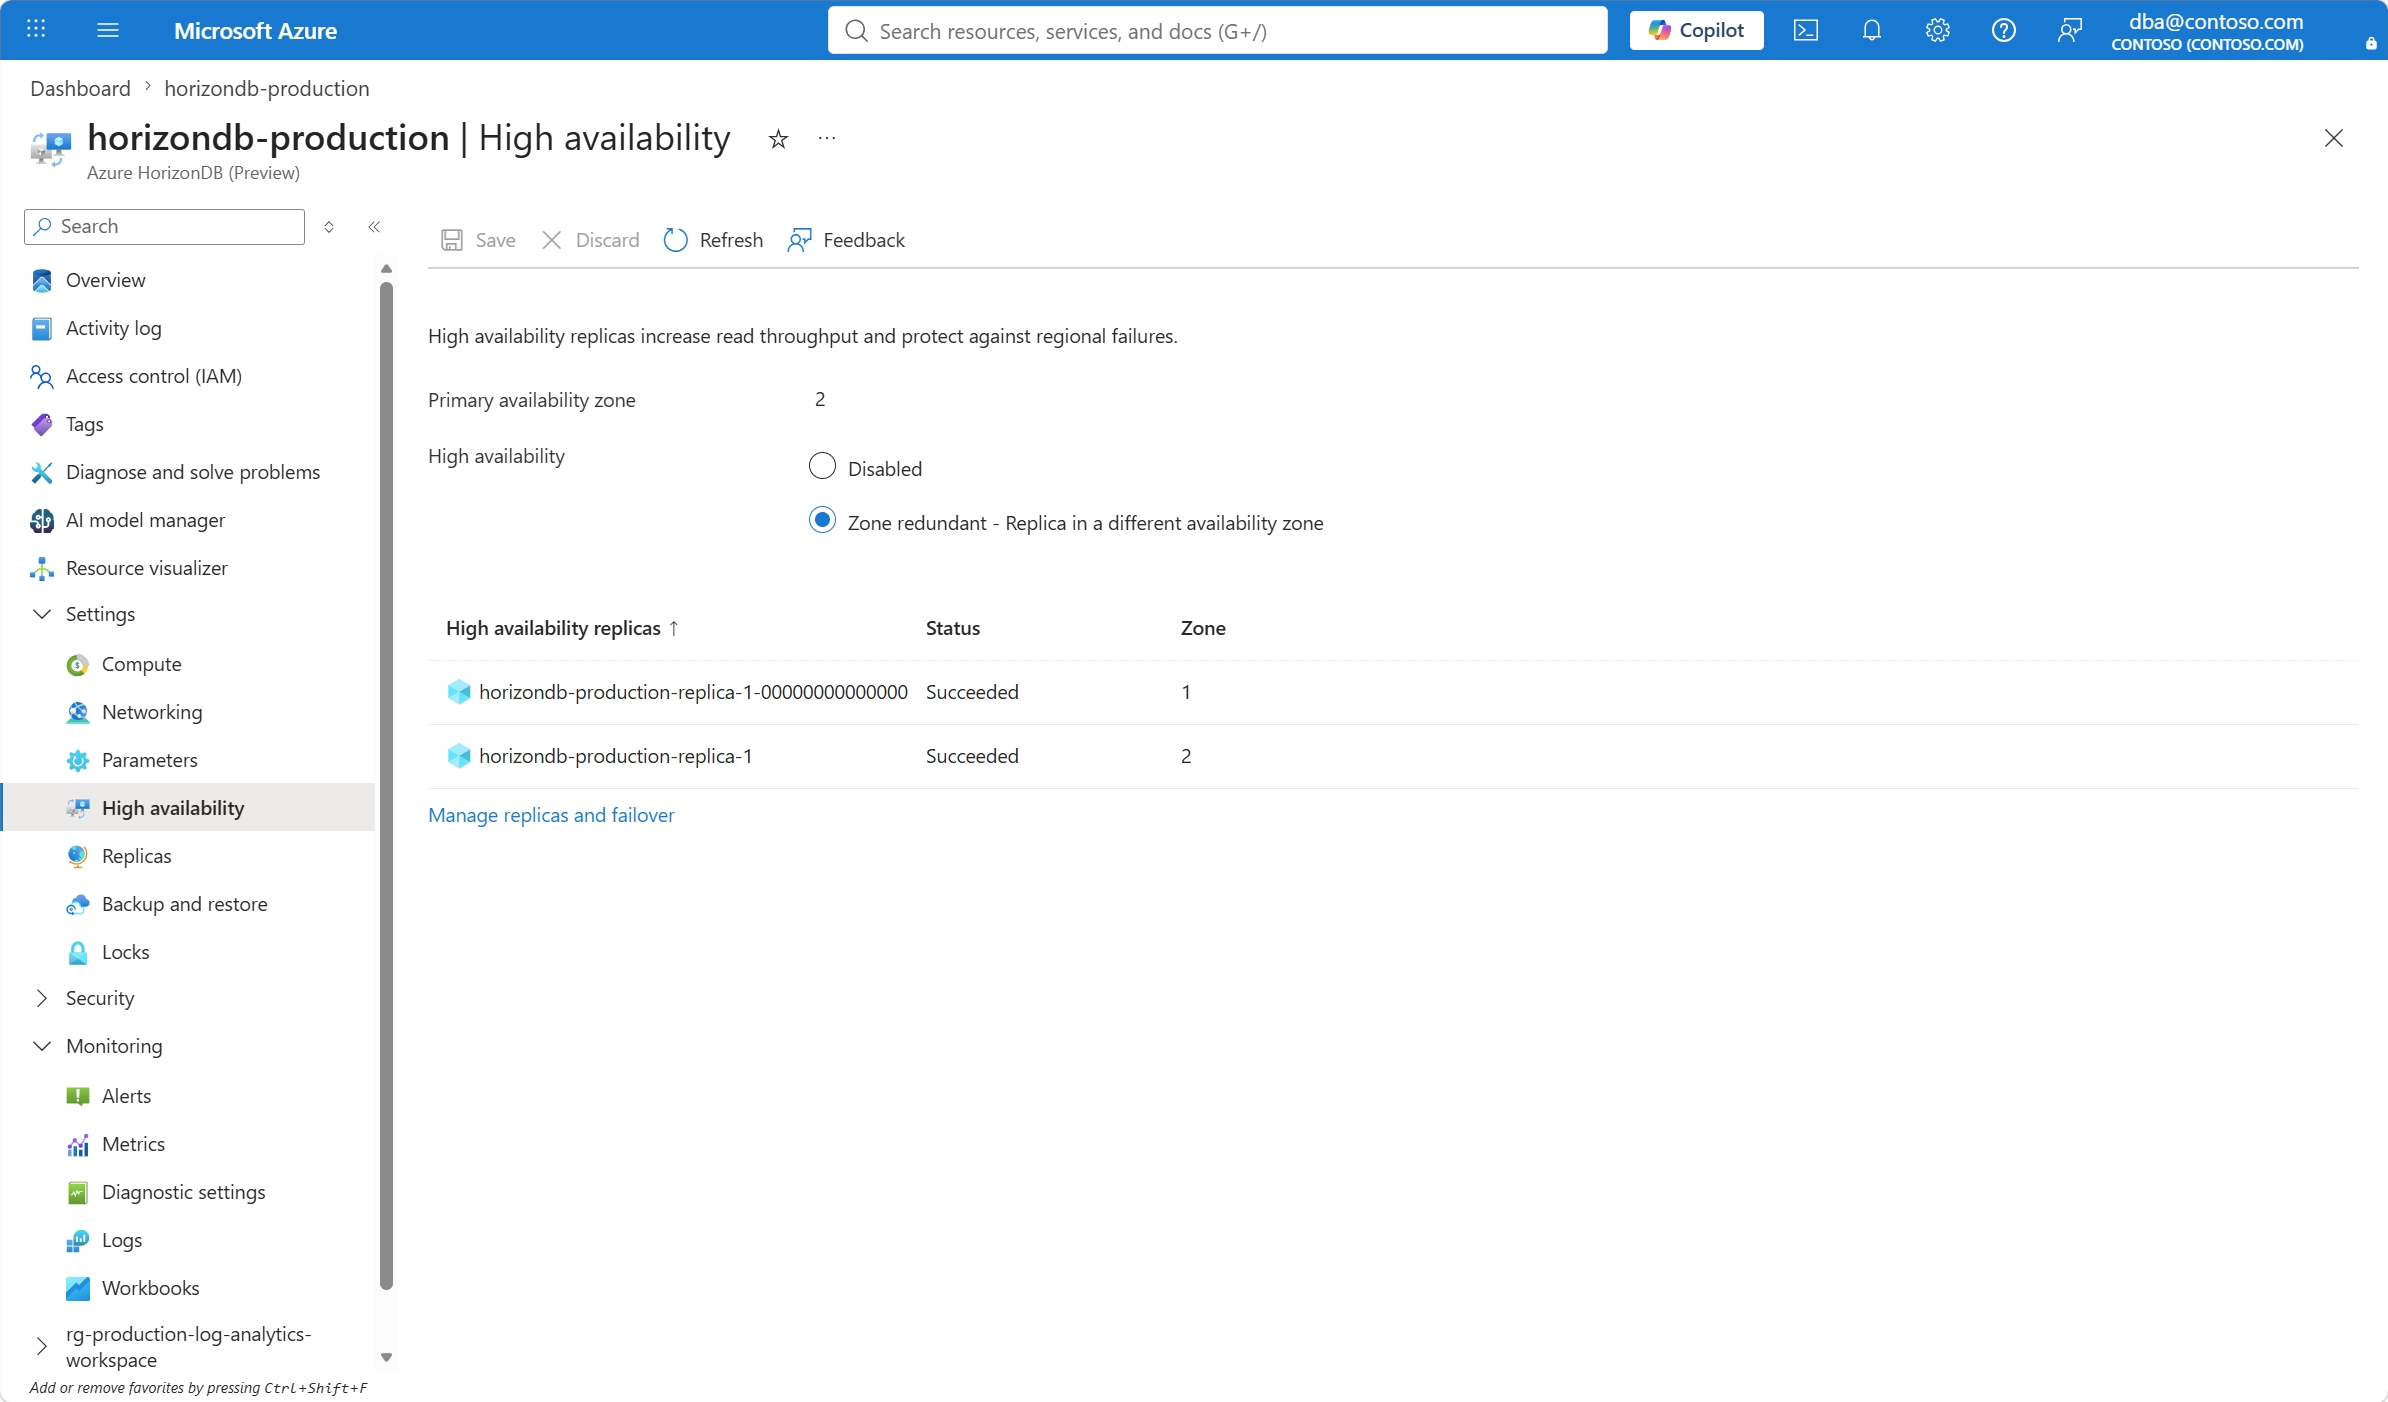
When the process completes, a notification informs you that the service enabled high availability, and the standby replica is included in the list.
Note
You can't set or change the name of the standby replica deployed to provide high availability. The portal assigns the name for you. The name consists of <cluster-name>-replica-1-YYYYMMDDHHmmss.
Steps to enable high availability during cluster provisioning
You can configure high availability when you first create your Azure HorizonDB instance. By enabling high availability during provisioning, you deploy a standby replica alongside your primary replica, so you get immediate protection against zone or replica failures.
Using the Azure portal:
Select Azure HorizonDB (Preview) service and select Create.
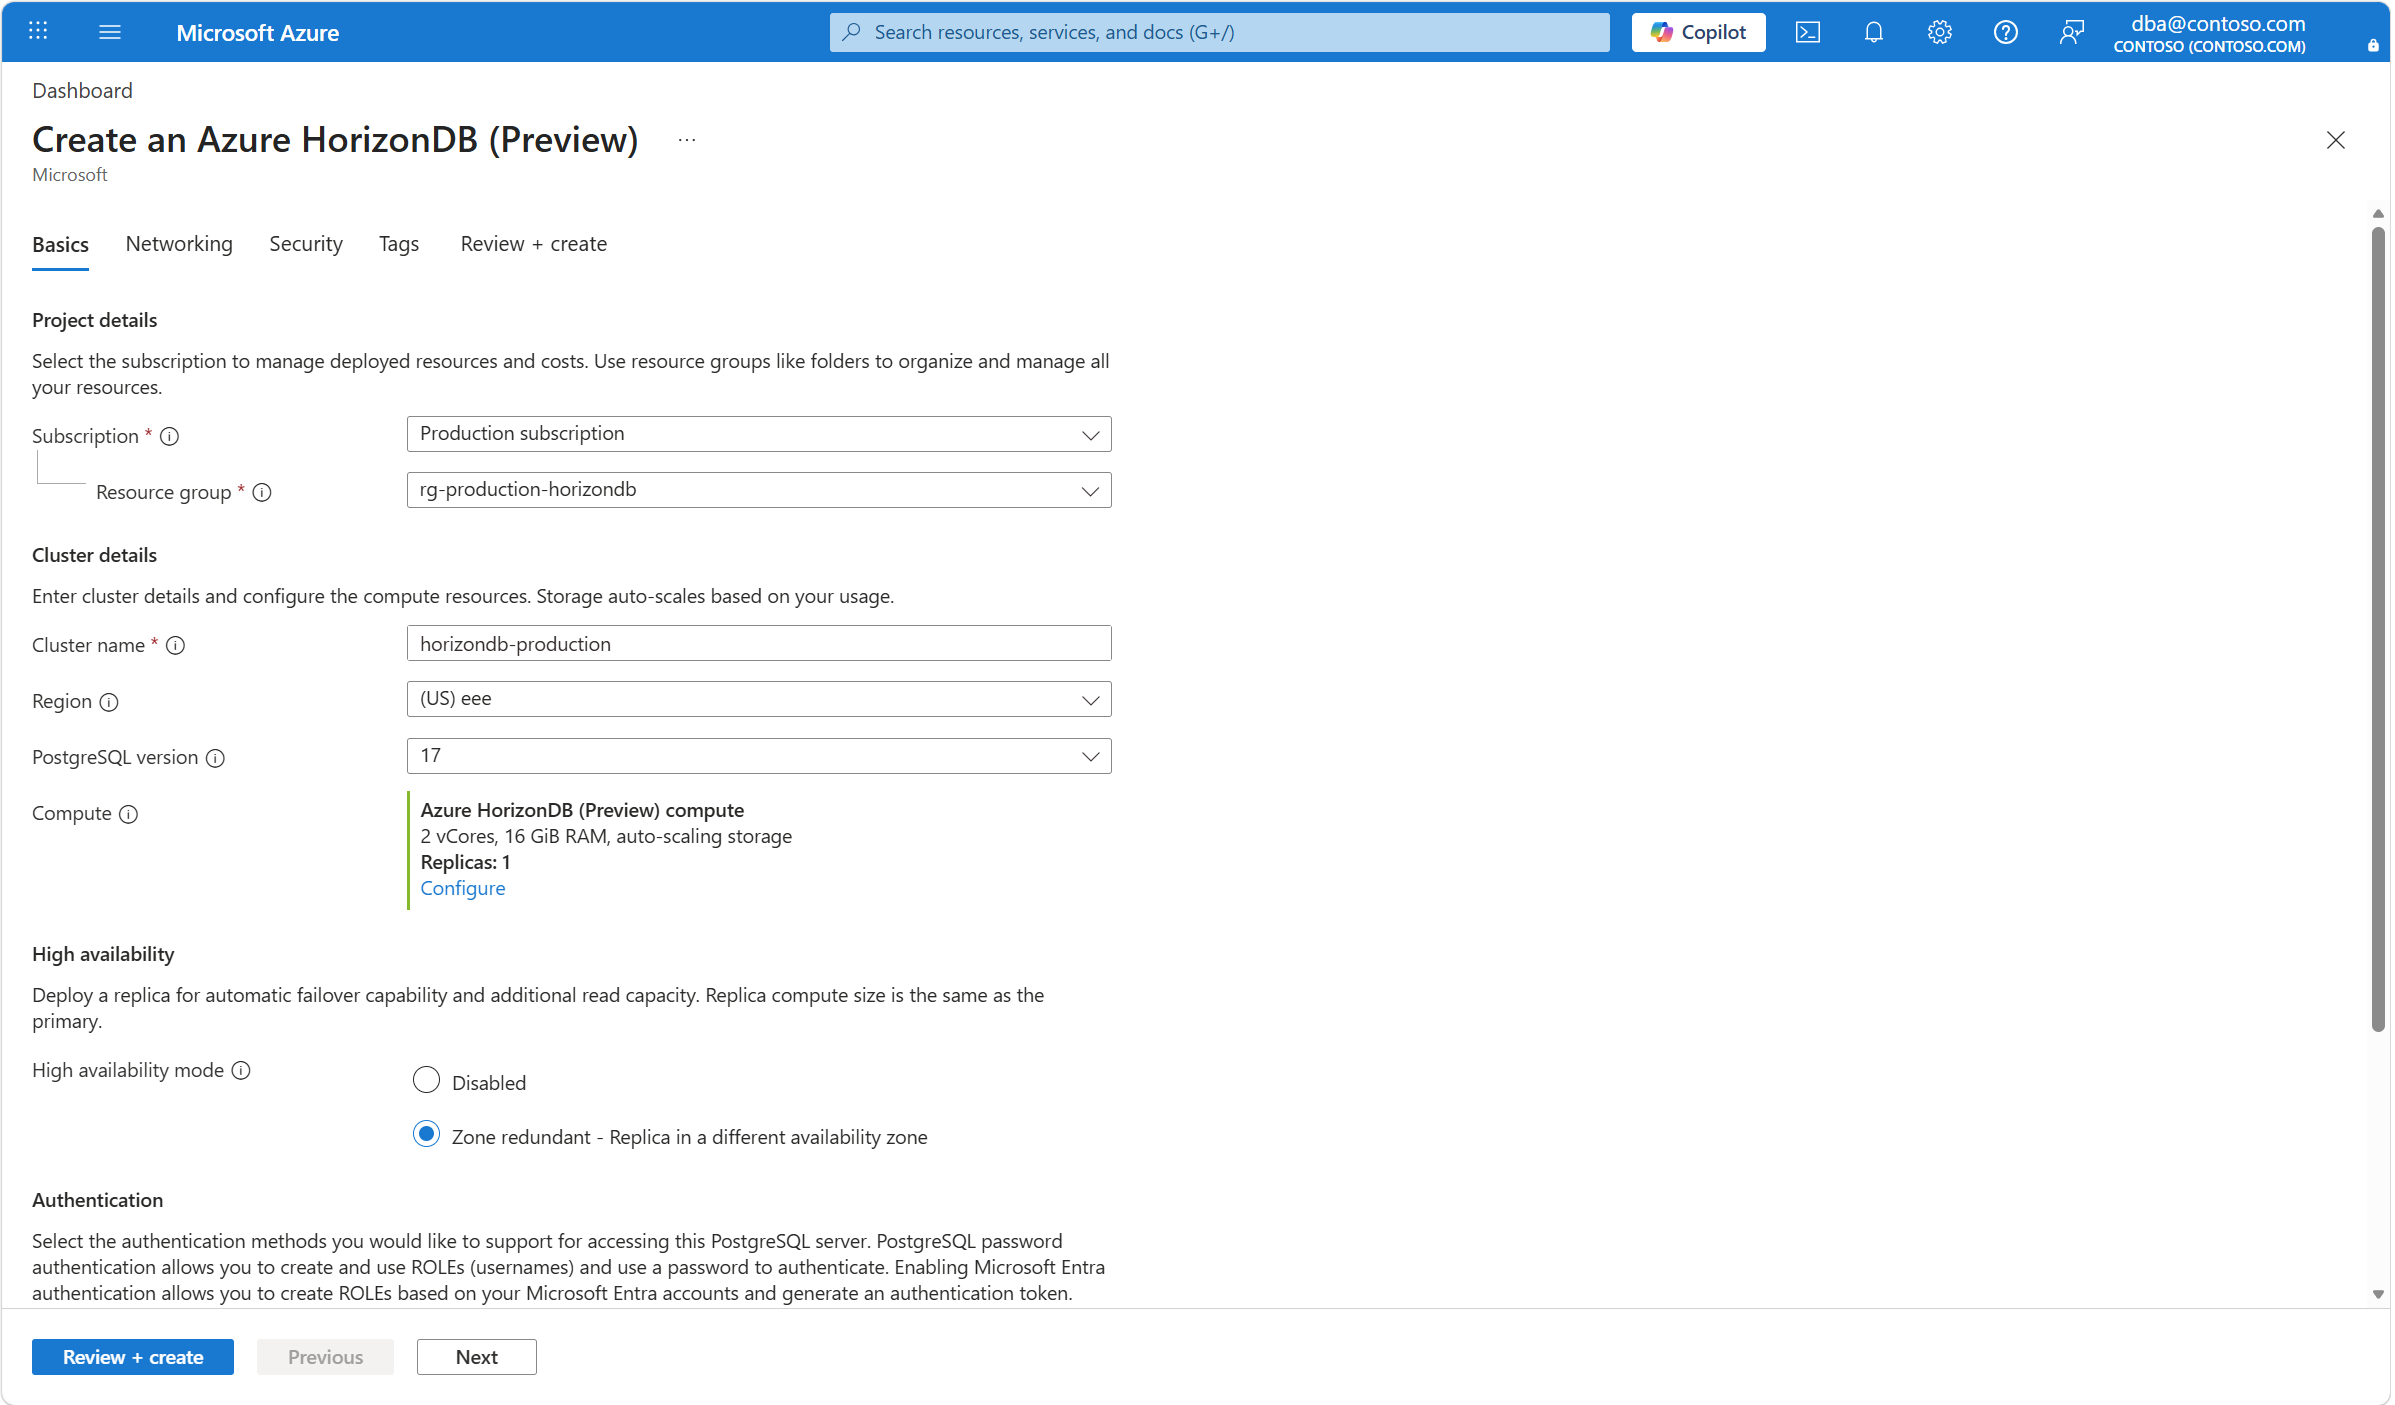
Provide your resource group and cluster name and go to High availability section.
You have two high availability mode choices:
- Disabled - High availability isn't configured.
- Zone redundant - Replica in a different availability zone - a stand-by compute replica is provisioned in a different availability zone.
Select the Zone redundant - Replica in a different availability zone option.
When you're done configuring the settings, select Review + create to review the changes then select create.
A deployment starts. Deployment begins. After completion, a notification confirms that the HorizonDB cluster has been successfully created with high availability enabled.
Steps to disable high availability on an existing cluster
You can disable high availability on an existing Azure HorizonDB cluster at any time. Disabling high availability basically consists on deleting all existing read only replicas that mirror your primary replica.
Use the Azure portal:
Select your Azure HorizonDB cluster.
In the resource menu, under the Settings section, select High availability.
From the two options, this is what each option represents:
- Disabled - High availability isn't configured.
- Zone redundant - Replica in a different availability zone - A standby compute replica is provisioned in a different availability zone.
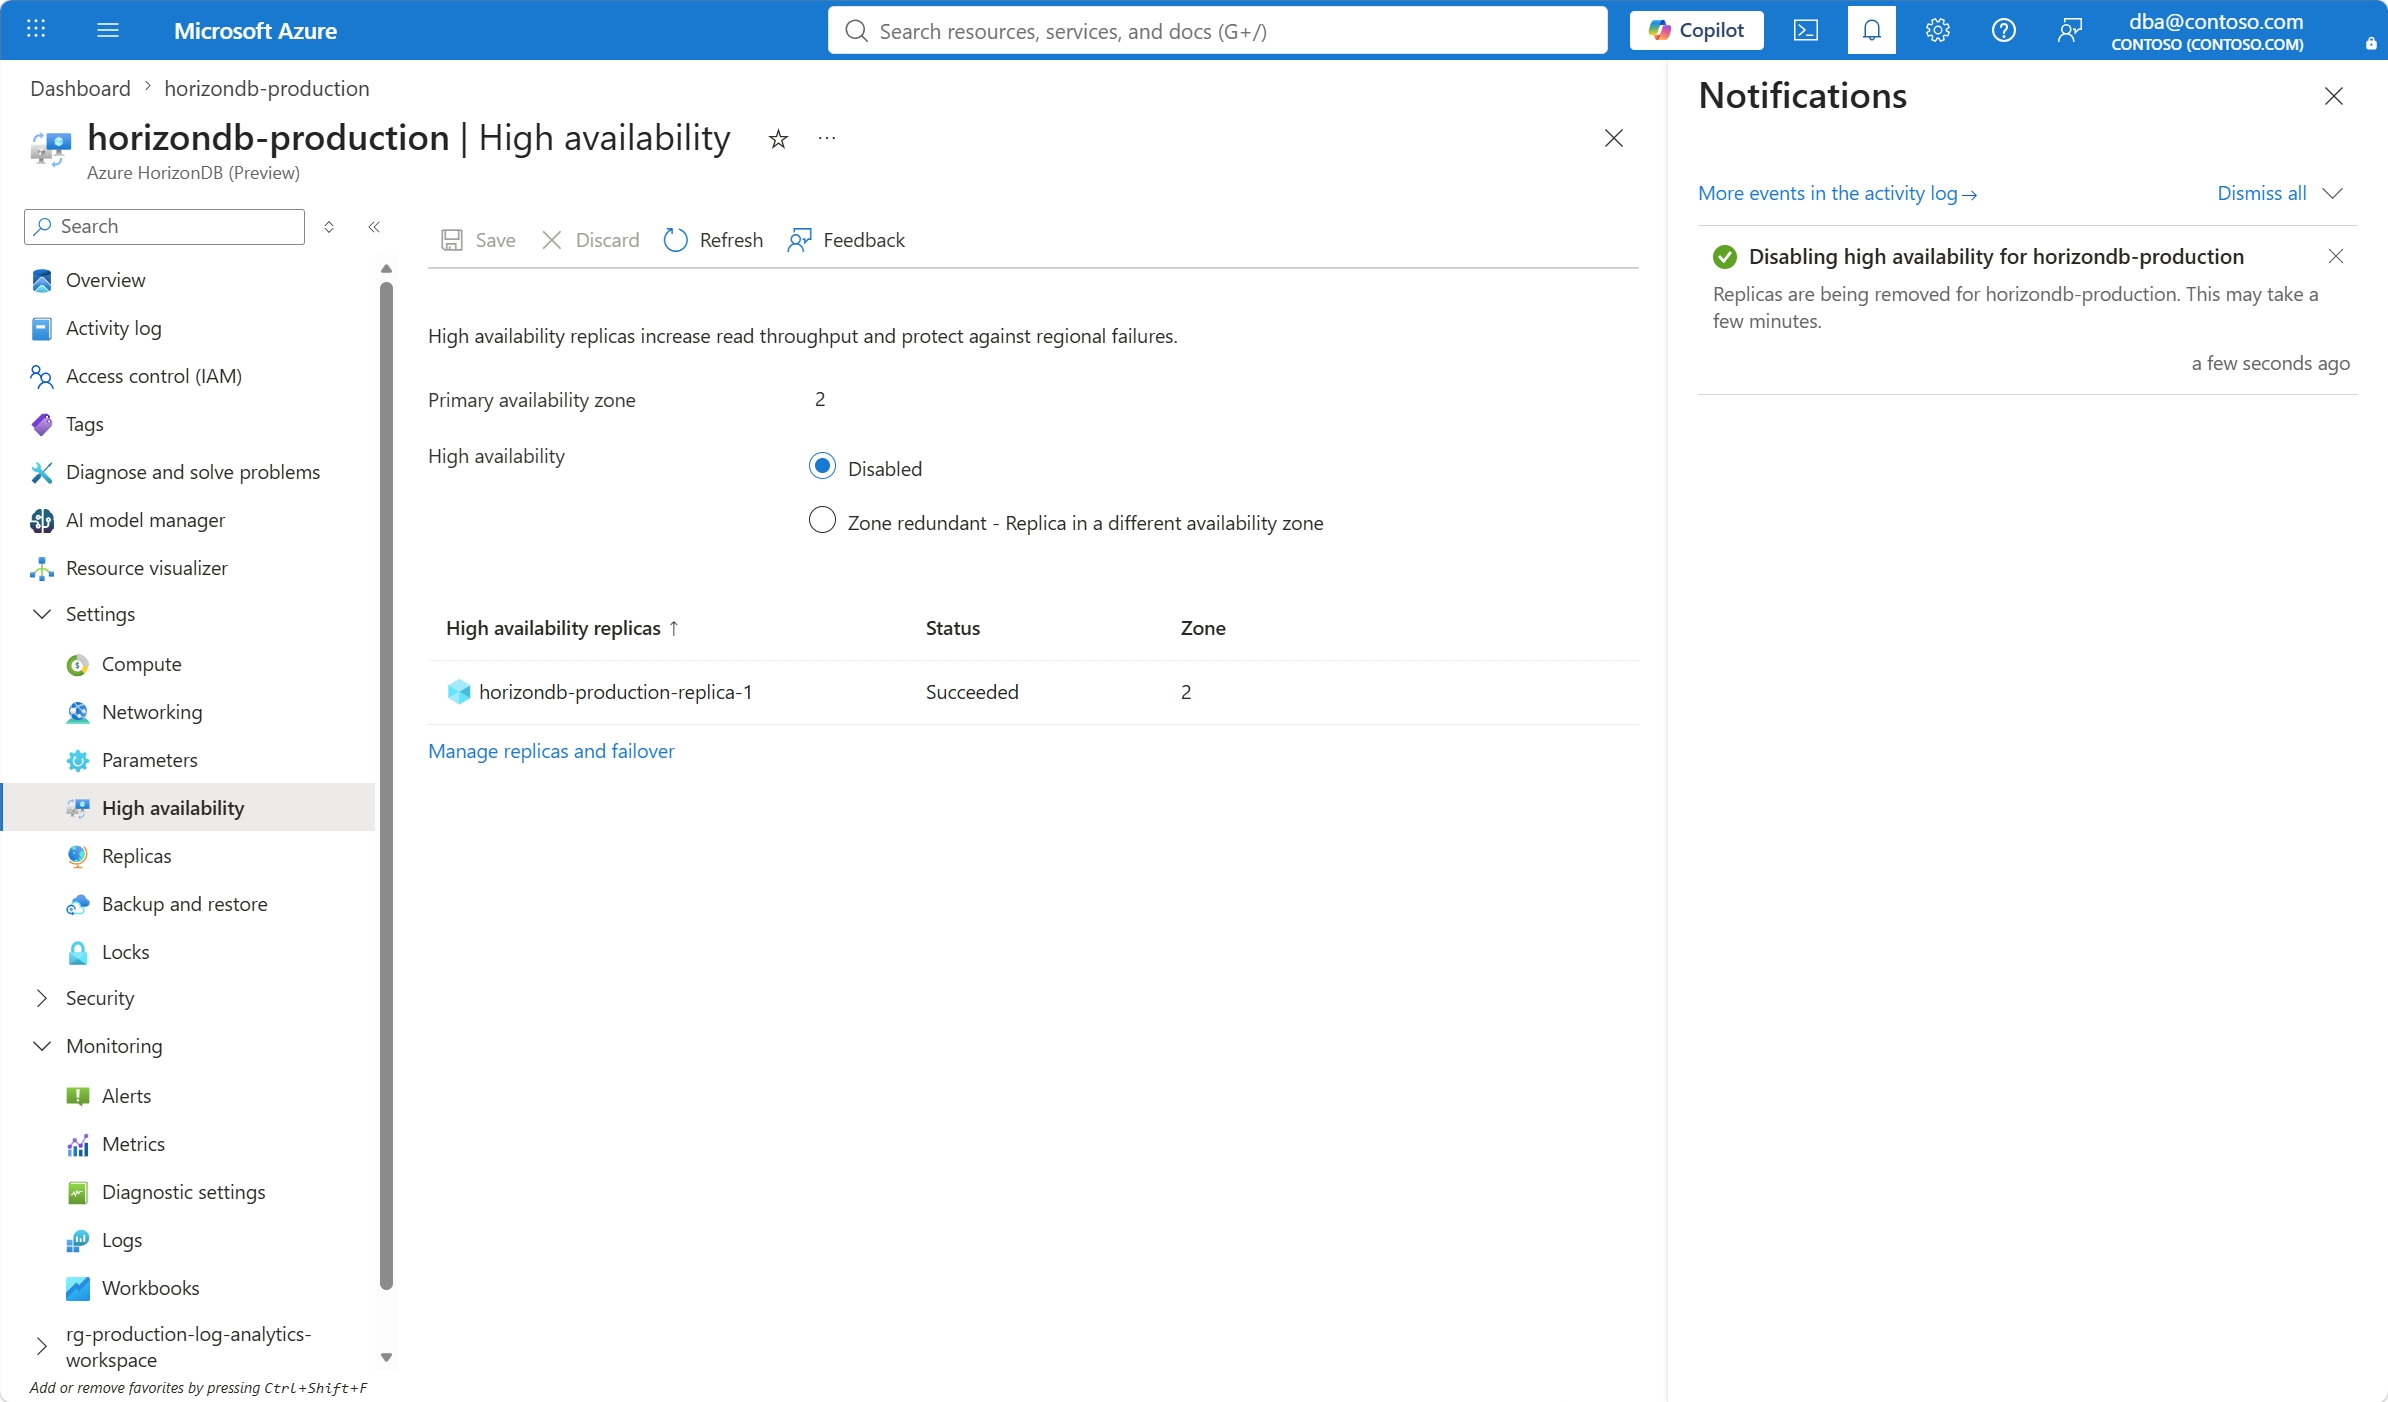
Select the Disabled option to disable high availability.
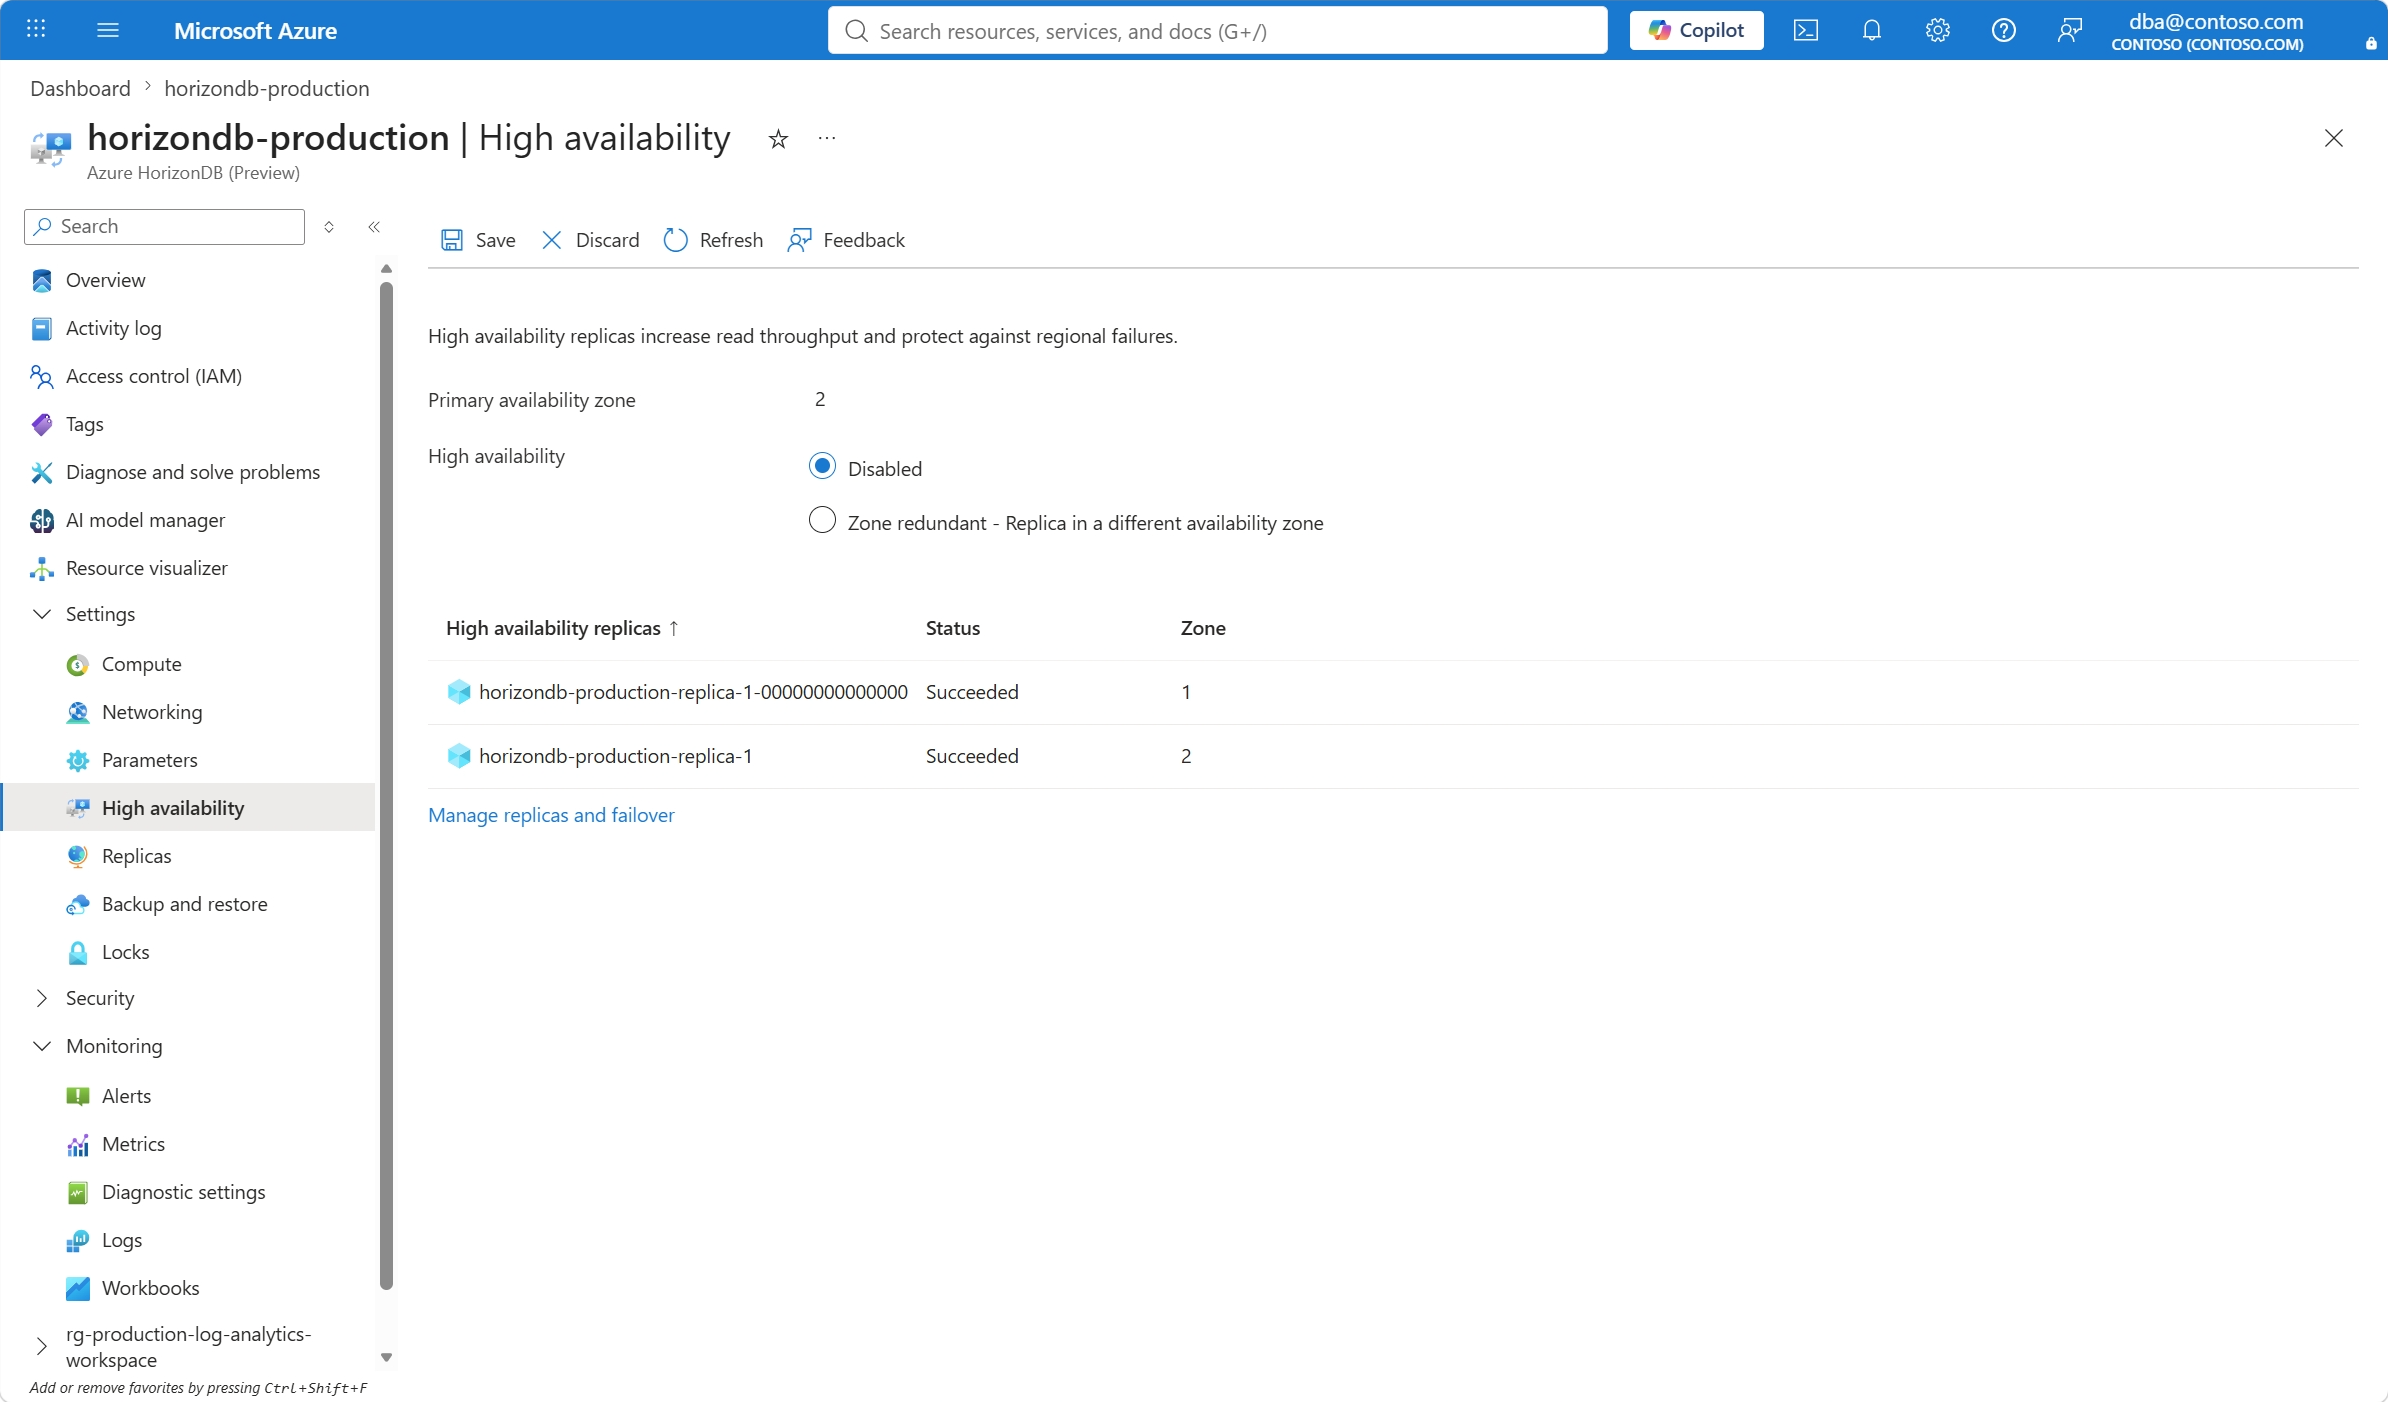
Select Save to disable high availability. A notification informs you that the service is disabling high availability.
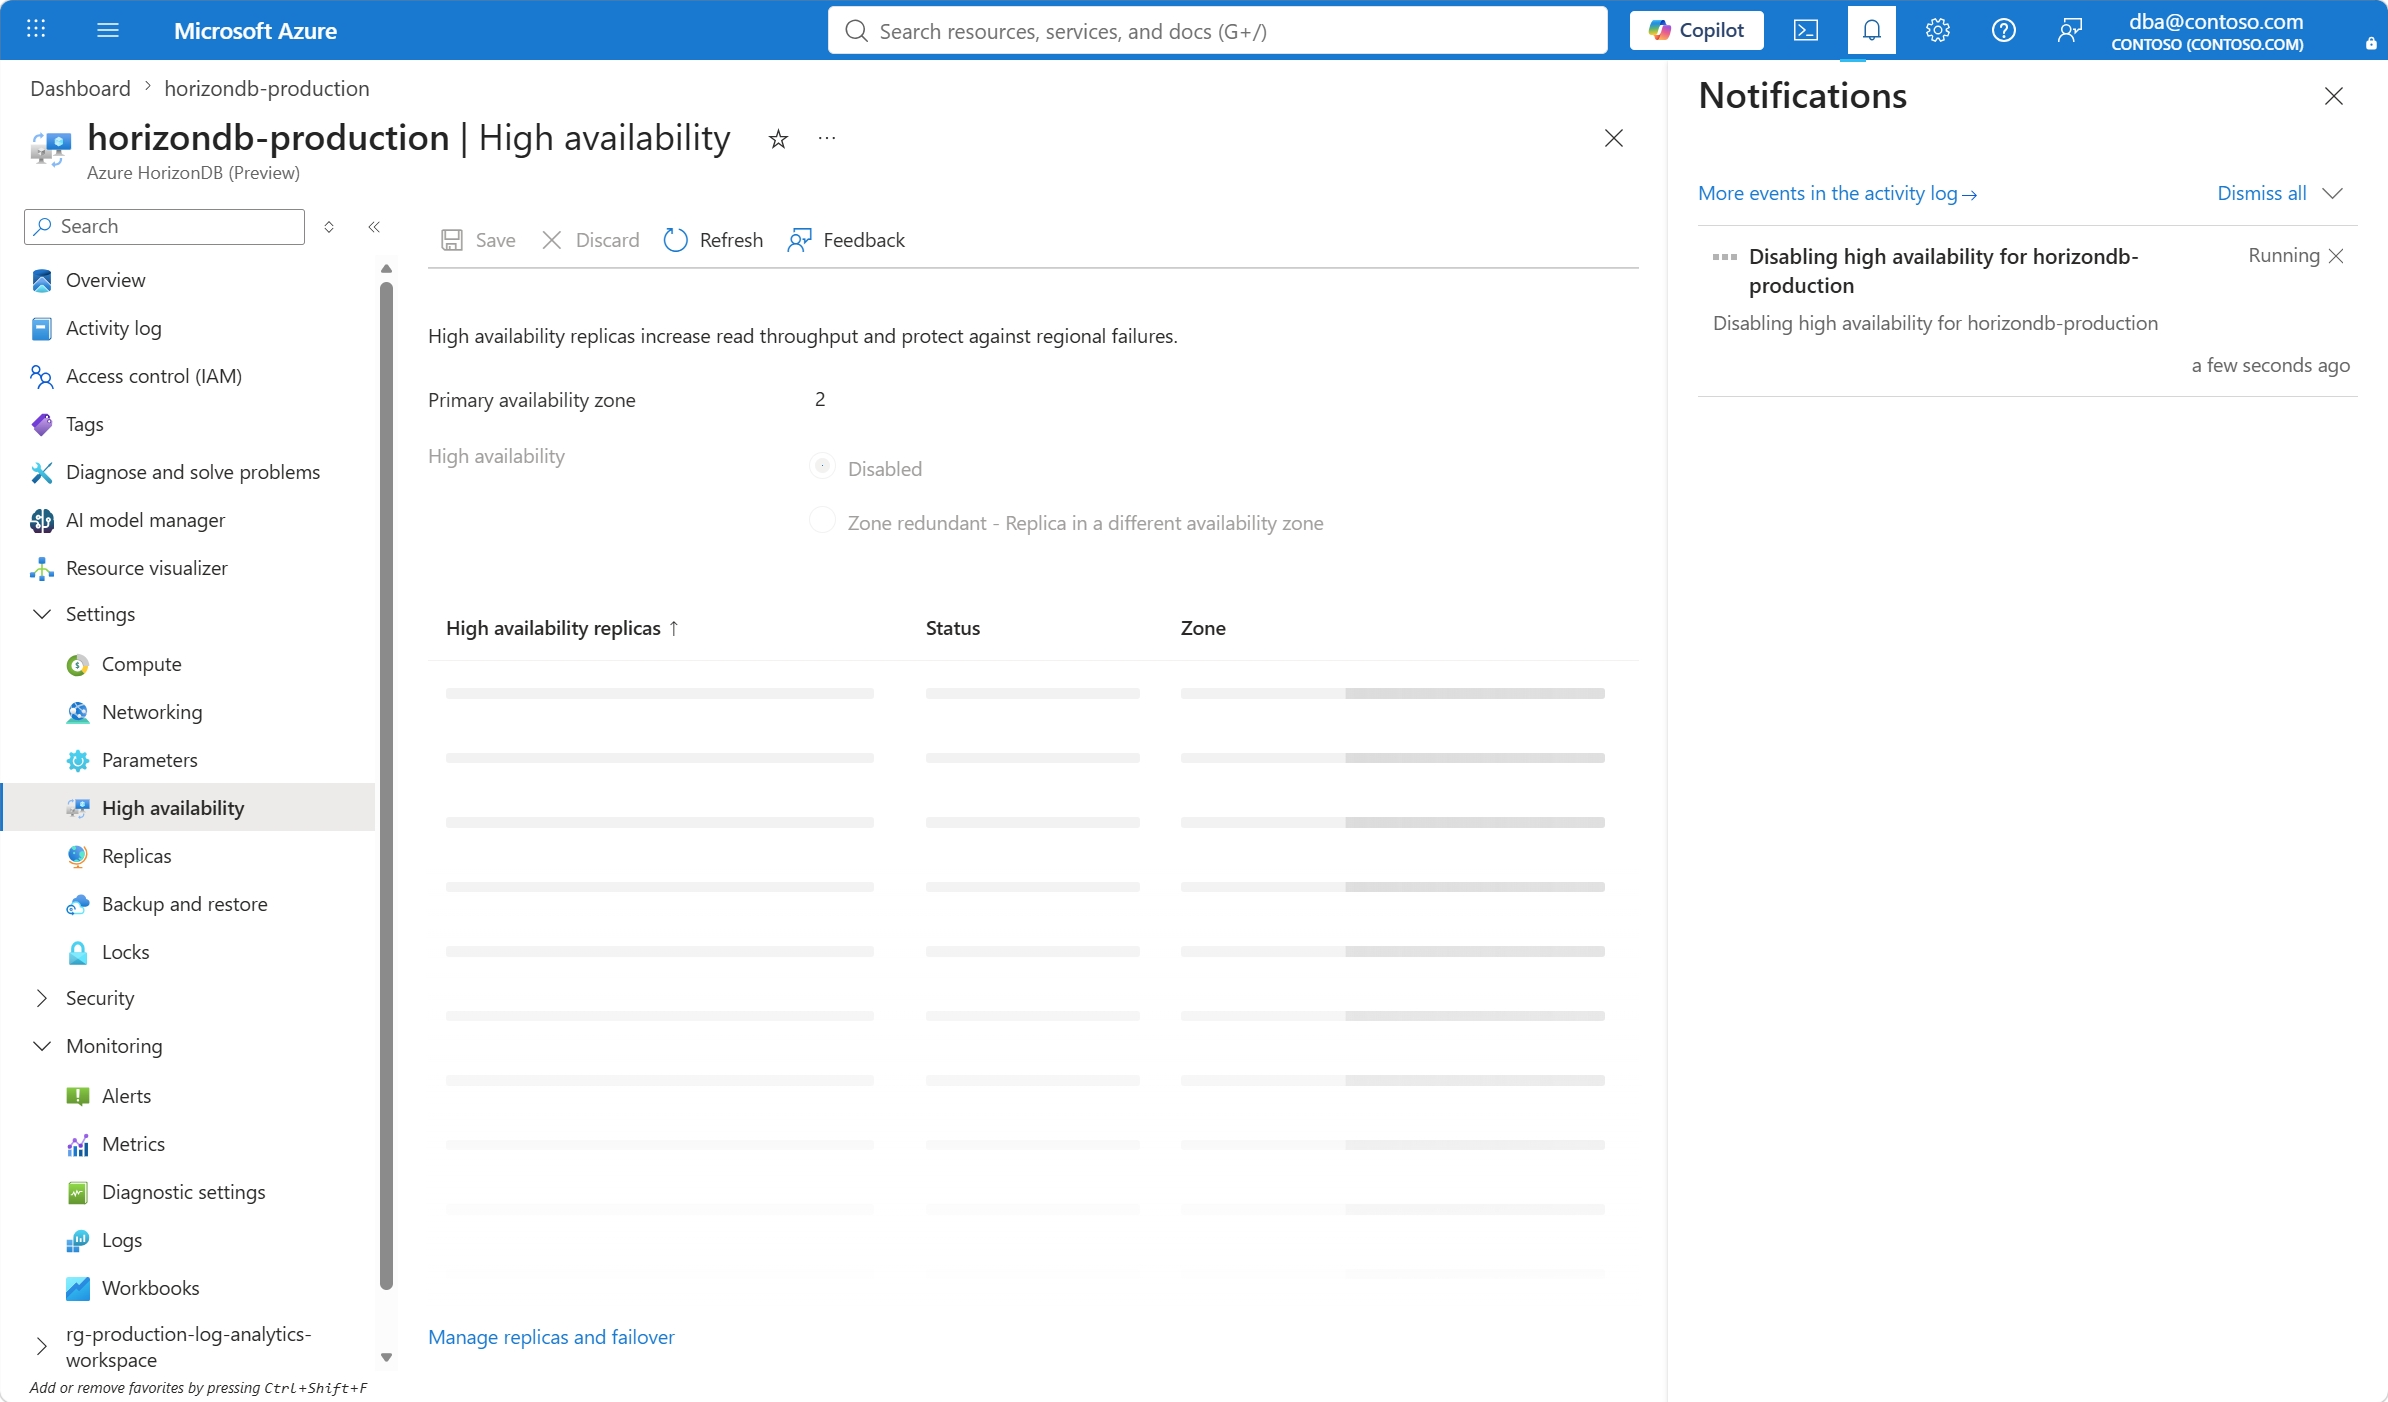
When the process completes, a notification informs you that all read replicas were deleted and high availability is disabled.