Tutorial: Access Azure Blob Storage using Azure Databricks and Azure Key Vault
In this tutorial, you'll learn how to access Azure Blob Storage from Azure Databricks using a secret stored in Azure Key Vault.
In this tutorial, you learn how to:
- Create a storage account and blob container with Azure CLI
- Create a Key Vault and set a secret
- Create an Azure Databricks workspace and add Key Vault secret scope
- Access your blob container from Azure Databricks workspace
Prerequisites
If you don't have an Azure subscription, create a free account before you begin.
Before you start this tutorial, install the Azure CLI.
Create a storage account and blob container with Azure CLI
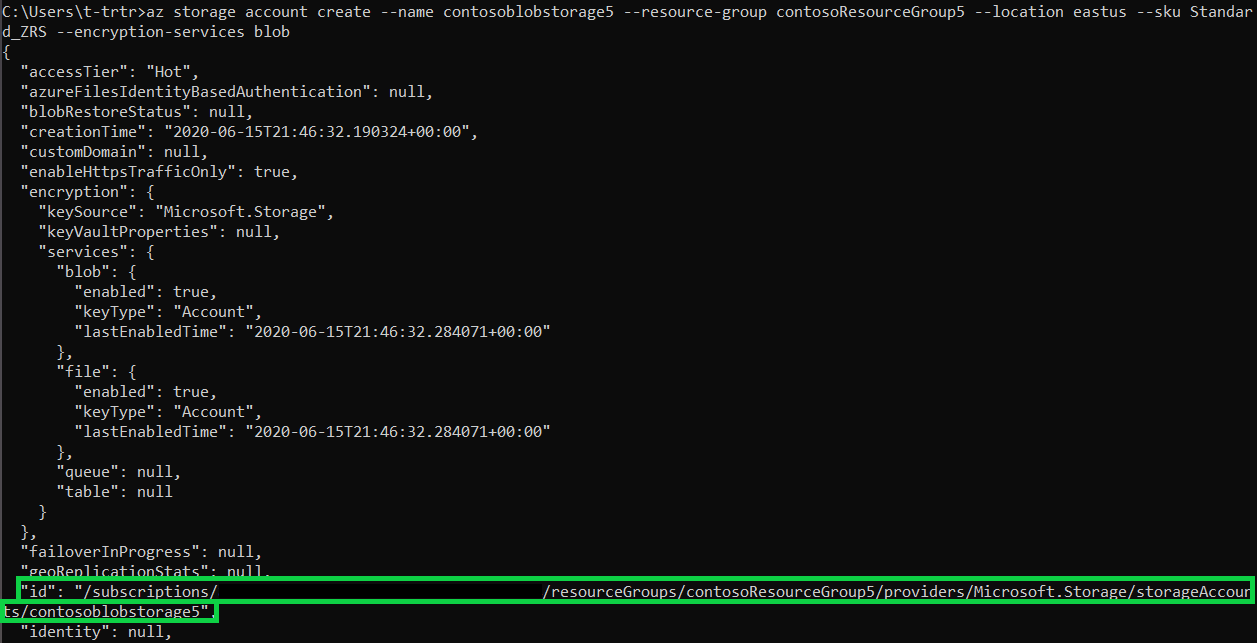
You'll need to create a general-purpose storage account first to use blobs. If you don't have a resource group, create one before running the command. The following command creates and display the metadata of the storage container. Copy down the ID.
az storage account create --name contosoblobstorage5 --resource-group contosoResourceGroup --location eastus --sku Standard_ZRS --encryption-services blob
Before you can create a container to upload the blob to, you'll need to assign the Storage Blob Data Contributor role to yourself. For this example, the role will be assigned to the storage account you've made earlier.
az role assignment create --role "Storage Blob Data Contributor" --assignee t-trtr@microsoft.com --scope "/subscriptions/{subscription-id}/resourceGroups/contosoResourceGroup5/providers/Microsoft.Storage/storageAccounts/contosoblobstorage5
Now that you've assign the role to storage account, you can create a container for your blob.
az storage container create --account-name contosoblobstorage5 --name contosocontainer5 --auth-mode login
Once the container is created, you can upload a blob (file of your choice) to that container. In this example, a .txt file with helloworld is uploaded.
az storage blob upload --account-name contosoblobstorage5 --container-name contosocontainer5 --name helloworld --file helloworld.txt --auth-mode login
List the blobs in the container to verify that the container has it.
az storage blob list --account-name contosoblobstorage5 --container-name contosocontainer5 --output table --auth-mode login

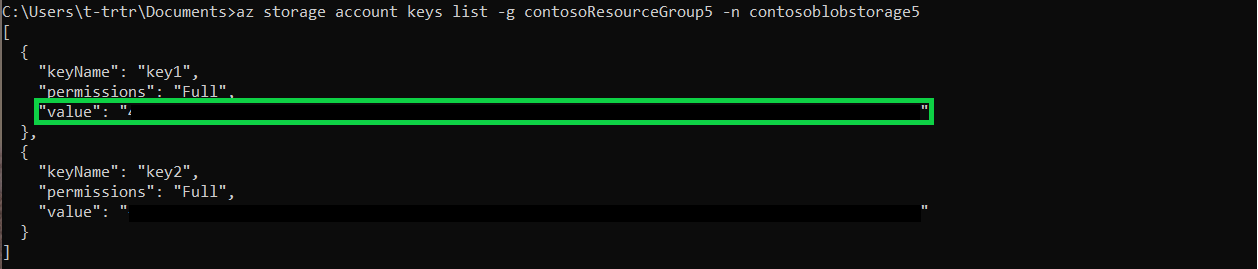
Get the key1 value of your storage container using the following command. Copy the value down.
az storage account keys list -g contosoResourceGroup5 -n contosoblobstorage5
Create a Key Vault and set a secret
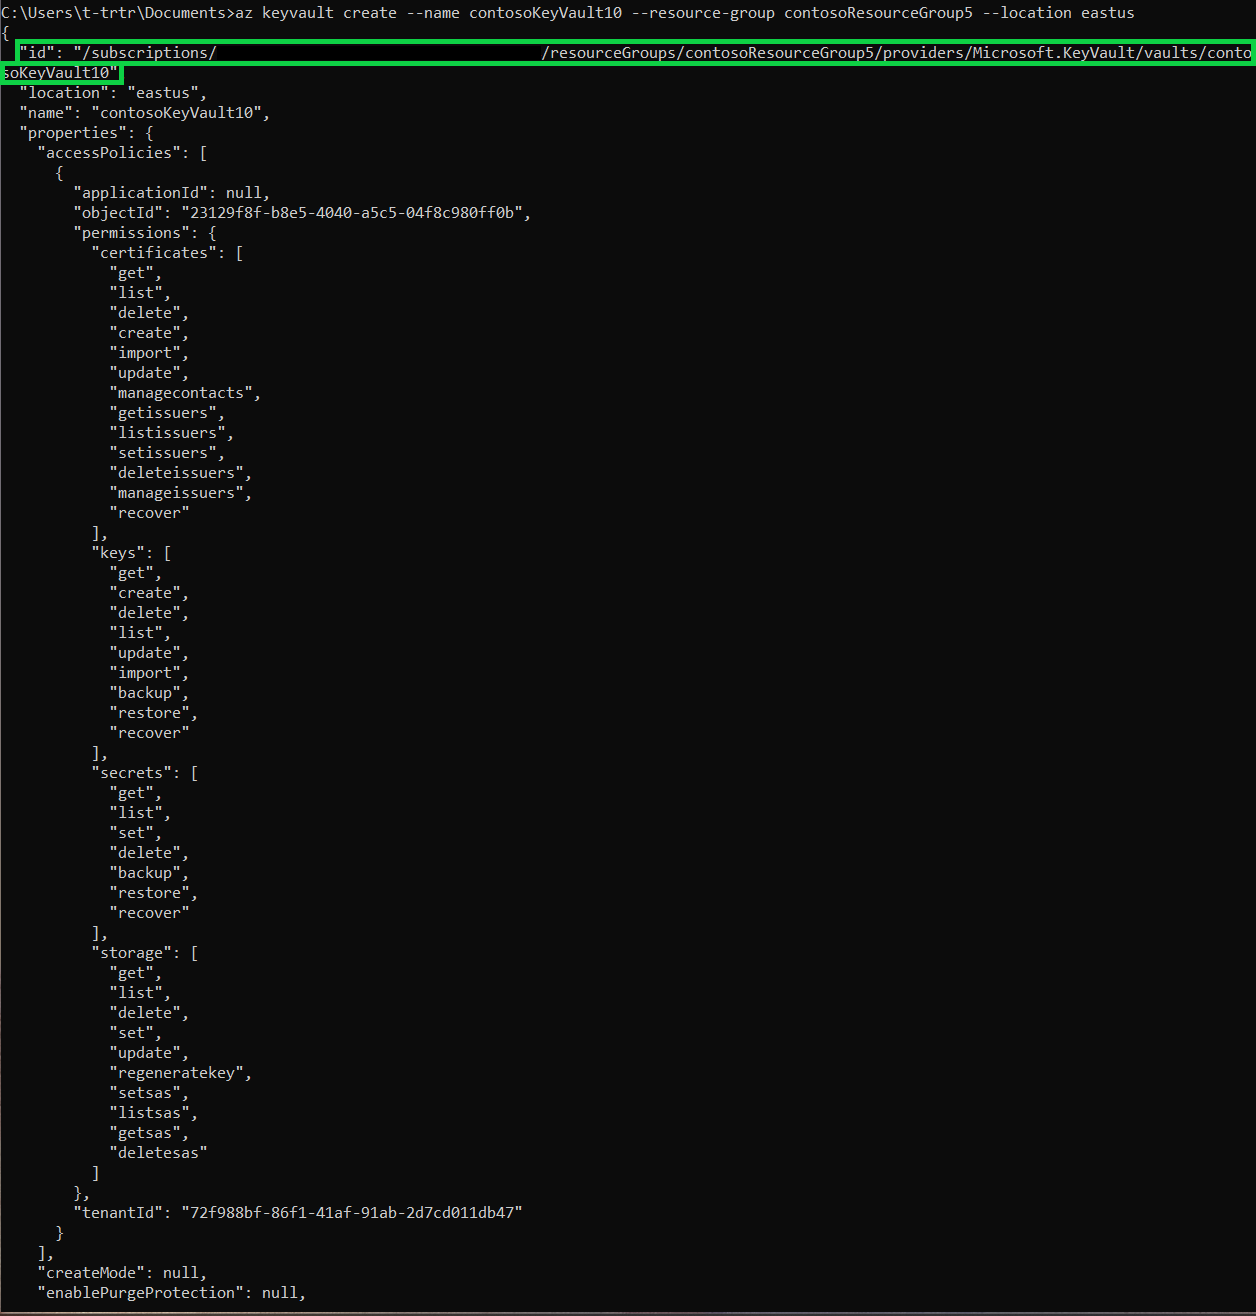
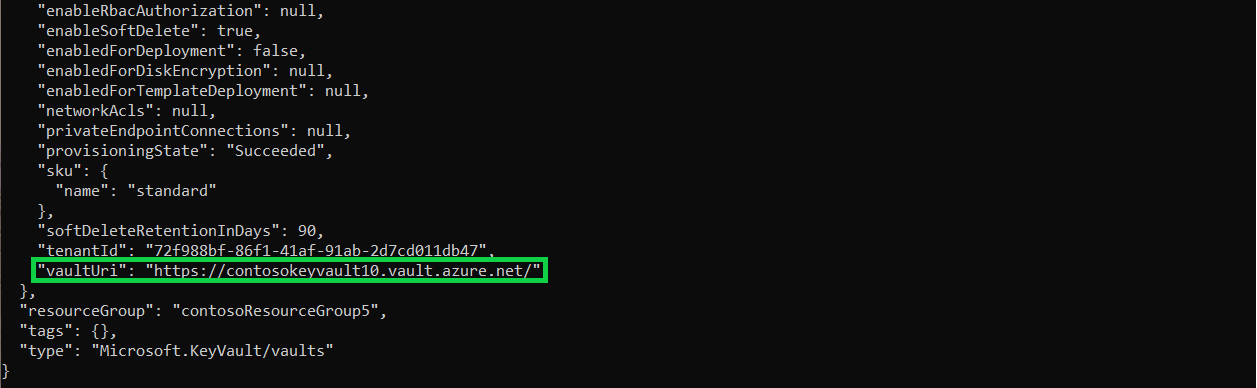
You'll create a Key Vault using the following command. This command will display the metadata of the Key Vault as well. Copy down the ID and vaultUri.
az keyvault create --name contosoKeyVault10 --resource-group contosoResourceGroup5 --location eastus
To create the secret, use the following command. Set the value of the secret to the key1 value from your storage account.
az keyvault secret set --vault-name contosoKeyVault10 --name storageKey --value "value of your key1"
Create an Azure Databricks workspace and add Key Vault secret scope
This section can't be completed through the command line. You'll need to access the Azure portal to:
- Create your Azure Databricks resource
- Launch your workspace
- Create a Key Vault-backed secret scope
Access your blob container from Azure Databricks workspace
This section can't be completed through the command line. You'll need to use the Azure Databricks workspace to:
- Create a New Cluster
- Create a New Notebook
- Fill in corresponding fields in the Python script
- Run the Python script
dbutils.fs.mount(
source = "wasbs://<your-container-name>@<your-storage-account-name>.blob.core.windows.net",
mount_point = "/mnt/<mount-name>",
extra_configs = {"<conf-key>":dbutils.secrets.get(scope = "<scope-name>", key = "<key-name>")})

df = spark.read.text("/mnt/<mount-name>/<file-name>")

df.show()
Next steps
Make sure your Key Vault is recoverable:
Feedback
Coming soon: Throughout 2024 we will be phasing out GitHub Issues as the feedback mechanism for content and replacing it with a new feedback system. For more information see: https://aka.ms/ContentUserFeedback.
Submit and view feedback for