Manage packet captures for virtual machines with Azure Network Watcher using the Azure portal
The Network Watcher packet capture tool allows you to create capture sessions to record network traffic to and from an Azure virtual machine (VM). Filters are provided for the capture session to ensure you capture only the traffic you want. Packet capture helps in diagnosing network anomalies both reactively and proactively. Its applications extend beyond anomaly detection to include gathering network statistics, acquiring insights into network intrusions, debugging client-server communication, and addressing various other networking challenges. Network Watcher packet capture enables you to initiate packet captures remotely, alleviating the need for manual execution on a specific virtual machine.
In this article, you learn how to remotely configure, start, stop, download, and delete a virtual machine packet capture using the Azure portal. To learn how to manage packet captures using PowerShell or Azure CLI, see Manage packet captures for virtual machines using PowerShell or Manage packet captures for virtual machines using the Azure CLI.
Prerequisites
- An Azure account with an active subscription. Create an account for free.
- A virtual machine with the following outbound TCP connectivity:
- to the storage account over port 443
- to 169.254.169.254 over port 80
- to 168.63.129.16 over port 8037
Note
- Azure creates a Network Watcher instance in the the virtual machine's region if Network Watcher wasn't enabled for that region. For more information, see Enable or disable Azure Network Watcher.
- Network Watcher packet capture requires Network Watcher agent VM extension to be installed on the target virtual machine. Whenever you use Network Watcher packet capture in the Azure portal, the agent is automatically installed on the target VM or scale set if it wasn't previously installed. To update an already installed agent, see Update Azure Network Watcher extension to the latest version. To manually install the agent, see Network Watcher Agent virtual machine extension for Linux or Network Watcher Agent virtual machine extension for Windows.
- The last two IP addresses and ports listed in the Prerequisites are common across all Network Watcher tools that use the Network Watcher agent and might occasionally change.
If a network security group is associated to the network interface, or subnet that the network interface is in, ensure that rules exist to allow outbound connectivity over the previous ports. Similarly, ensure outbound connectivity over the previous ports when adding user-defined routes to your network.
Start a packet capture
Sign in to the Azure portal.
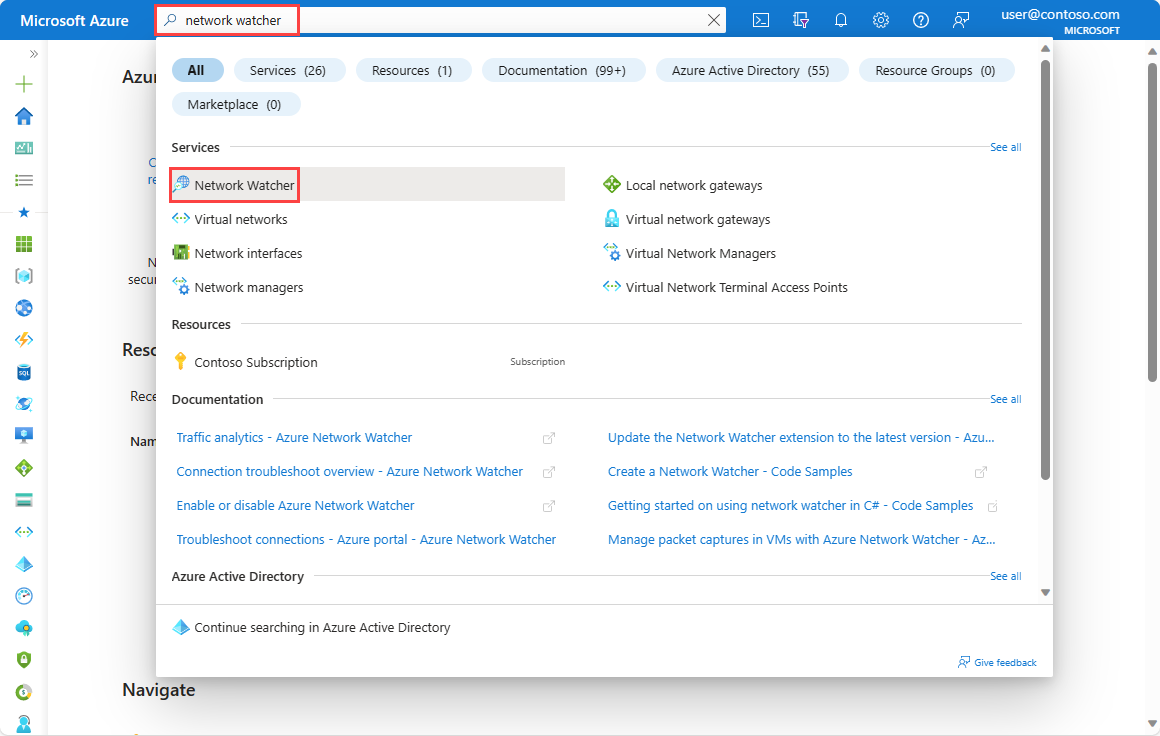
In the search box at the top of the portal, enter Network Watcher. Select Network Watcher from the search results.
Select Packet capture under Network diagnostic tools. Any existing packet captures are listed, regardless of their status.
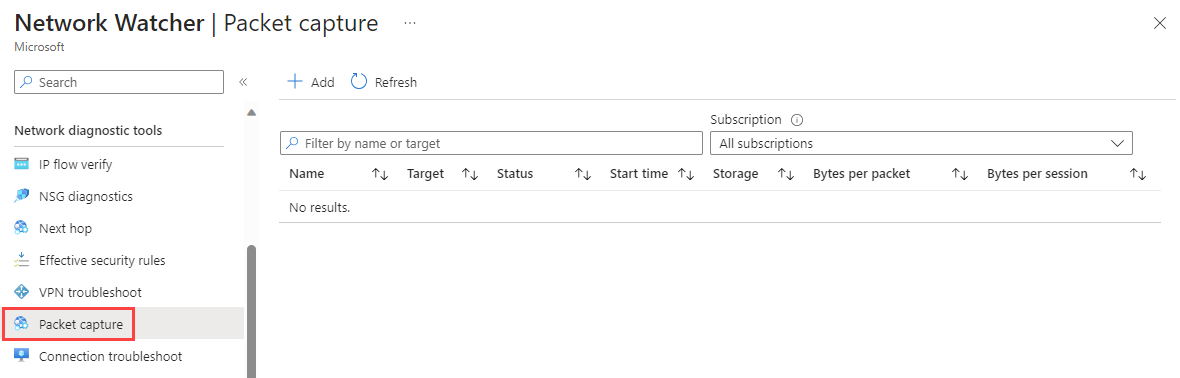
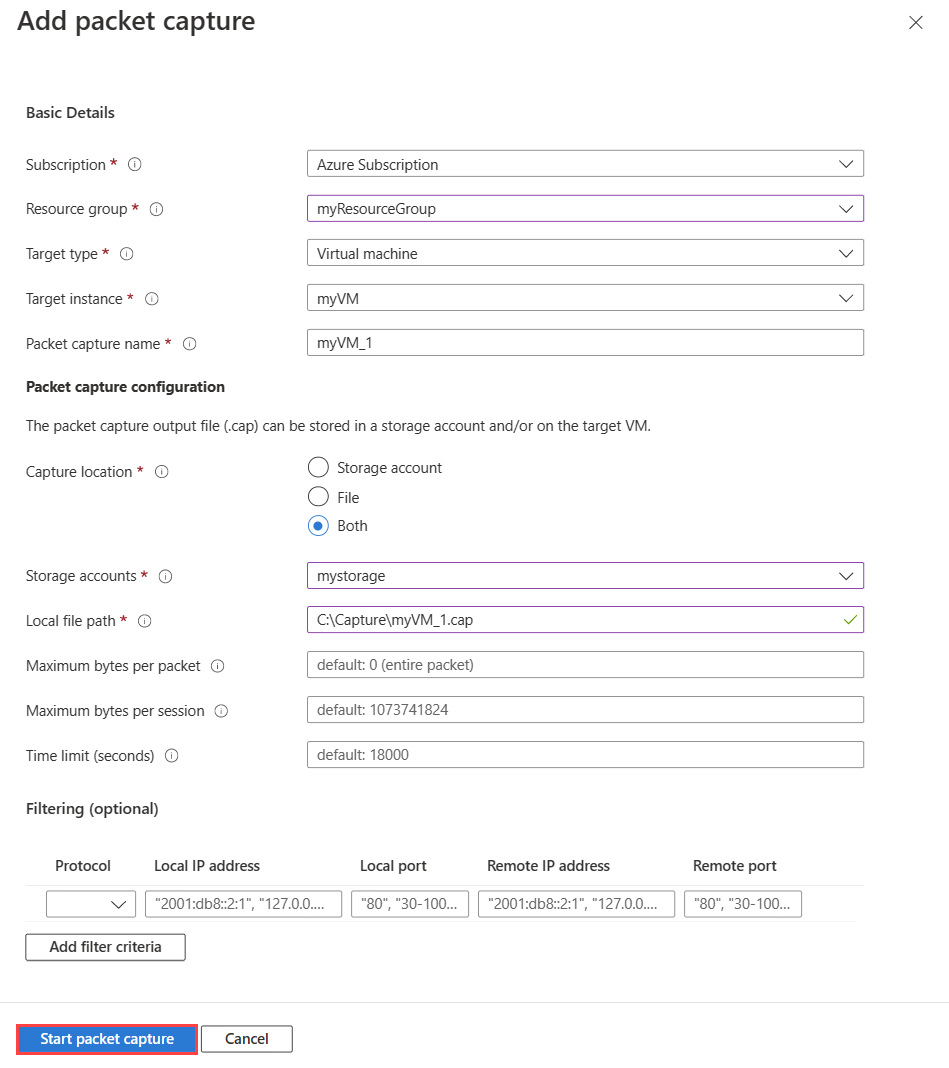
Select + Add to create a packet capture. In Add packet capture, enter or select values for the following settings:
Setting Value Basic Details Subscription Select the Azure subscription of the virtual machine. Resource group Select the resource group of the virtual machine. Target type Select Virtual machine. Target instance Select the virtual machine. Packet capture name Enter a name or leave the default name. Packet capture configuration Capture location Select Storage account, File, or Both. Storage account Select your Standard storage account1.
This option is available if you selected Storage account or Both as a capture location.Local file path Enter a valid local file path where you want the capture to be saved in the target virtual machine. If you're using a Linux machine, the path must start with /var/captures.
This option is available if you selected File or Both as a capture location.Maximum bytes per packet Enter the maximum number of bytes to be captured per each packet. All bytes are captured if left blank or 0 entered. Maximum bytes per session Enter the total number of bytes that are captured. Once the value is reached the packet capture stops. Up to 1 GB is captured if left blank. Time limit (seconds) Enter the time limit of the packet capture session in seconds. Once the value is reached the packet capture stops. Up to 5 hours (18,000 seconds) is captured if left blank. Filtering (optional) Add filter criteria Select Add filter criteria to add a new filter. You can define as many filters as you need. Protocol Filters the packet capture based on the selected protocol. Available values are TCP, UDP, or Any. Local IP address2 Filters the packet capture for packets where the local IP address matches this value. Local port2 Filters the packet capture for packets where the local port matches this value. Remote IP address2 Filters the packet capture for packets where the remote IP address matches this value. Remote port2 Filters the packet capture for packets where the remote port matches this value. 1 Premium storage accounts are currently not supported for storing packet captures.
2 Port and IP address values can be a single value, a range such as 80-1024, or multiple values such as 80, 443.
Select Start packet capture.
Once the time limit set on the packet capture is reached, the packet capture stops and can be reviewed. To manually stop a packet capture session before it reaches its time limit, select the ... on the right-side of the packet capture, or right-click it, then select Stop.


Download a packet capture
After concluding your packet capture session, the resulting capture file is saved to Azure storage, a local file on the target virtual machine or both. The storage destination for the packet capture is specified during its creation. For more information, see Start a packet capture.
To download a packet capture file saved to Azure storage, follow these steps:
Sign in to the Azure portal.
In the search box at the top of the portal, enter Network Watcher, then select Network Watcher from the search results.
Select Packet capture under Network diagnostic tools.
In the Packet capture page, select the packet capture that you want to download its file.
In the Details section, select the packet capture file link.

In the blob page, select Download.

Note
You can also download capture files from the storage account container using the Azure portal or Storage Explorer1 at the following path:
https://{storageAccountName}.blob.core.windows.net/network-watcher-logs/subscriptions/{subscriptionId}/resourcegroups/{storageAccountResourceGroup}/providers/microsoft.compute/virtualmachines/{virtualMachineName}/{year}/{month}/{day}/packetcapture_{UTCcreationTime}.cap
1 Storage Explorer is a standalone app that you can conveniently use to access and work with Azure Storage data. For more information, see Get started with Storage Explorer.
To download a packet capture file saved to the virtual machine (VM), connect to the VM and download the file from the local path specified during the packet capture creation.
Delete a packet capture
Sign in to the Azure portal.
In the search box at the top of the portal, enter Network Watcher, then select Network Watcher from the search results.
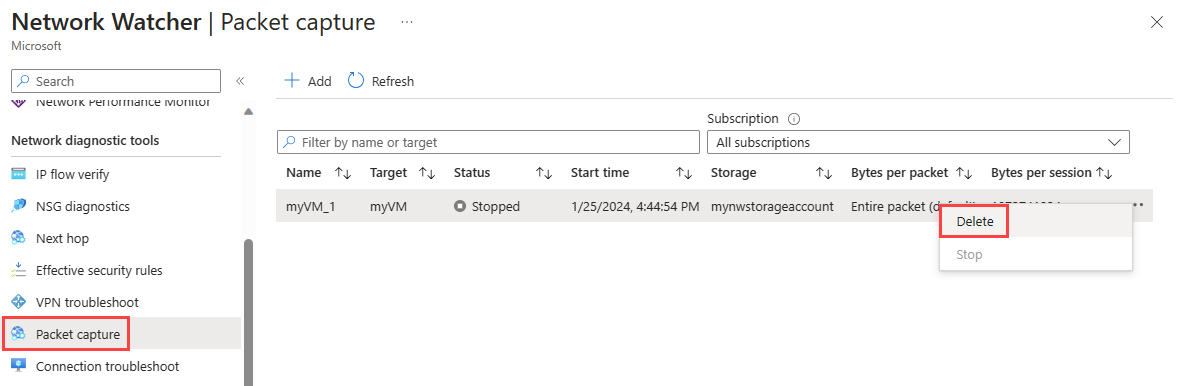
Select Packet capture under Network diagnostic tools.
In the Packet capture page, select ... on the right-side of the packet capture that you want to delete, or right-click it, then select Delete.
Select Yes.

Important
Deleting a packet capture in Network Watcher doesn't delete the capture file from the storage account or the virtual machine. If you don't need the capture file anymore, you must manually delete it from the storage account to avoid incurring storage costs.
Related content
- To learn how to automate packet captures with virtual machine alerts, see Create an alert triggered packet capture.
- To learn how to analyze a Network Watcher packet capture file using Wireshark, see Inspect and analyze Network Watcher packet capture files.
Feedback
Coming soon: Throughout 2024 we will be phasing out GitHub Issues as the feedback mechanism for content and replacing it with a new feedback system. For more information see: https://aka.ms/ContentUserFeedback.
Submit and view feedback for