Move Azure VMs across regions
This tutorial shows you how to move Azure VMs and related network/storage resources to a different Azure region using Azure Resource Mover.
Azure Resource Mover helps you move Azure resources between Azure regions. You might move your resources to another region for many reasons. For example, to take advantage of a new Azure region, to deploy features or services available in specific regions only, to meet internal policy and governance requirements, or in response to capacity planning requirements.
In this tutorial, you learn how to:
- Move Azure VMs to another region with Azure Resource Mover.
- Move resources associated with VMs to another region.
Note
Tutorials show the quickest path for trying out a scenario, and use default options where possible.
Sign in to Azure
If you don't have an Azure subscription, create a free account before you begin and sign in to the Azure portal.
Prerequisites
Before you begin, verify the following:
| Requirement | Description |
|---|---|
| Resource Mover support | Review the supported regions and other common questions. |
| Subscription permissions | Check that you have Owner access on the subscription containing the resources that you want to move Why do I need Owner access? The first time you add a resource for a specific source and destination pair in an Azure subscription, Resource Mover creates a system-assigned managed identity, formerly known as Managed Service Identify (MSI) that's trusted by the subscription. To create the identity, and to assign it the required role (Contributor or User Access administrator in the source subscription), the account you use to add resources needs Owner permissions on the subscription. Learn more about Azure roles. |
| VM support | - Check that the VMs you want to move are supported. - Verify supported Windows VMs. - Verify supported Linux VMs and kernel versions. - Check supported compute, storage, and networking settings. |
| Destination subscription | The subscription in the destination region needs enough quota to create the resources you're moving in the target region. If it doesn't have a quota, request additional limits. |
| Destination region charges | Verify pricing and charges associated with the target region to which you're moving VMs. Use the pricing calculator to help you. |
Prepare VMs
To prepare VMs for the move, follow these steps:
- After checking that VMs meet the requirements, ensure that the VMs you want to move are turned on. All VMs disks that you want to be available in the destination region must be attached and initialized in the VM.
- Ensure that VMs have the latest trusted root certificates and an updated certificate revocation list (CRL). To do this:
- On Windows VMs, install the latest Windows updates.
- On Linux VMs, follow distributor guidance so that machines have the latest certificates and CRL.
- Allow outbound connectivity from VMs:
- If you're using a URL-based firewall proxy to control outbound connectivity, allow access to these URLs.
- If you're using network security group (NSG) rules to control outbound connectivity, create these service tag rules.
Select resources
Note that, all supported resource types in resource groups within the selected source region are displayed. The resources that have already been added for moving across regions aren't shown. You move resources to a target region in the same subscription as the source region. If you want to change the subscription, you can do that after the resources are moved.
To select the resources you want to move, follow these steps:
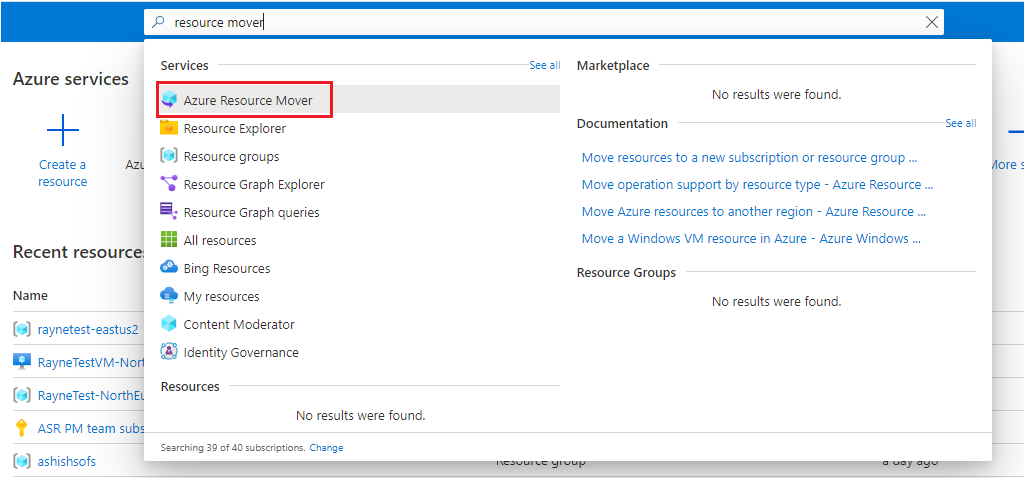
In the Azure portal, search for resource mover. Under Services, select Azure Resource Mover.
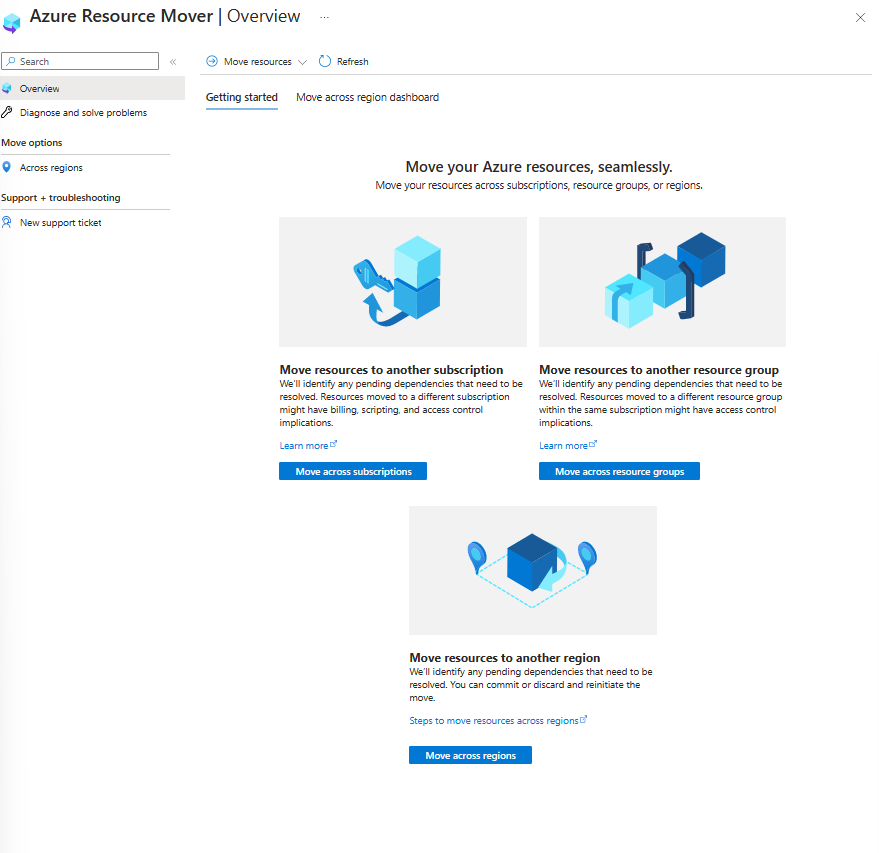
In Overview pane, select Get Started.
In Move resources > Source + destination tab, do the following:
- Select the source subscription and region.
- Under Destination, select the region to which you want to move the VMs.
- Select Next.

In Move resources > Resources to move tab, do the following:
Select the Select resources option.
In Select resources, select the VM. You can only add the resources supported for the move.
Select Done.

Select Next.
In Review, check the source and the destination settings.

Select Proceed to begin adding the resources.
After the add process finishes successfully, on the Notifications pane, select Added resources for move.
After you select the notification, review the resources on the Across regions page.


Note
- Added resources are in a Prepare pending state.
- The resource group for the VMs is added automatically.
- If you want to remove a resource from a move collection, the method for doing that depends on where you are in the move process. Learn more.
Resolve dependencies
To resolve dependencies before the move, follow these steps:
Dependencies are automatically validated in the background when you add the resources. If you still see the Validate dependencies option, select it to trigger the validation manually.
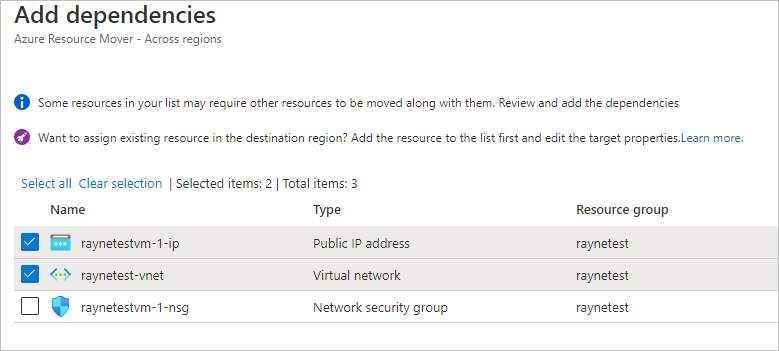
If dependencies are found, select Add dependencies to add them.
On Add dependencies, retain the default Show all dependencies option.
- Show all dependencies iterates through all the direct and indirect dependencies for a resource. For example, for a VM, it shows the NIC, virtual network, network security groups (NSGs), and so on.
- Show first-level dependencies only shows only direct dependencies. For example, for a VM it shows the NIC but not the virtual network.
Select the dependent resources you want to add and select Add dependencies. You can monitor the progress in the notifications.

Dependencies are validated in the background after you add them. If you see a Validate dependencies button, select it to trigger the manual validation.


Note
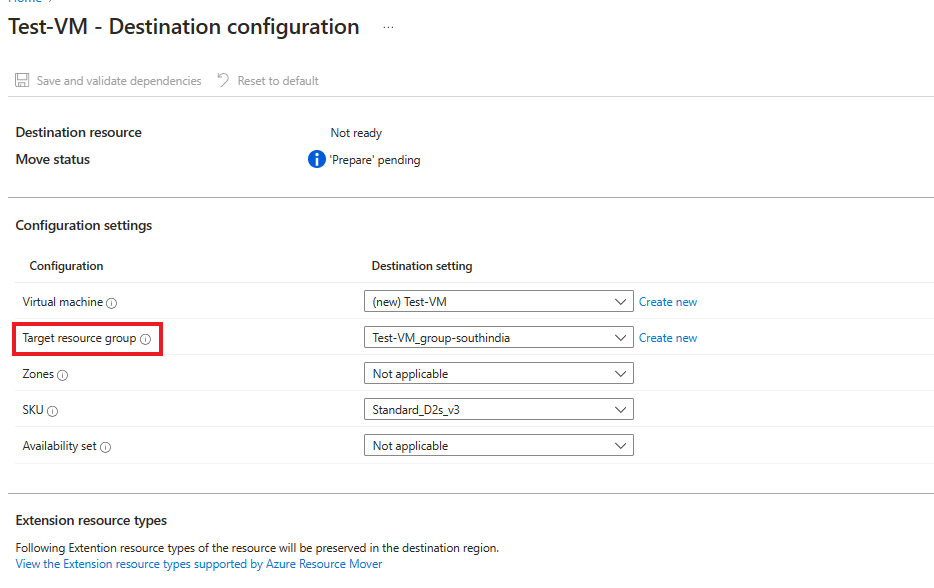
The default name for the resource group follows <sourceRGName-targetRegion> convention. If you want to use an existing resource group name, you can find the option to choose the target resource group in the Edit section.
Prepare resources to move
Now that the source resource group is moved, you can prepare to move other resources that are in the Prepare pending state.
To move resources that are in the Prepare pending state, follow these steps:
On the Across regions pane, verify that the resources are now in a Prepare pending state, with no issues. If they're not, validate again and resolve any outstanding issues.

If you want to edit target settings before beginning the move, select the link in the Destination configuration column for the resource, and edit the settings. If you edit the target VM settings, the target VM size shouldn't be smaller than the source VM size.

Now that the source resource group is moved, you can prepare to move the other resources.
Select the resources you want to prepare.
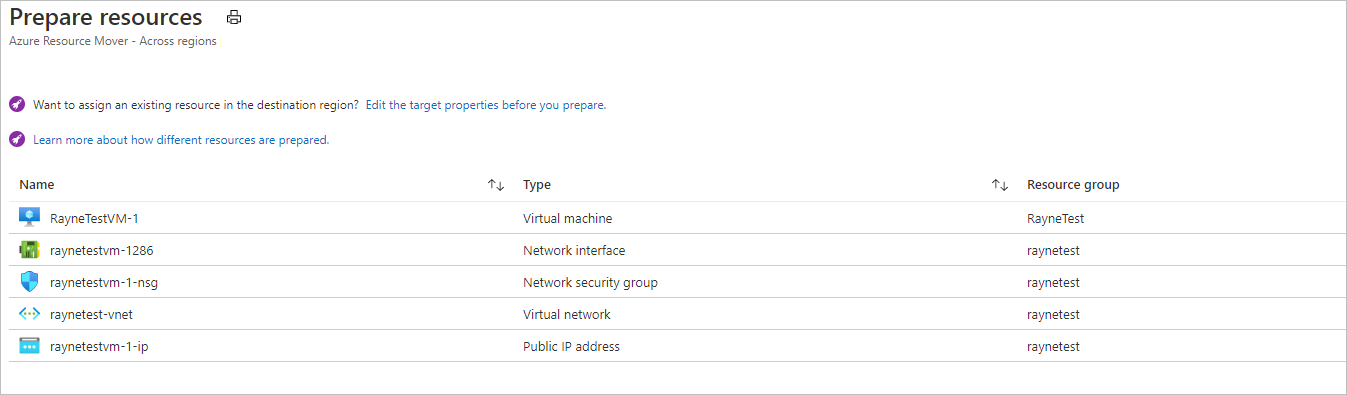
Select Prepare.

Note
- During the prepare process, the Azure Site Recovery Mobility agent is installed on the VMs to replicate them.
- VM data is replicated periodically to the target region. This doesn't affect the source VM.
- Resource Move generates ARM templates for the other source resources.
- After preparing resources, they're in an Initiate move pending state.


Initiate the move
With resources prepared, you can now initiate the move. To start the move, follow these steps:
On the Across regions pane, select resources with state Initiate move pending.
Select Initiate move to start the process.
On the Move resources tab, select Initiate move.
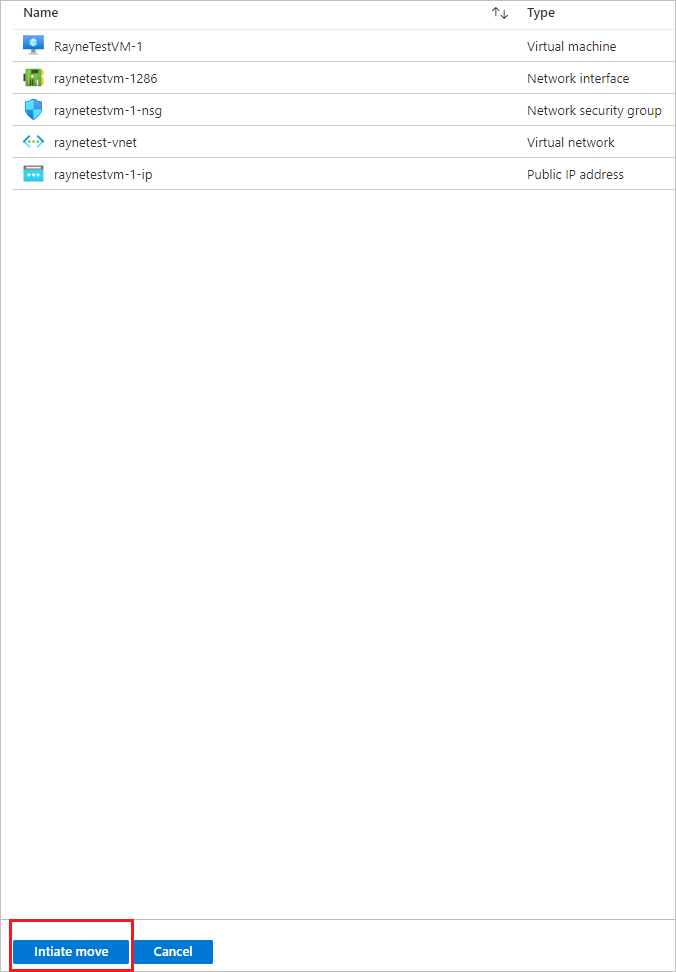
Track the move progress in the notifications bar.

Note
- For VMs, replica VMs are created in the target region. The source VM is shut down, and some downtime occurs (usually minutes).
- Resource Mover recreates other resources using the ARM templates that were prepared. There's usually no downtime.
- After moving resources, they're in a Commit move pending state.


Commit or discard the move
After the initial move, you can decide if you want to commit the move or discard it.
- Discard: You might discard a move if you're testing, and you don't want to actually move the source resource. Discarding the move returns the resource to a state of Initiate move pending.
- Commit: Commit completes the move to the target region. After committing, a source resource will be in a state of Delete source pending, and you can decide if you want to delete it.
Discard the move
You can discard the move as follows:
- On Across regions pane, select resources with state Commit move pending, and select Discard move.
- On Discard move pane, select Discard.
- Track move progress in the notifications bar.
Note
After discarding resources, VMs are in an Initiate move pending state.
Commit the move
If you want to complete the move process, commit the move. To commit the move, follow these steps:
On Across regions pane, select resources with state Commit move pending, and select Commit move.
On Commit resources pane, select Commit.

Track the commit progress in the notifications bar.

Note
- After committing the move, VMs stop replicating. The source VM isn't impacted by the commit.
- Commit doesn't impact source networking resources.
- After committing the move, resources are in a Delete source pending state.
Configure settings after the move
You can configure the following settings after the move process:
- The Mobility service isn't uninstalled automatically from VMs. Uninstall it manually, or leave it if you plan to move the server again.
- Modify Azure role-based access control (Azure RBAC) rules after the move.
Delete source resources after commit
After the move, you can optionally delete resources in the source region. To delete source resources after commit:
Note
A few resources, for example key vaults and SQL Server servers, can't be deleted from the portal, and must be deleted from the resource property page.
- On Across Regions pane, select the name of the source resource that you want to delete.
- Select Delete source.
Delete additional resources created for move
After the move, you can manually delete the move collection and Site Recovery resources that were created.
Before you delete the additional resources created for the move, note that:
- The move collection is hidden by default. To see it you must turn on hidden resources.
- The cache storage has a lock, before deleting the cache storage you must first delete the lock.
To delete the additional resources created for the move, follow these steps:
Locate the resources in resource group
RegionMoveRG-<sourceregion>-<target-region>.Check that all the VM and other source resources in the source region have been moved or deleted. This ensures that there are no pending resources using them.
Delete the resources:
- The move collection name is
movecollection-<sourceregion>-<target-region>. - The cache storage account name is
resmovecache<guid> - The vault name is
ResourceMove-<sourceregion>-<target-region>-GUID.
- The move collection name is
Next steps
Learn more about moving Azure SQL databases and elastic pools to another region.
Feedback
Coming soon: Throughout 2024 we will be phasing out GitHub Issues as the feedback mechanism for content and replacing it with a new feedback system. For more information see: https://aka.ms/ContentUserFeedback.
Submit and view feedback for