Verifying WordPress sites on Bing Webmaster
Bing Webmaster supports several methods of verifying ownership of your website. But for content management systems like WordPress, manually modifying your site configuration can get tricky as the content framework often gets in the way. Please find below a simple and straighforward guide to verifying your WordPress site on Bing Webmaster.
Login/sign up to Bing Webmaster.
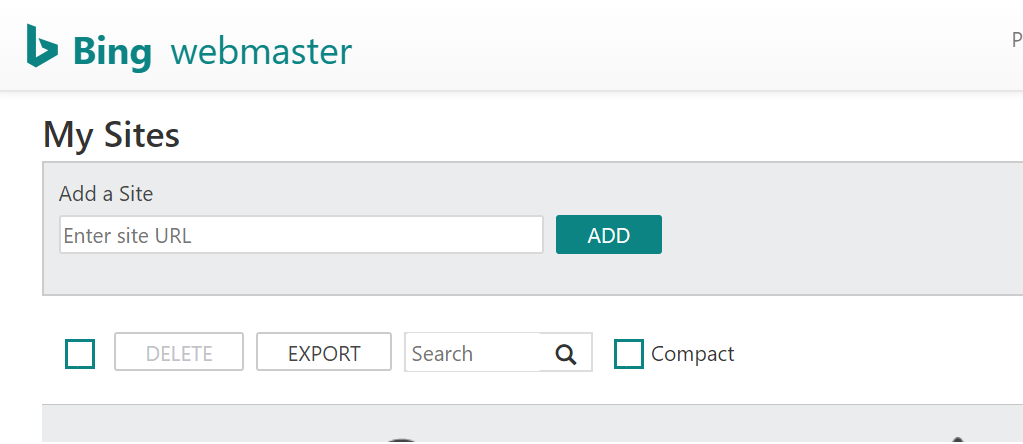
In the "Add a Site" section of the homepage, enter your WordPress site URL and click "Add".
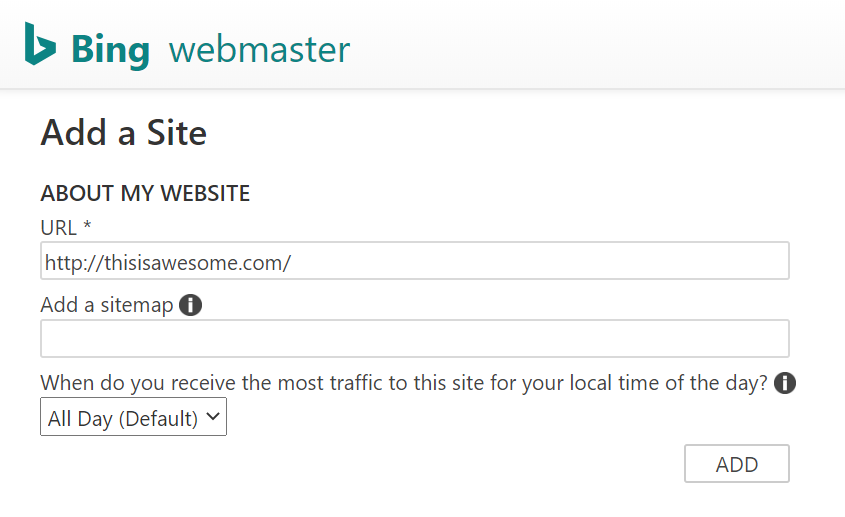
Enter URL of sitemap if you have one. You can also select from the dropdown what time of day your site expects most traffic (This information is used to ensure that your site is crawled outside of your busy hours). Click "Add"
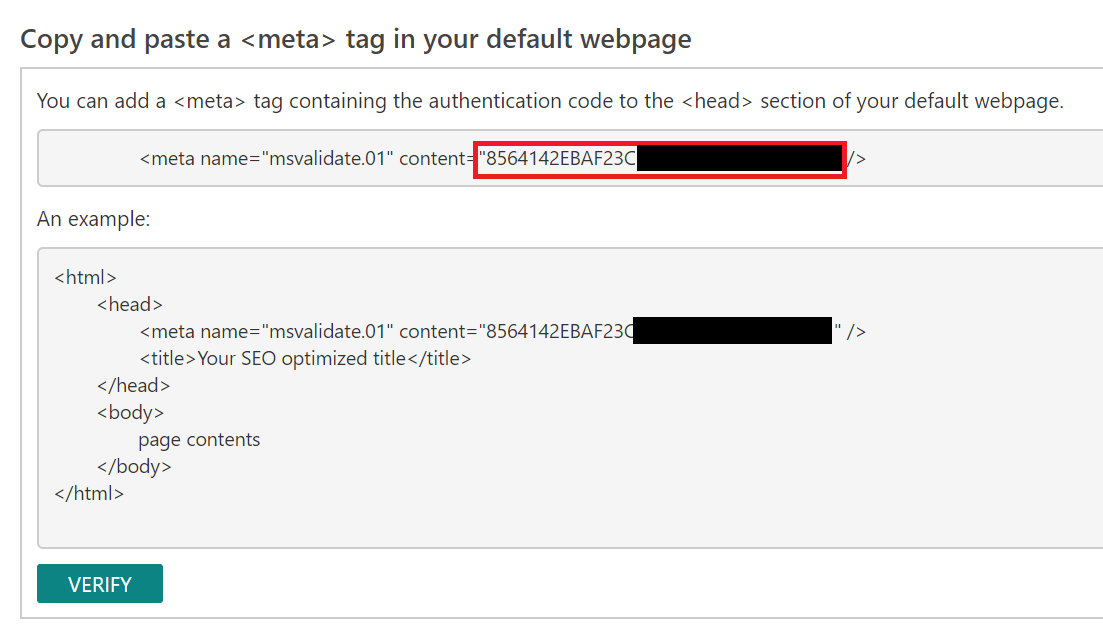
You should now see the "Verify Ownership" page which lists several ways you can verify your website. Scroll down to section titled:
"Copy and paste a <meta> tag in your default webpage"
In the instructions for this method, make a note of the 32-letter GUID in the content attribute.
In a new tab, open your WordPress site's admin page.
In the admin panel sidebar menu, click on "Plugins" and then "Add New".
Search for "Meta Tag Manager" plugin and install it.

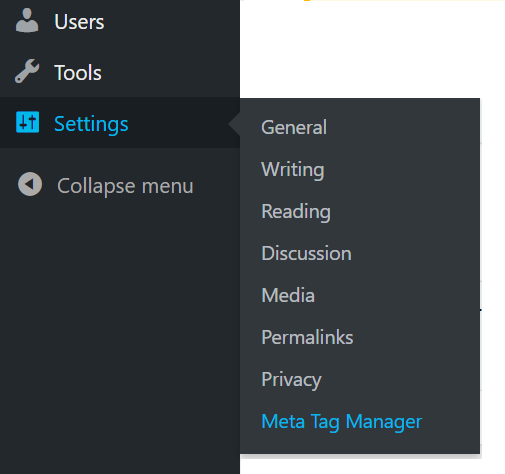
After installing plugin, go to "Settings" > "Meta Tag Manager" from the admin panel sidebar menu.
Click on "Add Meta Tag". From tag type dropdown, select "name" and enter
msvalidate.01as "name Value". Paste the 32-letter GUID obtained above in "content Atrribute" field. In "where to display this tag" select either "All Pages" or "Front Page". Click on "Save Changes" to save.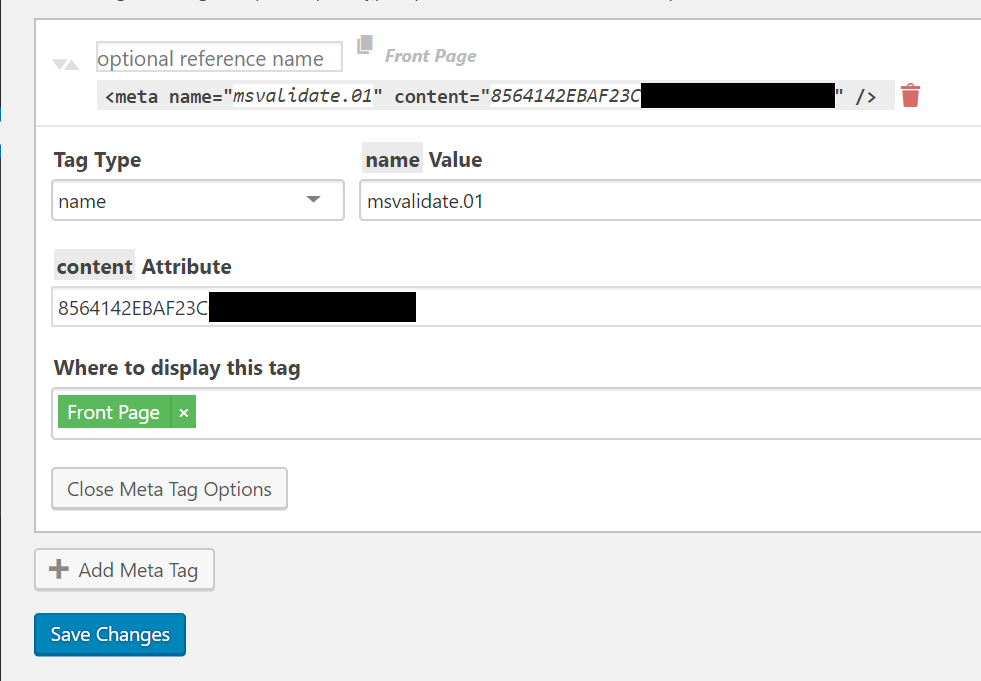 .
.(Optional) Verify that adding the tag succeeded by opening your WordPress site front page in a new tab and manually inspecting meta tags in HTML head content. You should see the meta tag added with correct value as specified in Site Verification instructions in Step 4.
Go back to the "Verify Ownership" page from Step 4 and click "Verify" under meta tag verification method.
Voilà! Your website is now verified in Bing Webmaster.